

We interrupt this summer’s heat and drought with colorful landscape thoughts!
When temperatures are this hot, the desire to time in your lawn and landscape wains quickly. But it’s summertime…and our thoughts are still about wonderful landscapes. So, instead of spending time in the landscape, let’s turn our thoughts toward thinking about the landscape.
Before we start landscape dreaming, nearly every lawn issue we looked at this week was due to shallow watering, so let’s touch base on a few best practices:
Your lawn and landscape need 1 to 1.5” of moisture to look their best when temperatures are 95+.
Deep soaking is always best. Short, shallow watering is not good for your lawn and landscape in the heat.
Water in the early morning, not the evening. Watering in the evening increases the potential for disease.
The best way to know if you are watering enough is to place a few cans around the lawn and run your sprinklers through a typical cycle. Measure the amount of water in the cans and then do the math. For example: If you run your sprinkler for 15 minutes resulting in ¼” of water in the can, you need to run that zone for 60 to 90 minutes per week. In this case, you would run the zone 20 to 30 minutes every other day.
One way to water deeper with less runoff is to split the total run time into two back-to-back run times. Continuing the last example: Set the zone for 10 to 15 minutes and set the program to come on twice every other day in the early morning, such as 4:00 and 6:00 AM.
If you need to cut back on your water expense, continue to water deep but less often, such as every 4 days. Remember, shallow watering promotes a short, weak root system that is very dependent on frequent watering. It would be better for your lawn if you didn’t water it at all and allow the lawn to go dormant than it would be to water shallow.
What makes the difference between an average landscape planting and a great landscape planting?
Great landscape plantings contain three levels: a front, a middle, and a back.
Let’s start with some basic design math:
Front – No more than 18” in height. Low ground covers, perennials, annual color, and small plants.
Middle – Perennials, annual color, and smaller shrubs with enough height to start creating levels. 18” to 3’ in height.
Back – Shrubs and small trees. 3’ or more in height.
Read the plant label and believe what it says about plant height and growing conditions. Remember plants perform their best if they are allowed to grow to their natural height and form. If you have only 4’ of height for your back level, don’t plant a shrub with a mature height of 10’ with the idea you will keep it pruned. Even if you are diligent with your maintenance, the plant will never look as good as it would if it could grow naturally.
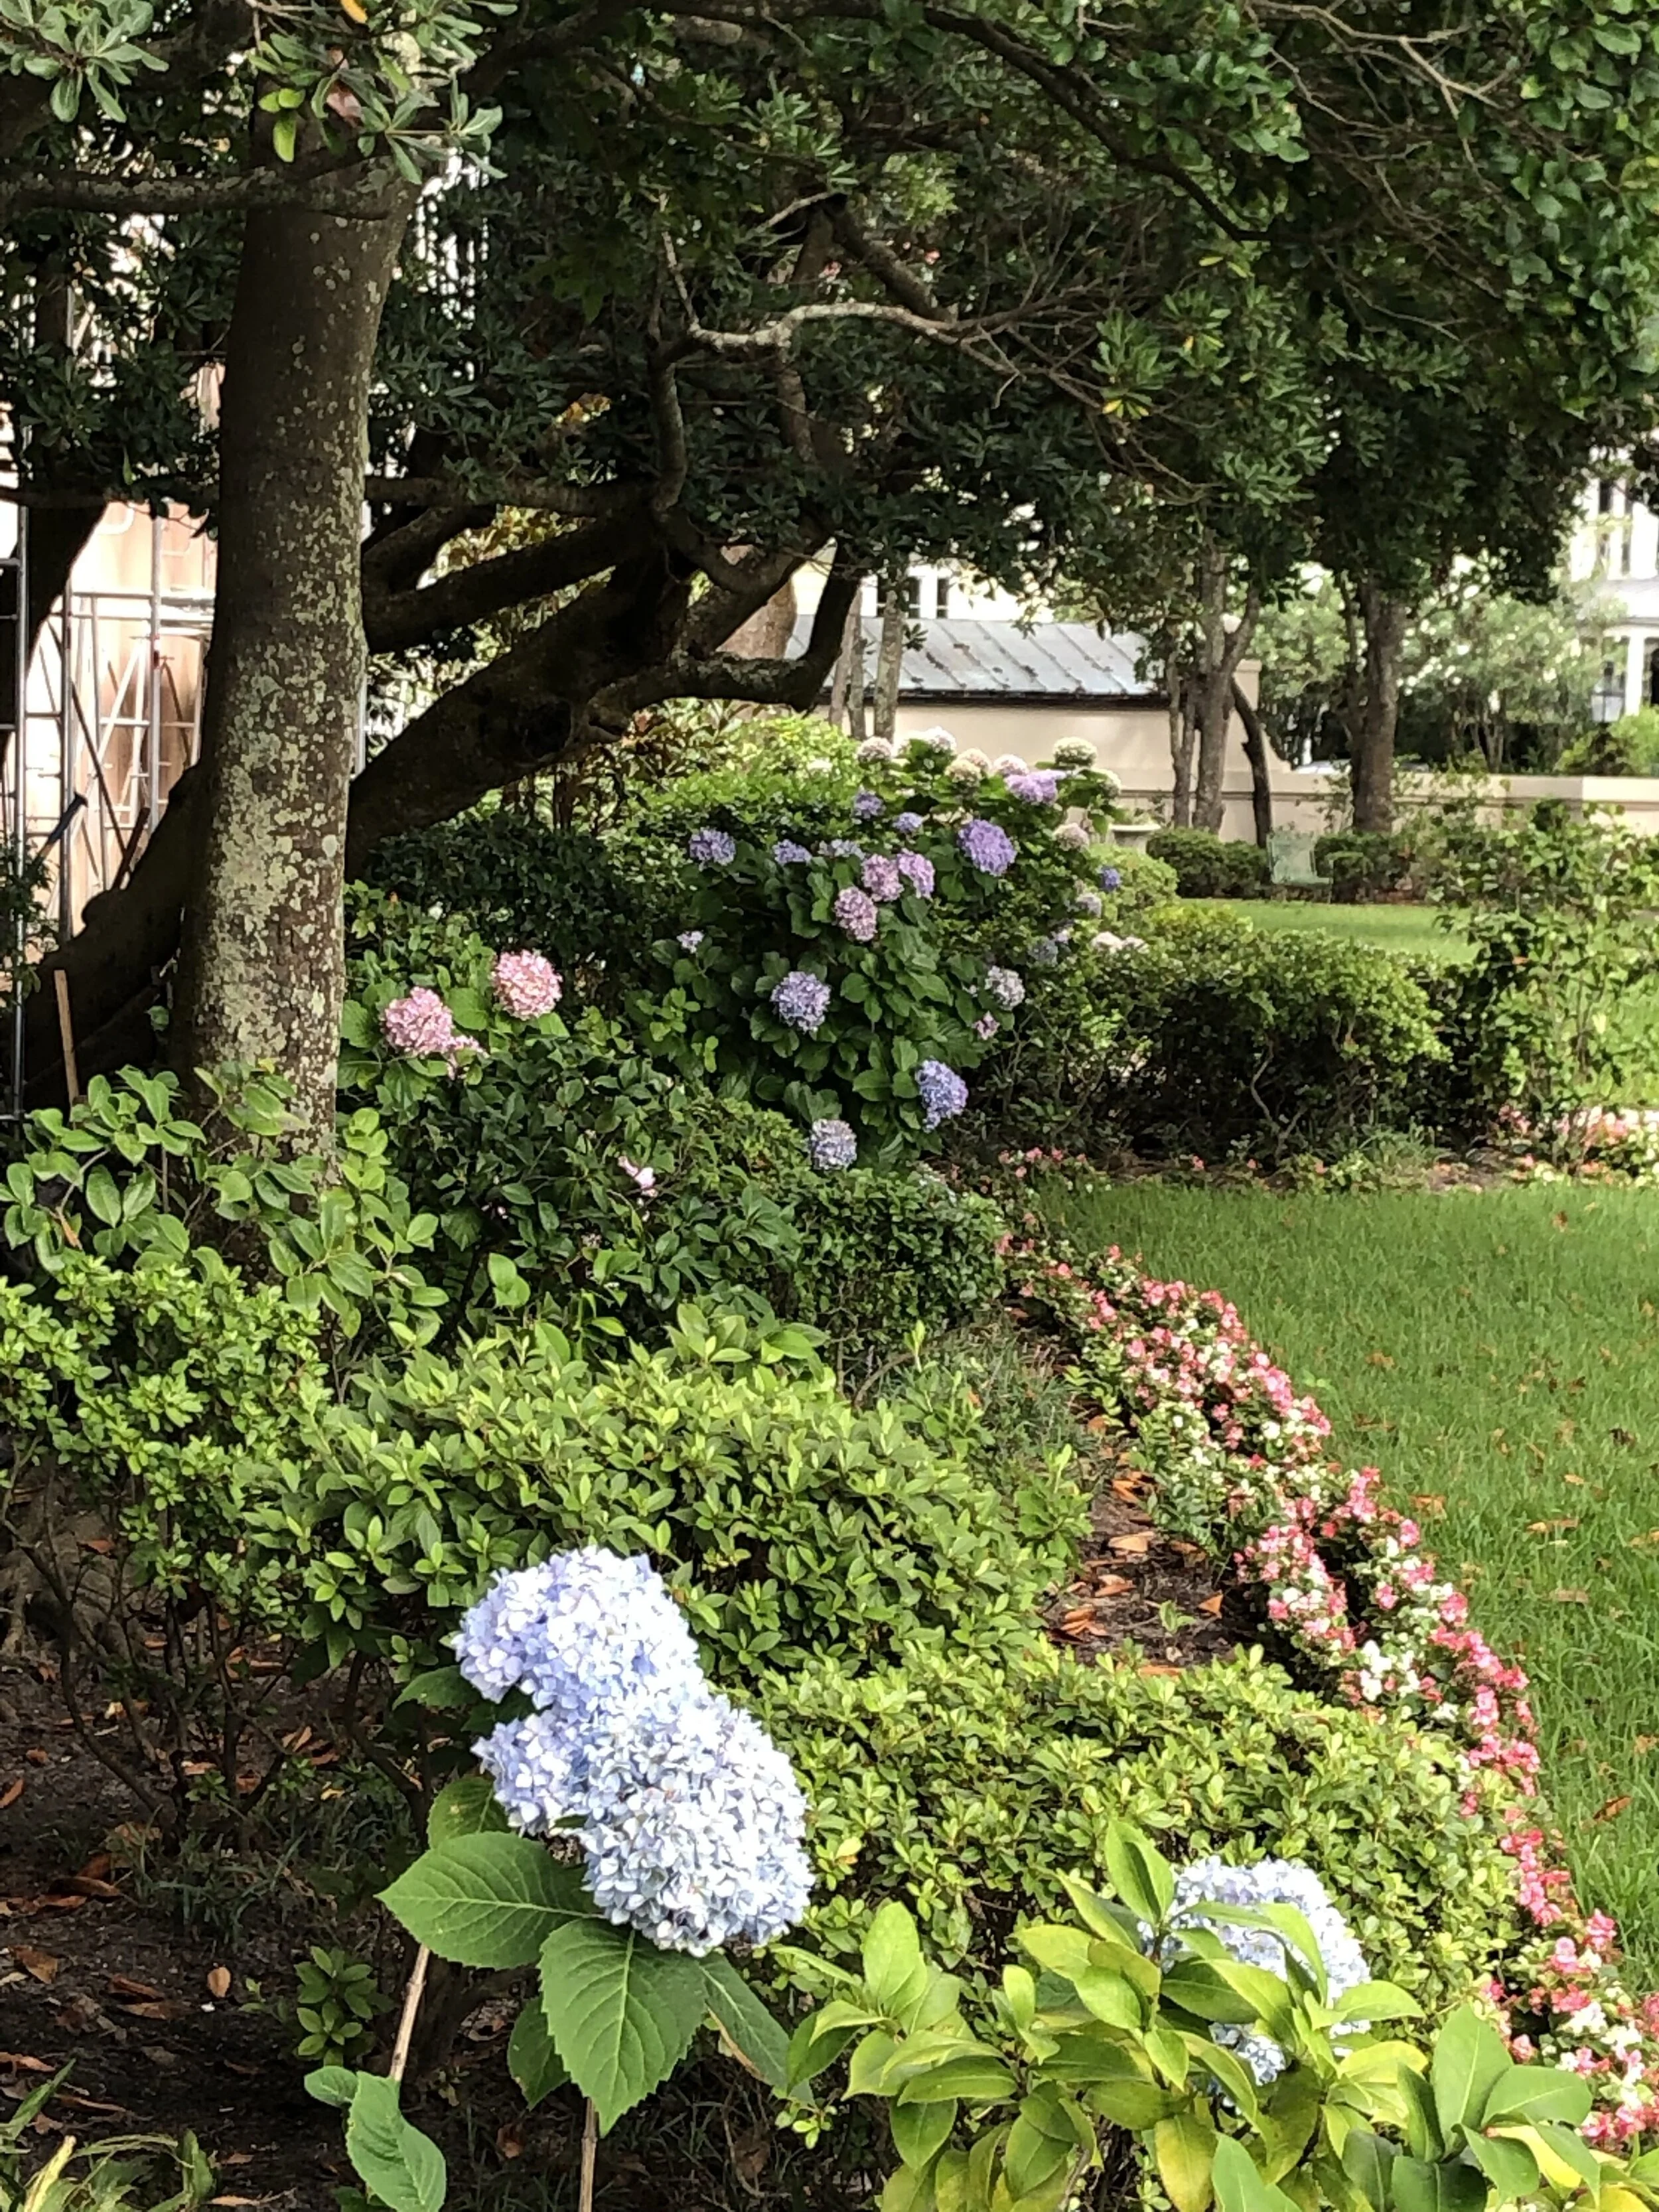
Begonias, azaleas, hydrangeas used to create levels under live oaks in Charleston.
Larger plants, particularly when you have the room, are great for adding interest and will soften walls and fences. They also can be planted free standing to create a border or screen an unsightly view. The more space you have the bigger you can go with the back level.
If your space is limited and you still want to gain height, a climbing vine or shrub against a wall or fence is a great solution. Also consider using a flowering tree, boxwood, or pyracantha in an espaliered form.
Walls and fences don’t count as the third level. To get the impact you need three levels in front of the object.

Even in patio pots, planting for three levels adds interest. This pot contains a variegated euonymus for height, penta for the middle, and trailing periwinkle.
A few ideas to get you started:
Large ornamental grasses in the back, flowering shrubs in the middle, with a ground cover border in the front.
Crape myrtle in the back, evergreen shrubs in the middle, and annual color in the front.
Evergreens for the back with a mix of perennials in the middle and ground covers in the front.
A shady area idea is an azalea in the back, hosta in the middle, and dwarf mondo in the front.
A great resource for ideas and plant materials is Monrovia.com. Monrovia has been a leader in landscape plant material for over 90 years. I am sure you will find their website a great resource. The content in this email is a combination of information from Monrovia and our years of experience in the local landscape industry

Groundcover, barberry and hydrangea used to create layers.

Dwarf Globe Blue Spruce used as a mid level shrub adds color and interest to a landscape.

Espaliering a plant, such as Pyracantha, on a wall or fence is a great way to create levels in small spaces.
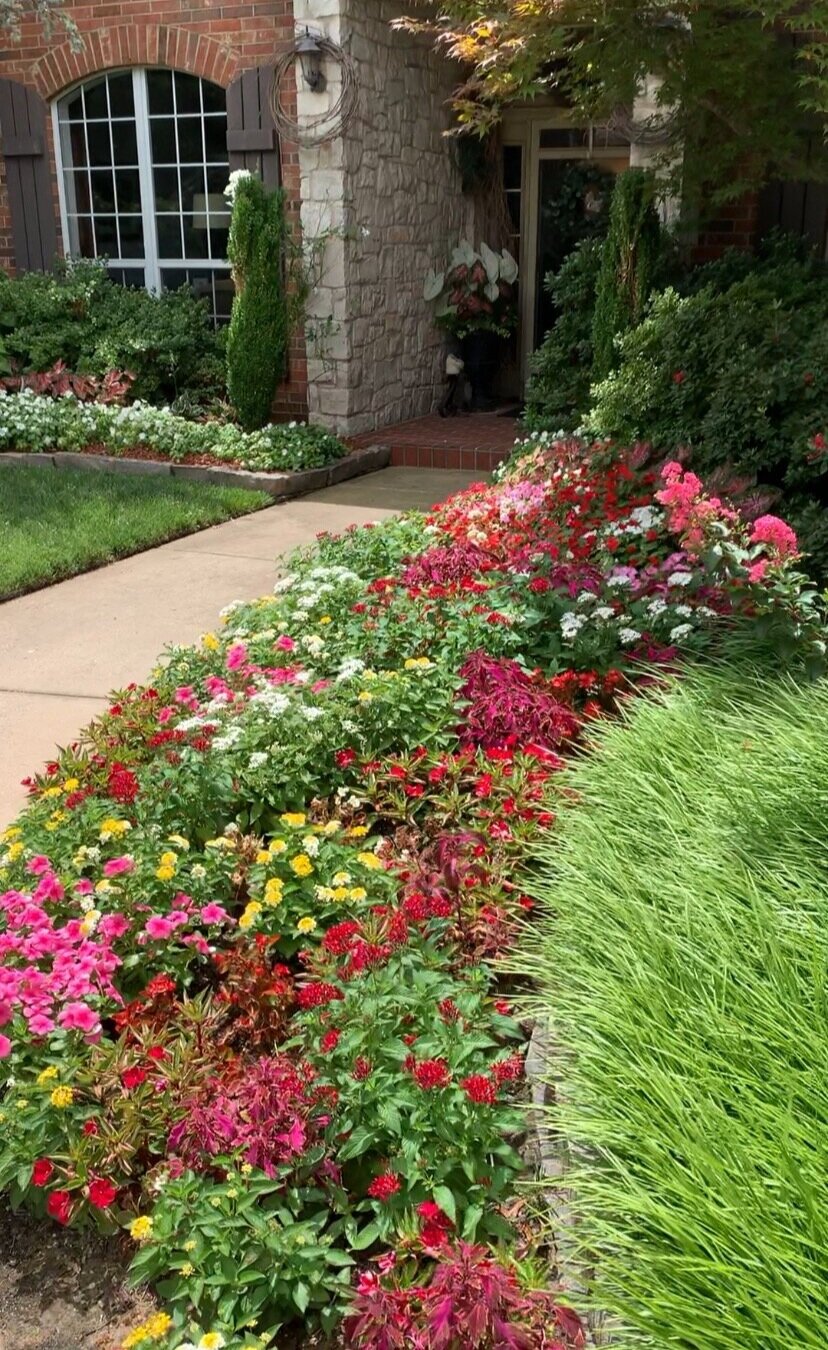
A first level of bright seasonal color creates a welcoming environment to a front door.

Annuals, perennials, flowering shrubs and evergreens planted in levels to add interest.
When selecting plants for each level, don’t always go for flowering plants. Plants with interesting leaf shapes and colors can make the flowering plants look even better.
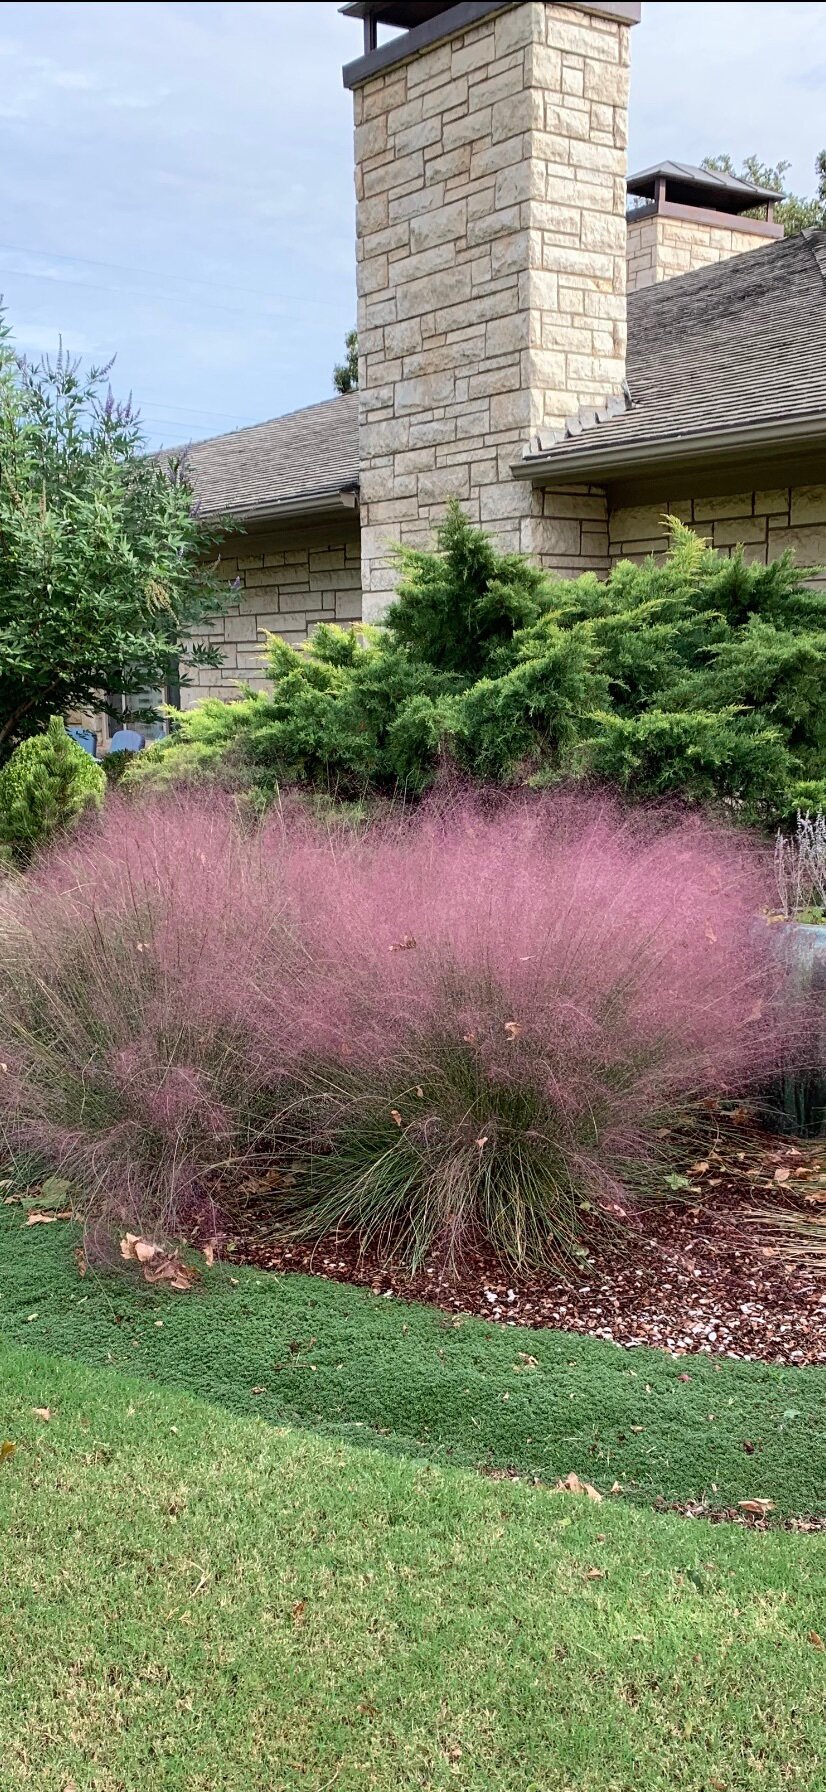
Need a low maintenance landscape option with three levels? Plant Pink Muhly Grass between groundcover and standard Juniper varieties. Little to no trimming will be required.
The levels don’t have to be in a continuous, linear run of all the same plant material. If you prefer, each level can contain a mixture of a few plants. Often the middle level works well with a few, specimen plants of interest, or groupings of perennials.
Plantings should have something of interest in every season. For high visibility areas and for great curb appeal, it is best if one level includes evergreens and another one annual color.
Always greet customers with flowers. Great front doors have a splash of annual color.

Annuals planted in front of perennials to create levels.

Inpatients, Caladiums and Hostas create layers in front of Azalea and Hydrangeas in shady areas.
But what if you don’t want to just dream about landscapes, you want to plant now. Is it ok to plant during the summer?
There are best times to plant (#1 best time is fall), but new landscaping can be added year-round in central Oklahoma. Avoiding extreme heat (or cold) and drought is best. But, successful planting in the summer is possible with a little extra effort.

Japanese Maple, hydrangea and ferns are a great way to create three levels in shade gardens.


Grasses make a great middle level when creating landscape plantings.
Follow these tips when planting in the summer:
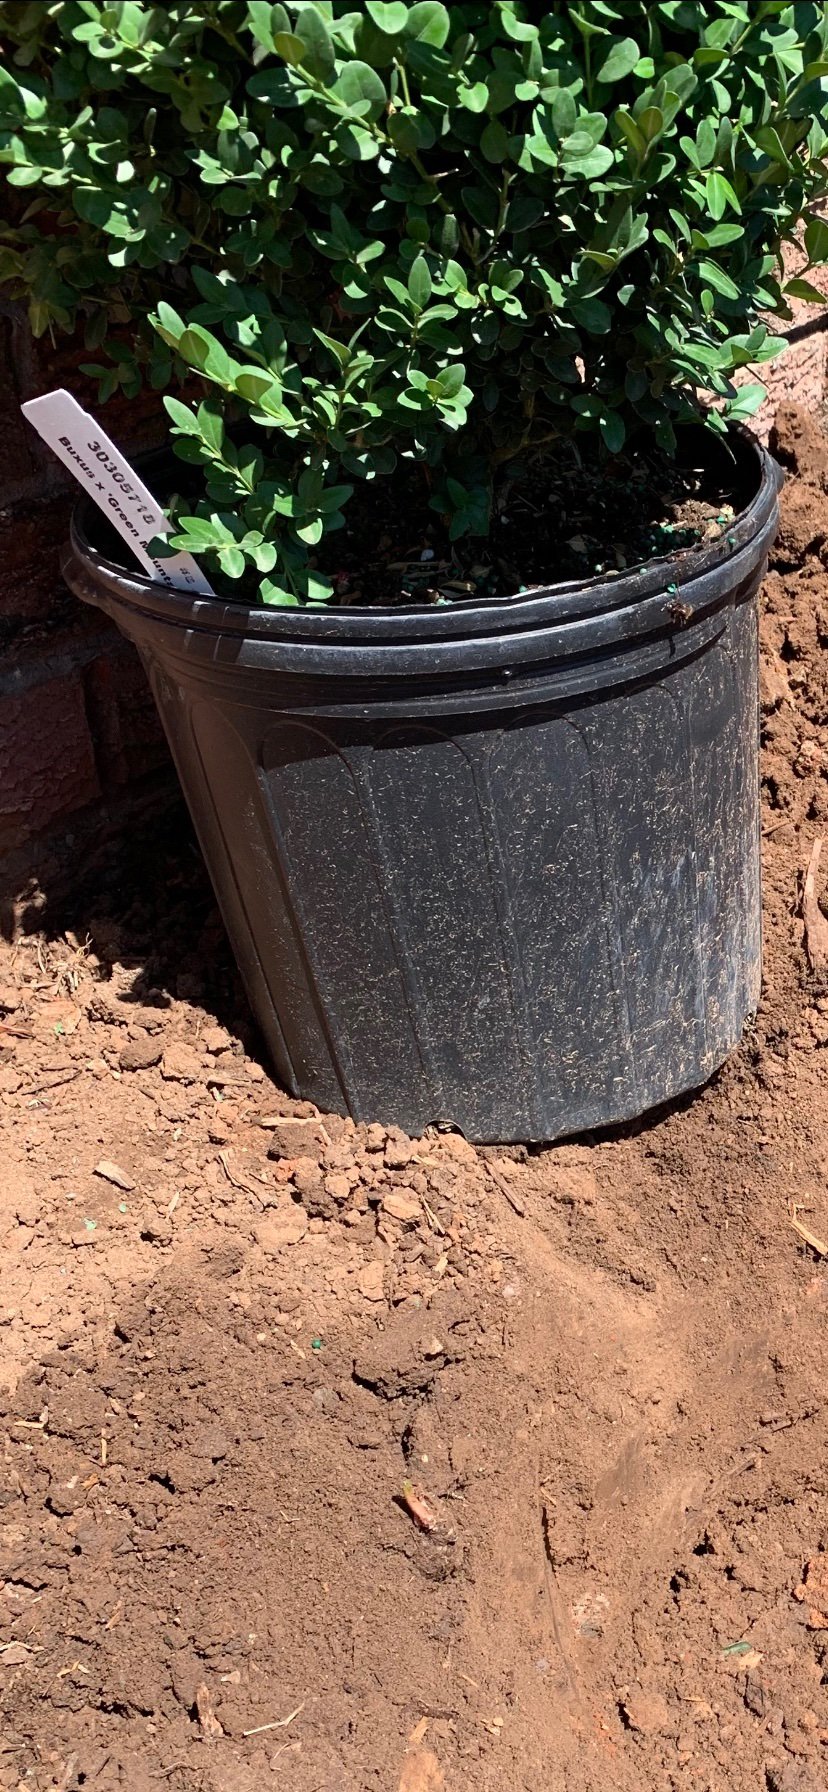
Container-grown plants are best for summer planting because there is less transplant shock than with balled and burlaped or bare-root plant material.

Mix organic compost with the soil you removed from the hole.

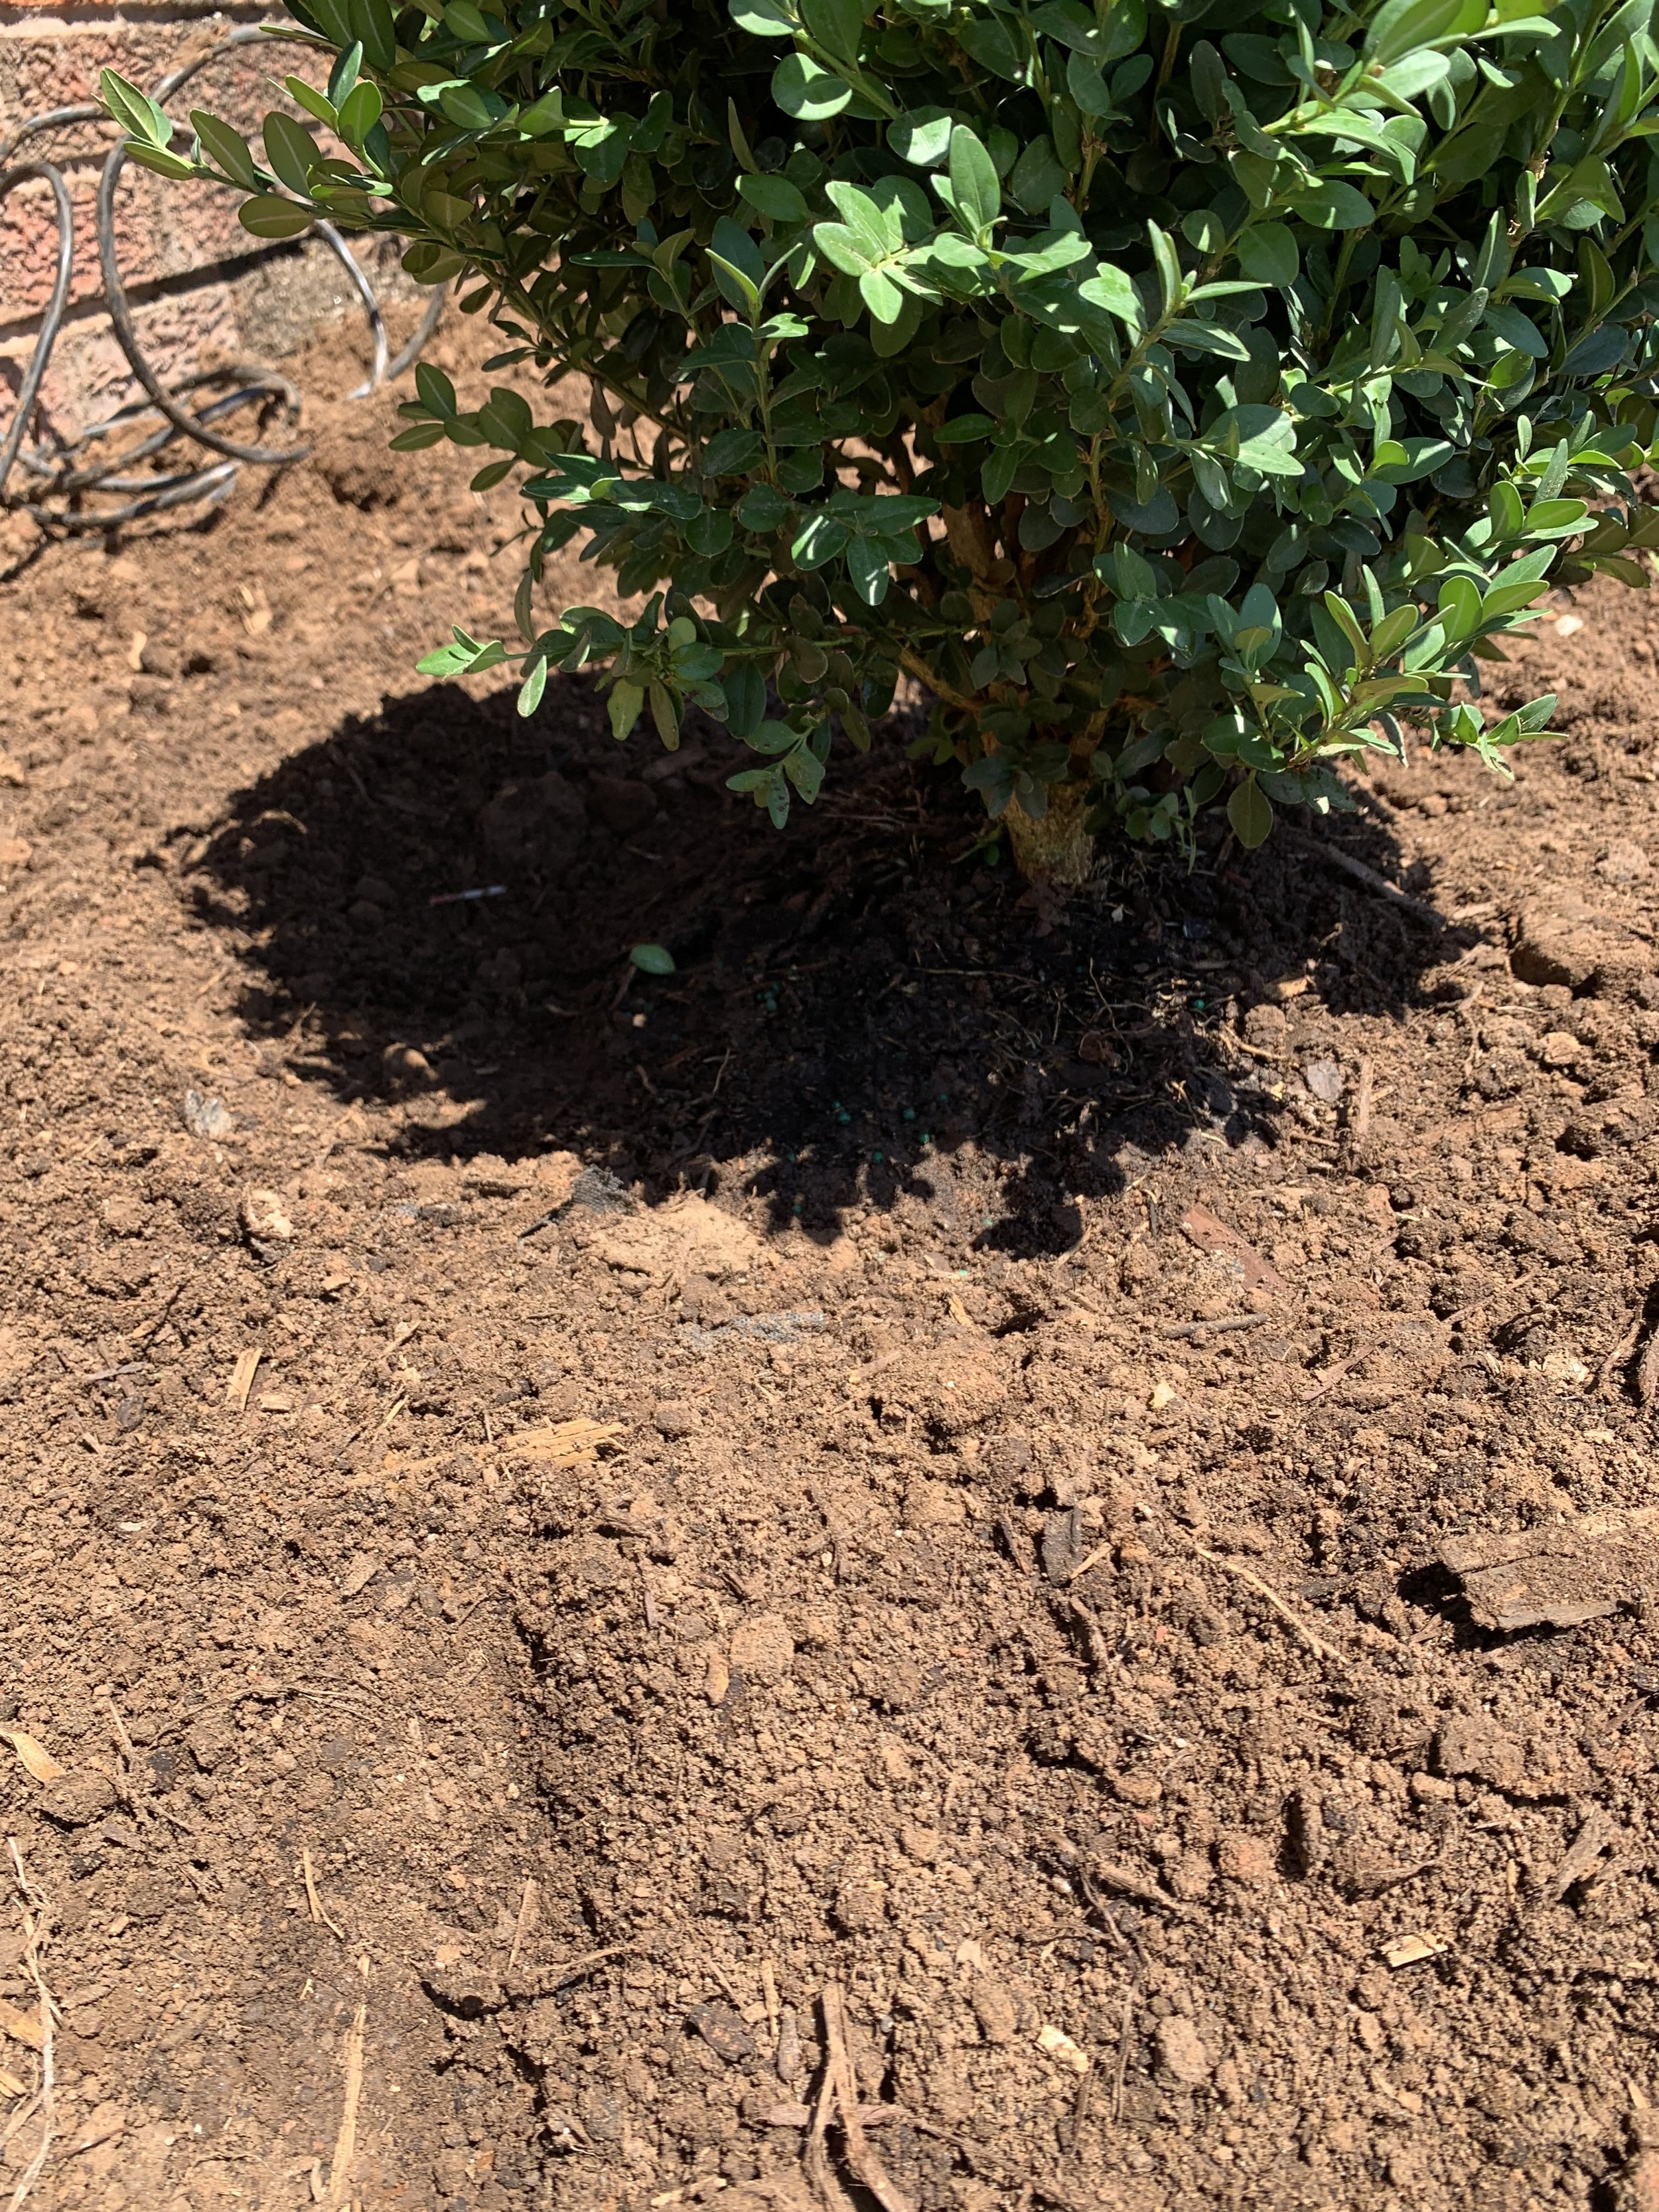
Place the shrub with the root ball 1-2” higher than the surrounding soil.

Fill the rest of the hole with water allowing time for the water to be absorbed into the soil before backfilling.

Finish the planting with 2-3” of quality, natural mulch.

Dig a whole that is twice as wide as the plant container and 25% deeper.

Place some of the compost soil mixture in the hole and lightly stamp it down.

Backfill 1/3 of the area around the root ball with your compost and soil moisture and tamp down the soil to remove air pockets.
Backfill the hole being careful not to add soil to the top of the plant’s root ball, lightly pack the soil, create a small saucer ring from the soil, and fill the saucer full of water.
What are some of your best landscape ideas?
What are some of your favorite plants?
We would love to hear what is working well in your landscape.
Stay cool. Keep landscape dreaming.
I’m confident the heat of summer will give way to the cooler days of fall soon.
Lorne Hall
Hall | Stewart Lawn + Landscape
(405)367-3873

Pic of the Week: You know you have a bagworm problem when they have moved from munching on your shrubs to checking out your Big Green Egg!