The Joy of Spring

What a week in the landscape!
Last weekend didn’t feel like spring. But, with one final, late cold spell in our rear-view mirror, the landscape has exploded with color this week.
The much needed rainfall has delivered us greener turf, more trees adding leaves, colorful perennials, bulbs, shrubs and trees in every pocket of the Oklahoma City metro area.
Every spring feels a little different. The timing of blooms. The length of blooms. Every spring another plant is going to captivate our attention. Every spring there is another plant that just seems a little more dynamic than it has ever been.

What are your favorite spring blooming plants?
Are you like me? Your favorite is, “All of them!”
Let’s spend a few minutes reviewing some of the tried and true spring blooming plants you can count on adding beauty and joy to our world year after year.
PERENNIALS

Creeping Phlox
Creeping Phlox. The first to welcome spring each year. Creeping phlox produces a spring-like carpet in pastel hues of white, lavender, red and pink. Creeping phlox is a moderate grower that can spread up to 2’ but only reaches 4-6” in height. It requires full sun but will tolerate a couple hours of shade each day. Borders, walls, and around boulders are where it looks best. In my garden, you will find it cascading over a rock retaining wall. It tolerates most soil if it is well drained. The plant requires little maintenance. Mites are about the only insect problem it will have.
‘May Night’ Salvia. Sage type flower spikes of deep bluish-purple that will add color in April, May, and early June. The best flower show will be in full sun, but it will tolerate a little dappled shade each day. The plant grows 12-18” tall with flower spikes reaching 24”. The plant looks great in the middle of the garden planted behind creeping phlox or dianthus, and in front of Shasta daisy or Black-eyed Susan. The leaves often become tattered later in the summer and become dormant over the winter. Keep faded blooms removed to maximize bloom period and pruning the plants after blooming may result in a few fall blooms. In the early spring, before new growth emerges, remove the dormant foliage. Salvia tolerates clay soils but will struggle with root rot if the soil stays saturated.
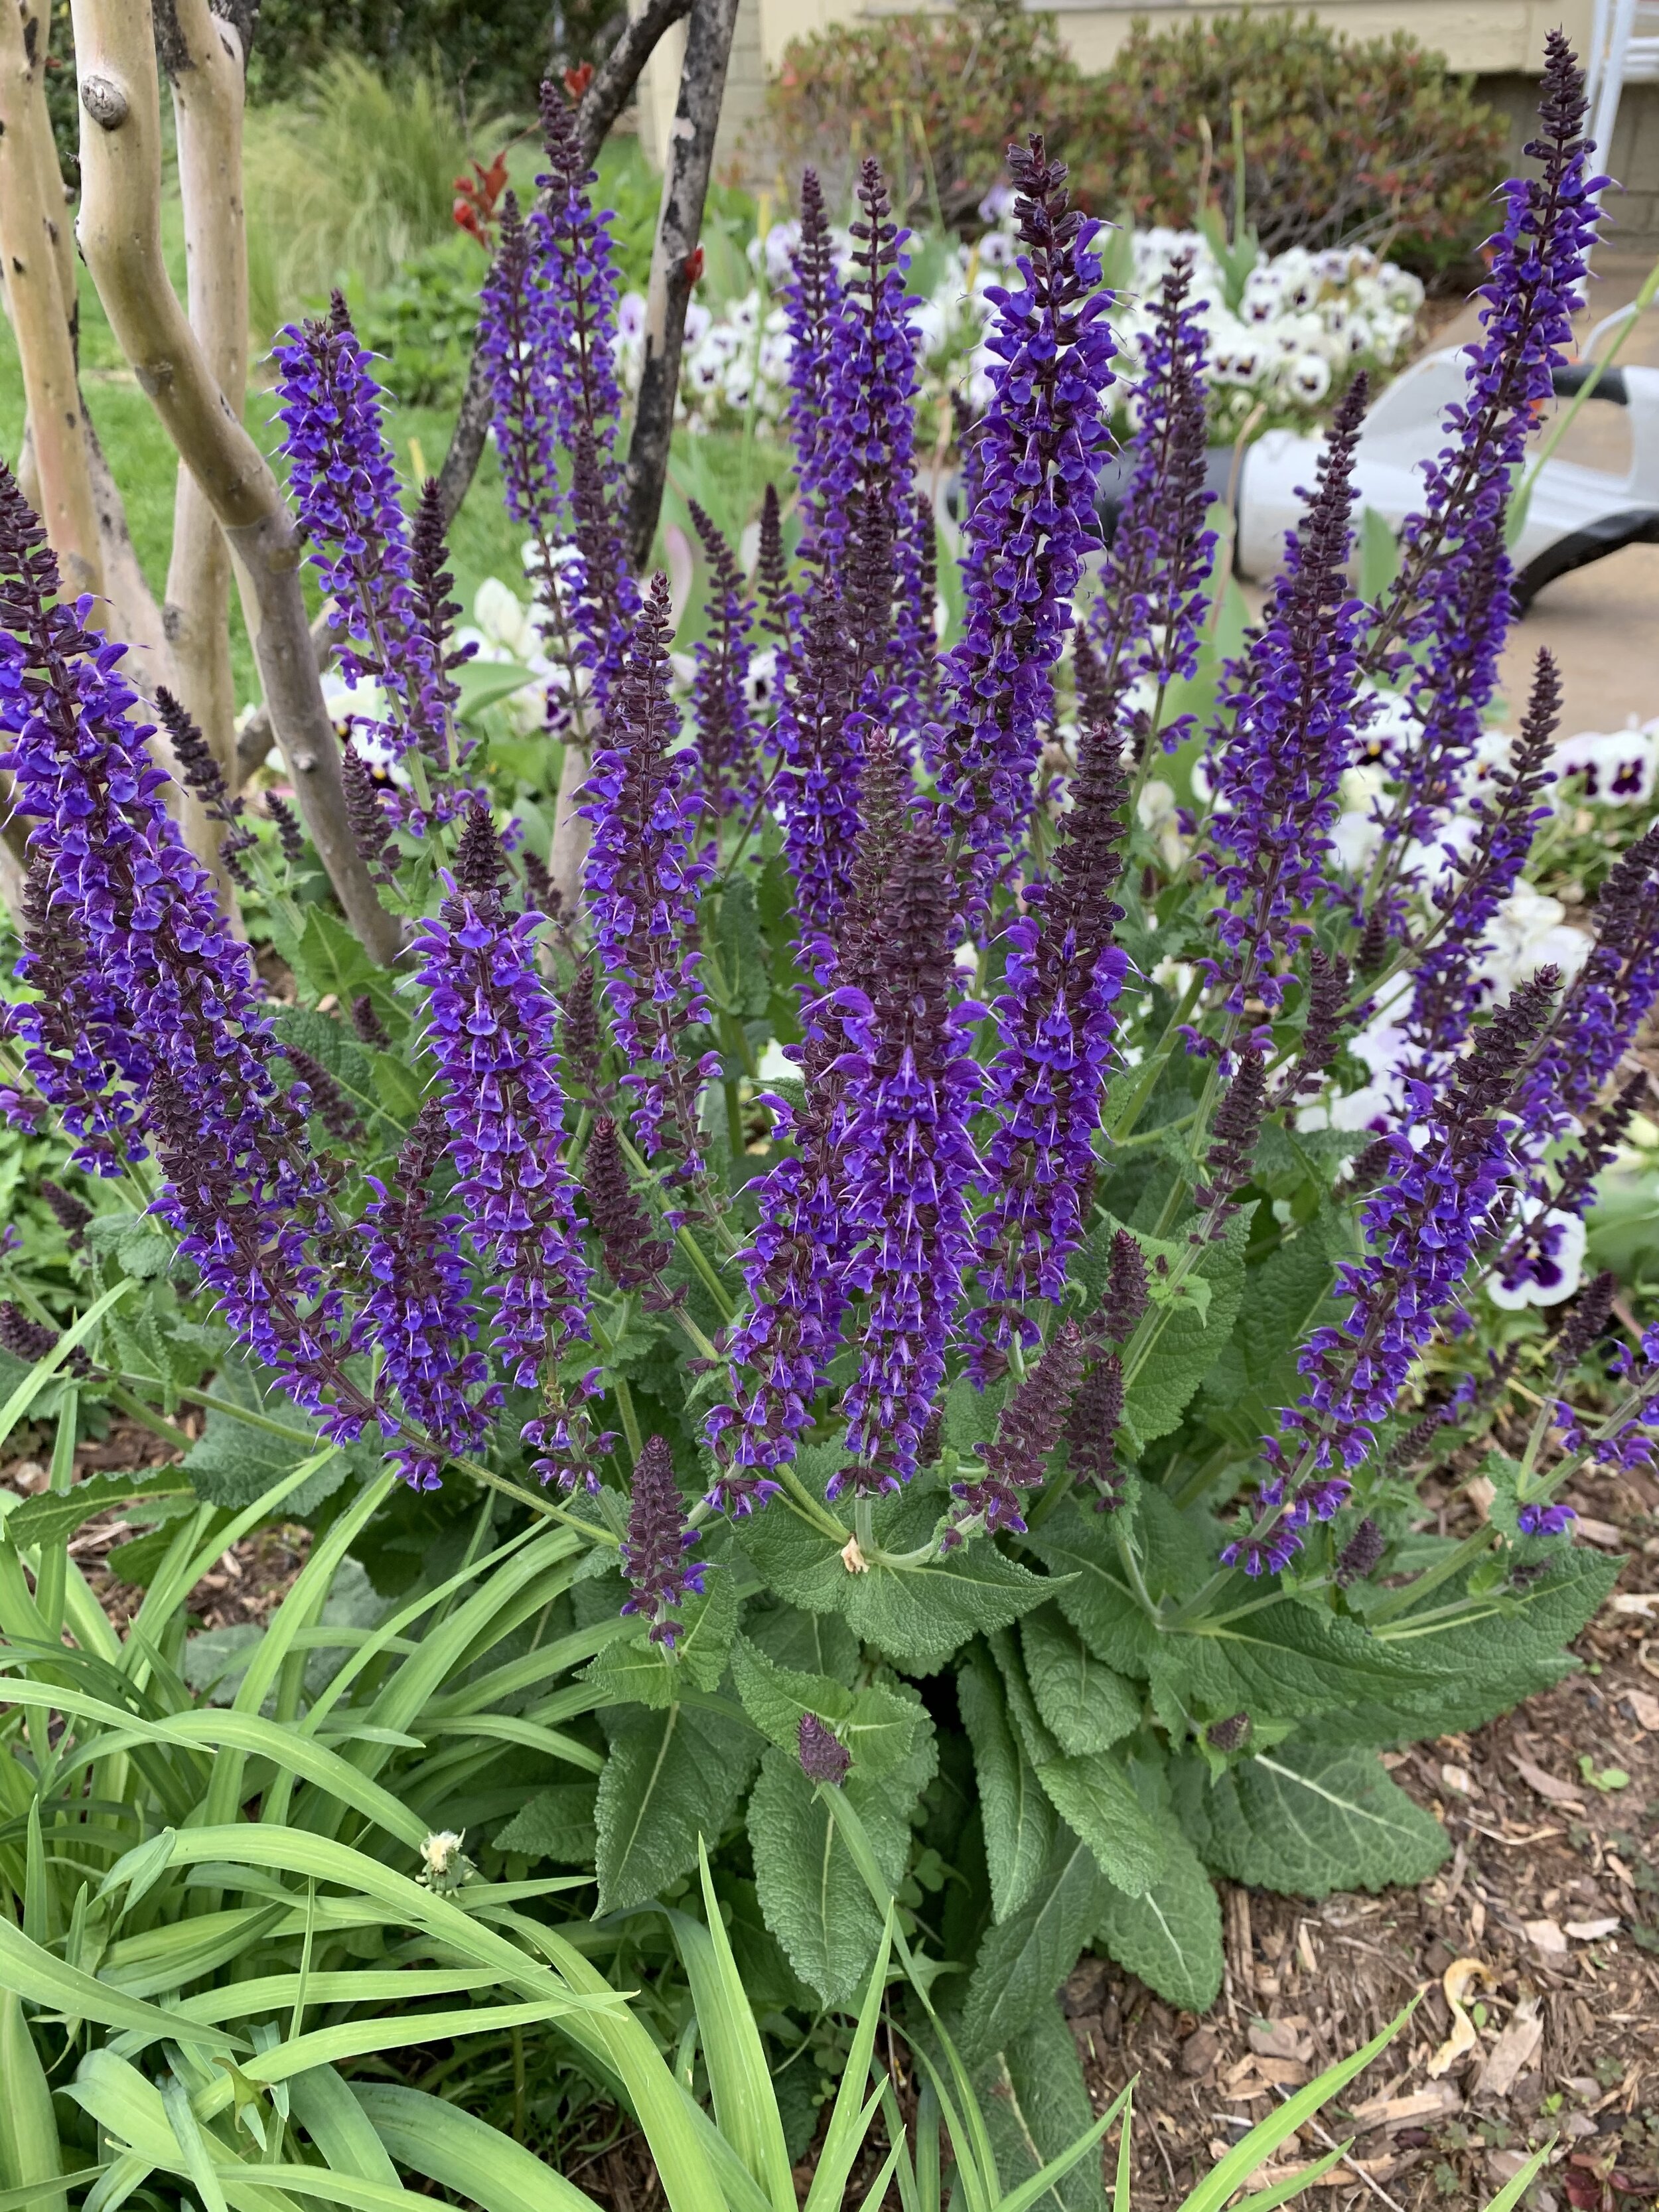
May Night Salvia
Dianthus. It works well as a border, in small groupings, around boulders or as a single plant reaching 10-15” tall with a spread of 12-24”. They bloom in late spring in rose, pink, white, and red. They like full sun but will take some dappled shade or afternoon shade. Just like creeping phlox, they are a cool season lover. They will grow in most soils, prefer alkaline soils, but waterlogged soil will cause crown and root rot. Heavy mulching near the crown of the plant can be detrimental. Late March through April and into May is the peak bloom time. Light feeding in the spring with a complete fertilizer of phosphorus, potassium and low nitrogen is recommended. Other than occasional aphid or powdery mildew issue, they do not have many problems. There are more than 300 varieties of dianthus to choose from. My all-time favorite is ‘Firewitch’. It has a silver-green foliage with a vibrant pink bloom.

Dianthus

Dianthus and May Night Salvia
SHRUBS

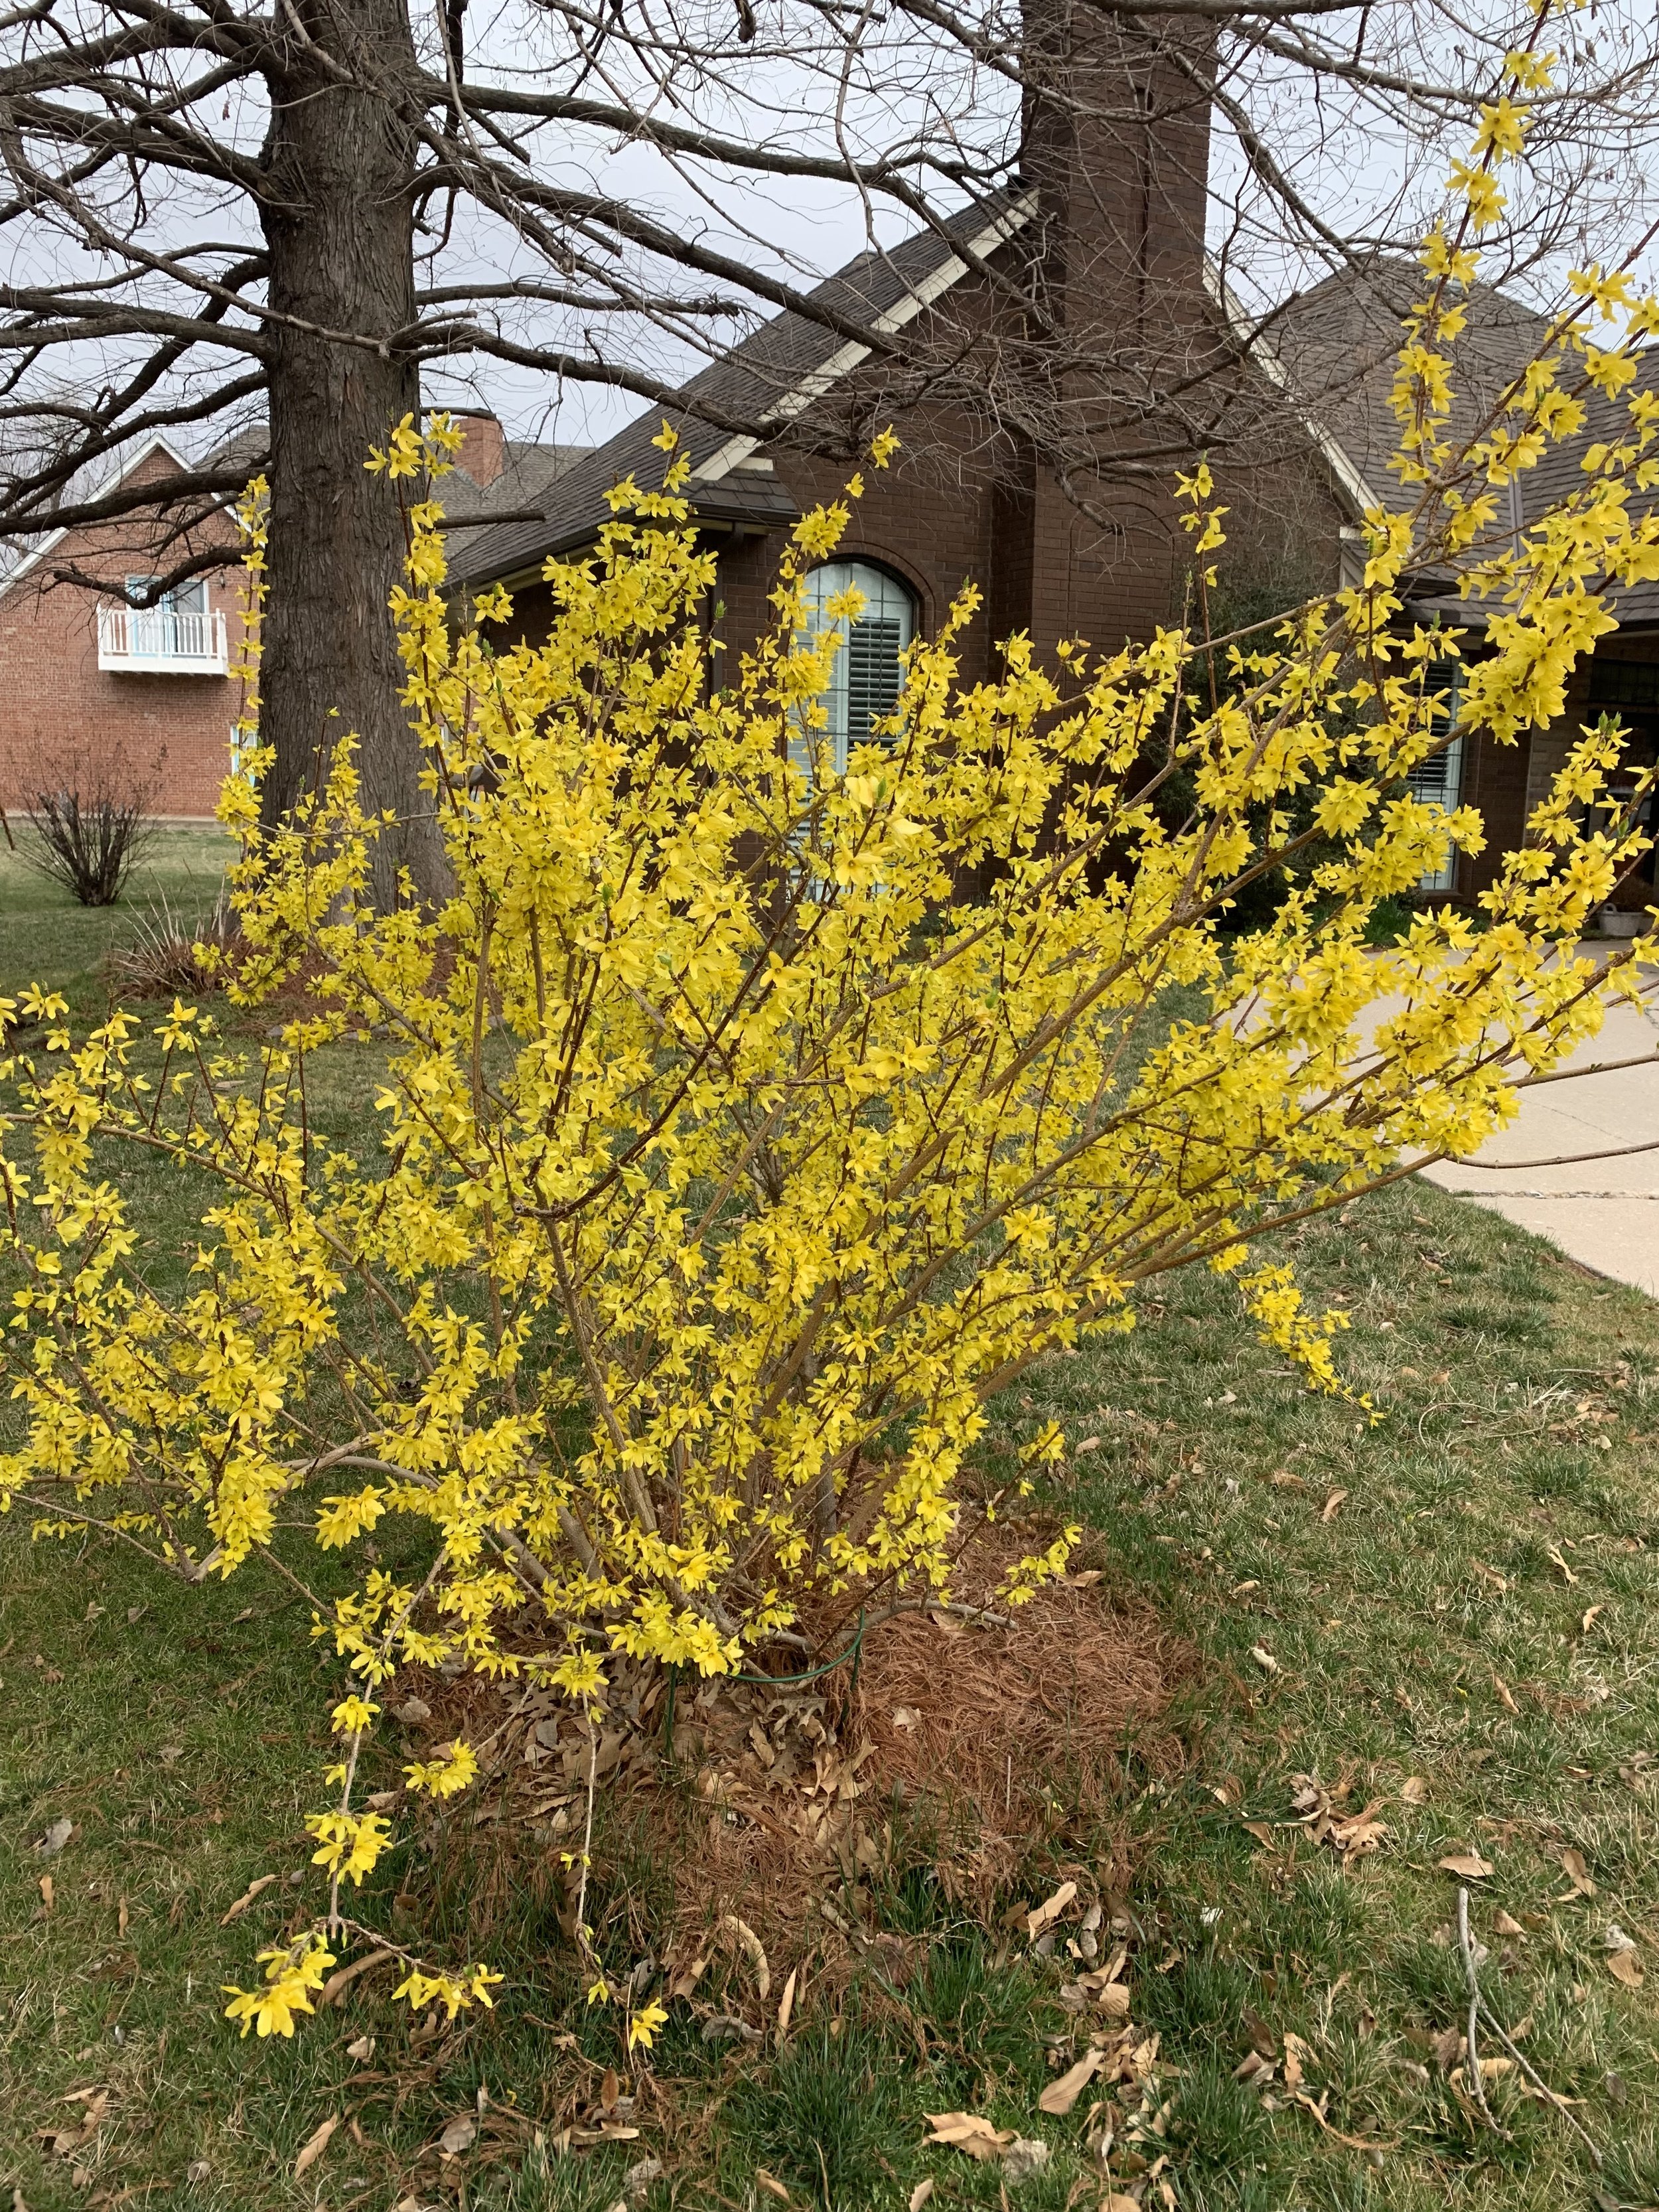
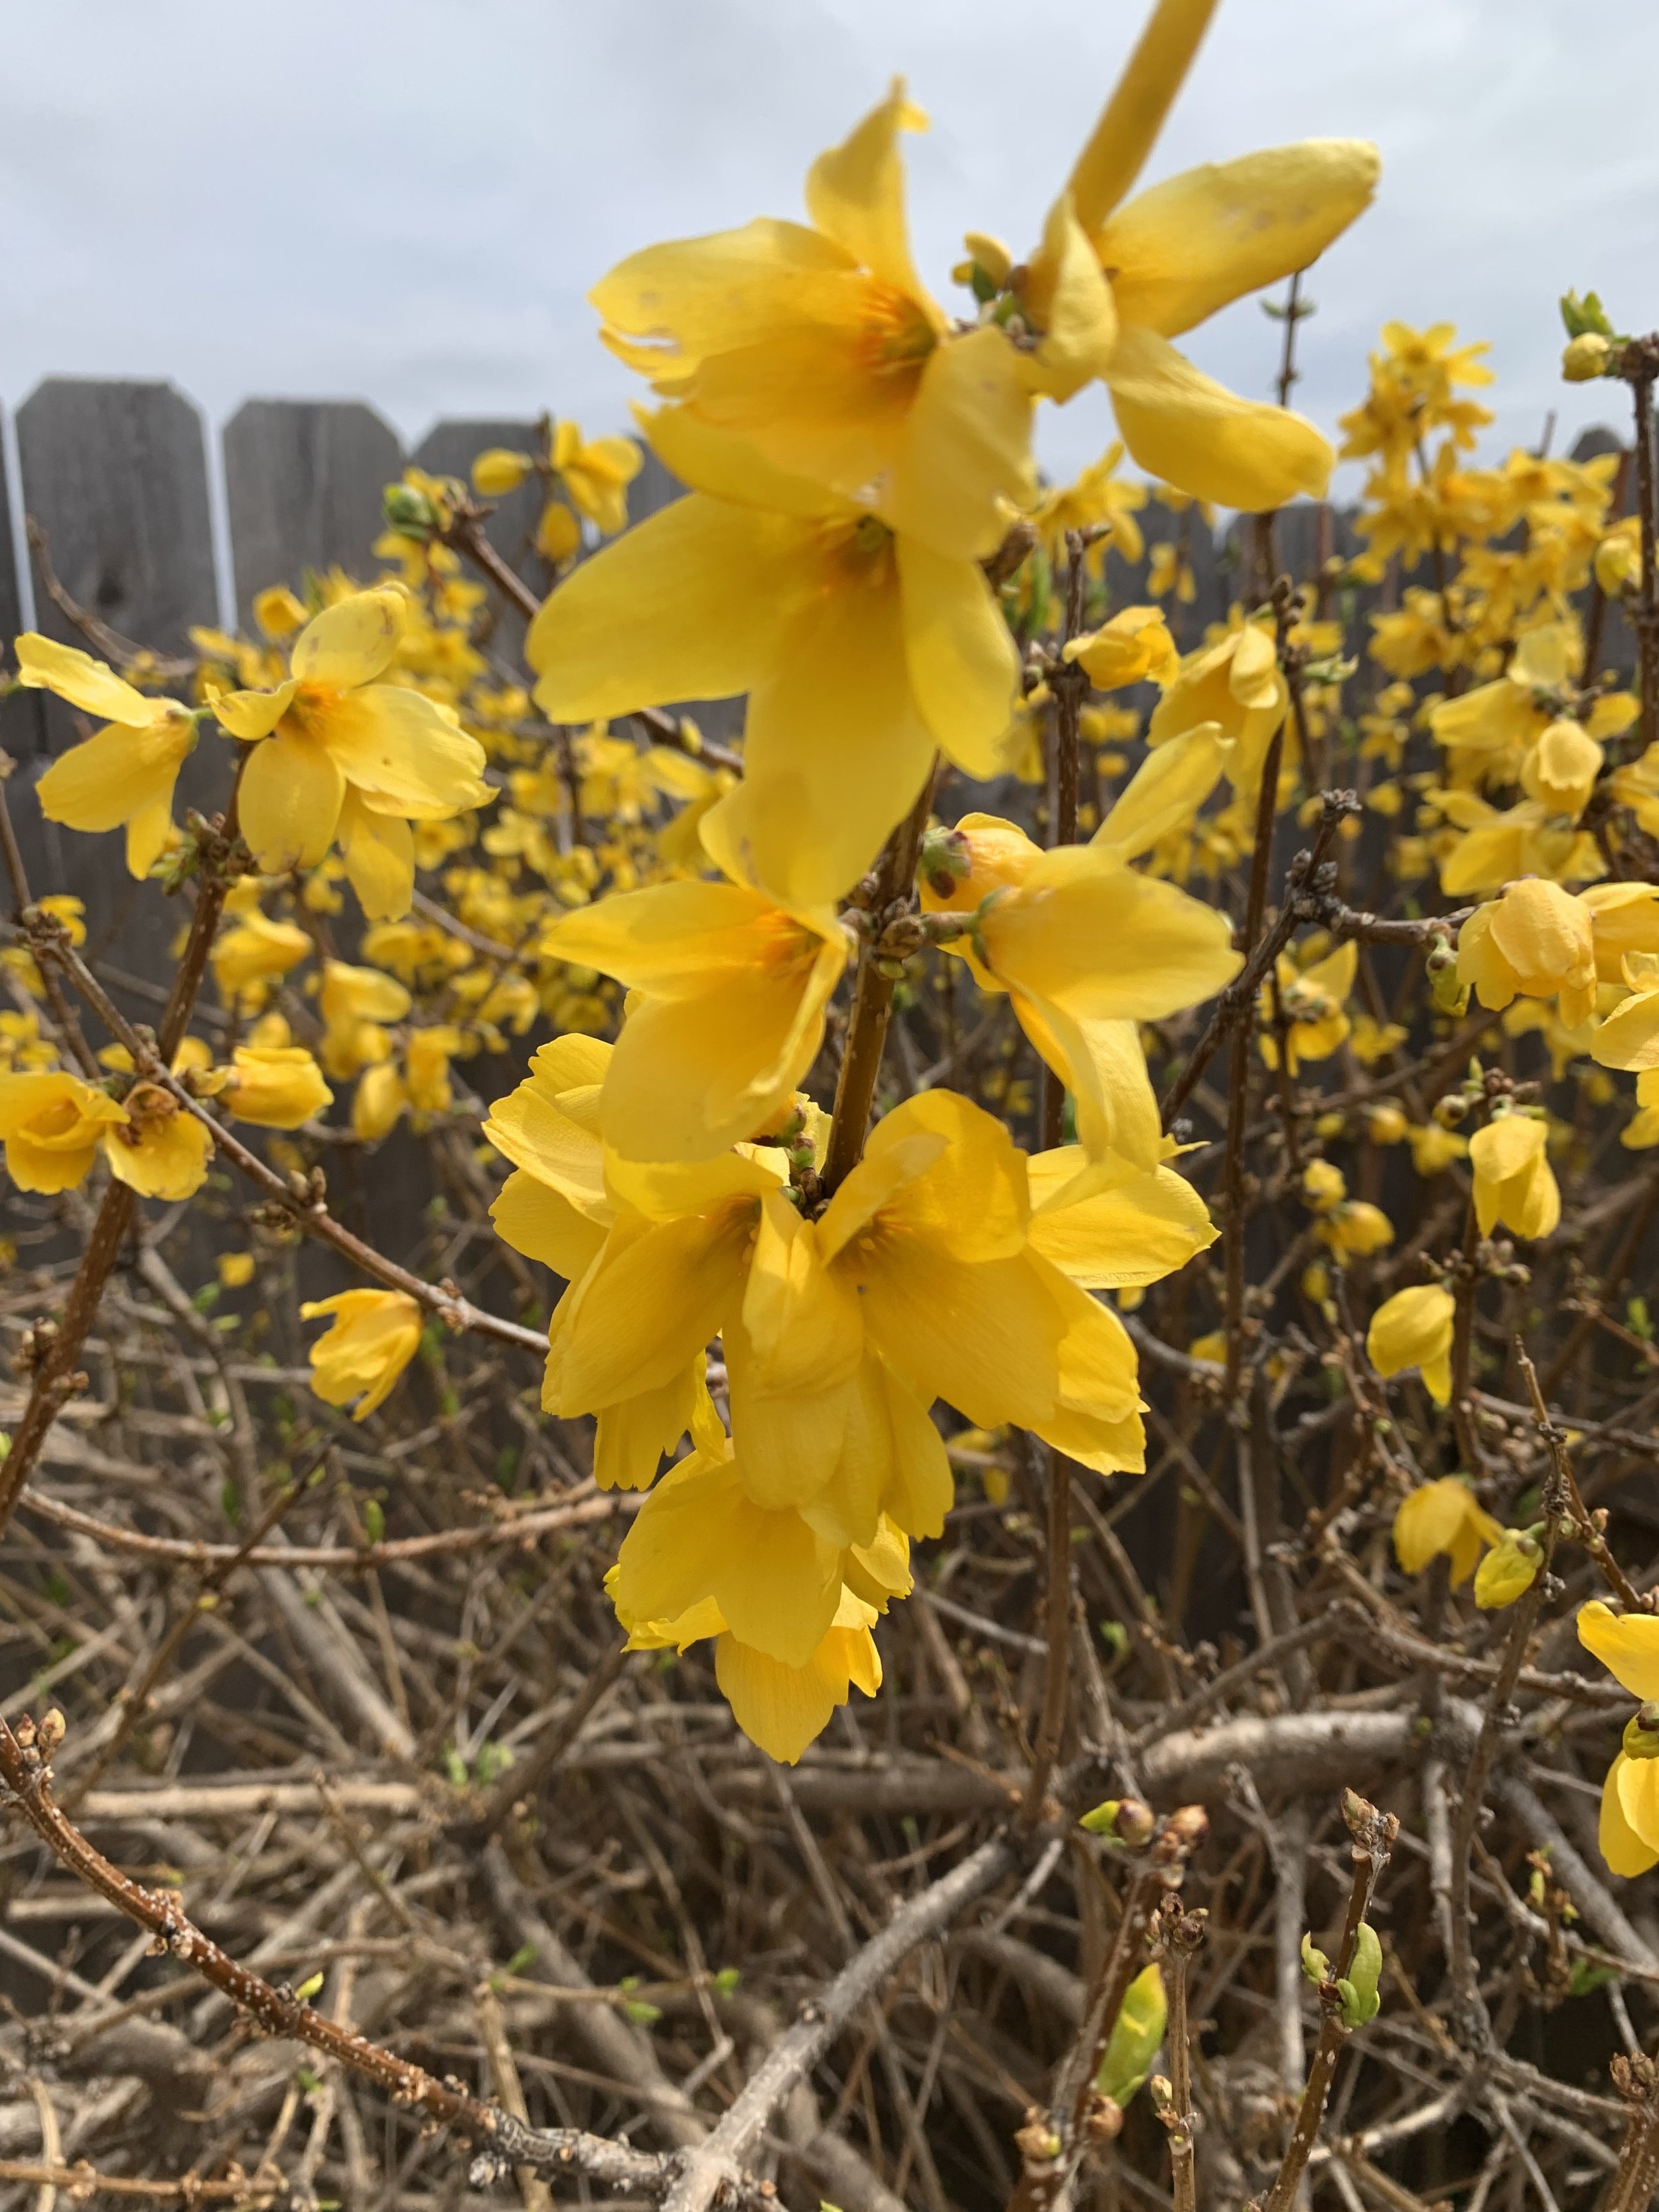
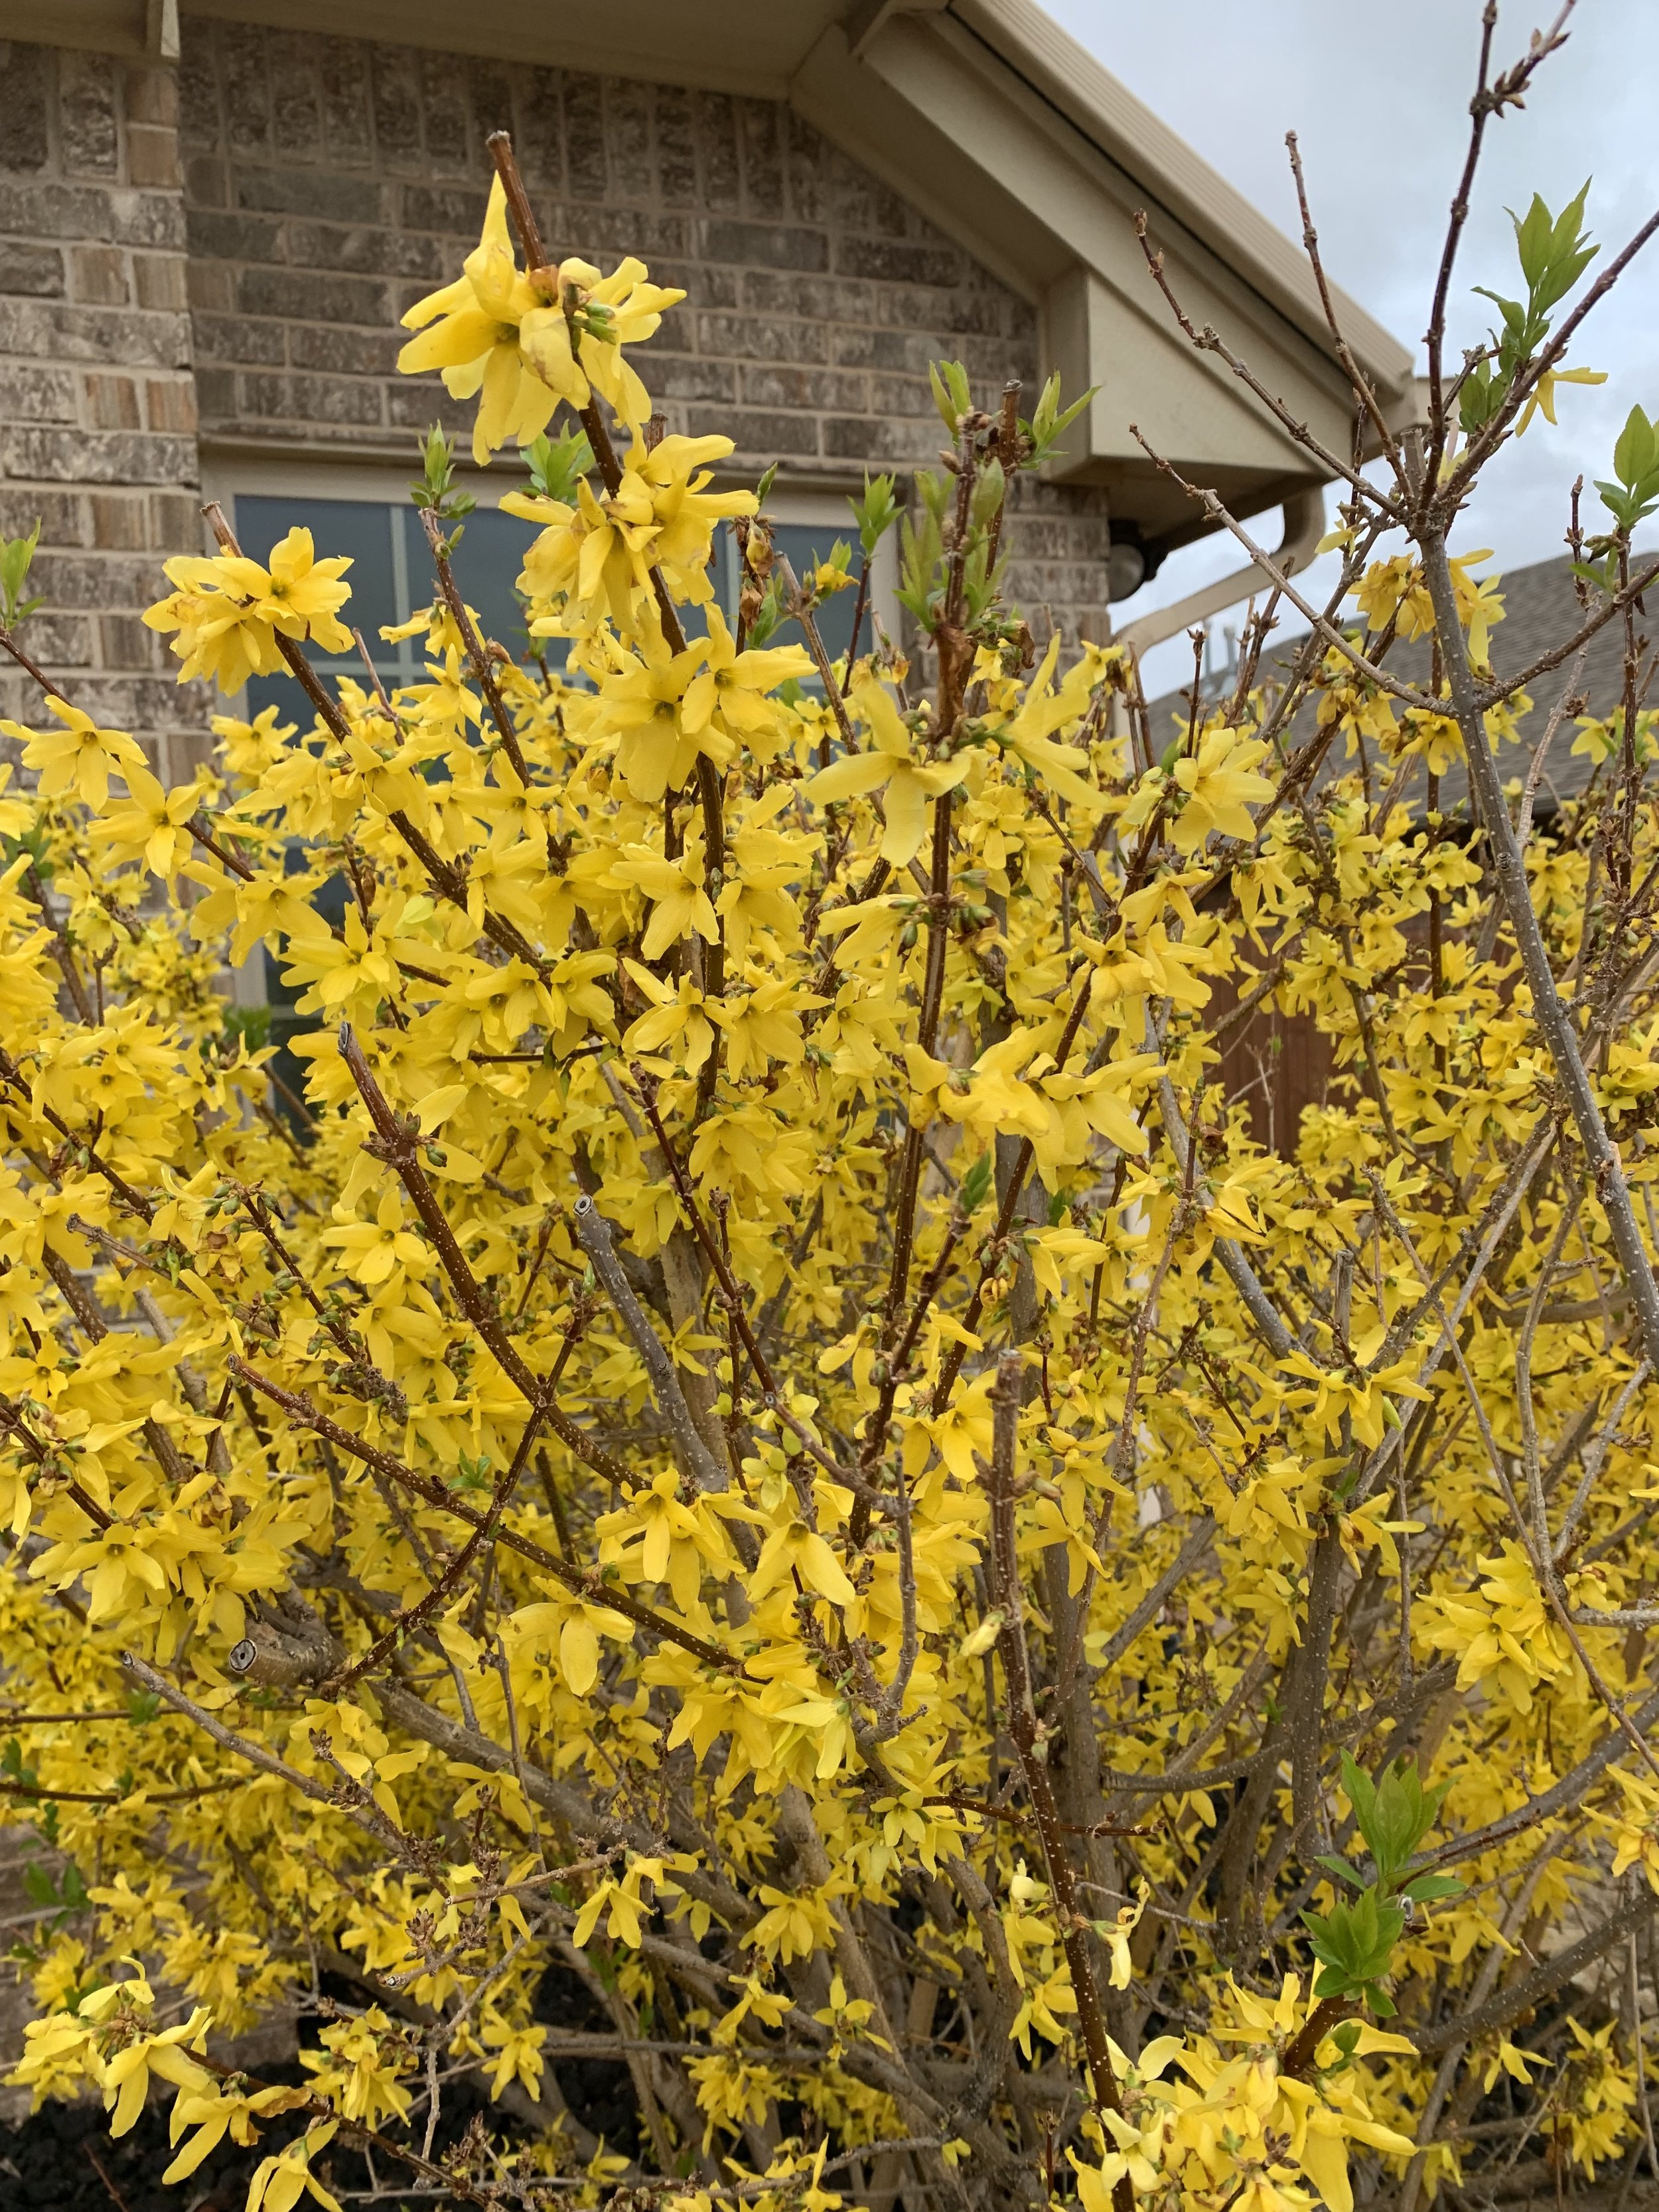
Forsythia.
Forsythia. Best grown as a specimen shrub where it can show off its naturally stunning shape. Forsythia’s brilliant yellow flowers are the first to welcome spring. It performs best planted in full sun and will grow in partial shade, only with less spring blooms. It is considered a fast grower. Forsythia adapts well to most soils but prefers well drained. It rarely has an insect or disease problem. Pruning should only occur after spring blooms fade. If you prune later in the year, you will reduce blooms the following spring. The best way to prune this shrub is to remove older wood all the way to the base of the shrub. Traditional forsythia will grow to 6-8’ with an 8’ spread and are well suited for large lawns. If you have a smaller yard, look for one of the newer varieties, such as Gold Tide (Forsythia ‘Courtasol’), a dwarf variety that only reaches 2’ high and spreads to 4’.
Bridal Wreath Spirea. A medium sized shrub with arching branches covered with an abundance of white cascading flowers in mid spring. It is a very hardy, heirloom shrub, with no specific pest issues that thrives in well drained soils. It attracts hummingbirds and butterflies. To preserve the natural arching shape avoid sheering but if pruning is needed, it is best done in the spring after blooms fade. It looks stunning planted in full sun to partial shade in front of darker structures or large hollies. Spiraea nipponica ‘Snow mound’ is another great variety.


Bridal Wreath Spirea.

Flowering Quince.
Flowering Quince. Another early bloomer known for adding splashes of red to the landscape. It also performs best in full sun and tolerates partial shade but with fewer blossoms. Considered a moderate grower and mid-sized shrub, most varieties reach 4-5’. It does best if planted where it can grow to its natural size and shape. If pruning is required, only prune in the spring after blooms have faded. Flowering Quince is loved by butterflies and hummingbirds. The plant is very drought tolerant once it is established and it will tolerate most soil, but like most plants would enjoy well drained areas. Another variety, Chaenomeles speciosa Double Take Series, has blooms that resemble camellias.
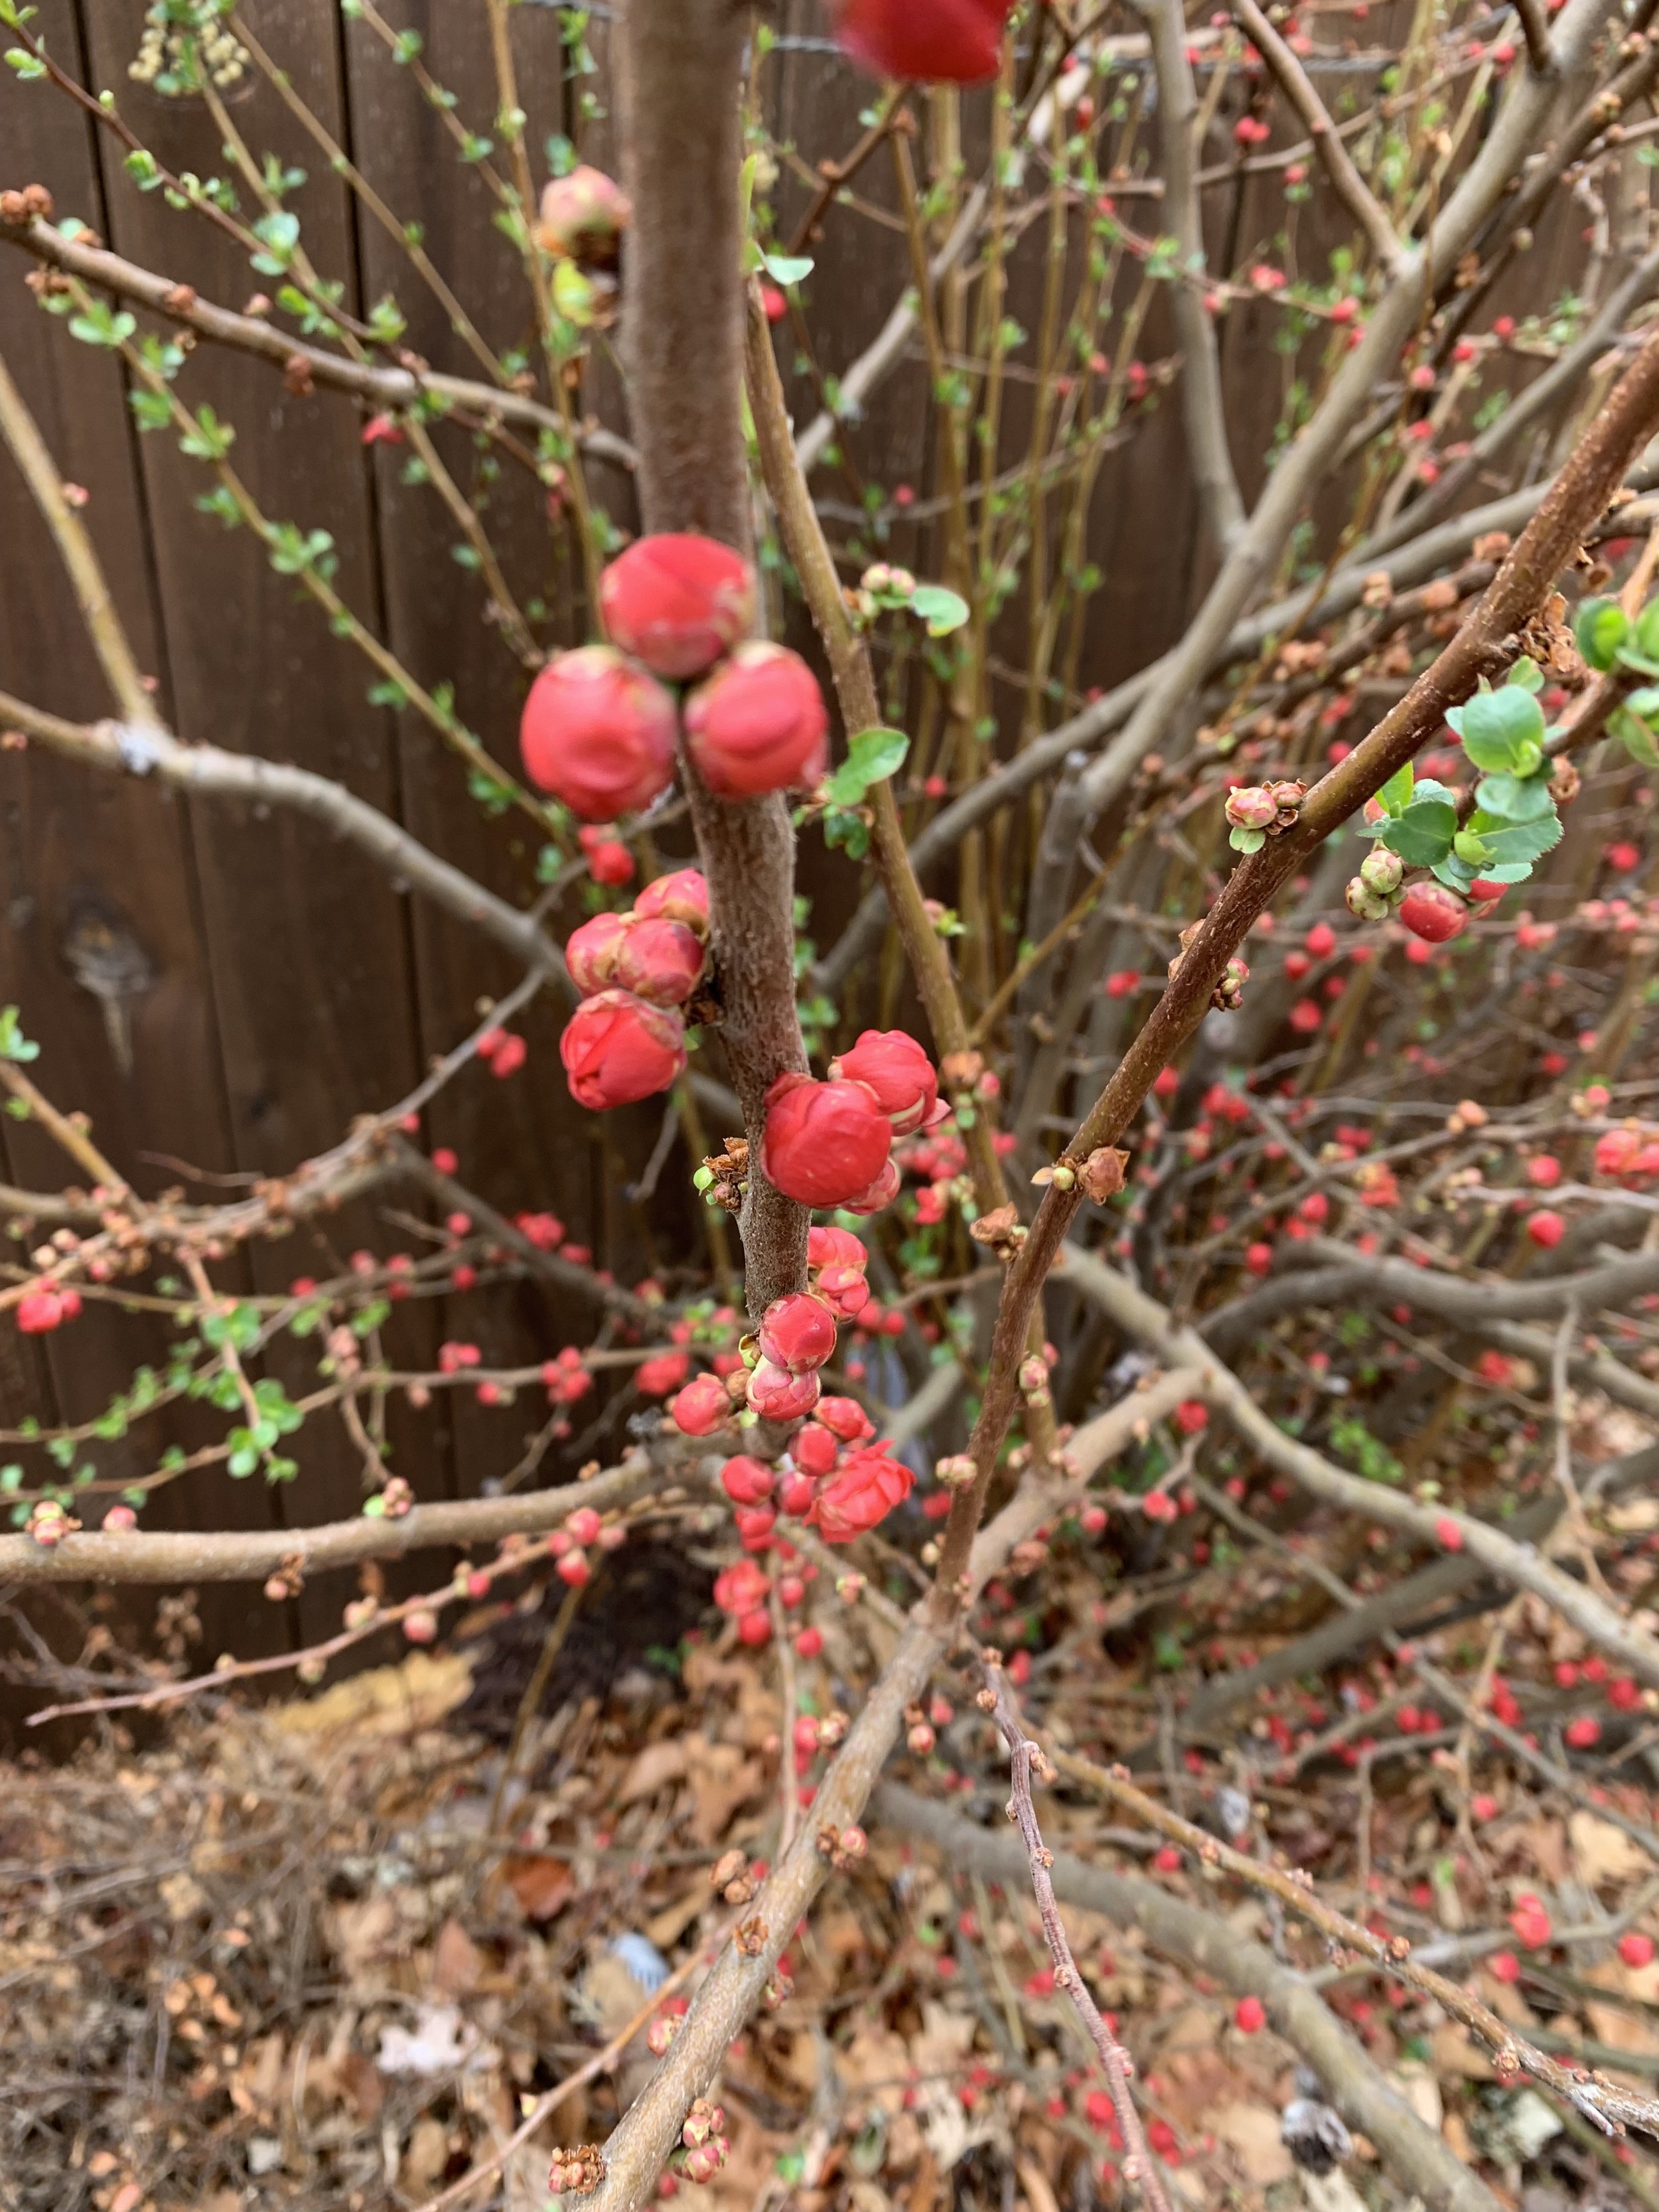
Flowering Quince buds are staring to pop.

Snowball Bush is another great spring show piece that is just starting to add interest to the landscape.
Snowball Viburnum. There are many varieties of viburnum, but the old fashion Snowball Viburnum with its masses of large, pure white, snowball sized blooms is still my favorite. Blooming from mid spring to early summer, if it wasn’t for the time of the year, it could easily be mistaken for a Limelight Hydrangea. A large shrub that can reach 10’ high and 10’ wide. Easy to care for. Tolerant of most soils but prefers well drained soils. Plant in full sun to partial shade. Oh, and it is perfect for cut flower arrangements.

Snowball Viburnum

Azaleas. There are too many varieties and nauseas to summaries in a single paragraph. But, right now, it is hard not to fall in love with azaleas. They are undeniably the most dynamic spring color plant for shady locations. And yes, you can grow them successfully in central Oklahoma, but they are not a no care, low maintenance plant. We often dedicate an entire article to growing azaleas in central Oklahoma this time of year. To learn more about azaleas, spend a few minutes reading our post from last April: https://www.hallstewart.com/hsblog/growing-azaleas-in-central-oklahoma


Shrubs such as Double Play Candy Corn Spirea add interest to the spring landscape as their new foliage emerges.
TREES

Oklahoma Redbud.
Redbud. My all-time favorite “Welcome to Spring” plant. (You can on us dedicating an entire article to Redbuds every spring.) Reddish purple blooms appear on branches before leaves appear. The ‘Oklahoma’ variety was discovered in the Arbuckle Mountains and known for its glossy, heart-shaped, green leaves in the summer. It grows to 15’-20’. Preferring full sun but does well as an understory tree in dabbled shade. For more Redbud love, visit our article from March: https://www.hallstewart.com/hsblog/the-redbud-oklahomas-state-tree

Redbud.

Oklahoma Redbud

Oklahoma Redbud
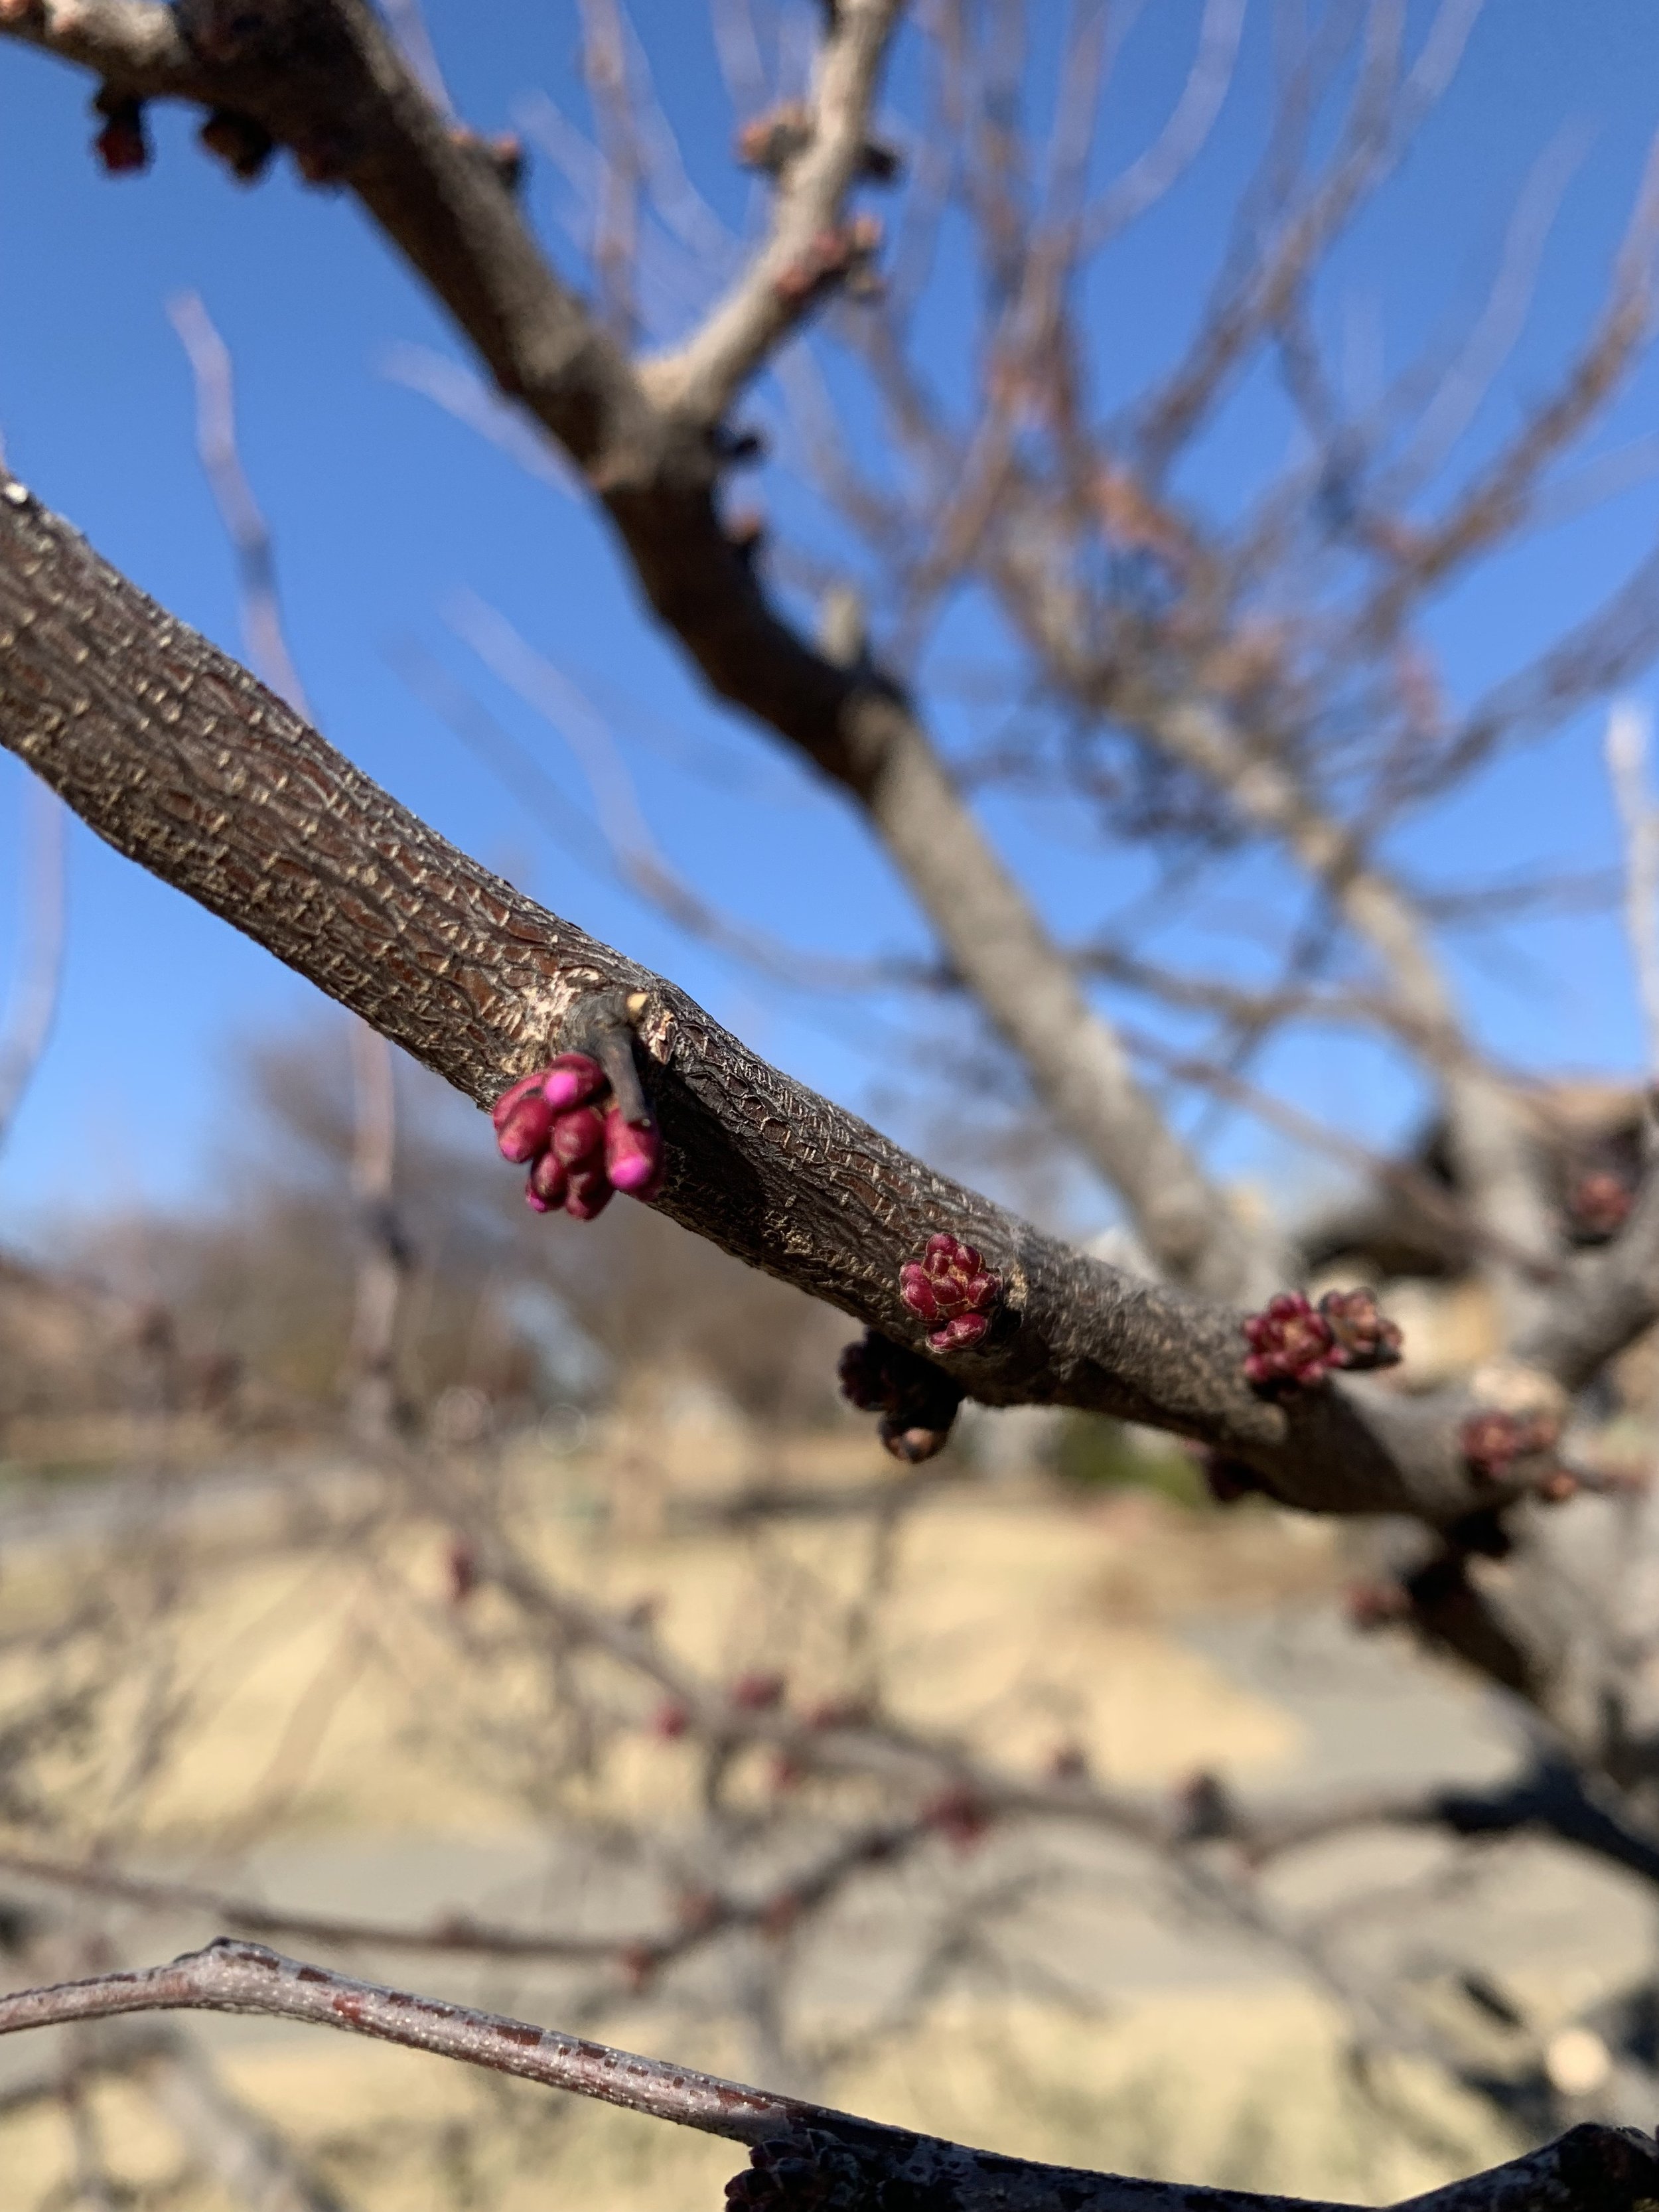
Redbud buds are swelling up!

Crabapple.
Crabapple. There are many varieties of crabapples, but ‘Prairifire’ is one of the best. It was the Oklahoma Proven tree of the year in 2007. It is disease resistant and not fazed by most of the problems with crabapples. Flowers of rose-pink cover the tree as soon as leaves emerge. Young leaves go from purple-red to dark green as they mature. Branches have red fruit in the winter. Mature, 20-25’, trees have a rounded top. Plant in full sun as a specimen tree or in a grouping. Water extra during periods of extreme heat or drought.

Saucer Magnolia.
Saucer Magnolia. A specimen type tree that reaches 15-20’. Large blooms put on a spectacular show on multi-trunk spreading branches. Blooms range from white to pink to purple. Best if planted in full sun. Plant away from radiant west or south heat where warm spring days may cause buds to develop too early only to be killed by a late freeze. They require regular deep watering in the summer months when leaves become tattered looking. It is best if their roots are protected with a layer of mulch to conserve water in the summer.

Red Baron Peach

Bonfire Patio Peach
Bonfire Patio Peach. With a mature height of 5-6’, its profuse early spring eye-level pink blooms are a real head turner. The dark red to burgundy summer foliage keeps the interest going all season long. The small tree performs best if it receives at least 6 hours of full sunlight per day.
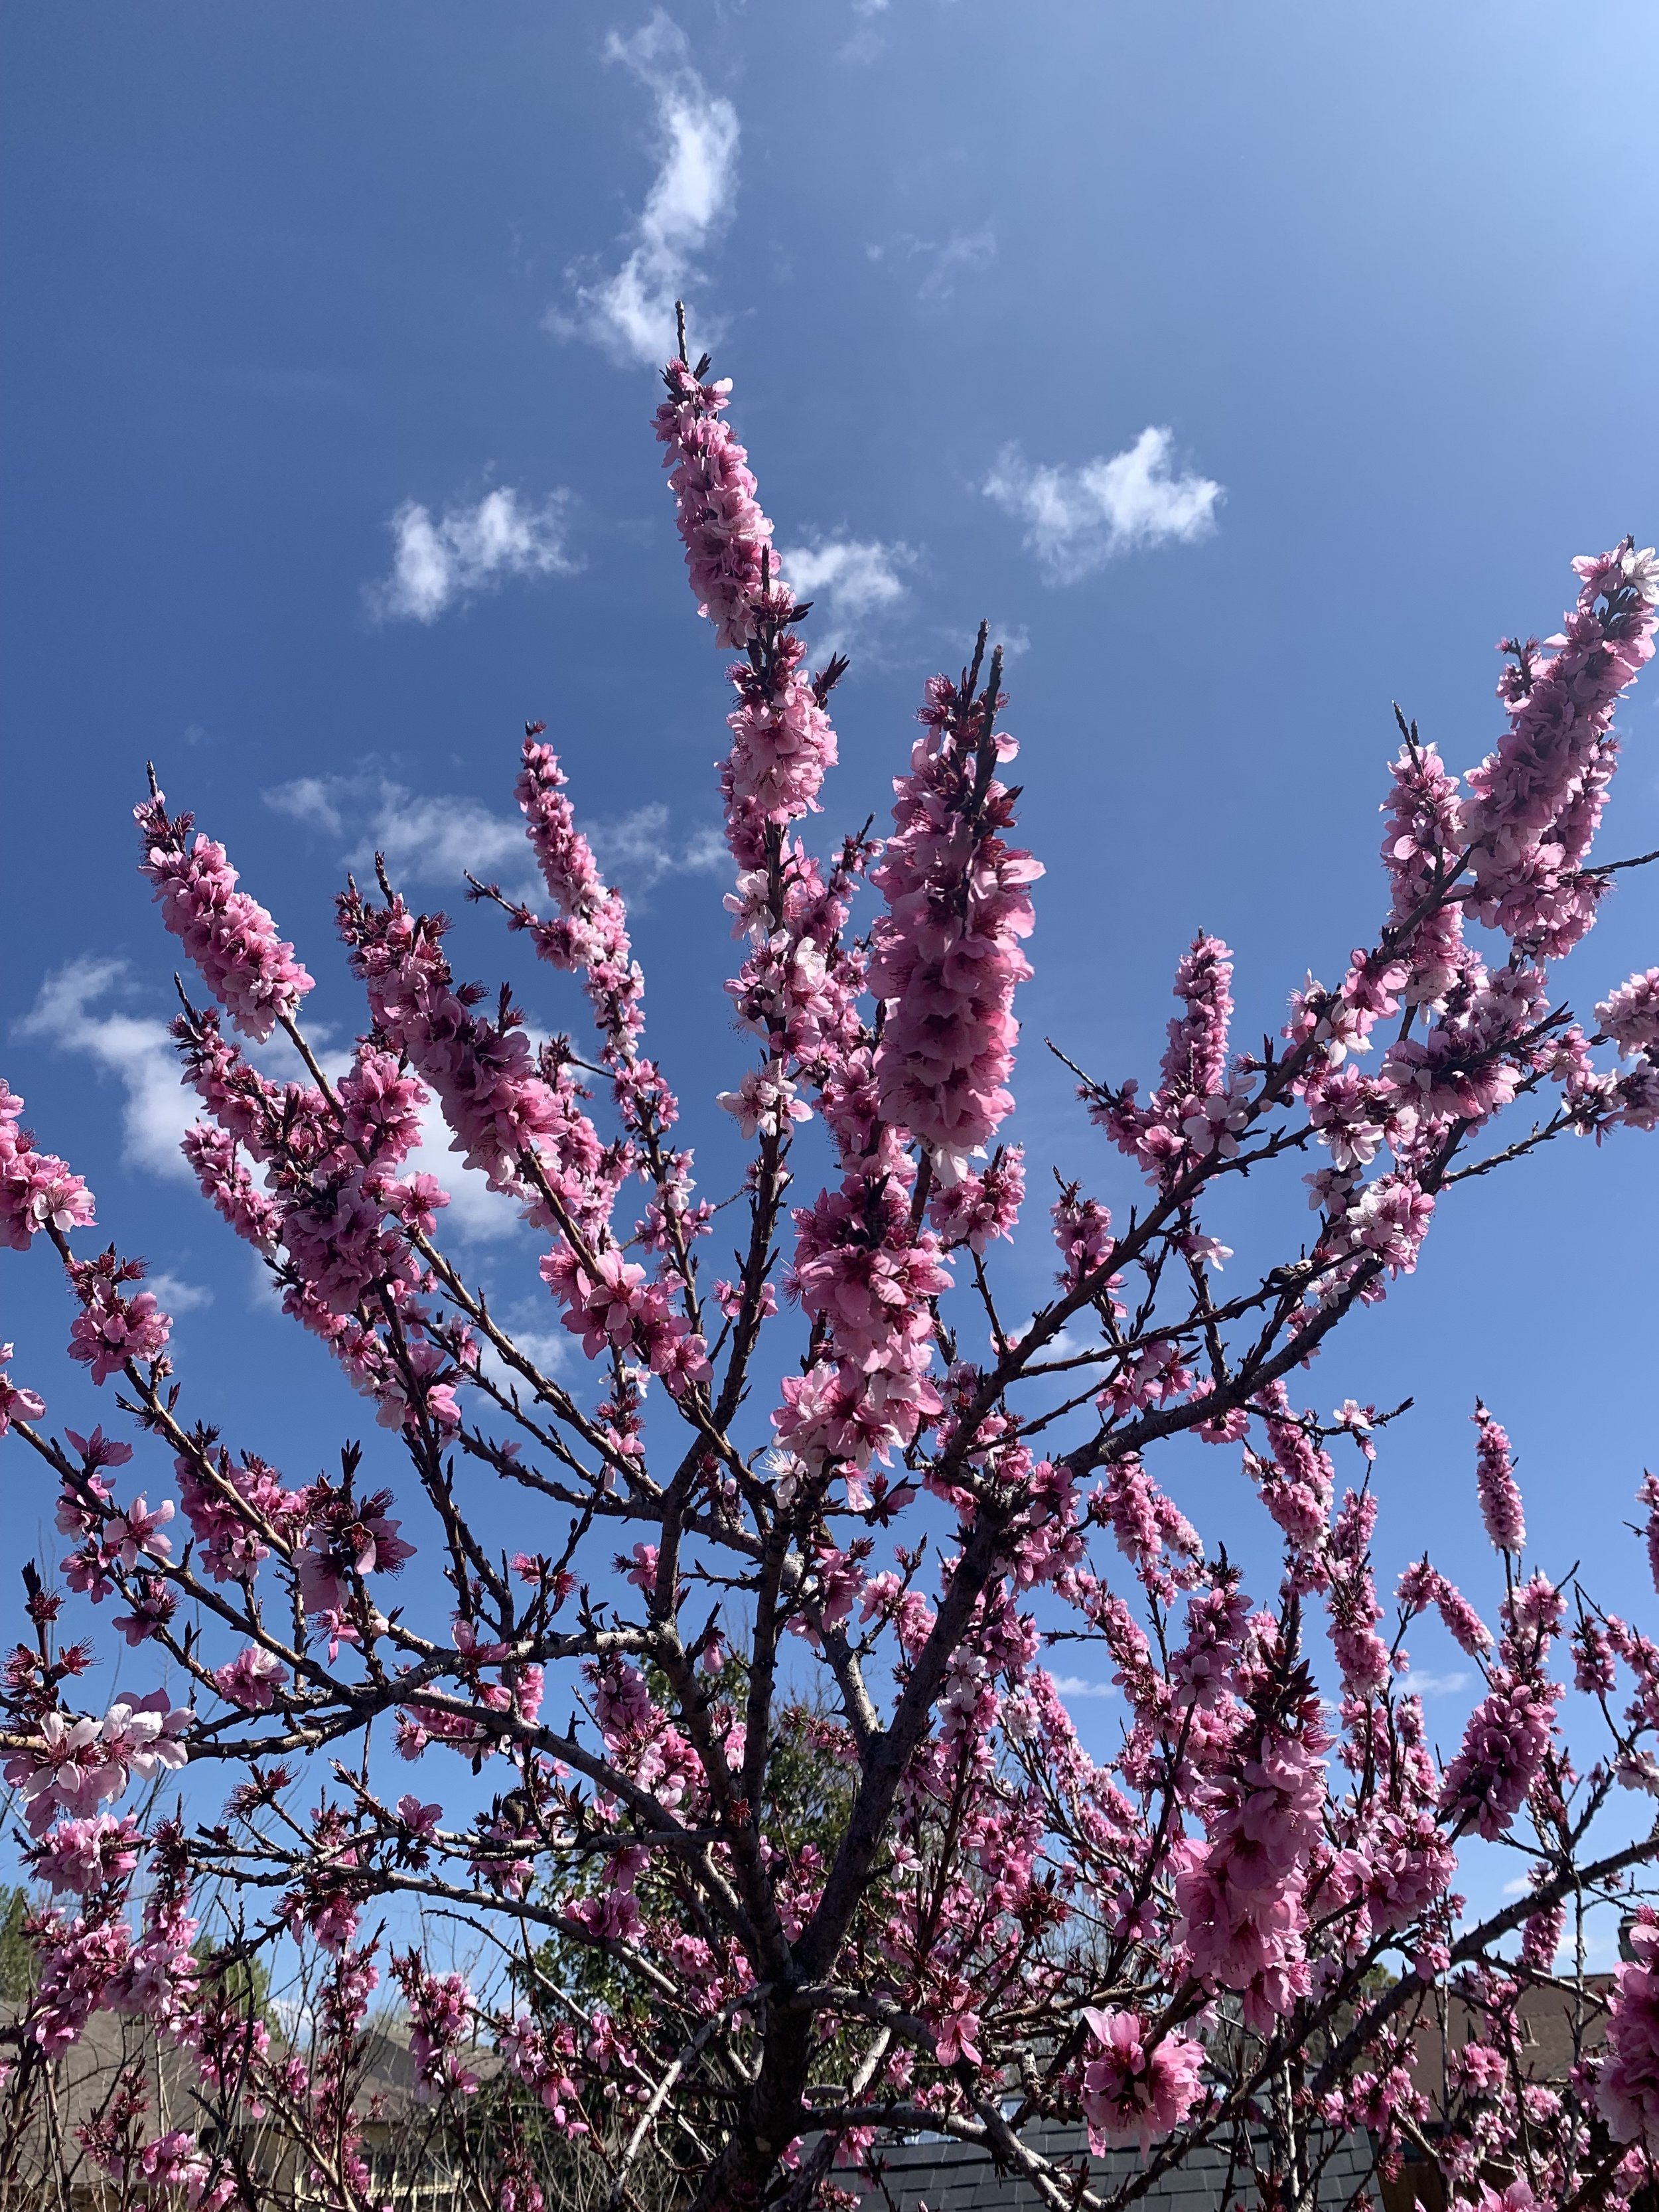
Ornamental Peach Trees add shades of pink to the March landscape.
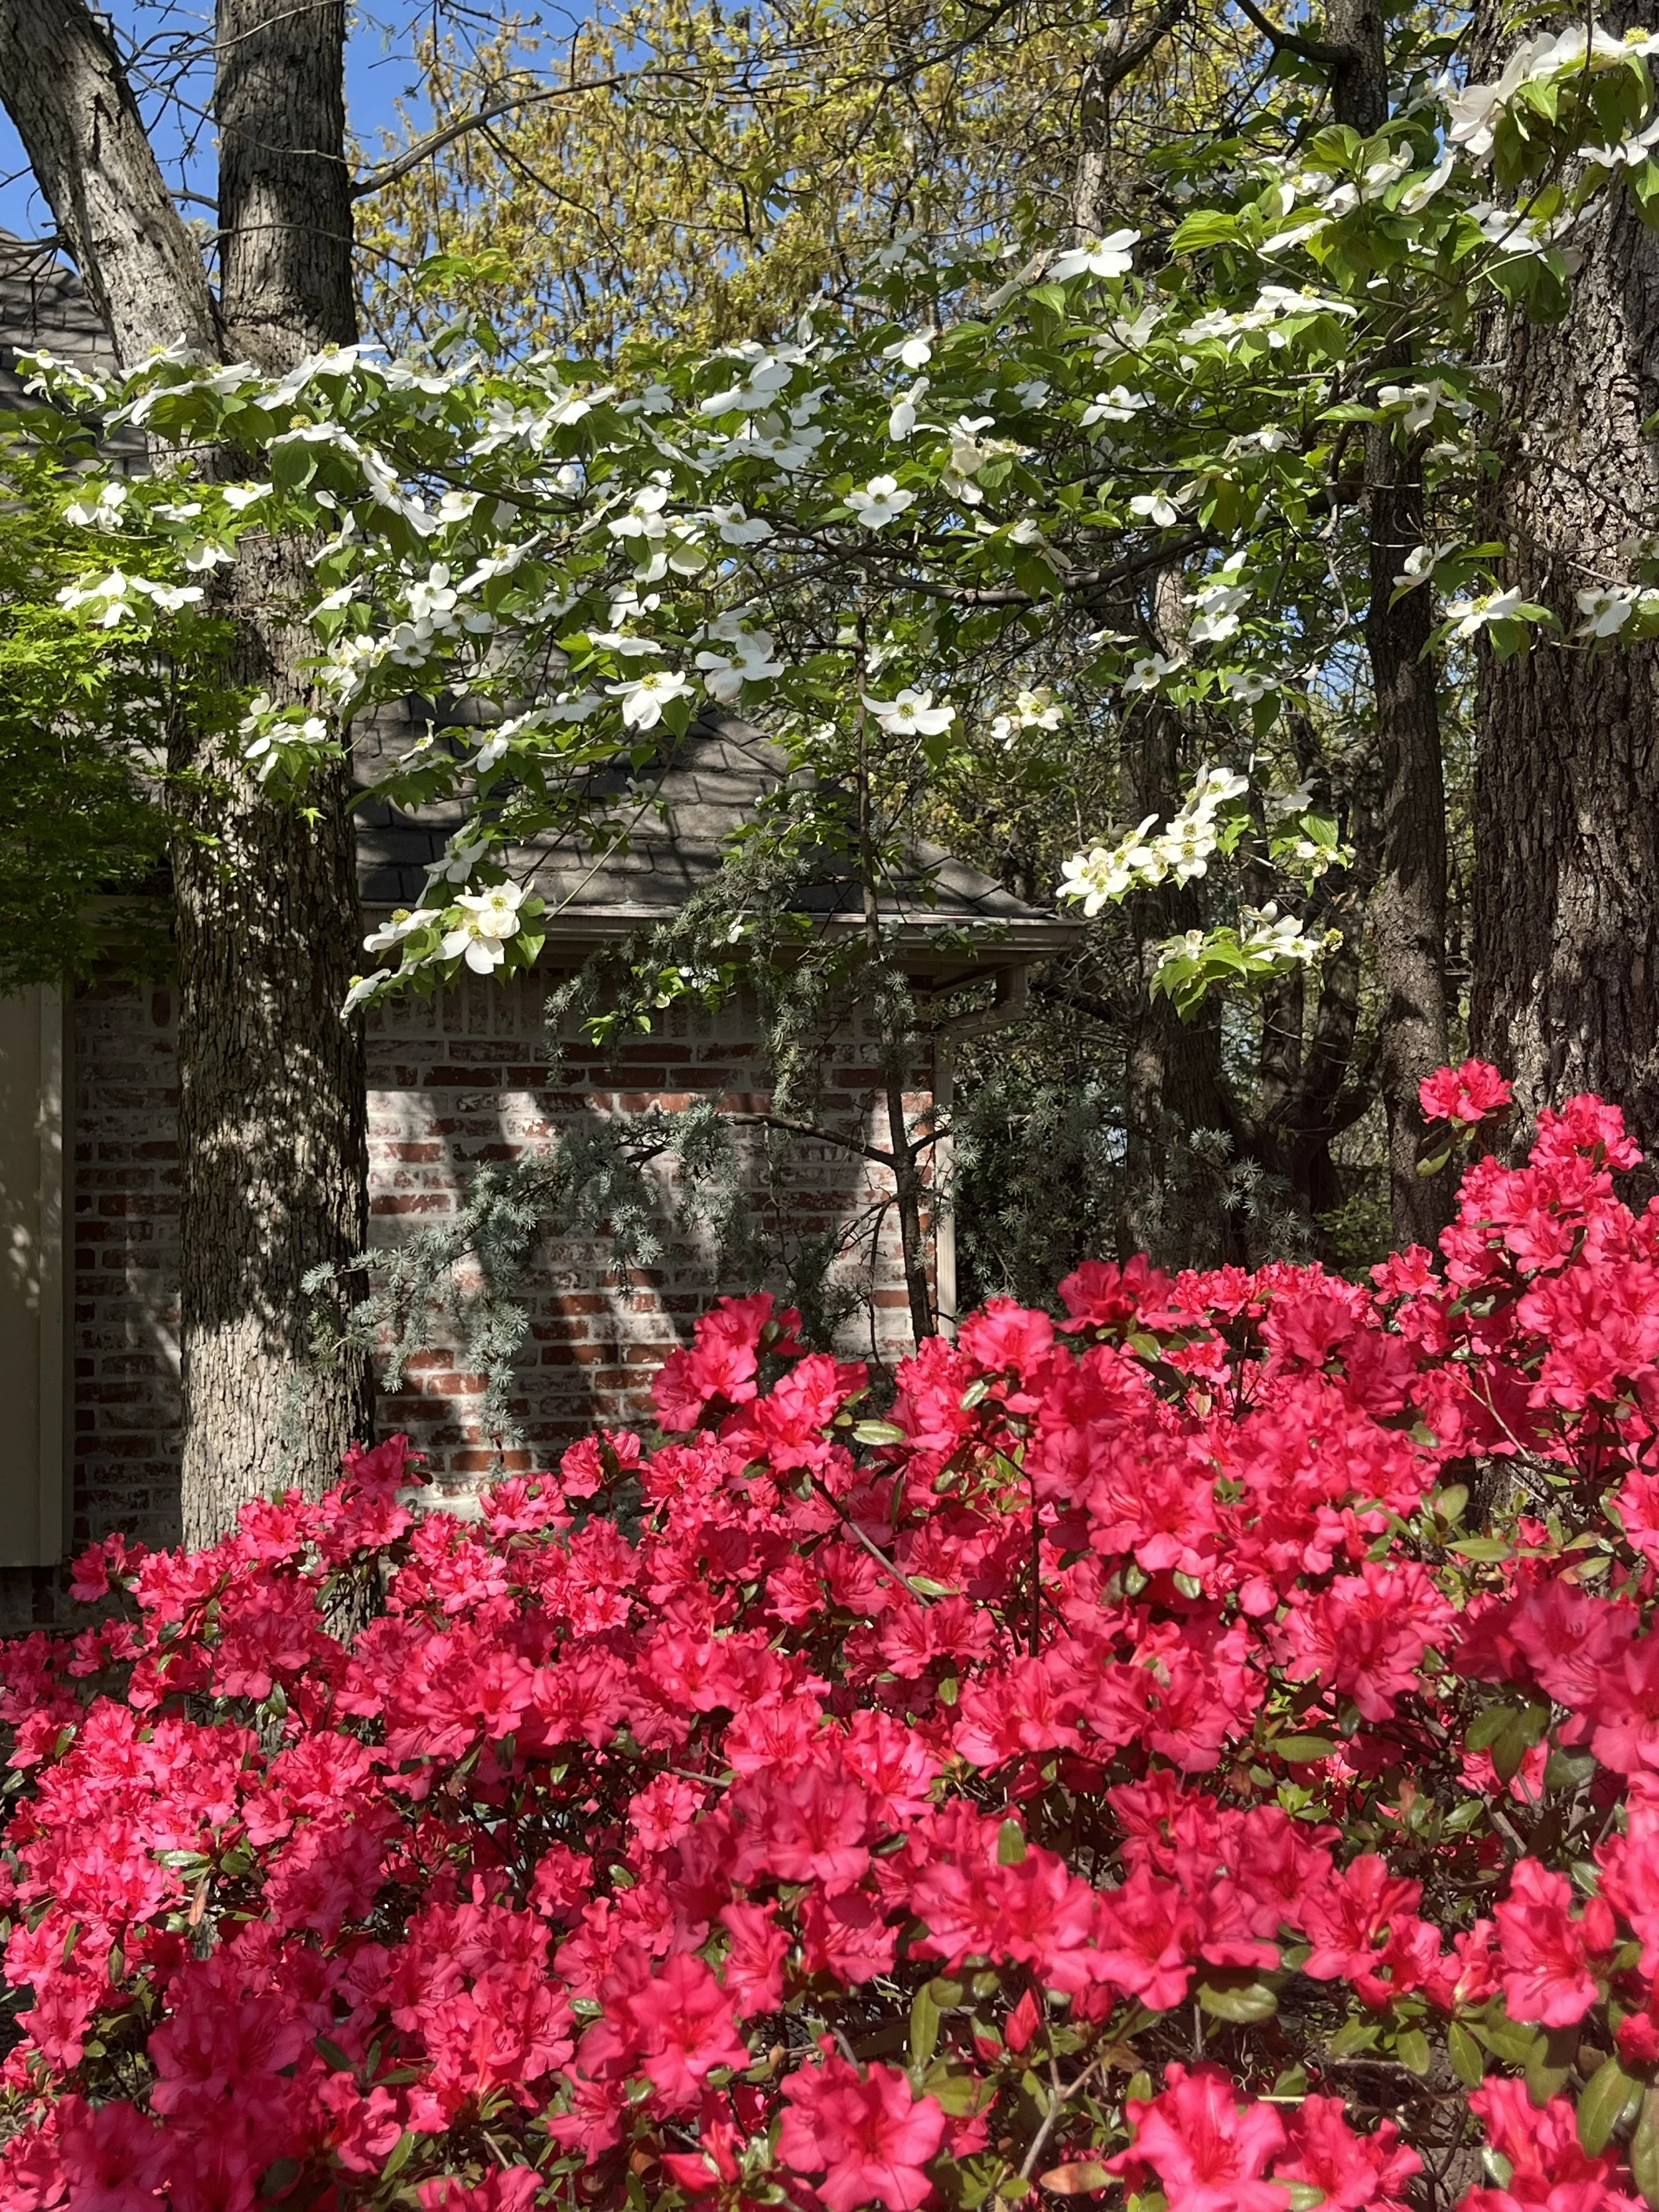
White Dogwood with Azaleas create a stunning color display in the spring in shady landscapes.
Dogwood. Great understory, slow growing, small to medium sized tree (15-20’) that is loaded with a four petaled flower in the spring. They grow well in shade to partial shade where they brighten the spring landscape with splashes of white, pink or red. Dogwoods need acidic, moist, well-drained soil, similar to azaleas.

A great understory tree, the Dogwood, adds color to shady landscapes in the spring.

The bright red spring leaves of Japanese Maples are sure to catch your attention.
Japanese Maples. Not a blooming tree, but with the bright color of their new spring leaves, it is easy to include them in a list of spring blooming trees. With so many shapes, sizes, and colors, there has to be a variety for nearly every landscape. Japanese Maples have been referred to as the “aristocratic” of the landscape. Several times we have dedicated an entire article just to the Japanese Maple. Click this link to learn more about them: https://www.hallstewart.com/hsblog/2020/4/19/japanese-maples-the-aristocrat-of-the-landscape

Japanese Blood Good Maple

Lace Leaf Weeping Japanese Maple
Spring Bulbs


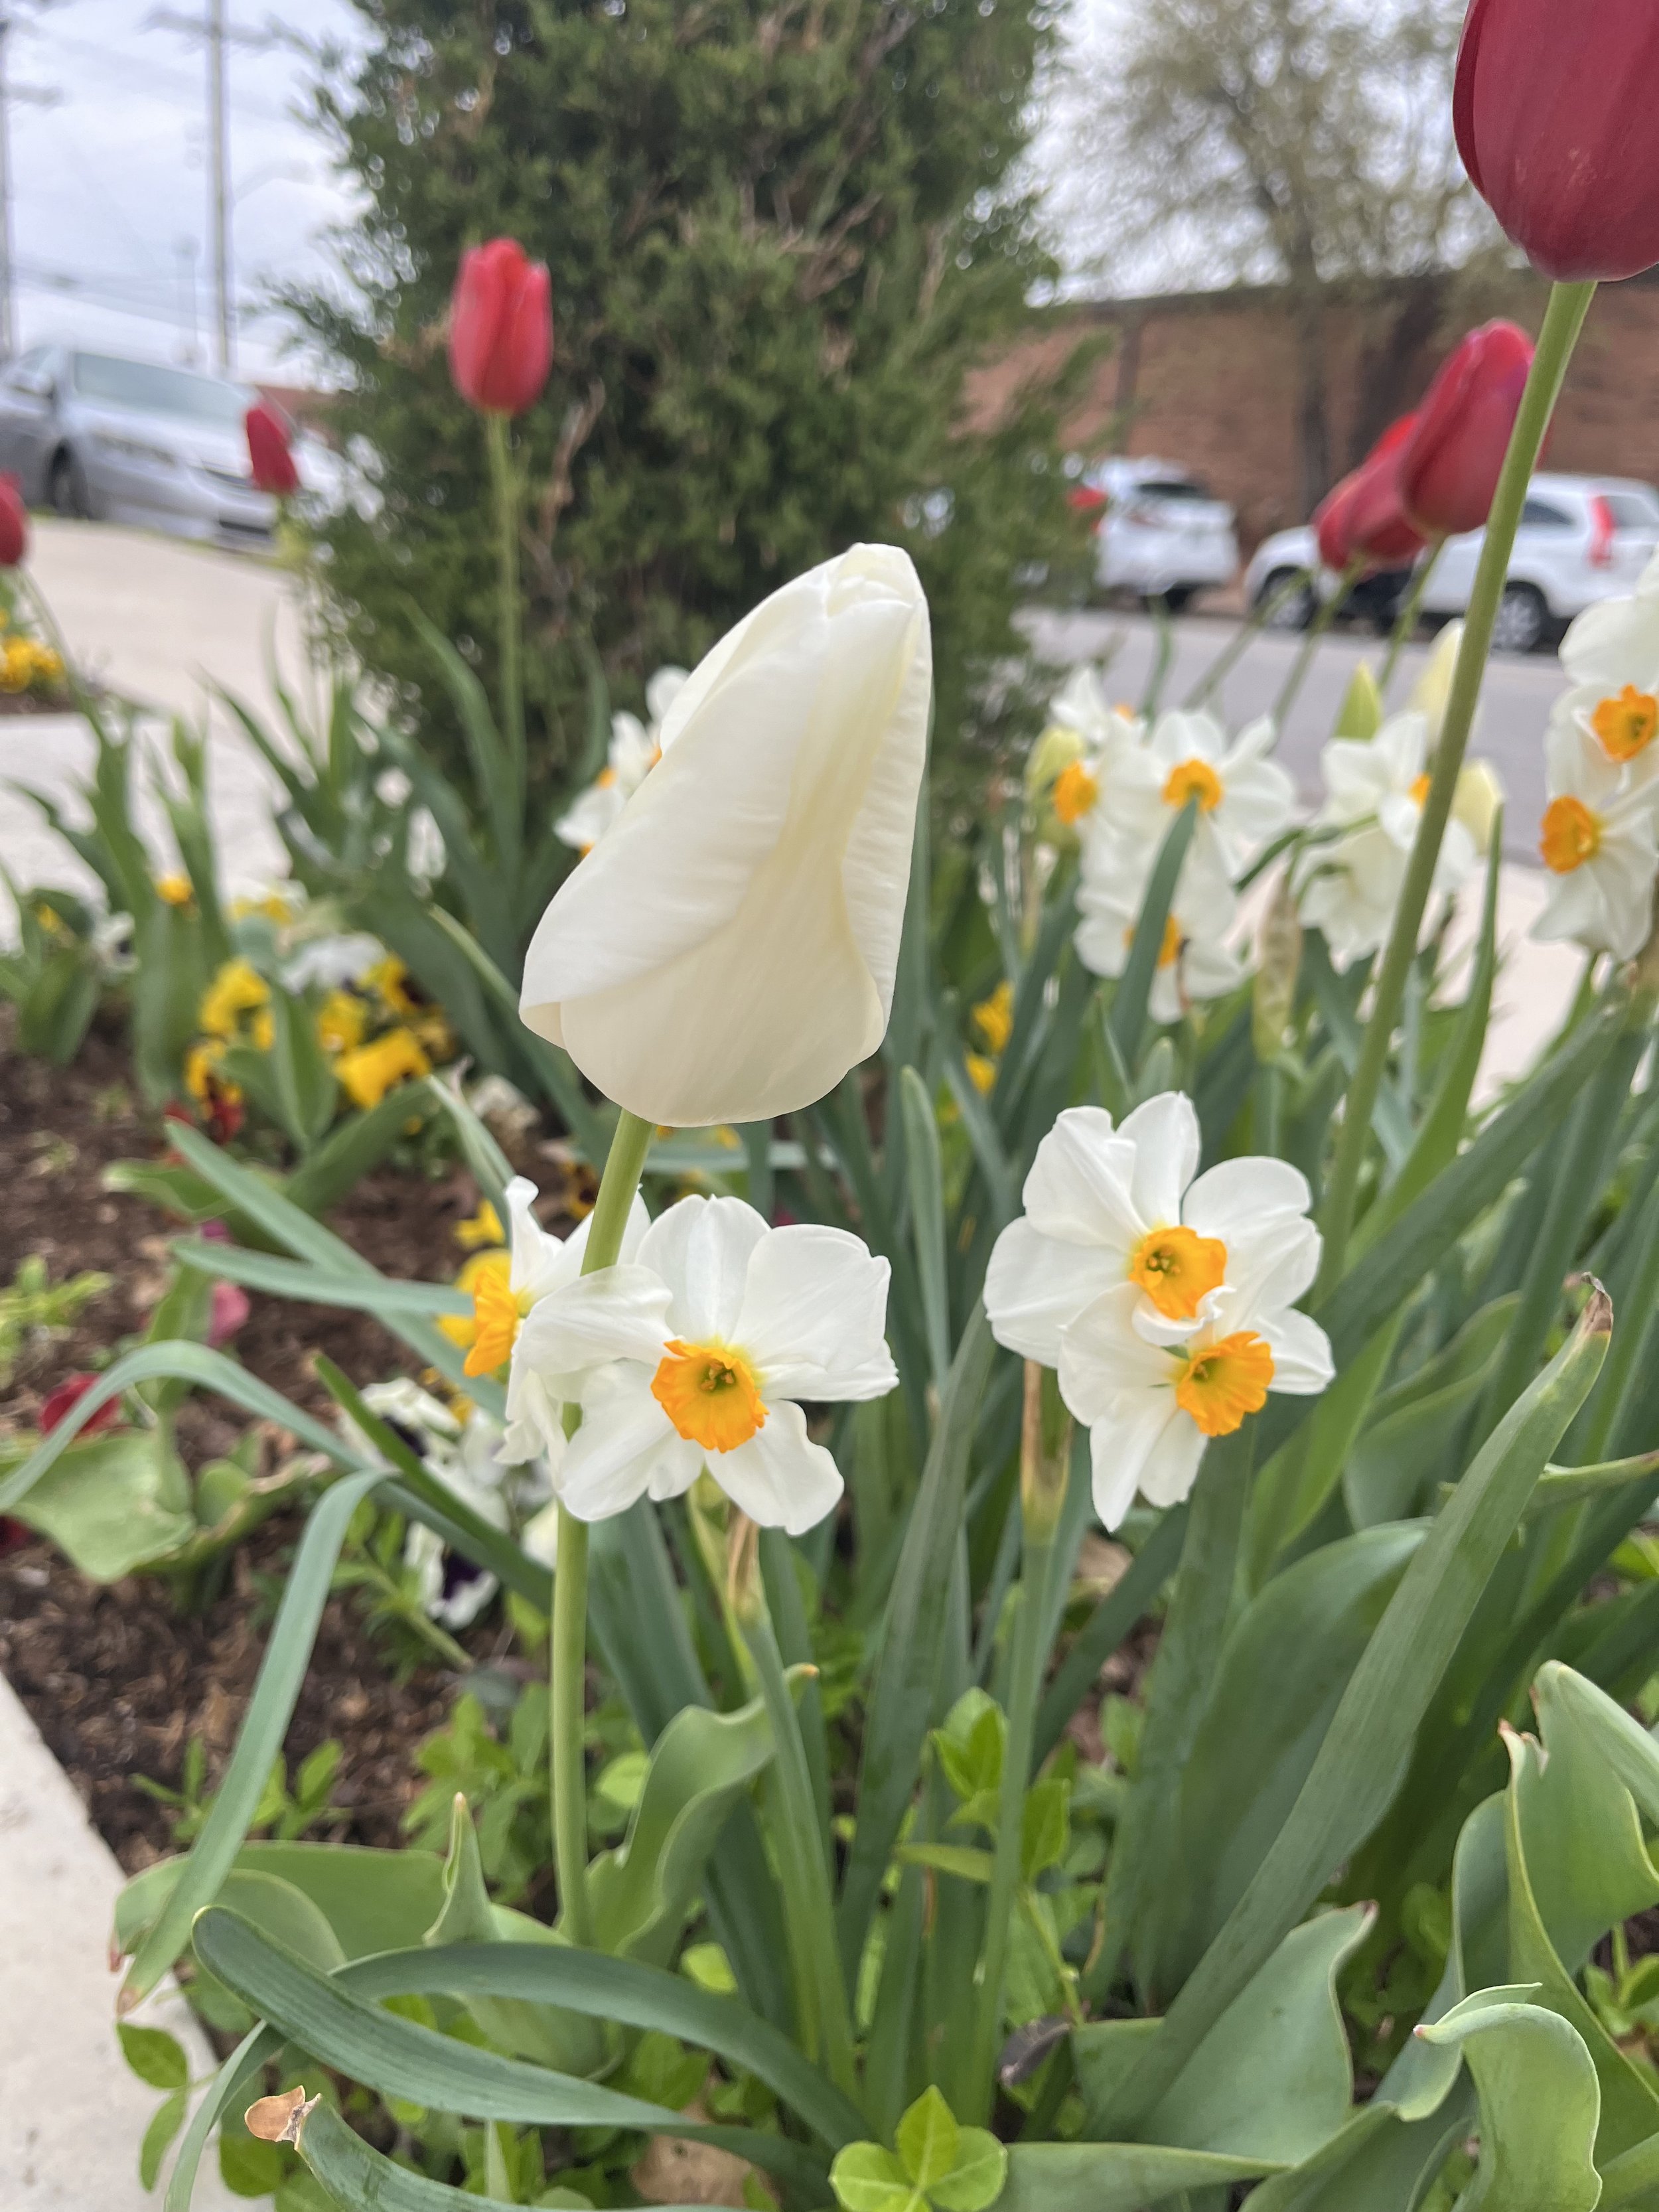
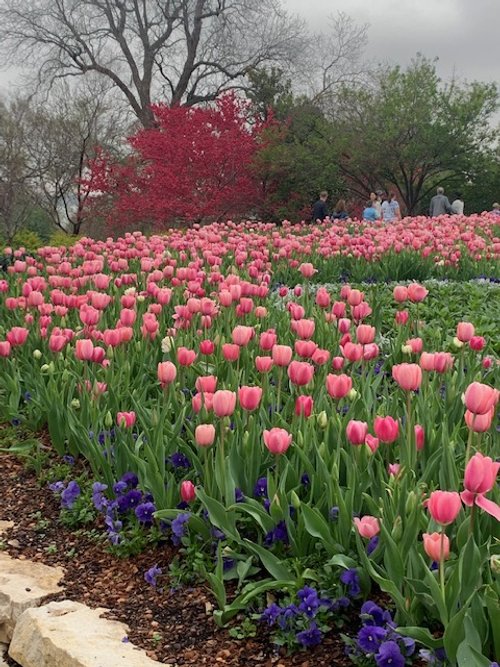
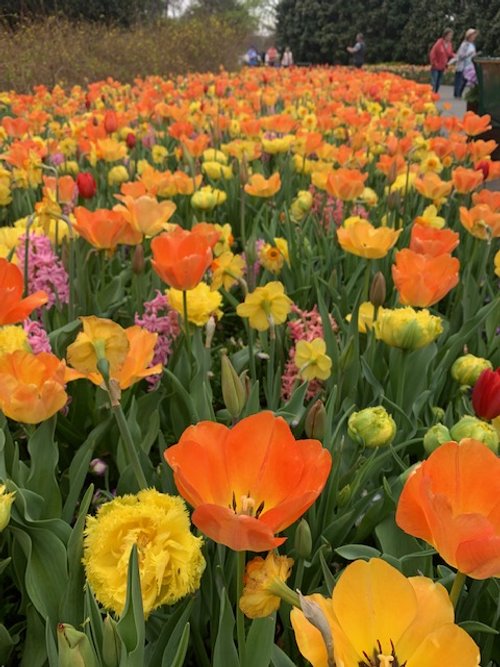
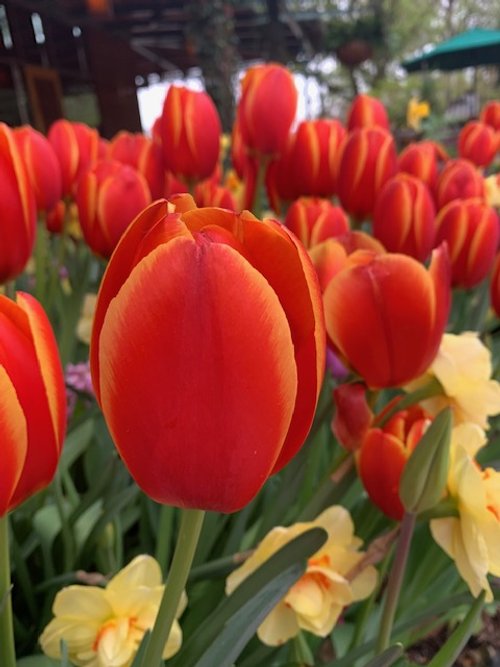
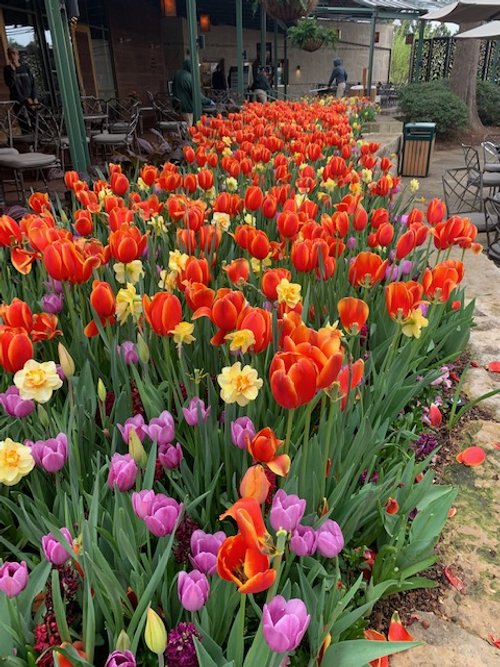
One of my favorite ways to declare spring is Hyacinths, Daffodils and Tulips!
Last October we wrote about spring flower bulbs, “Plan Now. Plant Next Month. Enjoy Next Spring.” https://www.hallstewart.com/hsblog/plant-now-plant-next-month-enjoy-next-spring
If you were inspired and added spring flowering bulbs to your landscape, you are enjoying a spring full of color.
Don’t miss out next spring! Open your calendar right now to October and write “Plan spring bulb planting!”


A friend talked about being greeted with “What has brought you joy today?” at a local business recently.
What a wonderful greeting!
We hope, as the landscape burst with new life, you find joy in the beauty God creates for us every spring, without fail.
Don’t let the busyness of life rob you of the joy of spring!
Get outside. Go on a walk. Visit a park.
Add a new plant to your landscape!
The beauty of spring is all around!
Lorne Hall
Hall | Stewart Lawn + Landscape
(405)367-3873
Hydrangeas Varieties and Care

Hydrangeas have a reputation for being difficult to grow, fussy and high maintenance. That was true of old fashion, traditional hydrangeas that only bloom on last year’s growth. It was common for a late spring freeze to damage buds resulting in little or no blooms, or a pruning mistake would also result in no blooms.
But, the world of hydrangeas keeps changing…every season the hydrangea options get better and better. New varieties just keep coming. Take a stroll through a local nursery and you will be surprised at all the hydrangea options.

First Hydrangea blooms from last May.
The introduction of the Endless Summer Hydrangea in 2004 from Bailey Nurseries with the help of Dr. Michael Dirr from the University of Georgia resulted in what many claim is the best-selling shrub of all time.

The Original Endless Summer Hydrangea

Little Lime Hydrangeas is a shorter option for smaller gardens.
Dirr had been trying to develop a re-blooming hydrangea for years with no success. Then in 1998, Dirr was visiting Bailey’s test field where he found hydrangeas in full bloom…in September! Bailey Nurseries had been propagating and testing a plant they had found in St Paul, MN for 10 years with success. The plant was unique because it bloomed in the spring on last year’s growth, like a traditional old-fashioned hydrangea, and rebloomed on the new growth during the summer and into the fall.
Dirr immediately knew it was “a game changer” for hydrangeas and quickly coined the name ‘Endless Summer’.

Endless Summer Hydrangea will continue to bloom into the fall.

The Original — big round blue or pink blooms

Blushing Bride - pure white blooms that mature to a pink blush.

Twist-n-Shout — reblooming lace-cap in pink or periwinkle blue with red stems.

Bloom Struck — purple or rose-pink flowers with red stems.

Summer Crush — a 2019 introduction with raspberry red or neon purple flowers with a compact growth.

Summer Crush Endless Summer Hydrangea

Pop Star – Introduced in 2023, Pop Star is a compact, big-leaf hydrangea that only grows 18-26” high and wide. It is the quickest Endless Summer to rebloom.

Original Endless Summer Hydrangea in the fall.
The Endless Summer Hydrangea is like traditional hydrangeas in that they prefer morning sun and afternoon shade.
Want to learn more about Endless Sumer Hydrangeas? Follow this link: https://endlesssummerhydrangeas.com/
Another hydrangea “game changer” is the Limelight. Limelight is a summer blooming hydrangea that grows in full sun!
A plant breeder in the Netherlands crossed two unidentified panicle hydrangeas and the outcome was a full sun, summer blooming show in the hydrangea family. Limelight Hydrangeas received a US Plant Patent in 2002.
I first noticed them years ago growing around a parking lot in downtown Oklahoma City in the middle of summer with vibrant white blooms planted in full sun. Of course, I circled the block, took lots of pictures, and started my search to find the name of the plant.
Limelight has become one of my favorite plants.
Limelight varieties:
Limelight (Original) – Blooms in mid to late summer on new growth. Flowers start green, turn to white and then back to green. Limelight is typically large 6-8’ tall multi-trunked shrubs or can be trained into a single-trunked tree formed large shrub.
Limelight Prime – All the characteristics of the original but a little smaller, 4-6’, and sturdier stems. Also, the flower color is more vivid than the original.
Little Lime – Great for smaller gardens and small pockets in the garden. Grows to 3-5’ tall.
Want to learn more about Limelight Hydrangea varieties? Follow this link to a Monrovia article: https://www.monrovia.com/be-inspired/best-panicle-hydrangea-varieties.html
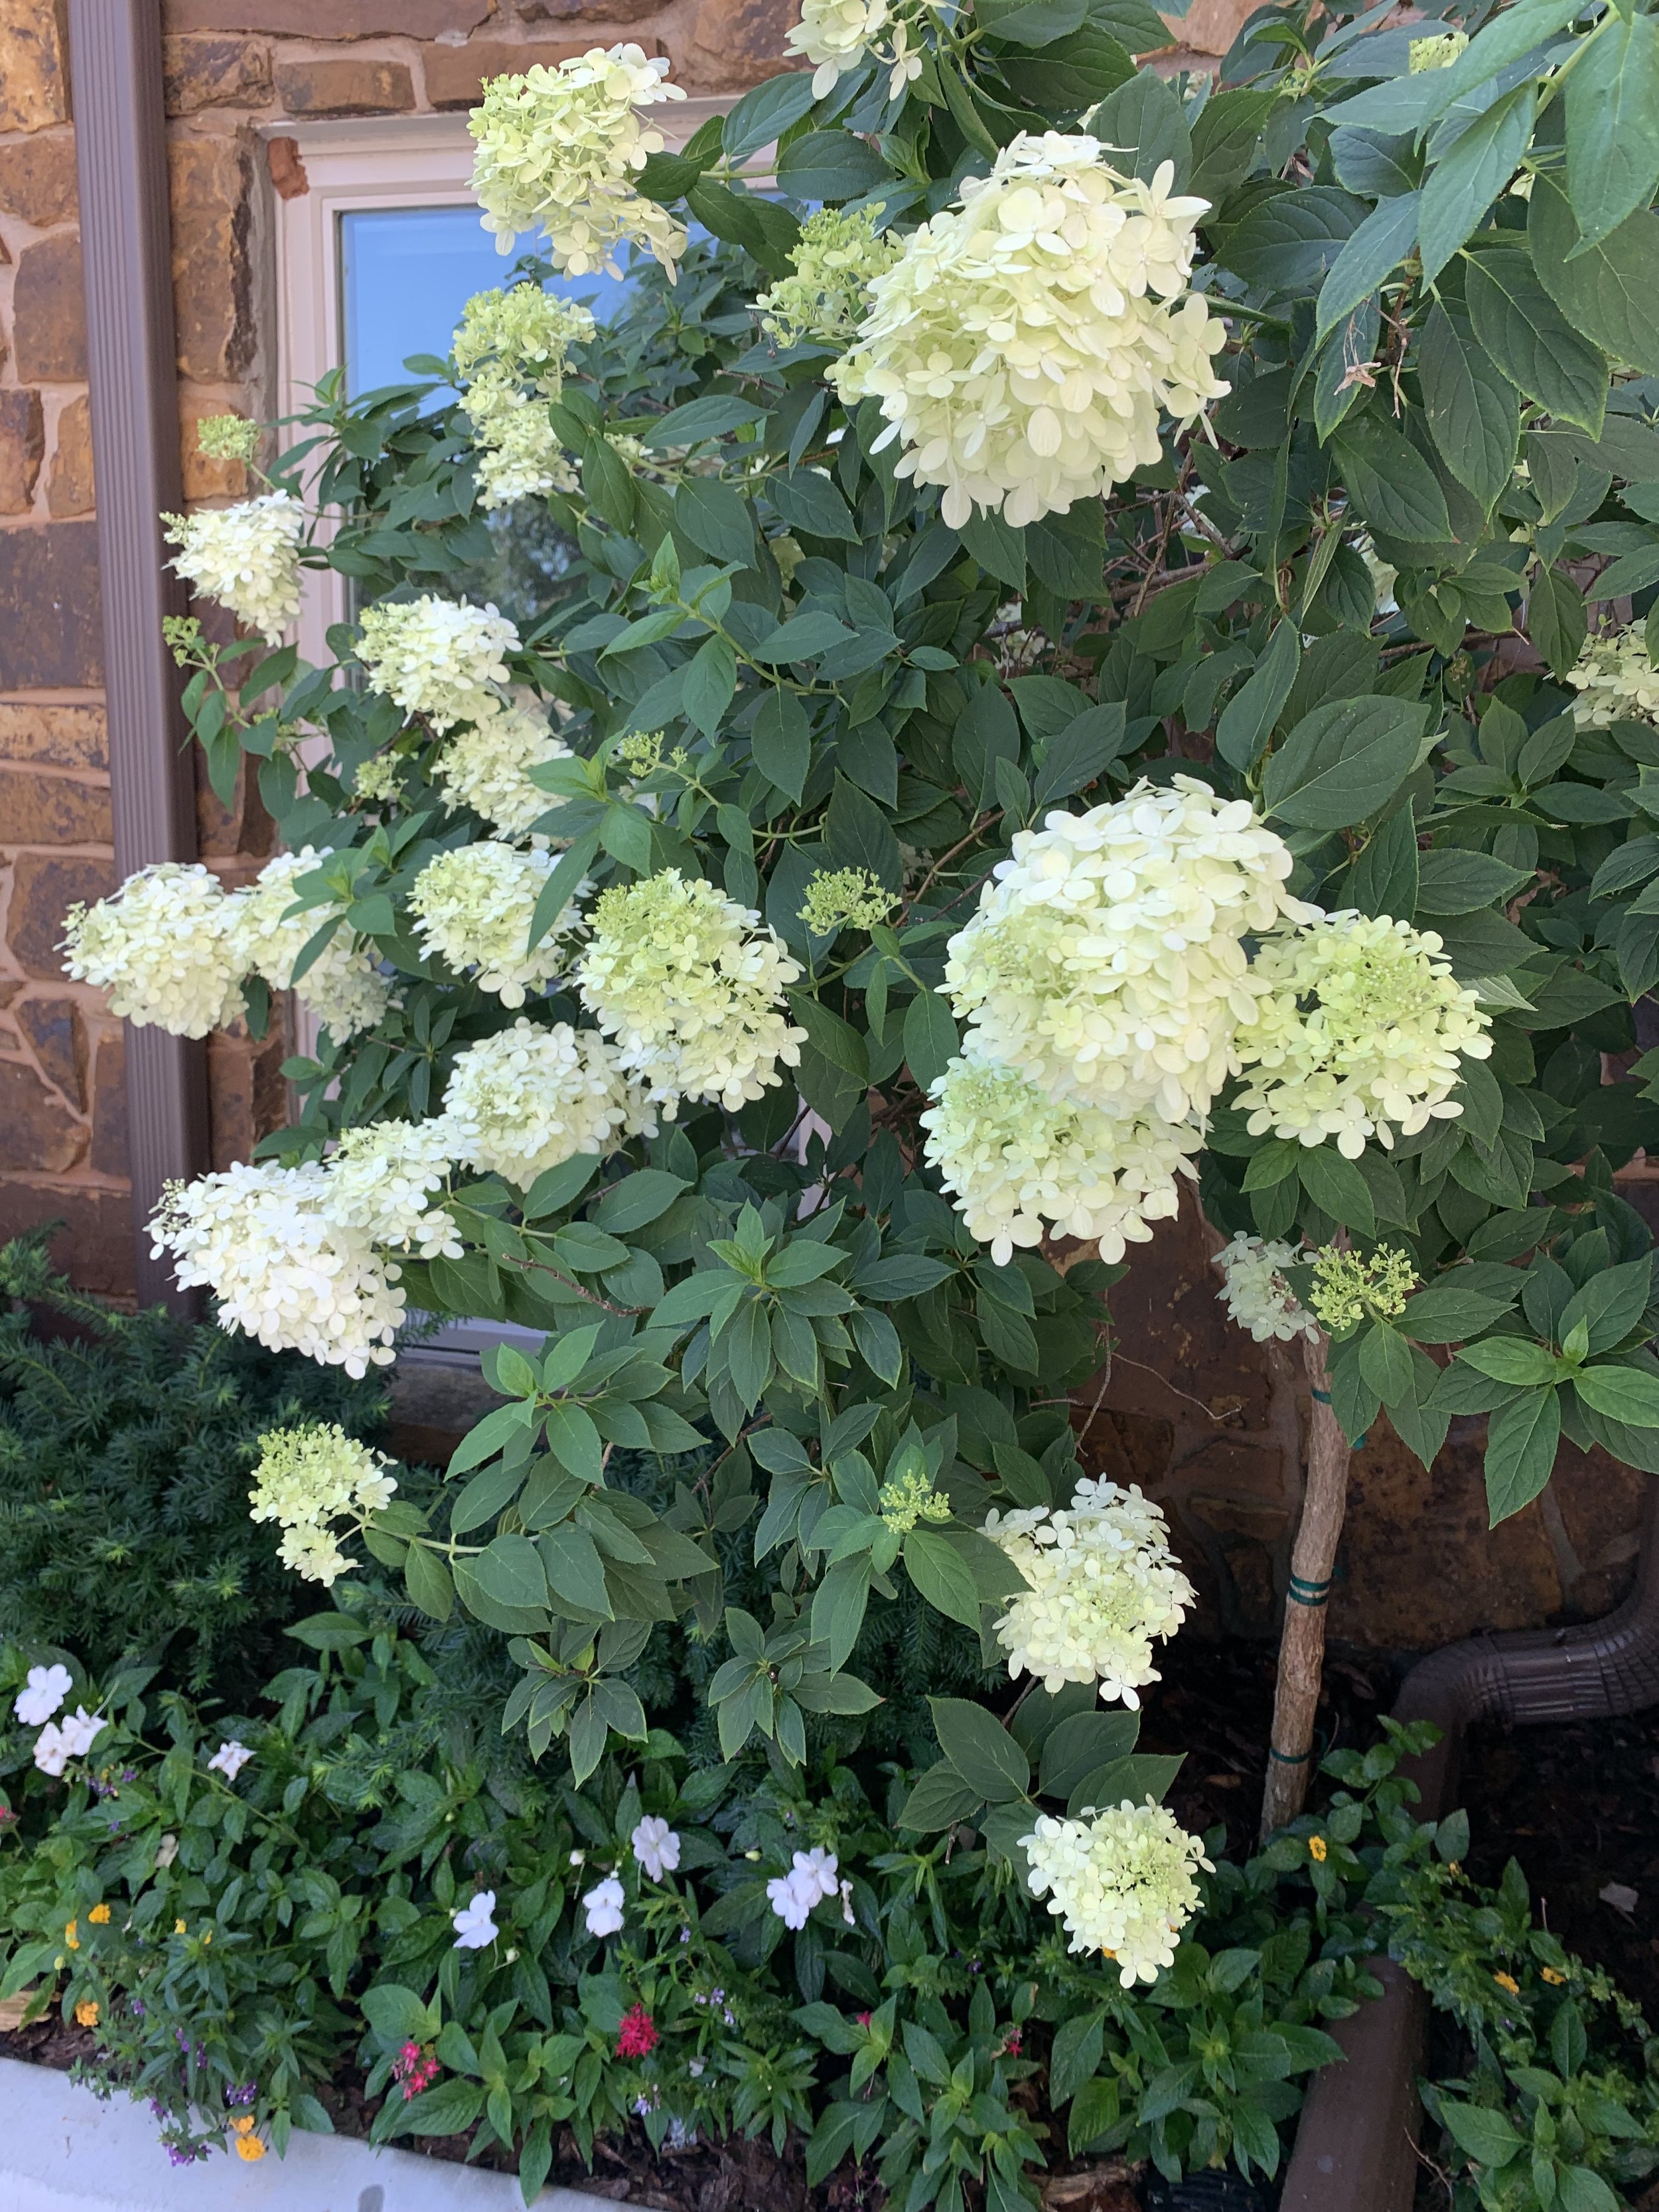
Limelight Hydrangeas make a big statement grown as a single-trunked small tree.
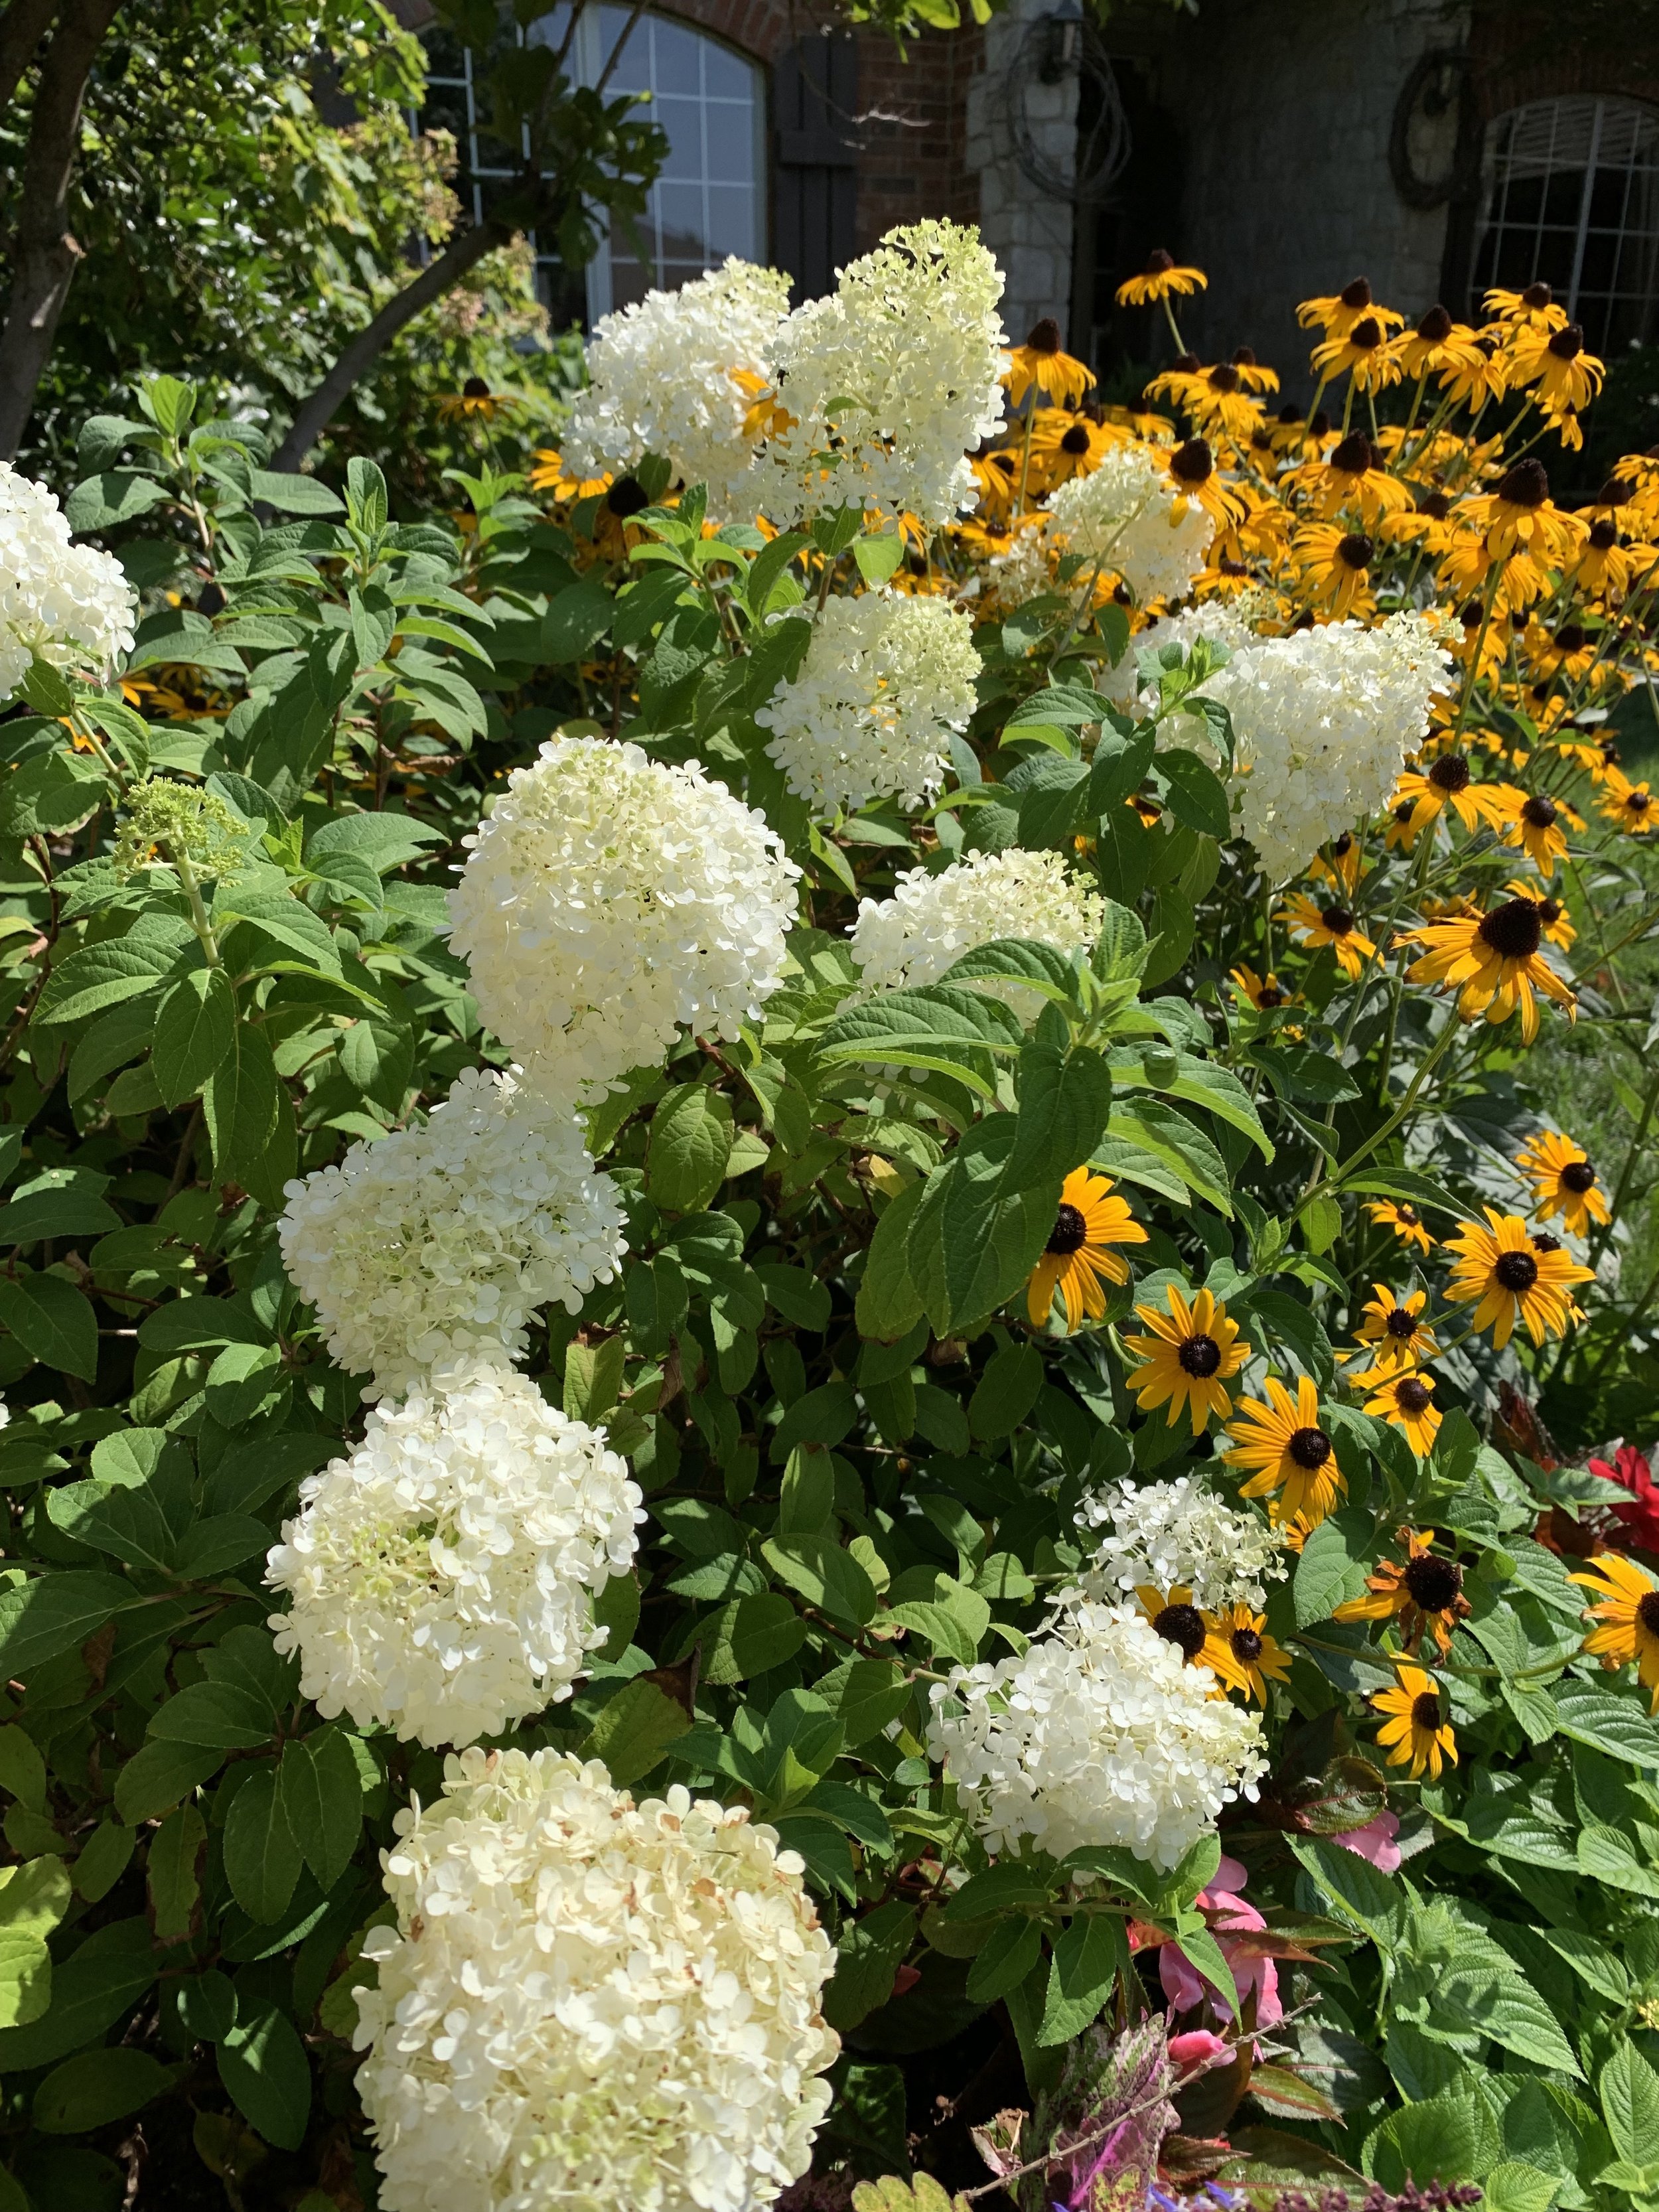
Bobo Hydrangeas are another dwarf variety of Limelight Hydrangeas. They grow in full sun to partial shade and produce large white blooms that turn pink. A characteristic of Bobo Hydrangeas is the strength of their stems. Unlike some panicle hydrangeas the blooms don’t weigh down the stems and flop over.

Limelight Hydrangea blooms gradually go from white to lime as they mature.

Limelight – Blooms in mid to late summer on new growth. Flowers start green, turn to white and then back to green. My favorite thing about Limelight is that it grows in full sun. A hydrangea game-changer: Summer blooming hydrangea in full sun! Limelights are typically large 6-8’ tall multi-trunked shrubs or can be trained into a single-trunked tree formed large shrub. For smaller areas, try the Little Lime or BoBo Hydrangeas which grow to 3’.

Limelight Hydrangea blooming in August in full sun.

Think you have to have a shady landscape to enjoy hydrangeas? Not the case with the Limelight Hydrangea. It grows in full sun with large lime to white blooms in mid-summer.

Fire Light Hydrangeas in the Myriad Garden in downtown Oklahoma City.
A late spring to early summer blooming hydrangea is the Oakleaf Hydrangea. The Oakleaf is one of only two hydrangea species native to the US in the SE from North Carolina, south to Florida and west to Louisiana.
Oakleaf Hydrangeas are named for the deeply lobed oak-like foliage. They grow 4-8’ tall and wide with a rounded habit. The white cone shaped flower clusters fade to pink in the summer and leaves turn deep red hues in the fall.
The Oakleaf prefers morning sun and evening shade. Too much shade and they become leggy, have fewer blooms and poor fall color.

Oakleaf – Instead of traditional mophead blooms, oakleaf hydrangeas have white clusters of cone shaped flowers. It is named for the large oak-like leaves that turn reddish-purple in the fall. It is a large shrub that blooms in the summer on new growth. It also requires less water than a traditional hydrangea.

Oakleaf Hydrangea

Oakleaf Hydrangeas is a large shrub that can reach 5-6’ with long, cone-shaped white flowers with large oak-like leavers that turn bright red in the fall.

Oakleaf Hydrangea in the Dallas Arboretum.

Oakleaf Hydrangea leaves in the fall turn vivid shades of red and purple.
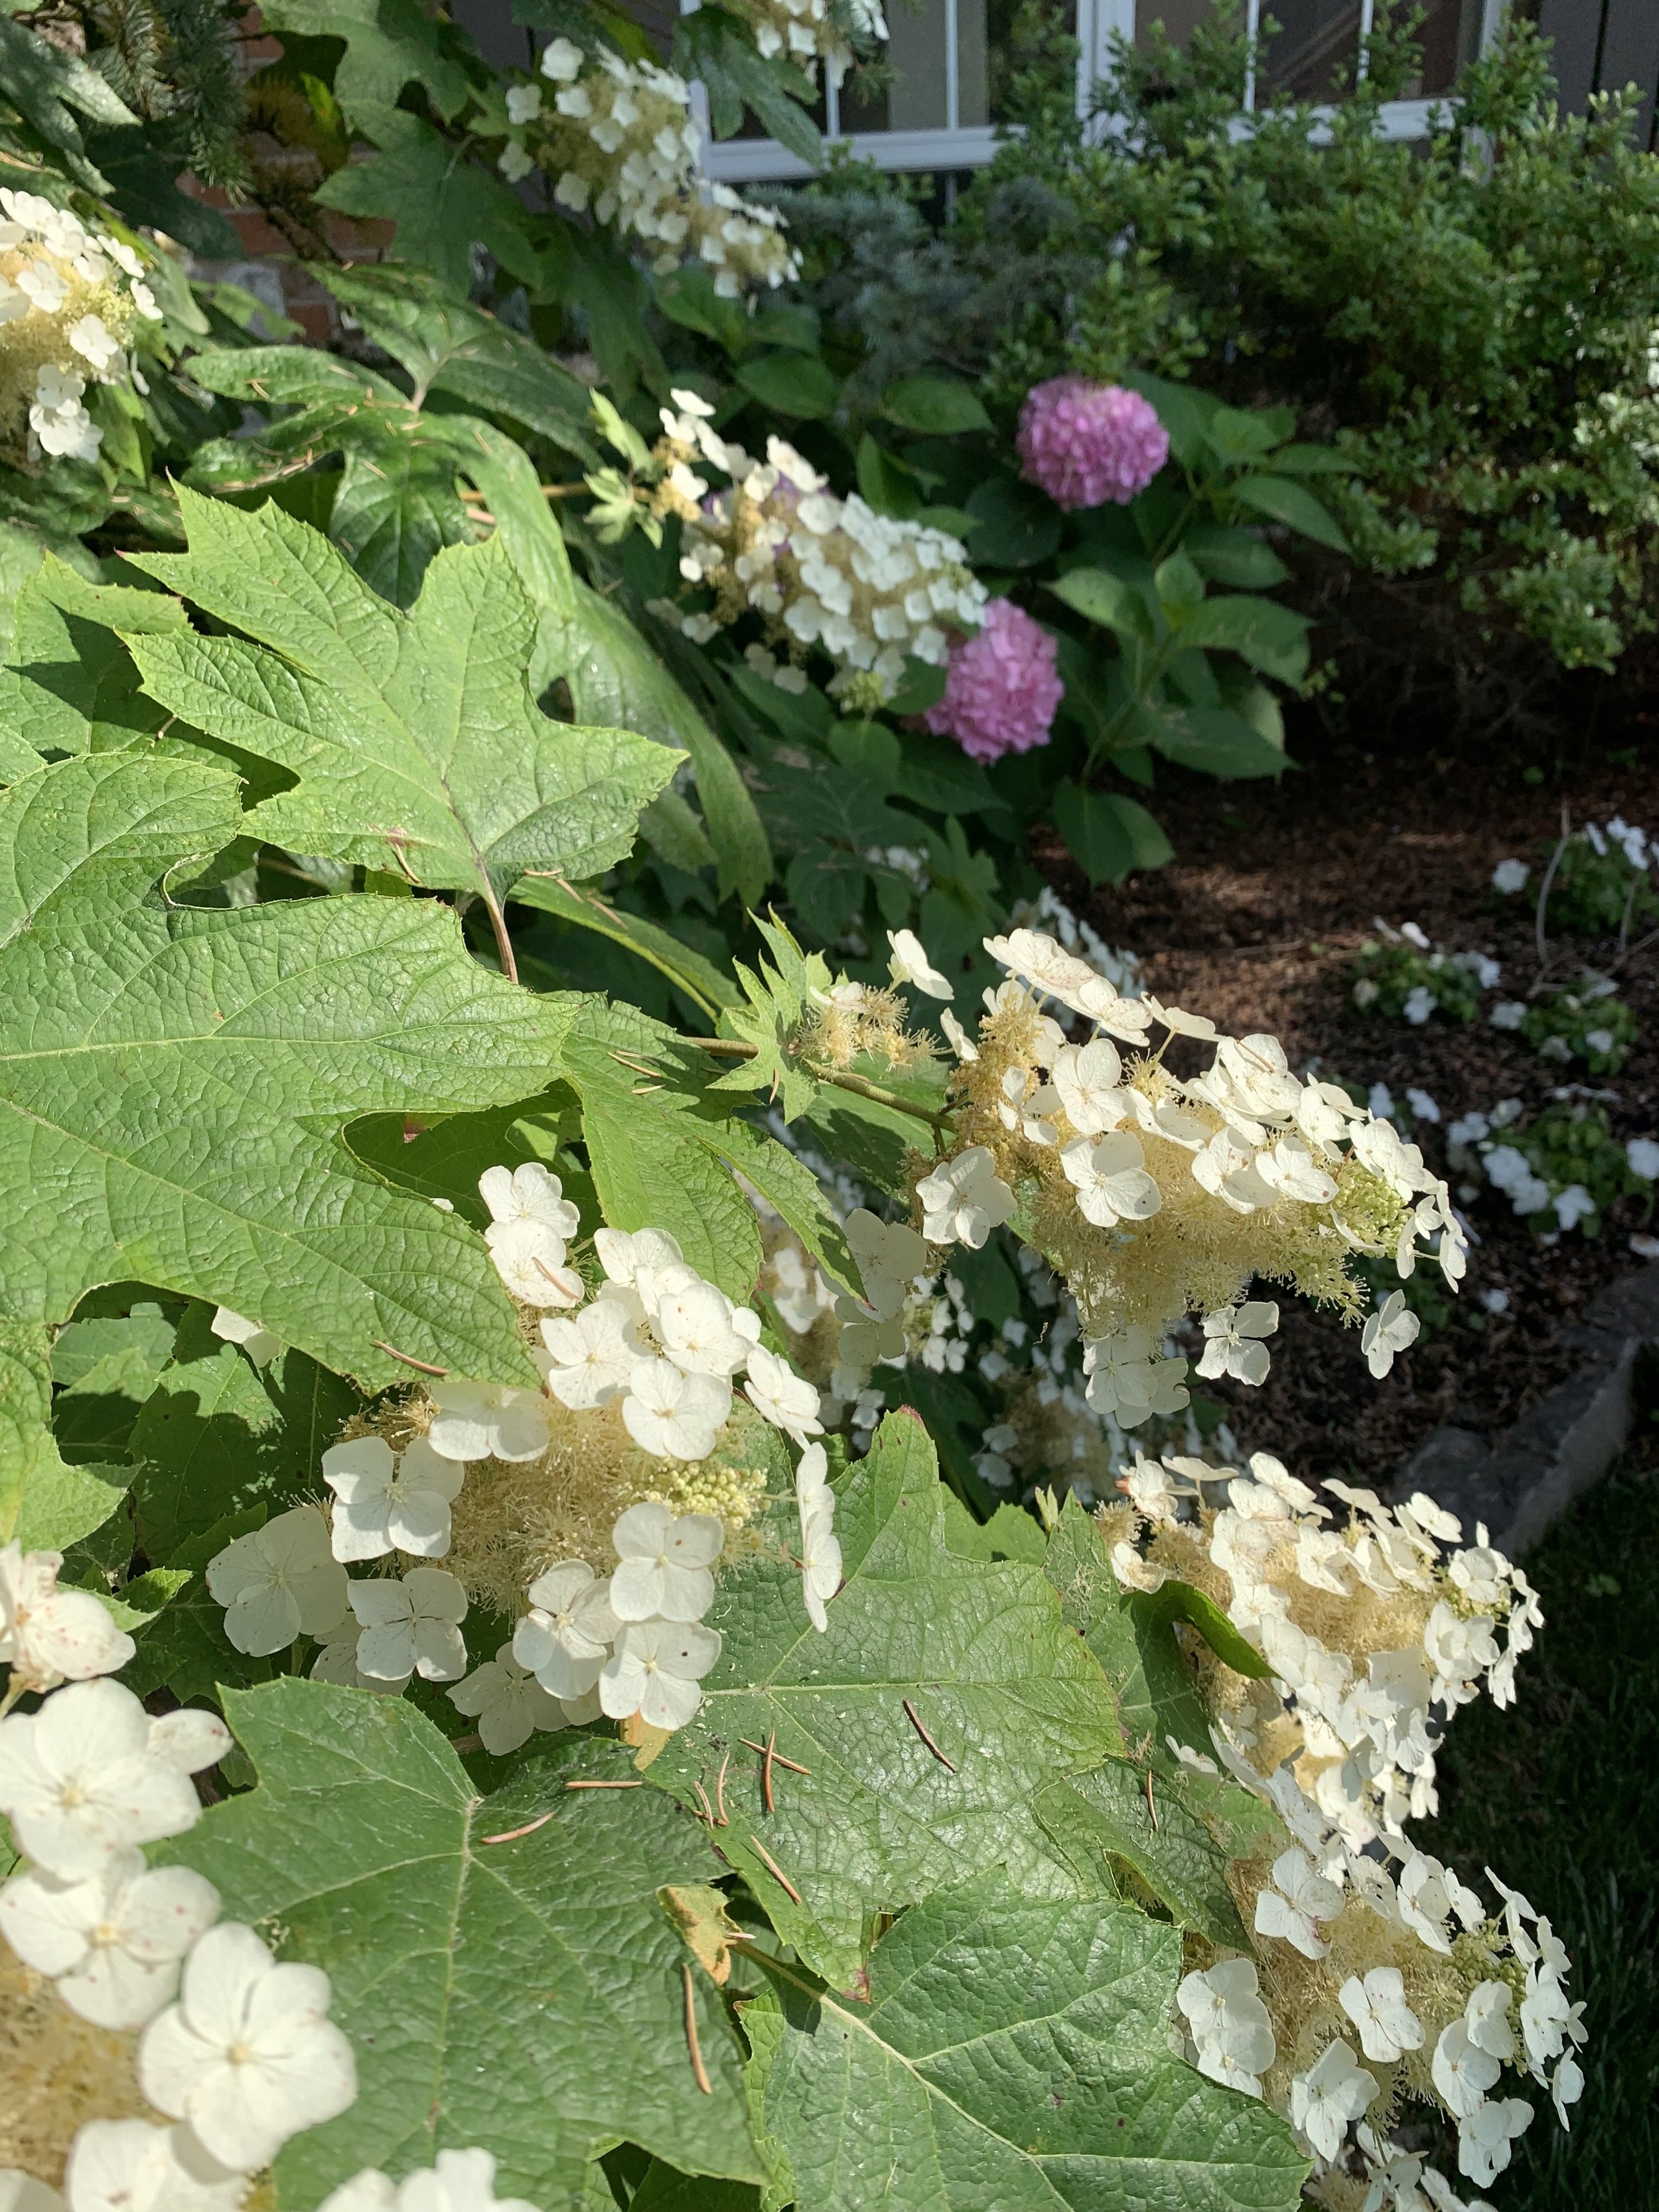
Oakleaf Hydrangea with Endless Summer in the background.
Other favorite hydrangea varieties:

Annabelle – A smooth hydrangea with white blooms on the new growth. Because it is fast growing, it is common for this hydrangea to be cut all the way to the ground each spring.

Phantom – Similar to Limelight but with color changing blooms that start in mid-summer as greenish white then gradually change to a blushing pink as summer transitions into fall. Phantom also grows in full sun.

Seaside Serenade Series by Monrovia – A more compact form of hydrangea ideal for smaller areas that blooms on both last year’s growth and new growth.
Pruning Hydrangeas
Most gardeners feel uncertain and confused about when and how much to prune hydrangeas. The truth is most hydrangeas do not need to be pruned at all. Occasionally, you may need to prune for shape or size, or remove some dead wood, but most seasons pruning can be skipped.
It is common to have some branch die back after the winter in our area. A common mistake is to get in a hurry when pruning back the winter damage. Be patient, don’t get in a hurry to remove dead branches. Wait until April before pruning off the dead branches. Pruning earlier, or pruning to the ground in the spring, could reduce or eliminate blooming this season. When it is time to prune back the dead ends, make your cuts at an angle just above the highest green bud.
When more pruning is required, it is important to know the type of hydrangea you have to know the right time to prune.
Bigleaf, Mophead, French Hydreanes. They bloom once per season in the early summer on old wood, meaning their buds are formed on last year’s growth. Pruning should be done during the summer. If they have become overgrown, remove up to ½ of the total stems by cutting them all the way to the ground. The plant will produce strong new stems that will flower next season. Nikko Blue is an example of this type of hydrangea.
Smooth Hydrangeas. They bloom on new wood, meaning buds are formed on new growth in the current season. Pruning should be done in late winter to early spring. Older smooth hydrangea varieties can become floppy and unruly. Don’t be afraid to prune this variety aggressively. Annabelle is an example of a smooth hydrangea.
Panicle Hydrangeas. They also bloom on new wood. Panicle hydrangeas rarely need to be pruned. But, if they were overgrown last season, prune up to 1/3 of the plant before they leaf out to create a more compact, rounded shape. Limelight is a panicle hydrangea.
Oakleaf Hydrangeas. Oakleafs like to be left alone. Pruning should be limited to removal of dead or broken branches. They bloom on old wood, so if there is a need to prune to improve the shape of the plant, pruning should be done in the summer after it finishes flowering.
Reblooming Hydrangeas. Hydrangeas that bloom on both old and new wood. Early in the season they bloom on the old wood from last season. During the current season they bloom on current season growth. All they really need is deadheading of spent flowers and removal of dead stems. The Endless Summer and Seaside Serenade series are examples of reblooming hydrangeas.

Reblooming hydrangeas in June at the Dallas Arboretum.

Wait until late April to early May to prune the dead from your Endless Summer Hydrangeas.

Oakleaf Hydrangeas rarely have winter die back and are best left alone.
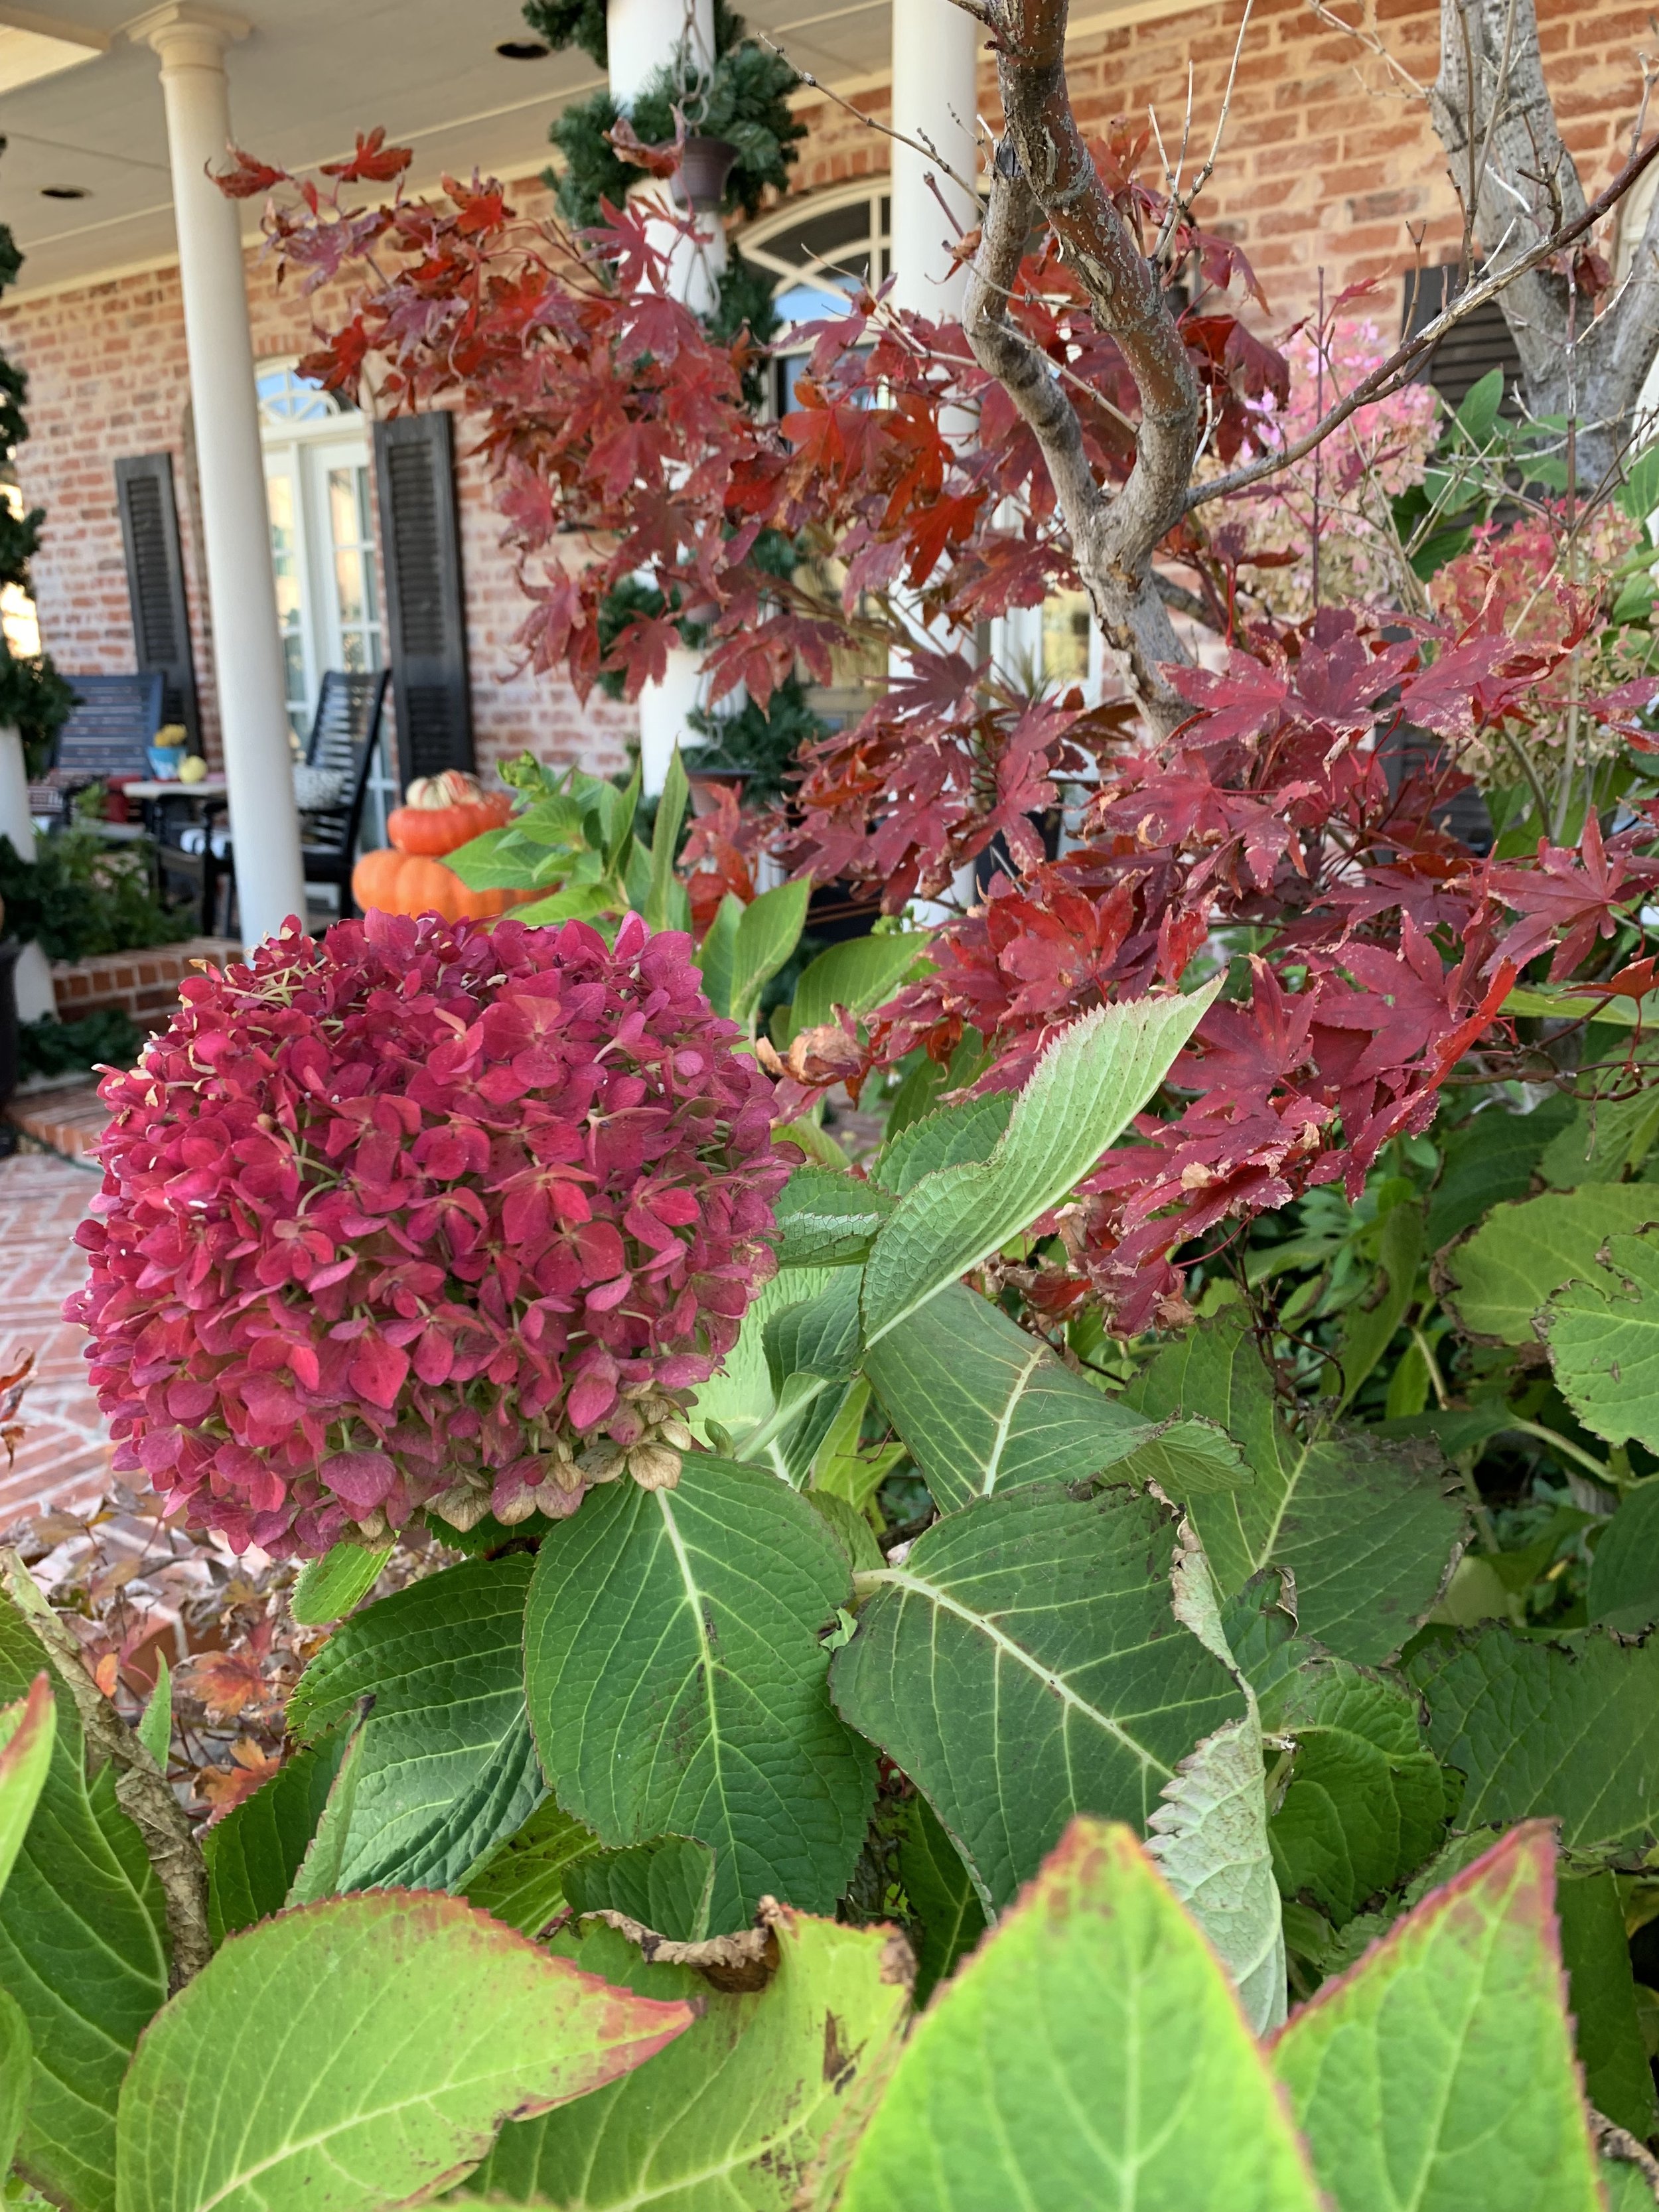
Leaving faded blooms on hydrangea will add interest changing color as they fade.

Deadheading Hydrangeas
Deadheading is the practice of removing spent blooms. You can deadhead hydrangeas, but you don’t have to. Deadheading can increase blooms but is mostly done to keep the plant looking neat. Some gardeners like to leave spent flowers on the plant for seasonal interest as they will change color as they fade. If you do deadhead, prune right above the first set of leaves below the spent flower. Cutting lower will remove emerging buds.
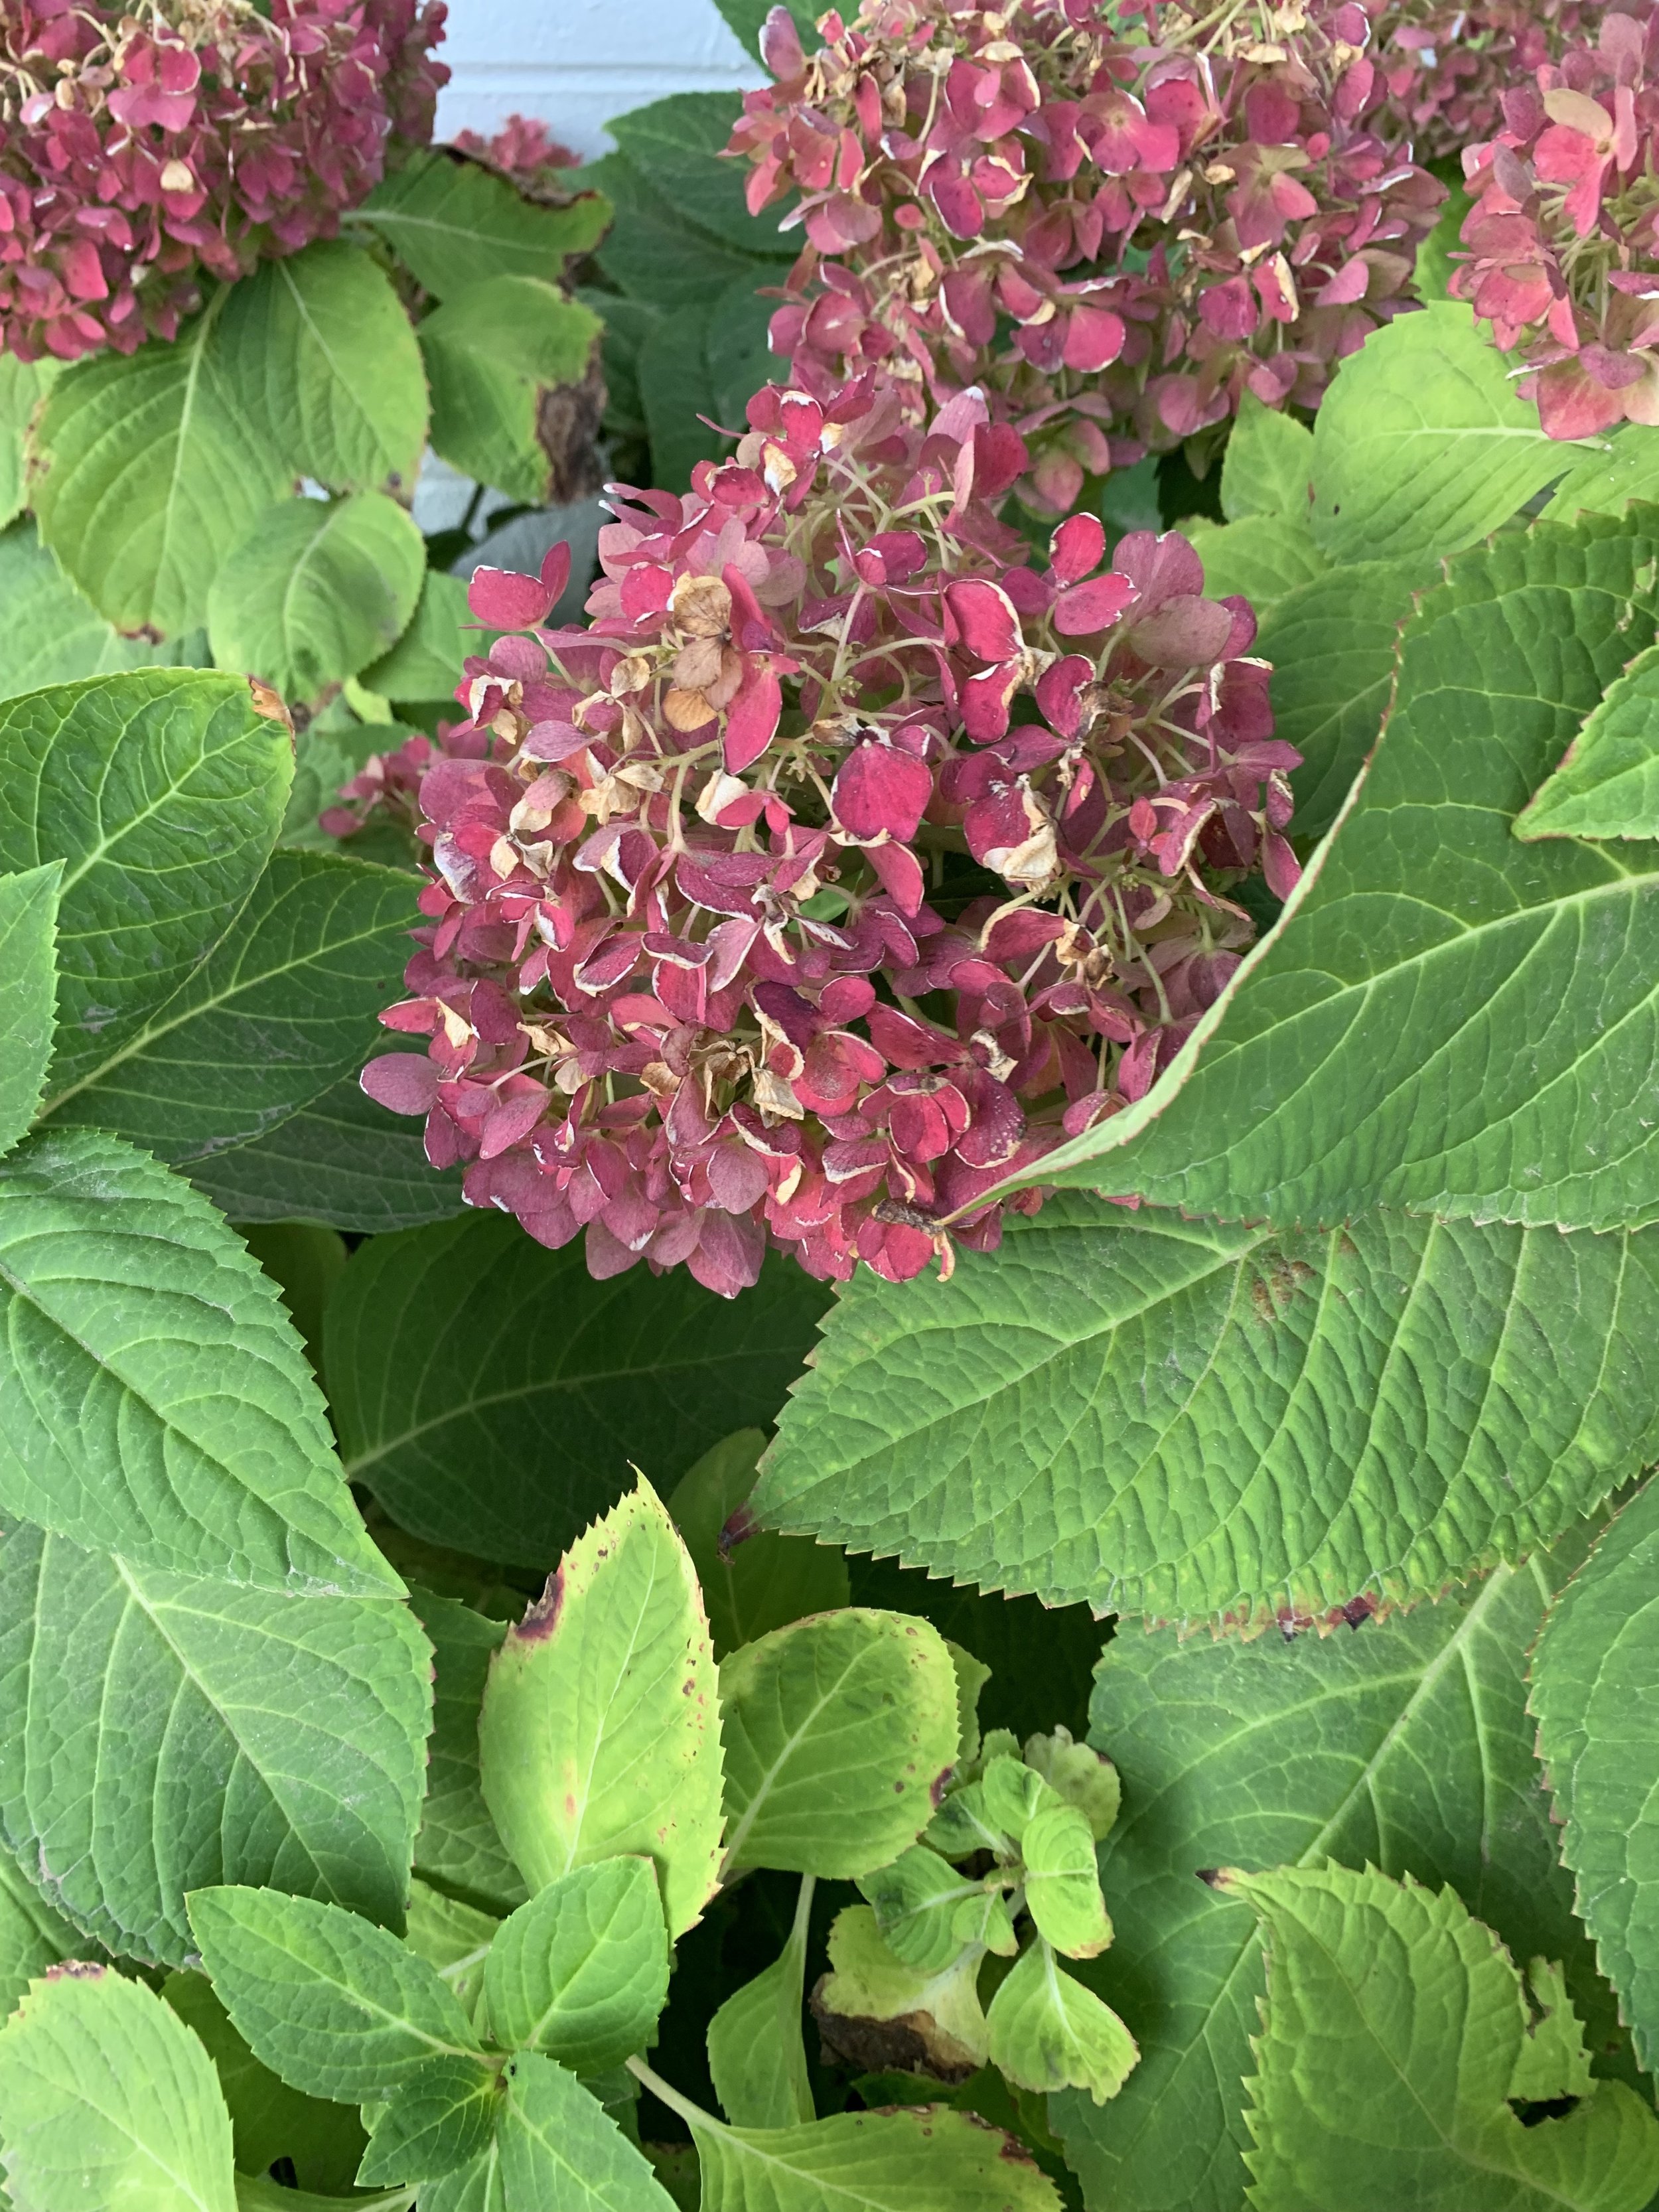
If you don’t deadhead your Endless Summer Hydrangeas the spent flowers will add color to your landscape in the fall. This is the Endless Summer Hydrangea in front of the Hall | Stewart office in October.
Planting Hydrangeas
Hydrangeas prefer rich, well drained soil in a location with morning sun and dappled to full shade in the afternoon and evening. The exception is the Limelight Hydrangea which can be planted in full sun. When planting in our tighter clay soil, start with a hole twice as big as the plant container. Incorporate compost and peat moss into the existing soil, fill the bottom of the hole with enough soil that the root ball will be slightly above the existing grade. Backfill around the root ball with the remaining mix of soil and amendments creating a ring outside the root ball creating area to retain moisture when watering.
Hydrangea Watering
Hydrangeas require more water in the heat of the summer. They perform best in soil that retains some moisture but does not stay wet. It is common for their leaves to wilt slightly on 90+ degree days and then rebound quickly when watered. A good deep soaking every other day in the summer is enough. A 2” layer of mulch will help retain moisture.

Endless Summer Hydrangeas are usually pink in our soils because of the pH being over 6. Sulfur can be used to lower the pH and turn the blooms blue.
Changing Hydrangea Flower Color
Excluding white hydrangeas and many of the new reblooming hydrangeas, soil is the greatest determinate to whether the flower blooms will be blue or pink. Soil with a pH below 6.0 (acidic) will have blue blooms. pH above 6.0 (alkaline) will produce pink flowers. Adding lime to the soil will change blue blooms to pink and adding sulfur will change pink blooms to blue. Endless Summer has a formulated product called Color Me Pink which adds lime to the soil to produce pink blooms and Color Me Blue which adds sulfur to encourage blue blooms. Similar products are avaible from Bonide.
Hydrangea Fertilizer
Hydrangeas respond well to fertilizer in the spring and early summer. Select a slow-release fertilizer that is high in phosphorus, the middle number on the fertilizer label. Phosphorus produces more blooms. If you fertilize with high nitrogen, the first number on the label, you will have more and larger leaves and less blooms.
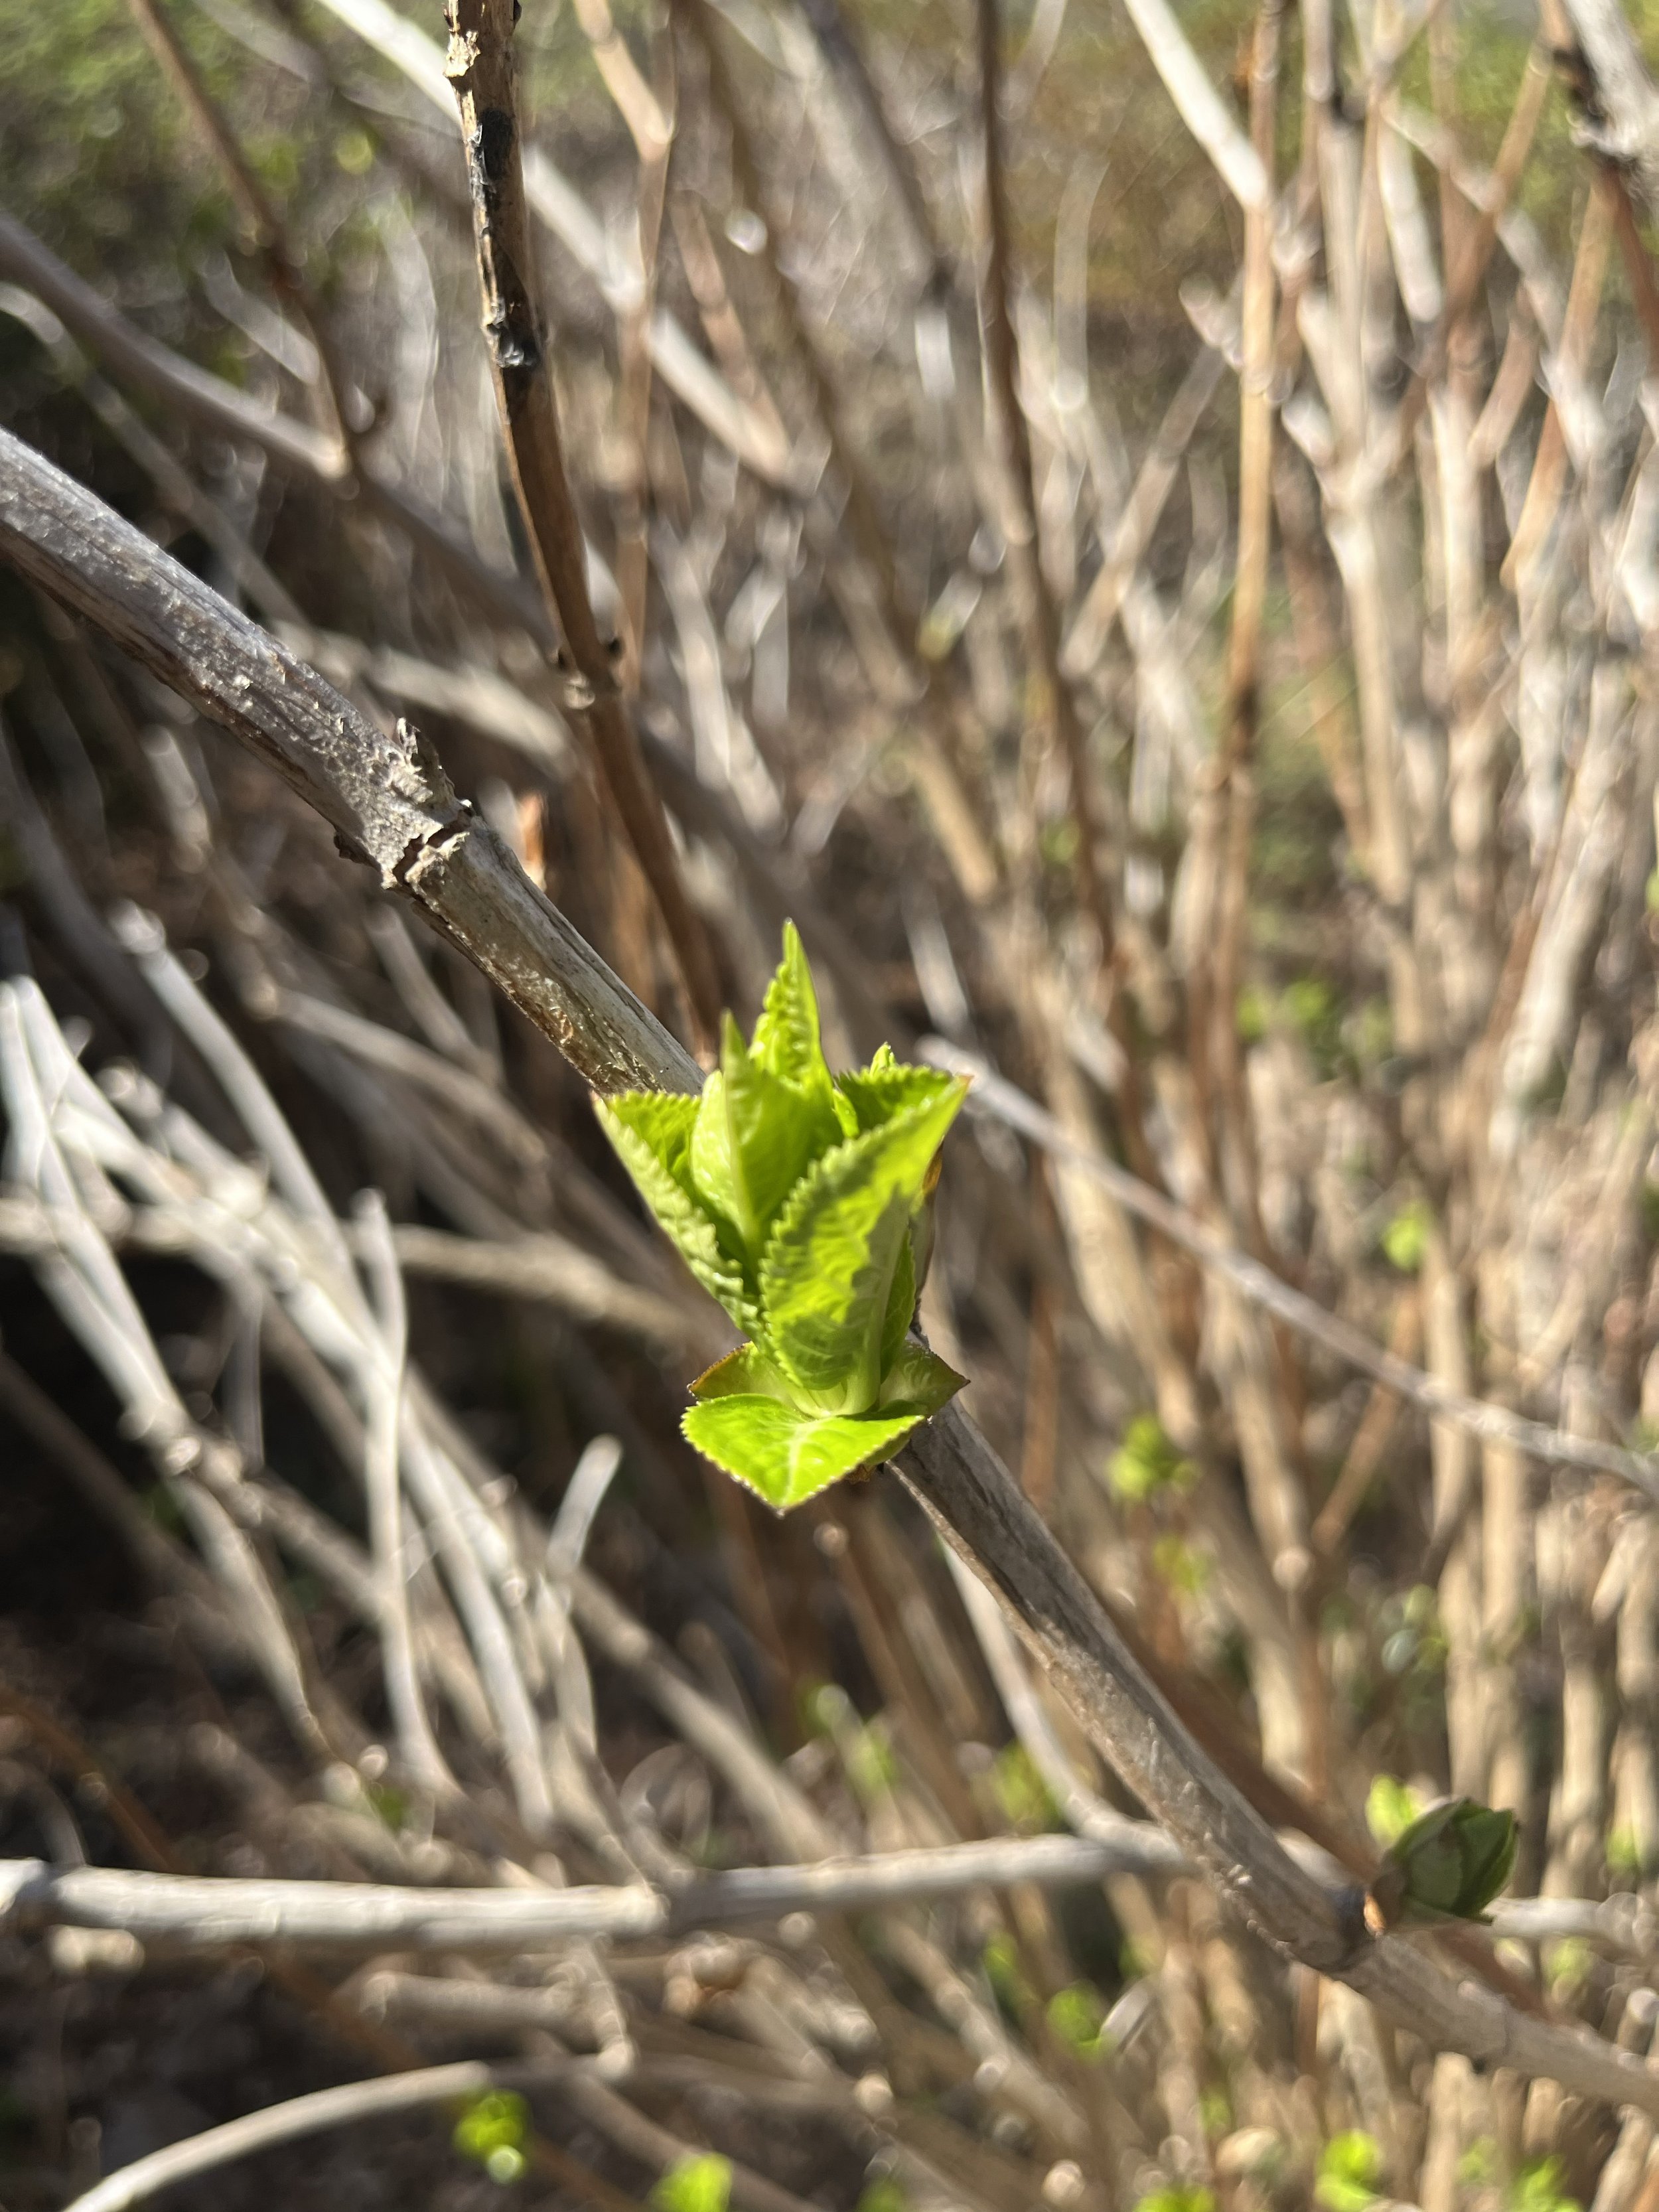
Hydrangeas are starting to bud. Wait until April to prune. Prune just above the highest bud on each branch.
Bonus Info: “Why aren’t my Endless Summer Hydrangeas blooming?”
Pruning – The most common blooming problem is a result of over pruning and pruning at the wrong time. Remember, it is best not to prune them at all. Really the only pruning recommended is at the beginning of the season to remove the brown stems left from the winter. Wait until April to prune and then only prune back to the first bud. During the summer, if you want to you can snip off spent blooms, but it is not required. Otherwise, keep the pruners and shears away from your hydrangeas. And…never prune in the fall.
Fertilizer – Hydrangeas needing fertilizer or having been fertilized wrong will always disappoint. As mentioned above they need slow-release high phosphorus fertilizer. If you are using a high nitrogen, low phosphorus fertilizer, you will have lots of pretty leaves and no blooms. Just remember – use a fertilizer with a low first number and a high second number.
Water – The right amount of water will make a difference. You don’t want the plant to be too wet or too dry. It is ok if they droop in the afternoon heat, but if they are still droopy in the morning, they need a good watering.
Sunshine – Hydrangeas bloom best planted in morning sun with dappled afternoon shade. When planted in a hot location such as on the south or west sides of a structure, they need to be protected from the scorching afternoon sun. The bottom line is you don’t want them to fry, and you don’t what them to go without some sun.
Soil Problems – What you plant your hydrangeas in will impact the results. Hydrangeas require well drained soil with a good amount of organic material. In our native soils it is best to adjust the soil when planting with ample amounts of pine bark, peat moss, and/or pecan hulls.

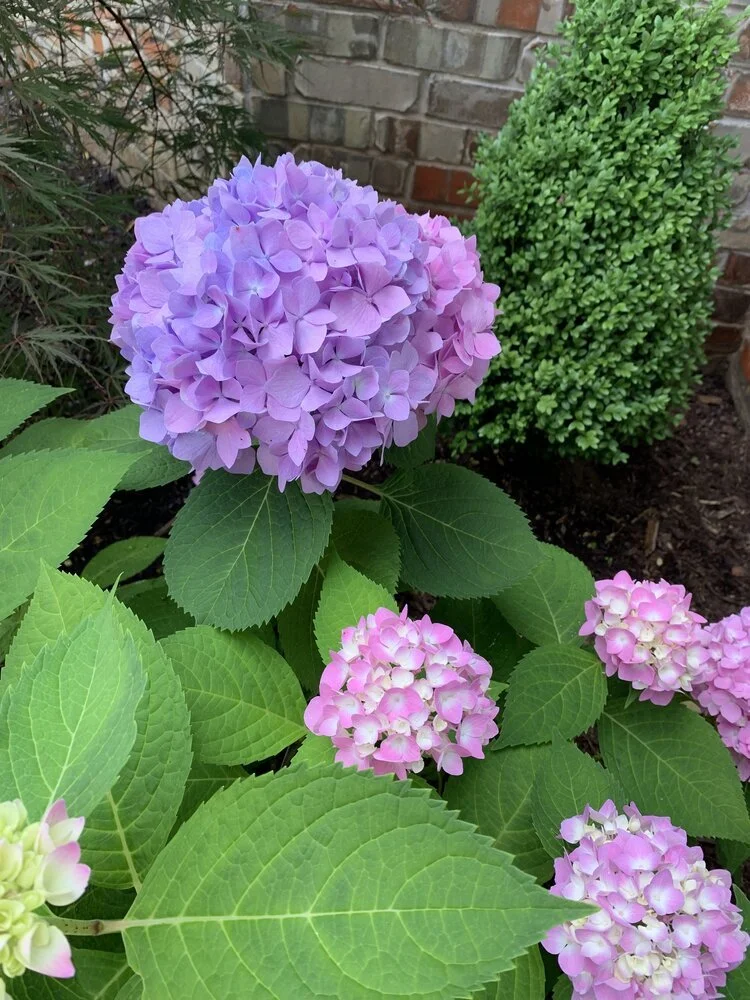
This Endless Summer Hydrangea was added to the landscape last spring and the homeowner was rewarded with extra large blooms this June.
I believe that there is a hydrangea just right for nearly every landscape.
Yes, they require a little more work when planting, and a little more attention to water, but otherwise they are not near as fussy as you would think.
Survey your landscape.
Pick a spot.
Take a trip to a landscape nursery.
Select the perfect hydrangea for your landscape.
It’s worth a try!
Lorne Hall
Hall | Stewart Lawn + Landscape
(405)367-3873
Ornamental Grasses – The Single Maintenance Per Year Plant!

Ornamental grasses are a great addition to any landscape. They are easy to grow. They are tolerant of most soils. Once they are established, they don’t require much water. And, they rarely have insect or disease issues.
Best of all - they require little maintenance.
They need trimming only one time per year.
The rest of the season they need little to no attention.
What is an ornamental grass?
Most commonly they come in two forms: medium to tall grasses and groundcovers.
Groundcovers include Liriope and Mondo Grass. They are often used as borders or in mass plantings. Liriope makes a great groundcover in turf areas that are even too shady for fescue.
Taller grasses can be used as focal point or in mass plantings.
Ornamental grasses provide texture, color, height, and flower plumes. They also add interest in the winter as their blades sway in the breeze.
A few of the more frequently used grasses include Fountain Grass (including the popular Hameln), Japanese Blood Grass, Liriope, Maiden Grass, Mondo Grass, Plume Grass, Mexican Feather Grass, Muhly, and Sweet Flag.

Liriope, commonly know as Monkey Grass, makes a good ground cover. There are several varieties. Purple Explosion produces deep purple spikes in the late summer.

Pink Muhly Grass produces pinkish-purple lacy plumes in the fall.

Liriope is a great solution for areas that are too shady to grow a thick lawn.
When do ornamental grasses need their once per year trim?
Anytime now through mid-March. The goal is to remove all the dormant top before new shoots start to develop. If you make a cut on new shoots, the tip will keep a bruised look all season.

I prefer to wait until late winter to cut back ornamental grasses. They add interest to the winter landscape as they sway in the wind.

Ornamental grasses need to have their dormant foliage removed before new shoots emerge this spring.

Cutting back your ornamental grasses in late winter can be a big task. But, you only have to work on the one time per year. Grasses are nearly maintenance free the rest of the year.
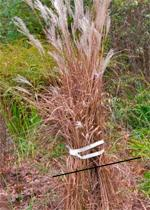
Tying up the foliage first will make the job and clean-up go quicker.

Liriope and Mondo Grasses typically have freeze burnt leaf blades from winter cold spells and need to be trimmed sometime between now and mid-March.
What height does ornamental grass need to be cut?
For pampas grasses, remove the dormant foliage to a height of approximately 12”.
For liriope, trim to a height of 2-3”.
Mondo Grass, particularly Dwarf Mondo, only needs a once per year trim if most of the foliage has browned. Most springs you can use hand pruners to clip out what little brown foliage there is on dwarf mondo.
Another exception to the once per year trim is Mexican Feather Grass. This ornamental grass performs best if it isn’t trimmed at all. As the grass matures, small areas will turn brown. Gently pull the brown areas out anytime they appear.

Mexican Feather Grass is the one exception to cutting them down in the spring. Instead, remove any brown clumps from the grass during the growing season by gently pulling them out.
What are the best tools for the project?
For pampas grasses, use either hand hedge shears or power hedge trimmers depending on how thick the grass clumps have become. To make the job easier, use twine to tie up the foliage before you make your cuts.
For liriope, you can use your string trimmer, or if the area is large enough, go ahead and use the mower on the highest setting.

Mexican Feather Grass prefers not to be cut back in the spring.
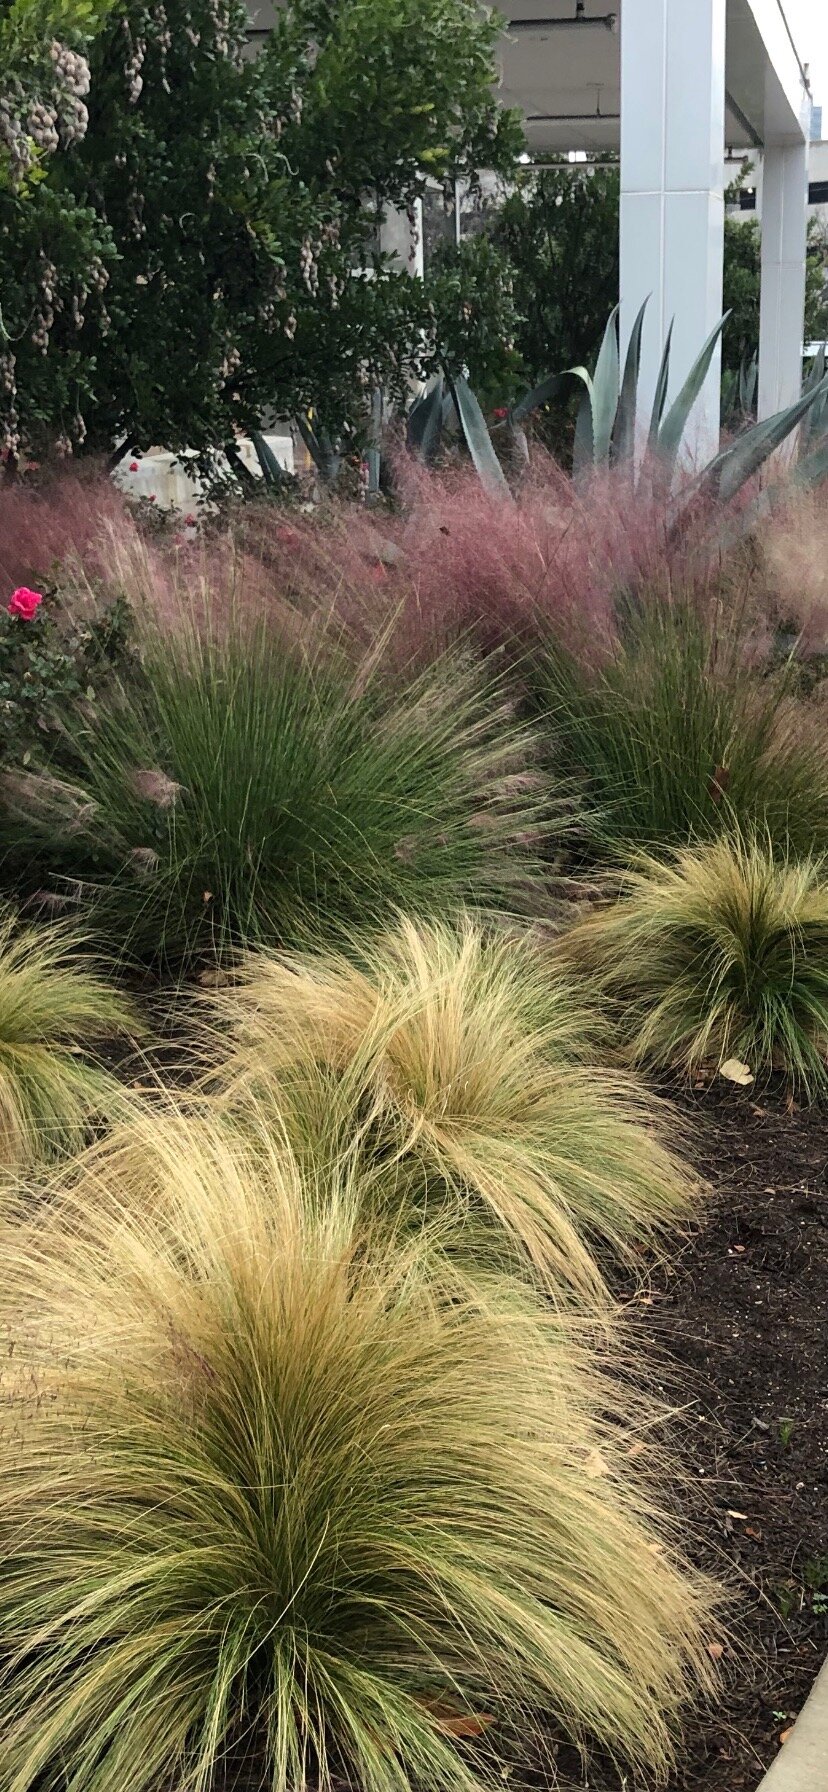
Grouping of Mexican Feather Grass planted with Pink Muhly Grass.
Should I divide my grasses?
It is not uncommon for pampas grasses to die out in the center of the clump as the grass matures and grows. Every 3-5 years it is a good idea to divide grasses in the spring. Using a sharp shovel, simply slice through the grass. Then, replant the clump.
Liriope can easily be transplanted after it is cut back. Use a shovel or even a post-hole digger to dig clumps. Liriope can be invasive. Therefore, I find I need to dig up liriope that has spread beyond the intended area occasionally.
Dividing and replanting grasses is an inexpensive way to expand your landscape.

Liriope, also known as Monkey Grass, should have the brown tops removed before new shoots emerge in mid-March.

When you pull back the brown tops of your liriope you will see the plants are still green. Sometime in the next 4 weeks use your string trimmer or mower to remove the brown tops.

Pink Muhly Grass is with vivid pink to purple plumes in the fall.
When is the best time to plant new ornamental grasses?
Ornamental grasses can be planted year-round in our region. The ideal time is spring or fall. Summer is also good, but they will require more watering until established.
A good source for ornamental grass information:
https://www.monrovia.com/shop/by-type/grasses.html
Have more questions about ornamental grasses? Give us a call (405)367-3873.
Lorne Hall
Hall | Stewart Lawn + Landscape
(405)367-3873

A great combination of plants for winter interest is Reg Twig Dogwood and Ornamental Grasses.
Crabgrass Jr Takes Over The Hall | Stewart Blog


The first signs of crabgrass every spring is in areas of bare soil.

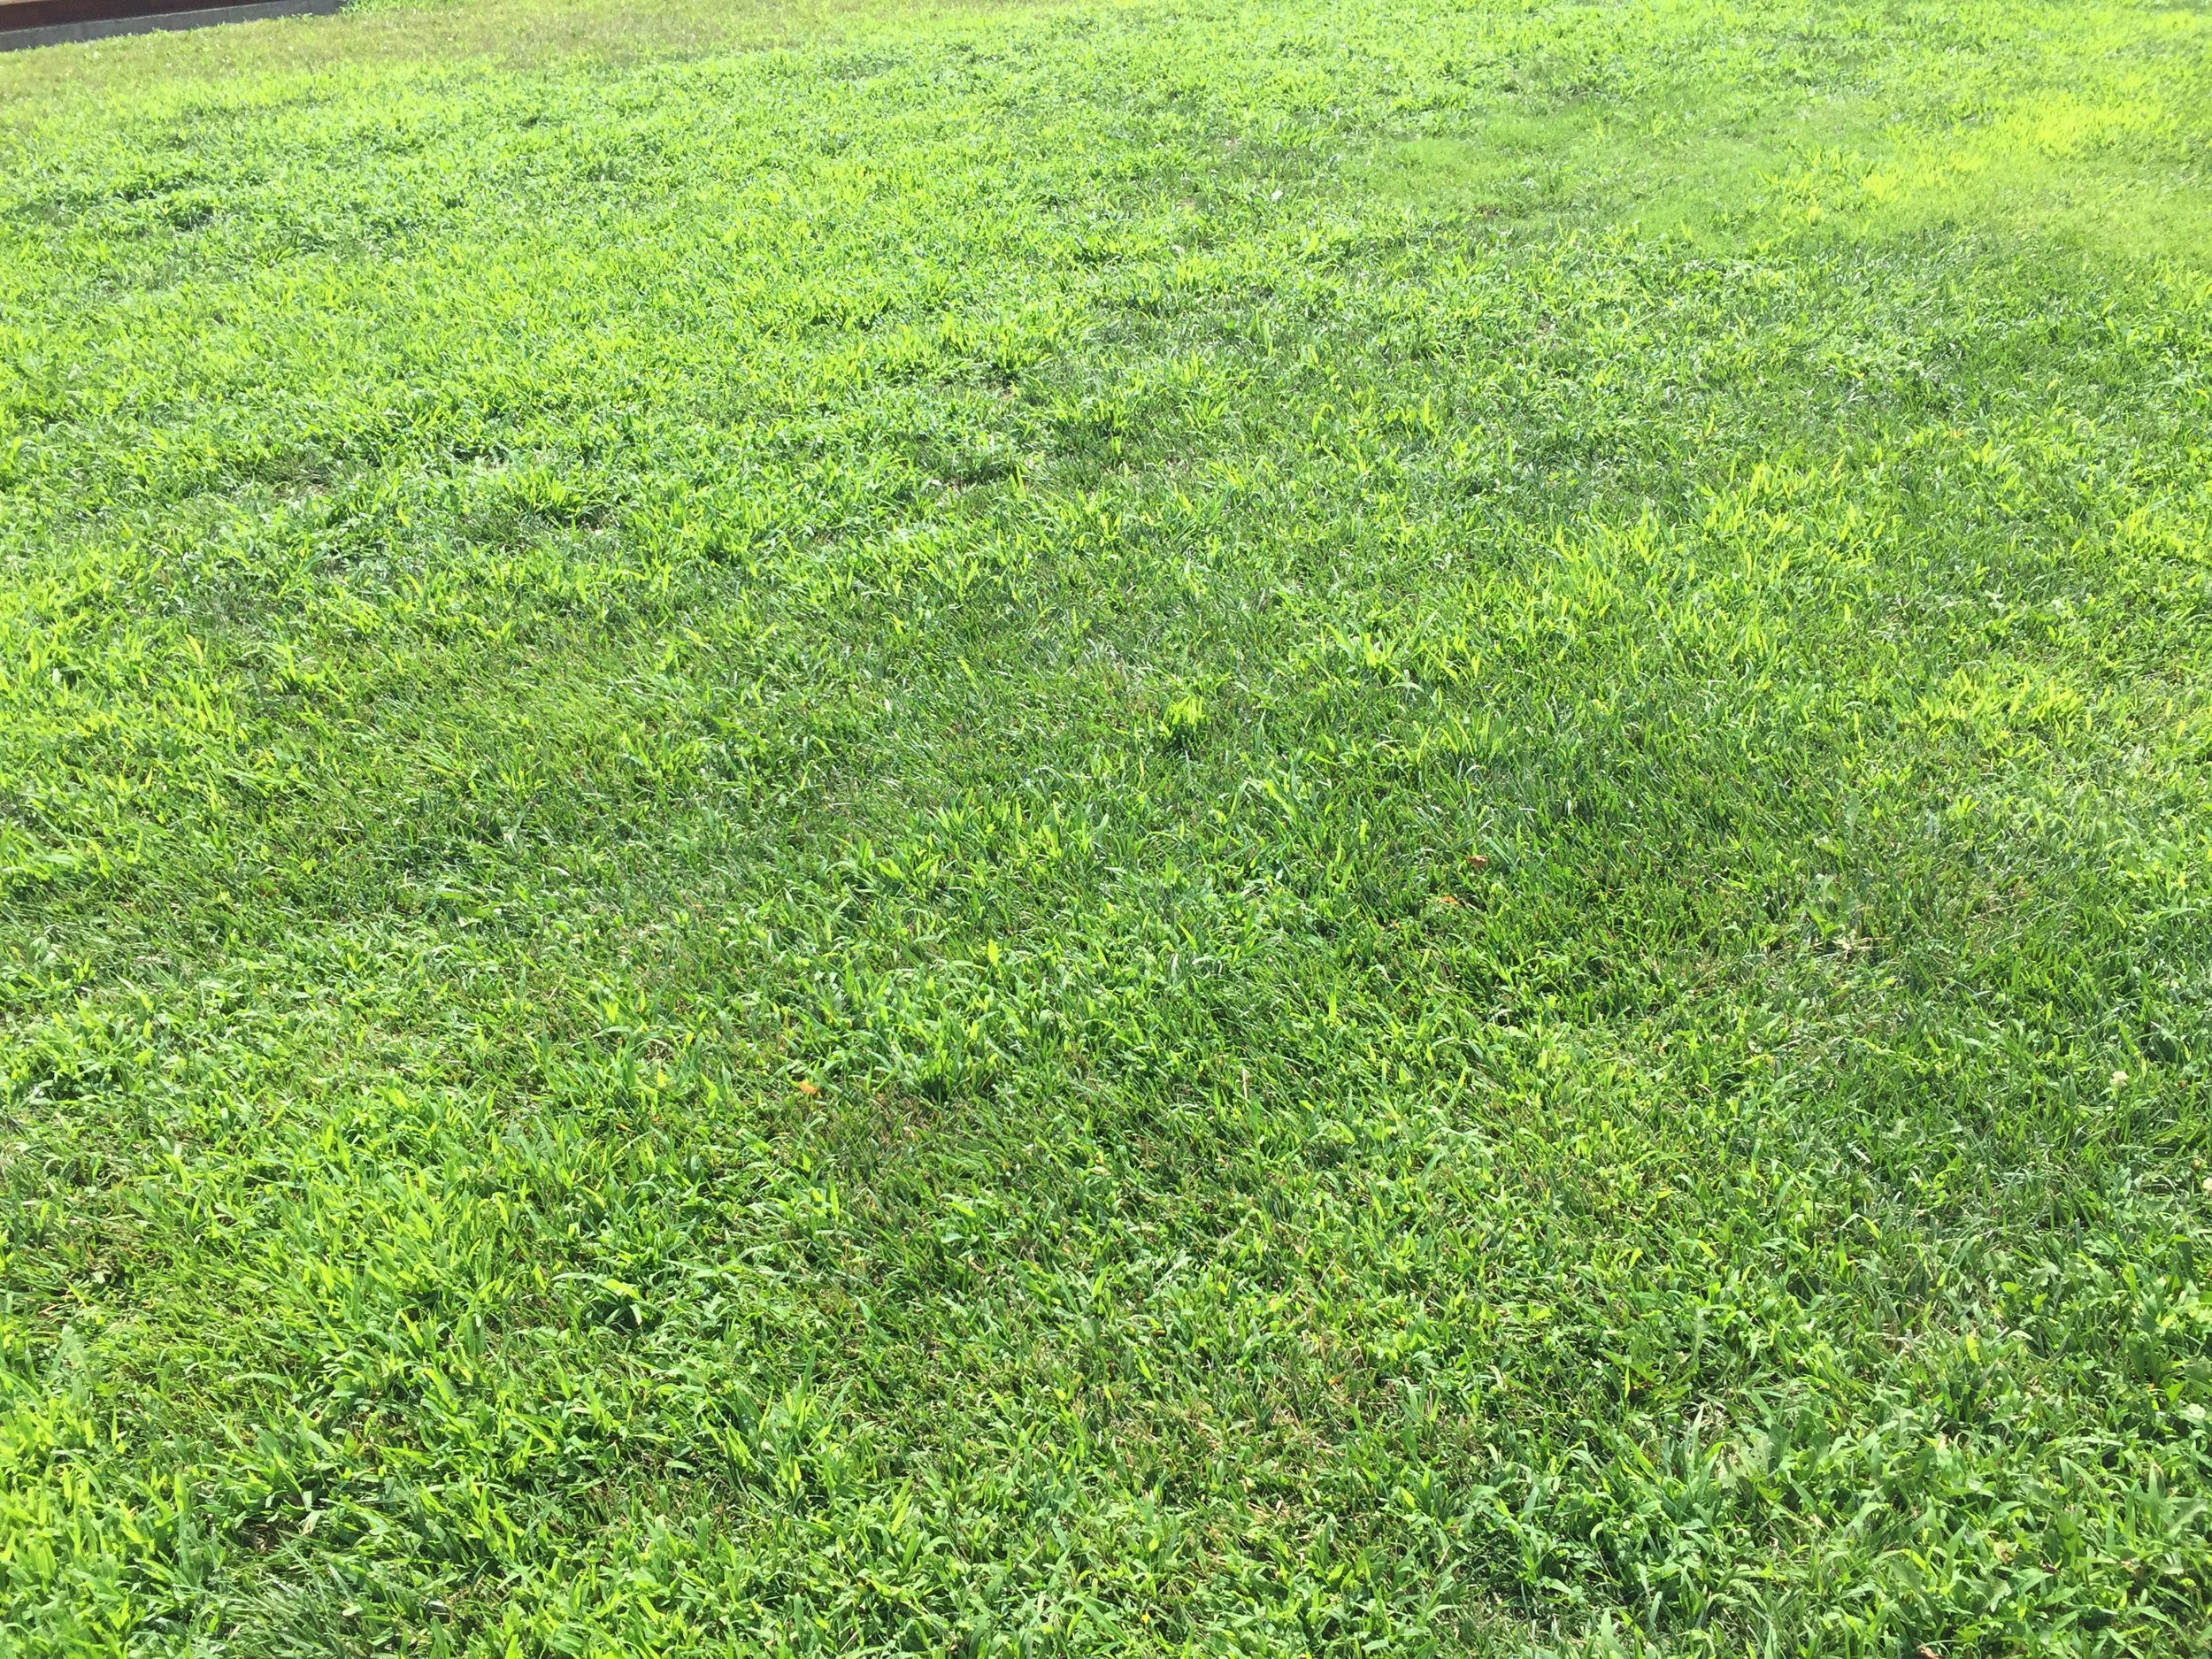
Without a spring pre-emergent your lawn will be more crabgrass than turfgrass by midsummer.


Crabgrass is an aggressive annual grassy weed. A single seed that starts growing in March will be a large grassy weed by early July.


How aggressive is crabgrass? This is a picture from April 2022 of crabgrass 4 weeks after soul temperatures reached 55 degrees, the point that crabgrass starts to germinate.

Crabgrass may be the most feared weed of all. So feared, and so well known, that it is common for lawn owners to refer to any weed in their lawn as “crabgrass.”
Crabgrass should be feared. Crabgrass is a prolific grower and if left unattended will rapidly dominate turf.
Yet, crabgrass is one of the earliest annual summer weeds to prevent when pre-emergent herbicides are applied correctly and timely.
The Hall | Stewart promise is to make sure the best pre-emergent herbicides are applied at the correct label rates and at the correct time each spring to prevent summer annual weeds from germinating in your lawn.
If you are a subscriber to either the Hall | Stewart 7-Step Weed Control & Fertilizer Program or the Hall | Stewart 4-Step Weed Control Only, we will prevent crabgrass from growing in your lawn this year.

When pre-emergent herbicides are applied at the right time in the spring, you can have a crabgrass free lawn all summer.
We have been visiting customer’s lawns since early January, and we will make sure all our customers’ lawns are protected before crabgrass germinates in March.
If you are not on a Hall | Stewart Lawn Care Program, please give us a call.
Our Goal: To help everyone have their best lawn…this year!
Lorne Hall
Hall | Stewart Lawn + Landscape
(405)367-3873
Boxwood – A Staple in the Landscape

Since I’m pretty confident you will not be spending time outside in your lawn and landscape on this blustery winter day, how about we spend a few minutes discussing one of the most, if not the most, common shrub in the landscape, the boxwood?
With 90 species and over 365 different cultivars of boxwoods, it is easy to see why there is a boxwood for every landscape.
Boxwoods grow naturally in a variety of shapes - rounded, upright, and pyramidal.
Boxwoods also come in a variety of sizes: anywhere from 2’ to 15’ tall and 2’ to 8’ wide.
Boxwoods grow from zone 5 through zone 9. Oh, and in case you are wondering, Oklahoma City is right in the middle, zone 7.
Boxwoods are a landscape staple that have a way of enhancing the garden without competing with other plants. They can be used in a formal garden to add an old-world feel and equally fit in well in a casual landscape setting. In the summertime, they provide a background of green while in the winter the provide structure and color.

Barberry add a splash of red against the backdrop of Boxwood lining a front walk.

Boxwood add green to the winter landscape while the perennials take a break. Without the Boxwood defining the bed the area would be void of interest in the winter.
Boxwoods easily shear — making them a great choice for hedges, borders, and foundation plantings. While at the same time, boxwoods make a great stand-alone shrub bringing attention to their natural growth habit.

Boxwoods are a great choice for height in the center of a container adding a rich green backdrop for seasonal color.

A very traditional use of Boxwoods framing the walk creating a welcoming stroll to the front door.
Boxwoods are an excellent choice for a symmetrical planting to frame the landscape, for foundation plantings, for outlining a patio or outdoor seating area to create a room feel, for pathway edges, as a backdrop in the perennial garden, to soften a fence or a wall, or simply planted in a container.
With so many boxwoods, how do you choose the right one for your landscape?
Nine boxwoods I currently enjoy the most:
Winter Gem Boxwood – As a very hardy small hedge, it is a favorite for borders, hedges, and foundation plantings. The Winter Gem has a natural rounded growth habit but shears well, making it easy to shape into spheres, cones, or hedges. The dark green leaves turn a golden bronze hue in the winter, adding an extra interest to the landscape. Winter Gem reaches 4-6’ tall and wide if left untrimmed.
Sprinter Boxwood – An improved Winter Gem introduced by Proven Winters. It is faster growing and maintains a green color through the winter. Use as a low hedge in a formal garden or as a foundation planting. Sprinter Boxwoods grow to 2-4’ tall and wide.
Winter Green Boxwood – Rich green color through the summer and winter. Commonly used as a hedge or foundation planting. Can also be sheared to maintain desired shape and size. Grows 4’ tall and wide.

Winter Gem Boxwood sheared into a cone shape is a simple way to fill a container.
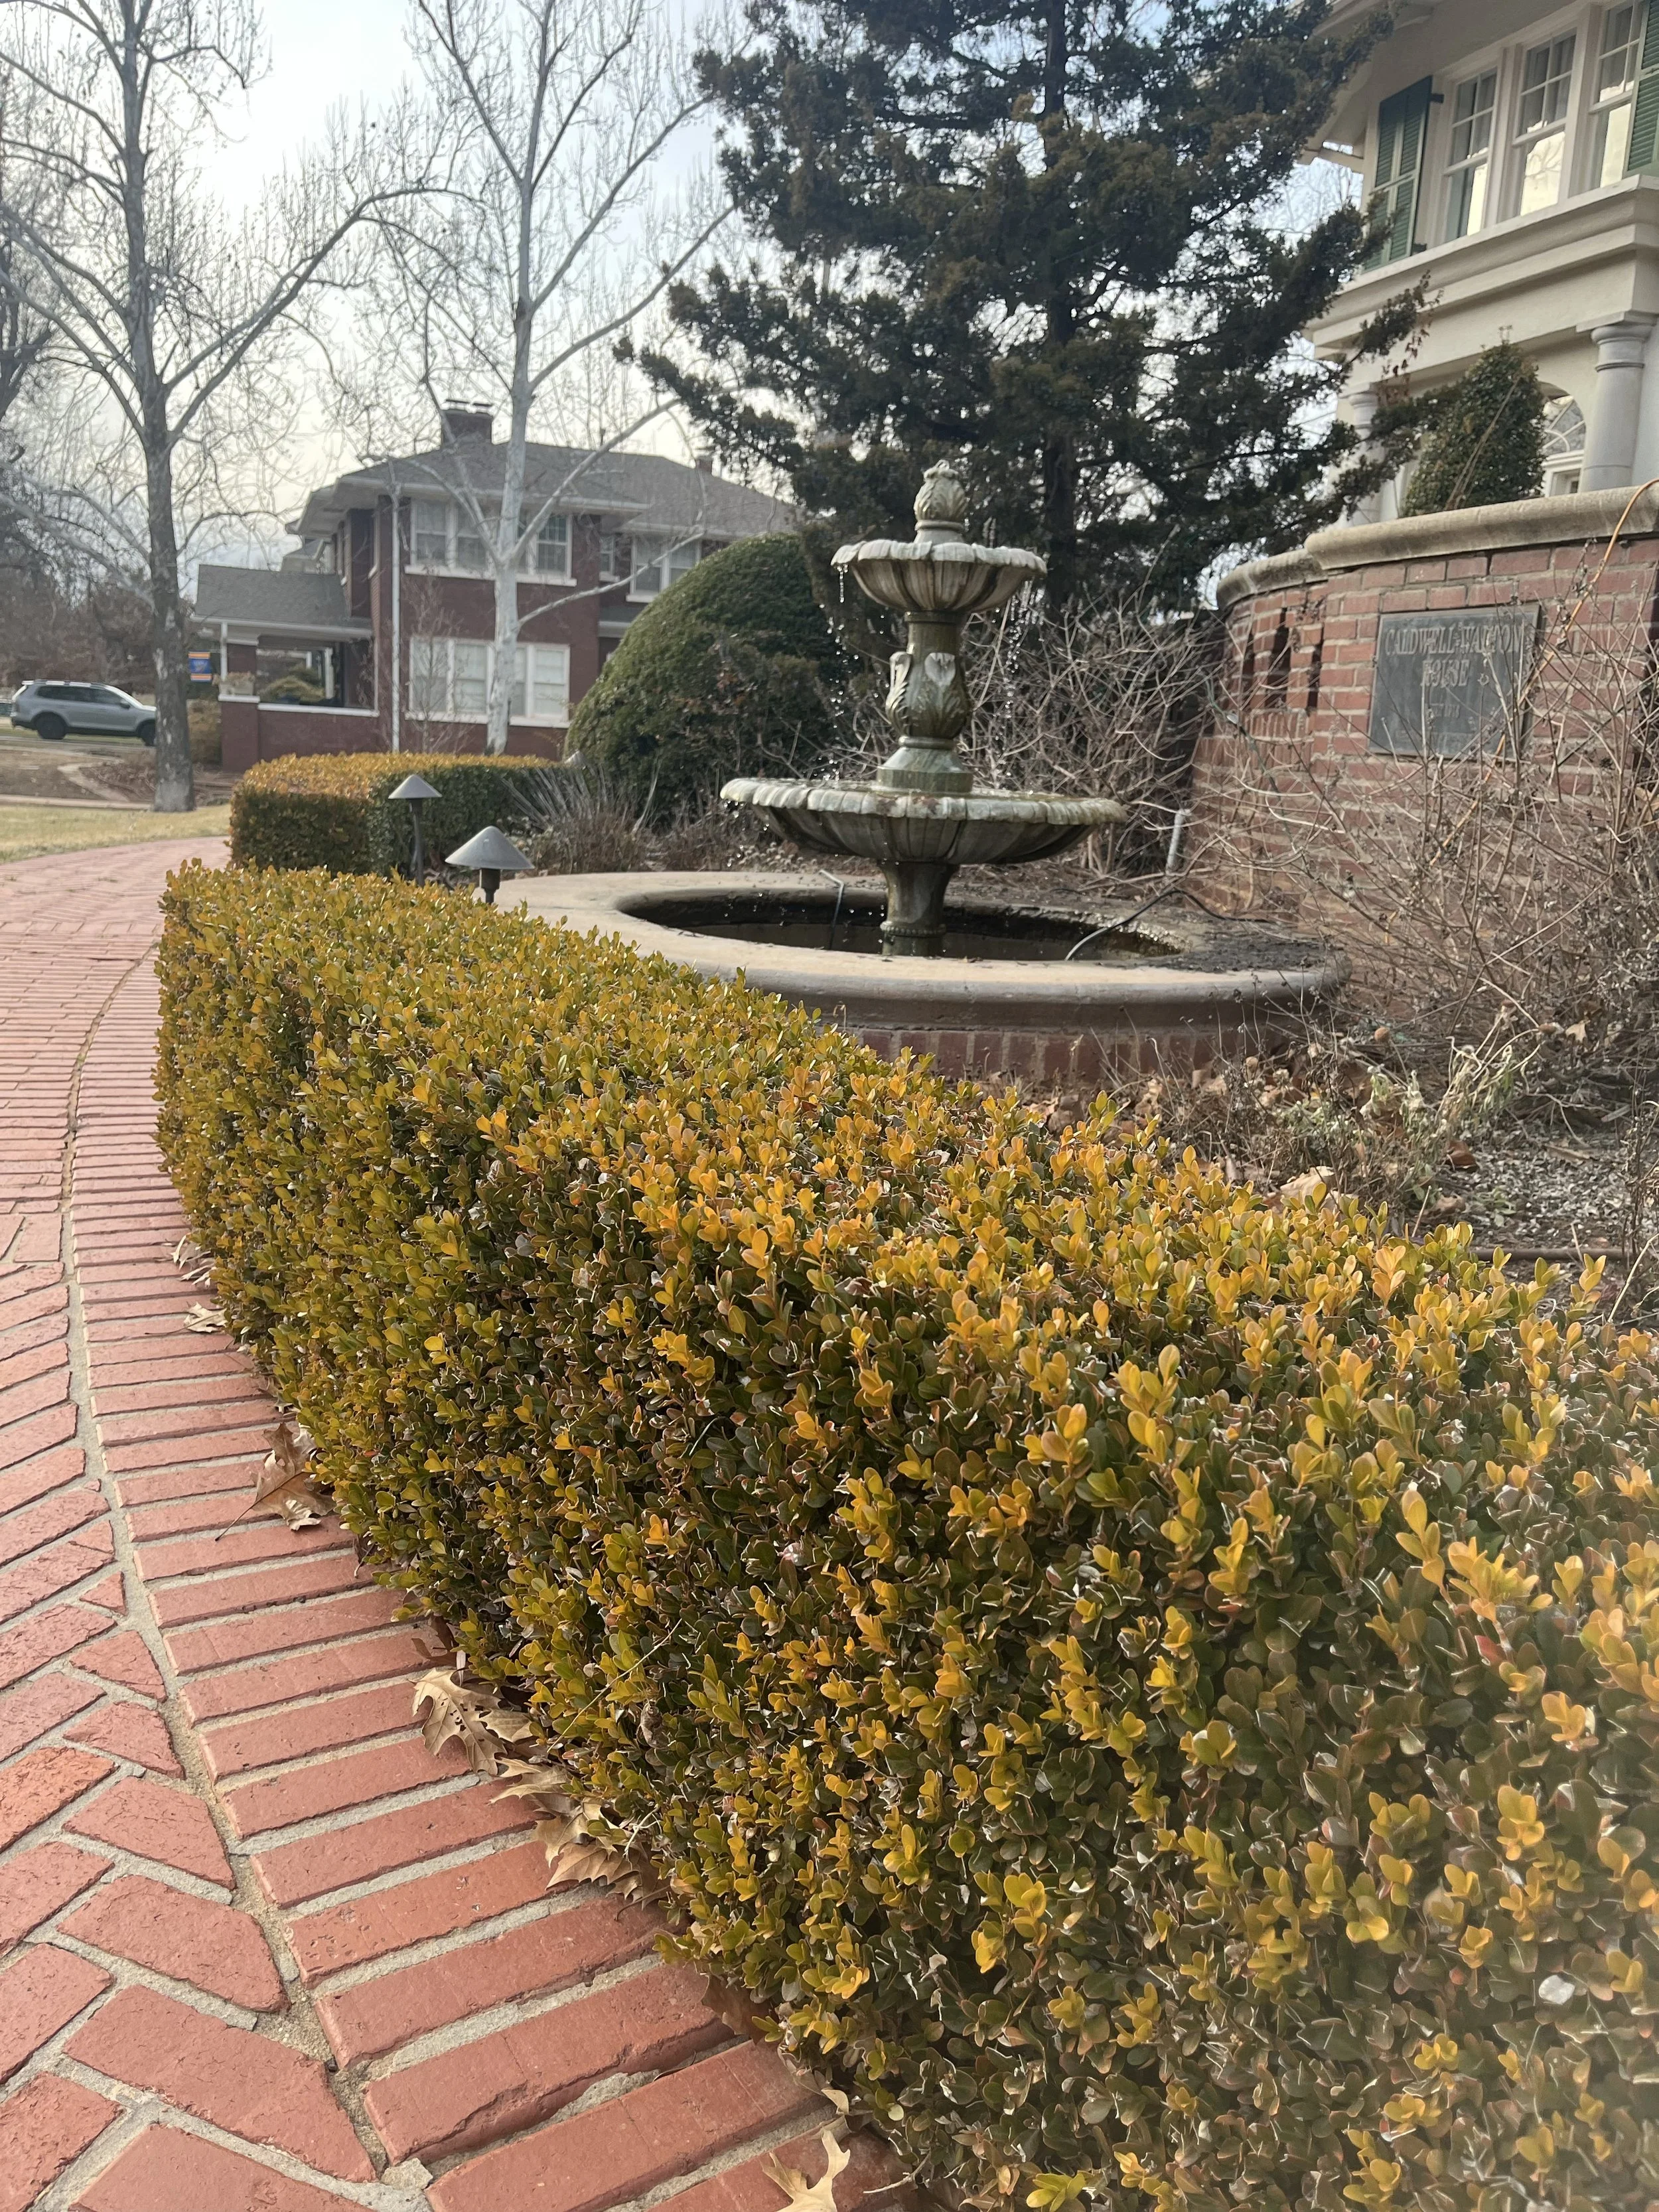
Winter Gem Boxwood in their winter bronze tone add formality to the area around a fountain.
Baby Gem Boxwood – Compact dense green foliage that retains a green color in the winter. Another perfect choice for a formal hedge along a walk. A slow grower that only reaches 3’ tall and wide.

Newly planted Baby Gem Boxwood creating a formal hedge along a walk with Green Mountain Boxwood adding an accent on each end.

Baby Gem Boxwood used to frame a bed with room for annuals in the summer and larger summer blooming plants behind to create layers in the landscape.
Green Tower Boxwood – With a columnar growth habit it is a classic addition to any landscape. Green Tower has dark green leaves with lighter green on the underside and keeps a green color through the winter. Great used as a hedge, for privacy, around a foundation or as a punctuation to accent the landscape. Reaching 9’ tall while only 2’ wide, Green Tower is a great evergreen hedge for tight spaces.
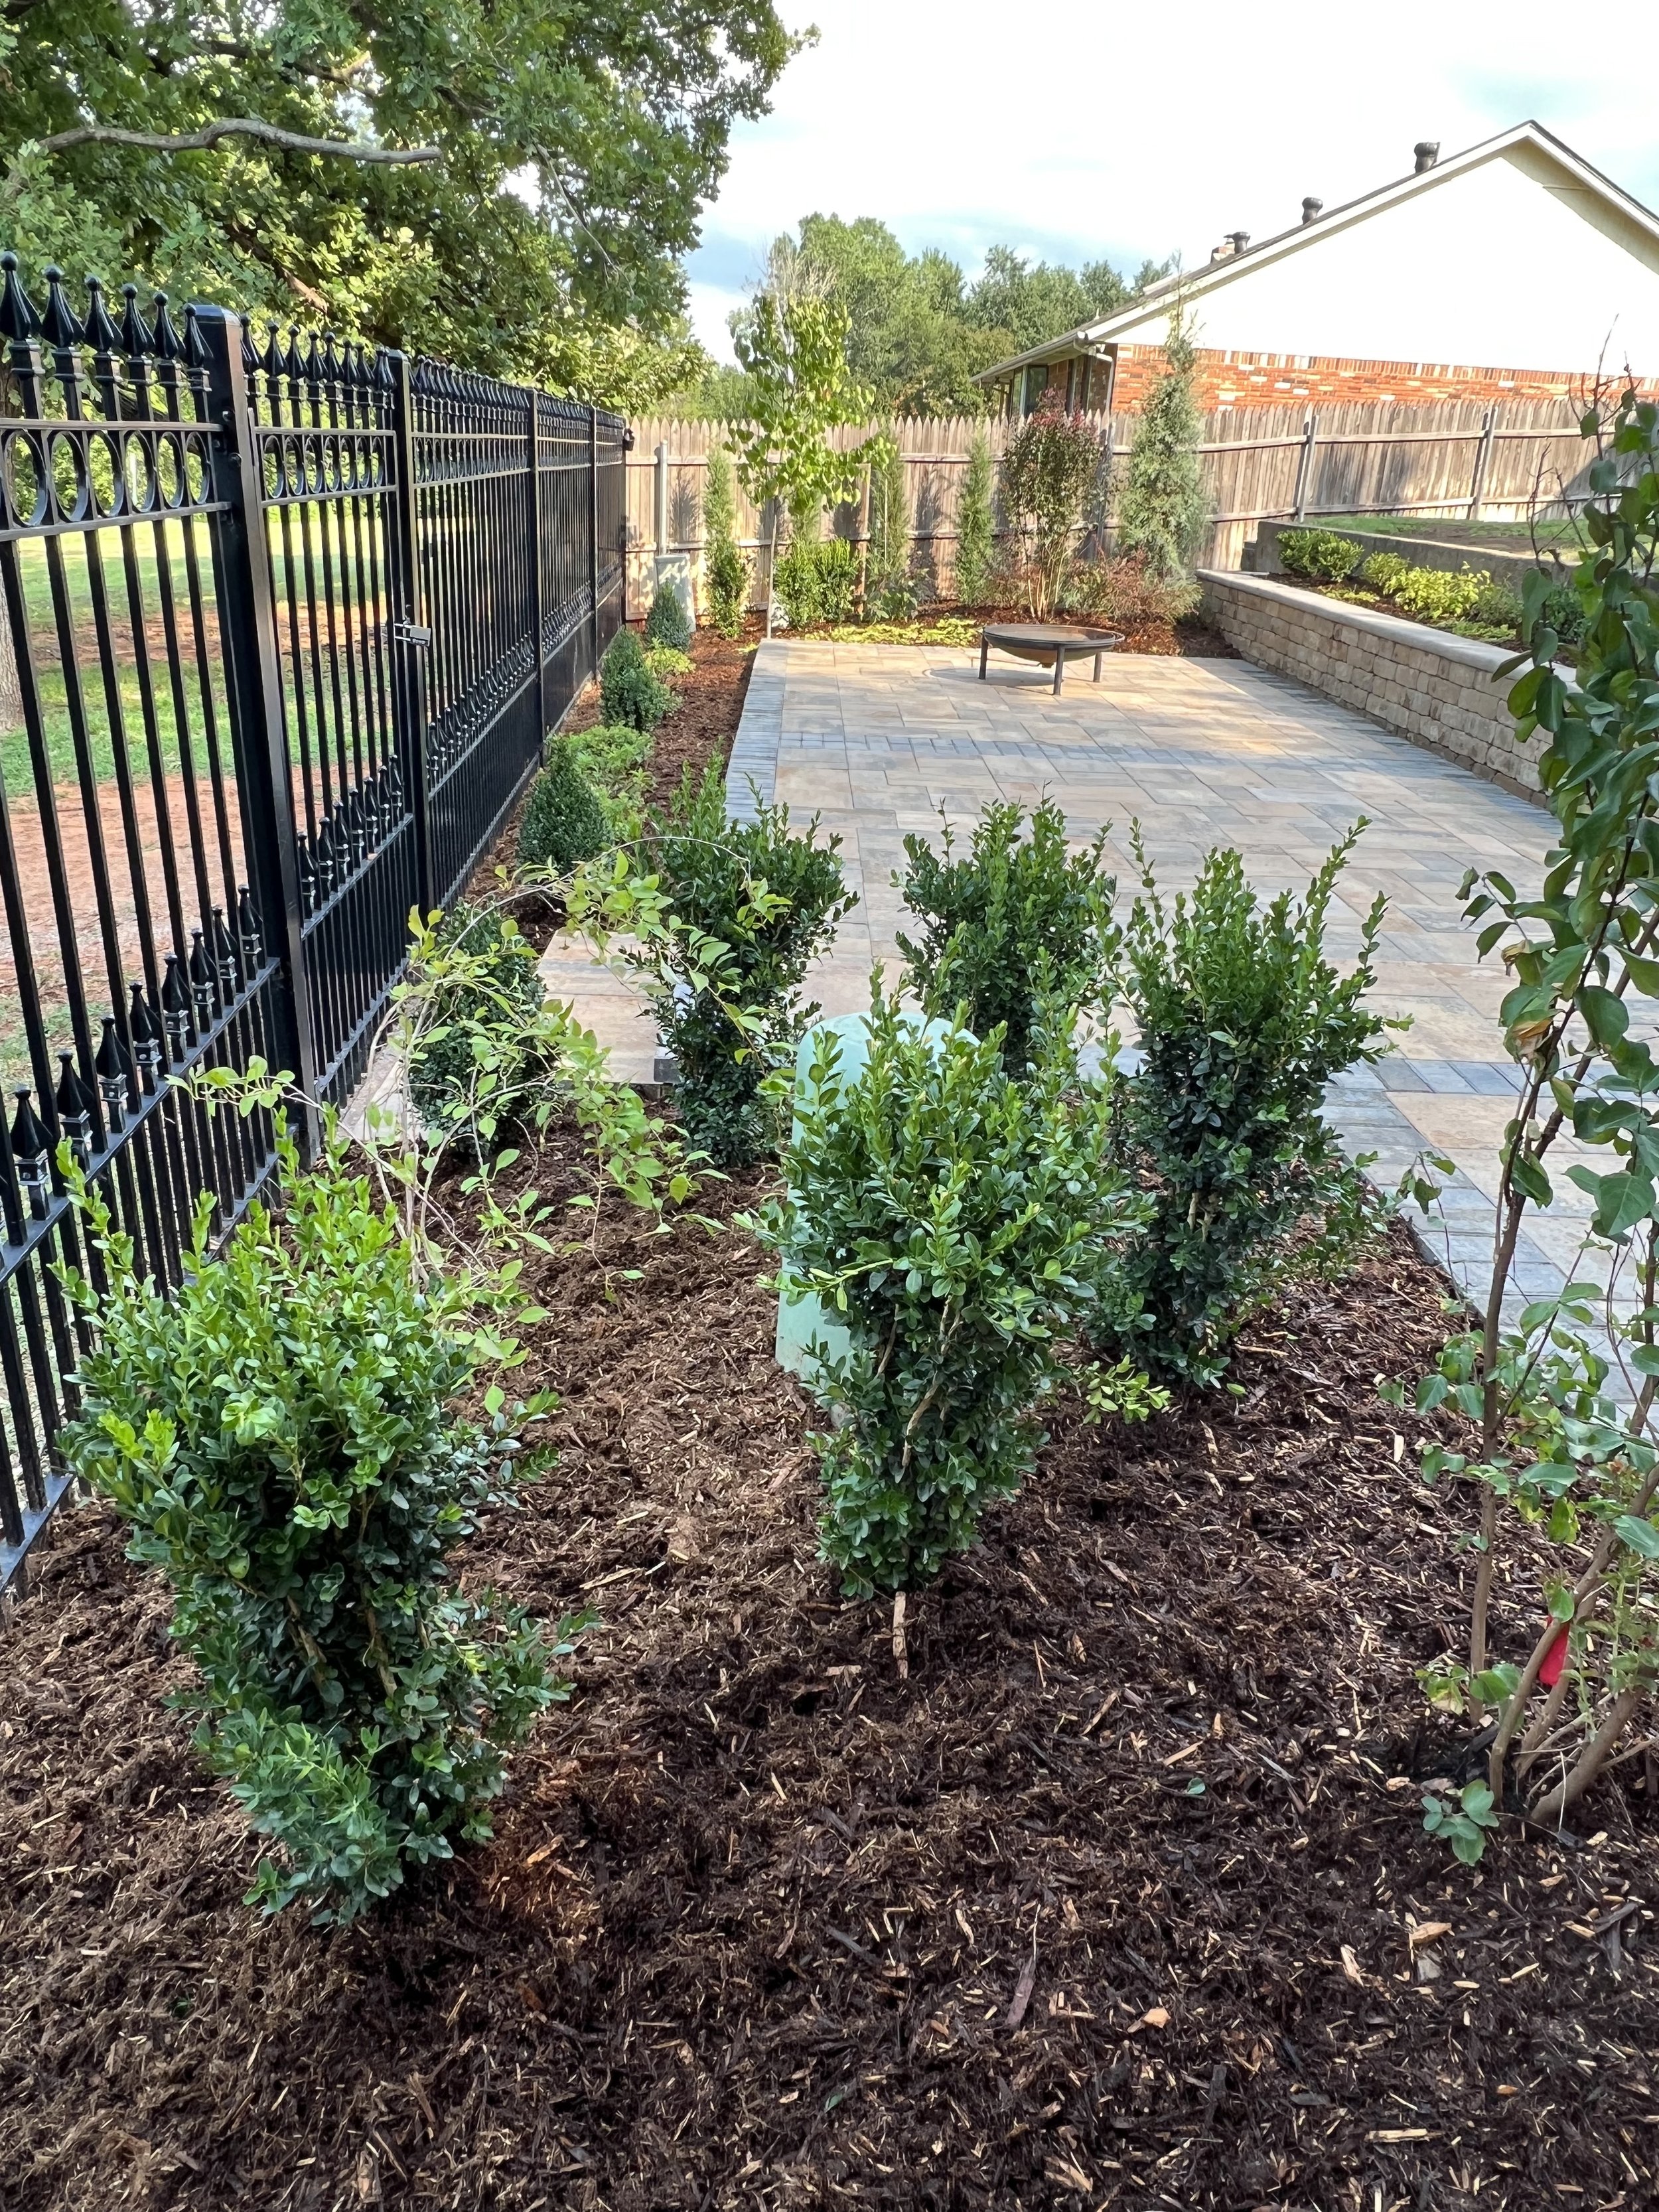
Green Tower Boxwood planted to screen utilities near an outdoor living space.

Green Tower Boxwood adding an accent of green in the spring amongst azaleas and tulips.
Green Mountain Boxwood – With an upright, naturally cone shaped growth habit very little maintenance is needed for them to add an elegant accent to the landscape. When planted as a hedge, the pyramidal shape of the Green Mountain adds interest to an often-ho-hum hedge. It maintains very good winter color. Green Mountains grow up to 5’ tall and 3’ wide.

Green Mountain Boxwood used to add a punctuation in the landscape.

Green Mountain Boxwood growing in their natural round cone shape used to visually separate a walk from a drive. The contrast of the red Nandina and the green Boxwood add interest to the winter landscape.
Green Velvet Boxwood – A great plant for adding year-round structure to the landscape as a stand-alone rounded shrub or as foundation planting. Green Velvet’s dense low growth also makes a good hedge. Foliage remains rich green throughout winter. Green Velvet maintains a 3-4’ rounded growth habit if not pruned.

Green Velvet Boxwood used as a foundation and allowed to grow in their natural rounded shape.

Green Velvet Boxwood along the edge of a drive. Notice the boxwoods are not sheared growing in their natural round habit.
Dwarf English Boxwood – Small rounded slow grower reaching only 2’ tall and 2’ wide. Great as a small hedge along a pathway or in a container as an accent.
Variegated English Boxwoods – Small dark green leaves with creamy white edges. A slower grower that tops out at 5-6’ tall and wide. Great as a border, hedge, stand-alone accent or foundation planting. Best planted out of the afternoon and evening sun as it prefers a little less sun than green boxwoods.
And that is only 9 of the over 365!
Planting Boxwoods
Boxwoods, like most shrubs, prefer good drainage. They are adaptable to various soils but prefer slightly acidic soils. Good drainage is very important if planted in alkaline soils and they do not do well in heavy, wet soils.
Boxwoods prefer 4-6 hours of direct sunlight per day. They can grow in more shade but tend to have a more open, airy growth habit the less sun they receive.
If possible, avoid overly exposed, windy locations. Dry winter winds can cause tip dieback.
Most boxwoods are slow to moderate growers only putting on 3-6” of growth per year. So, when planting a hedge, plant on centers half the mature width. Example: If the mature width of the boxwood variety you selected is 4’, plant on 2’ centers.
When planting stand-alone boxwoods, select areas where there is space for good airflow and the shrub is not crowded by other plants.
Dig a hole twice the size of the pot and slightly deeper. Mix plenty of organic compost with the soil you removed from the hole and put some of the mix back in the hole. Lightly tamp the soil then position the plant with the top of the root ball approximately 1 to 2” above the soil level. Using your soil mixture, halfway fill the area around the plant, tamp it down, add water, then fill the area to the top of the root ball. Water again to remove air pockets in the soil. Level soil with a slight taper away from the top of the root ball. Finish the planting with 2” of a quality organic mulch to hold moisture and cool the soils in the summer and hold warmth in the winter.

Dig a hole twice the size of the pot and slightly deeper.

Put some of the soil and compost mixture in the bottom of the hole and lightly tamp.
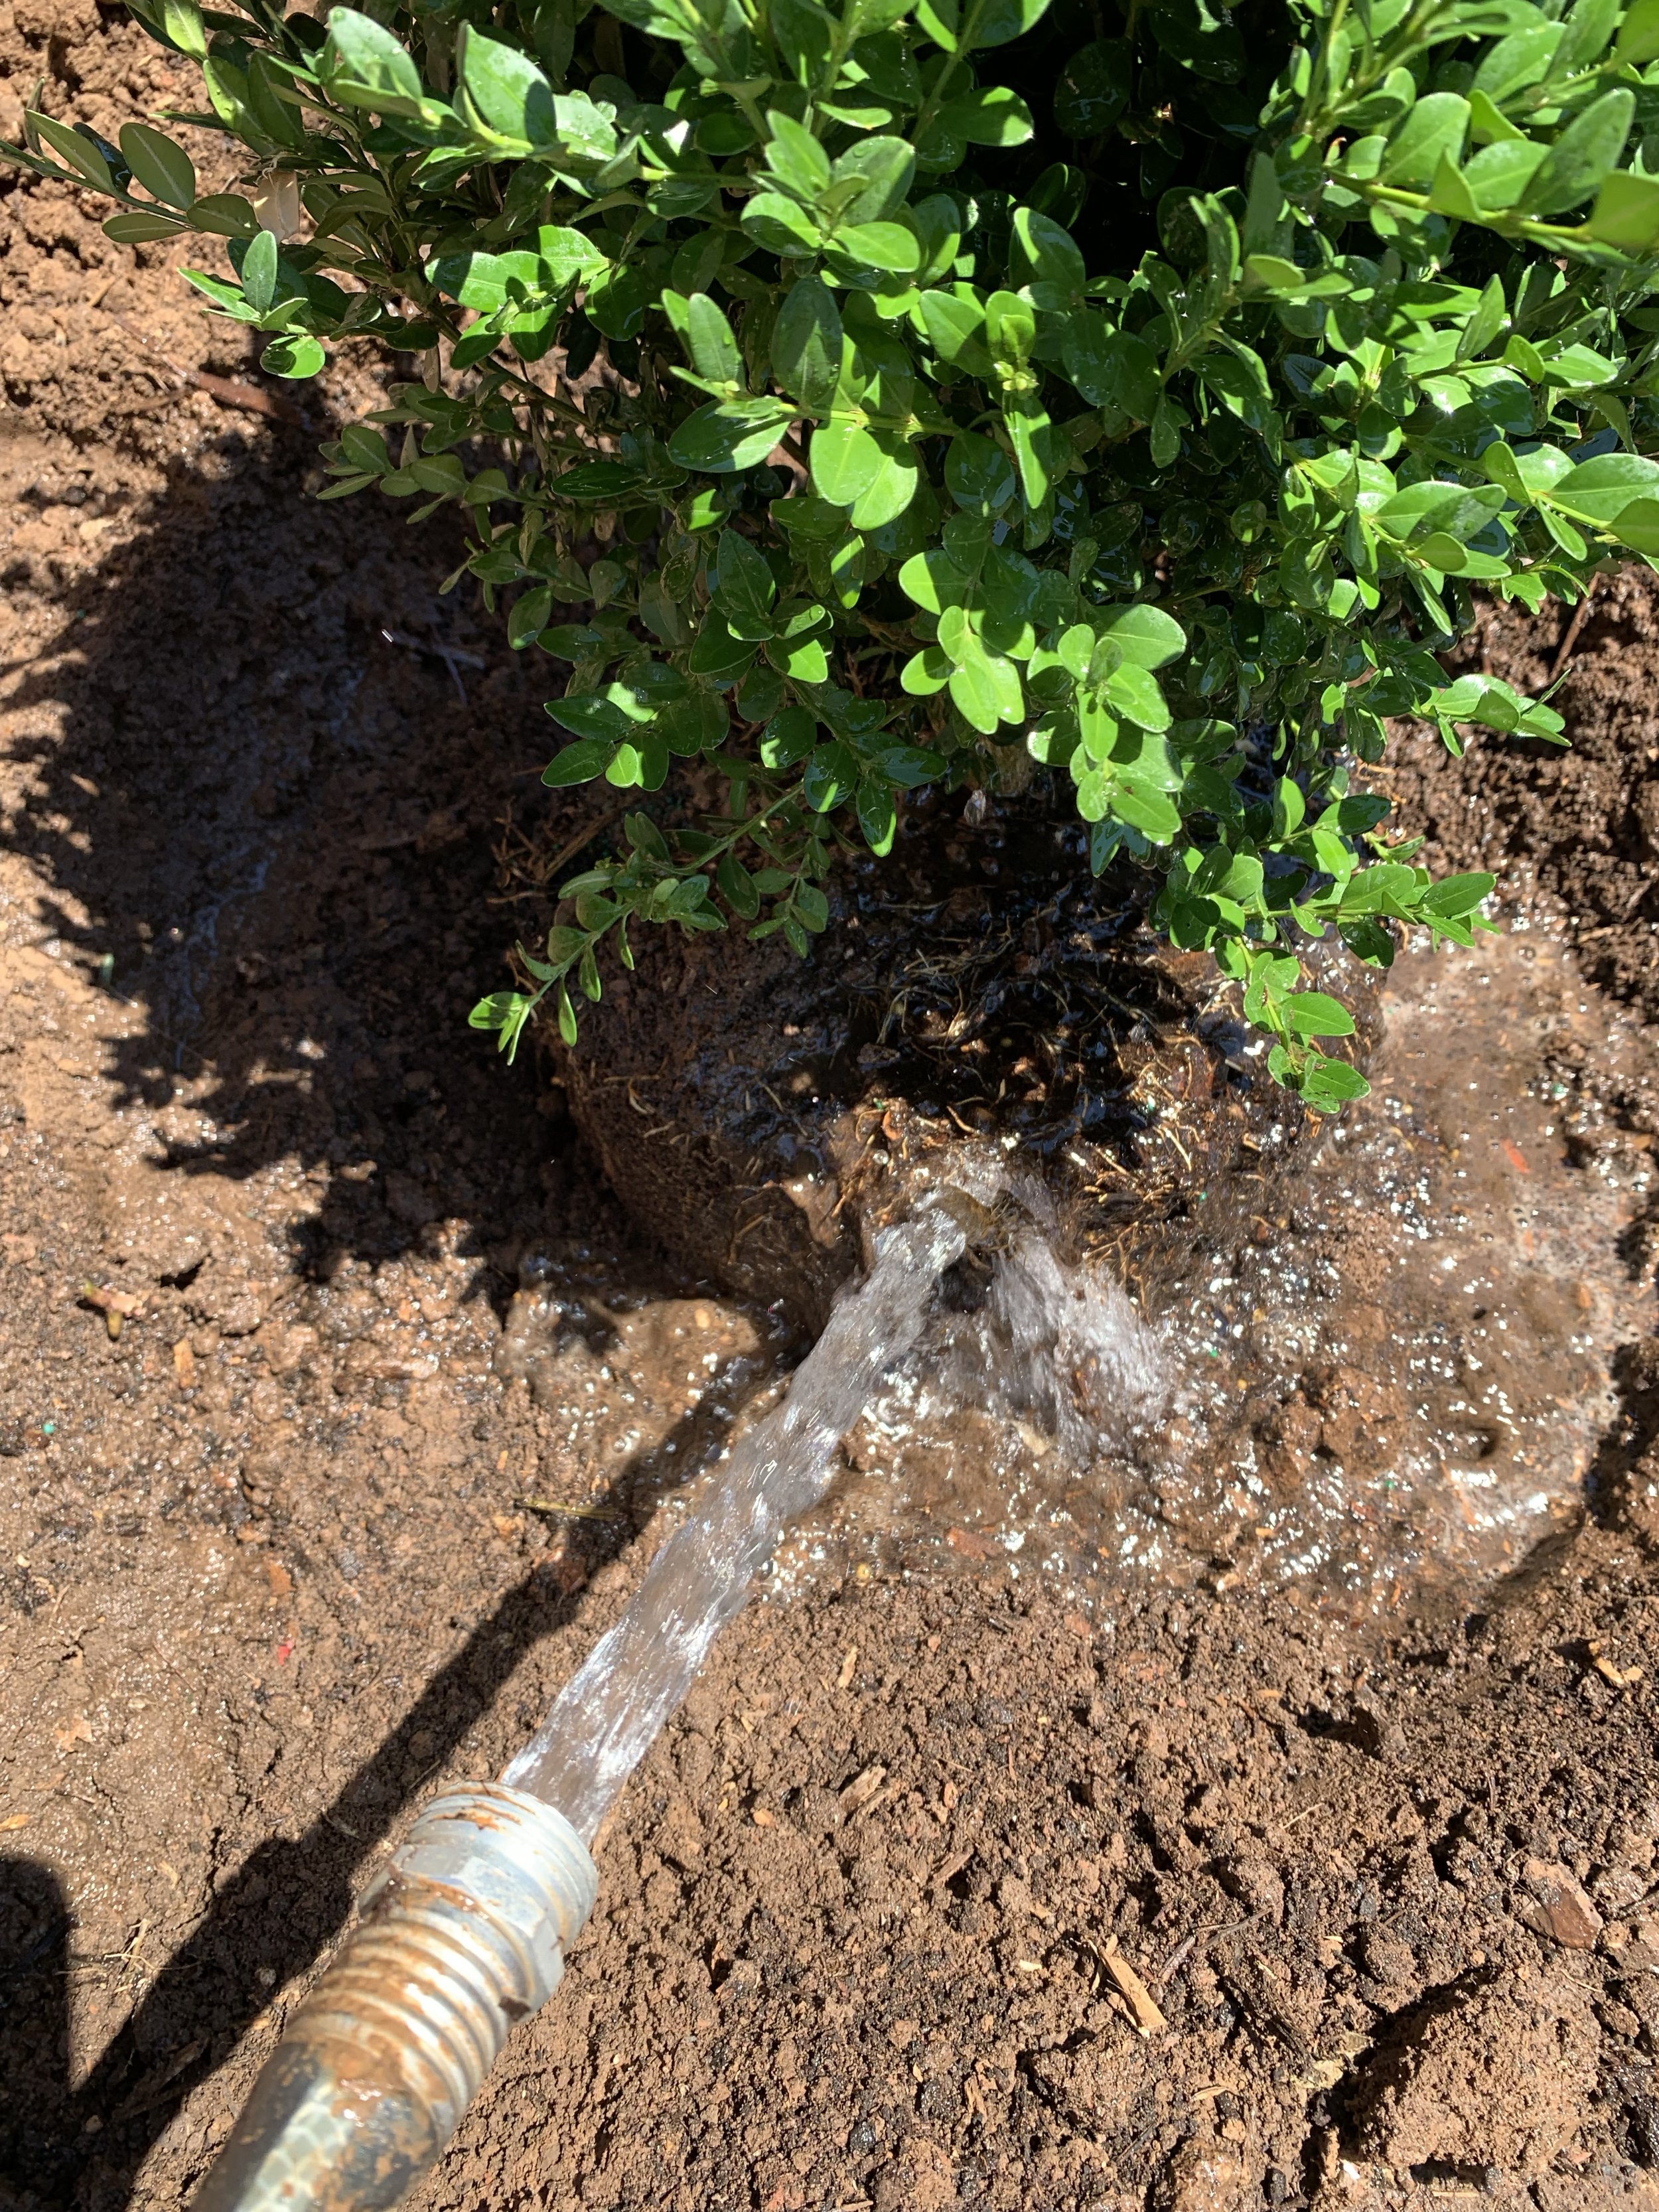
Using your soil mixture partially backfill around the root ball, tamp down the soil, and then add water.

Finish the planting with 2” of a quality organic mulch to hold moisture and moderate soil temperatures.

Mix plenty of organic compost with the soil you removed from the hole you dug.
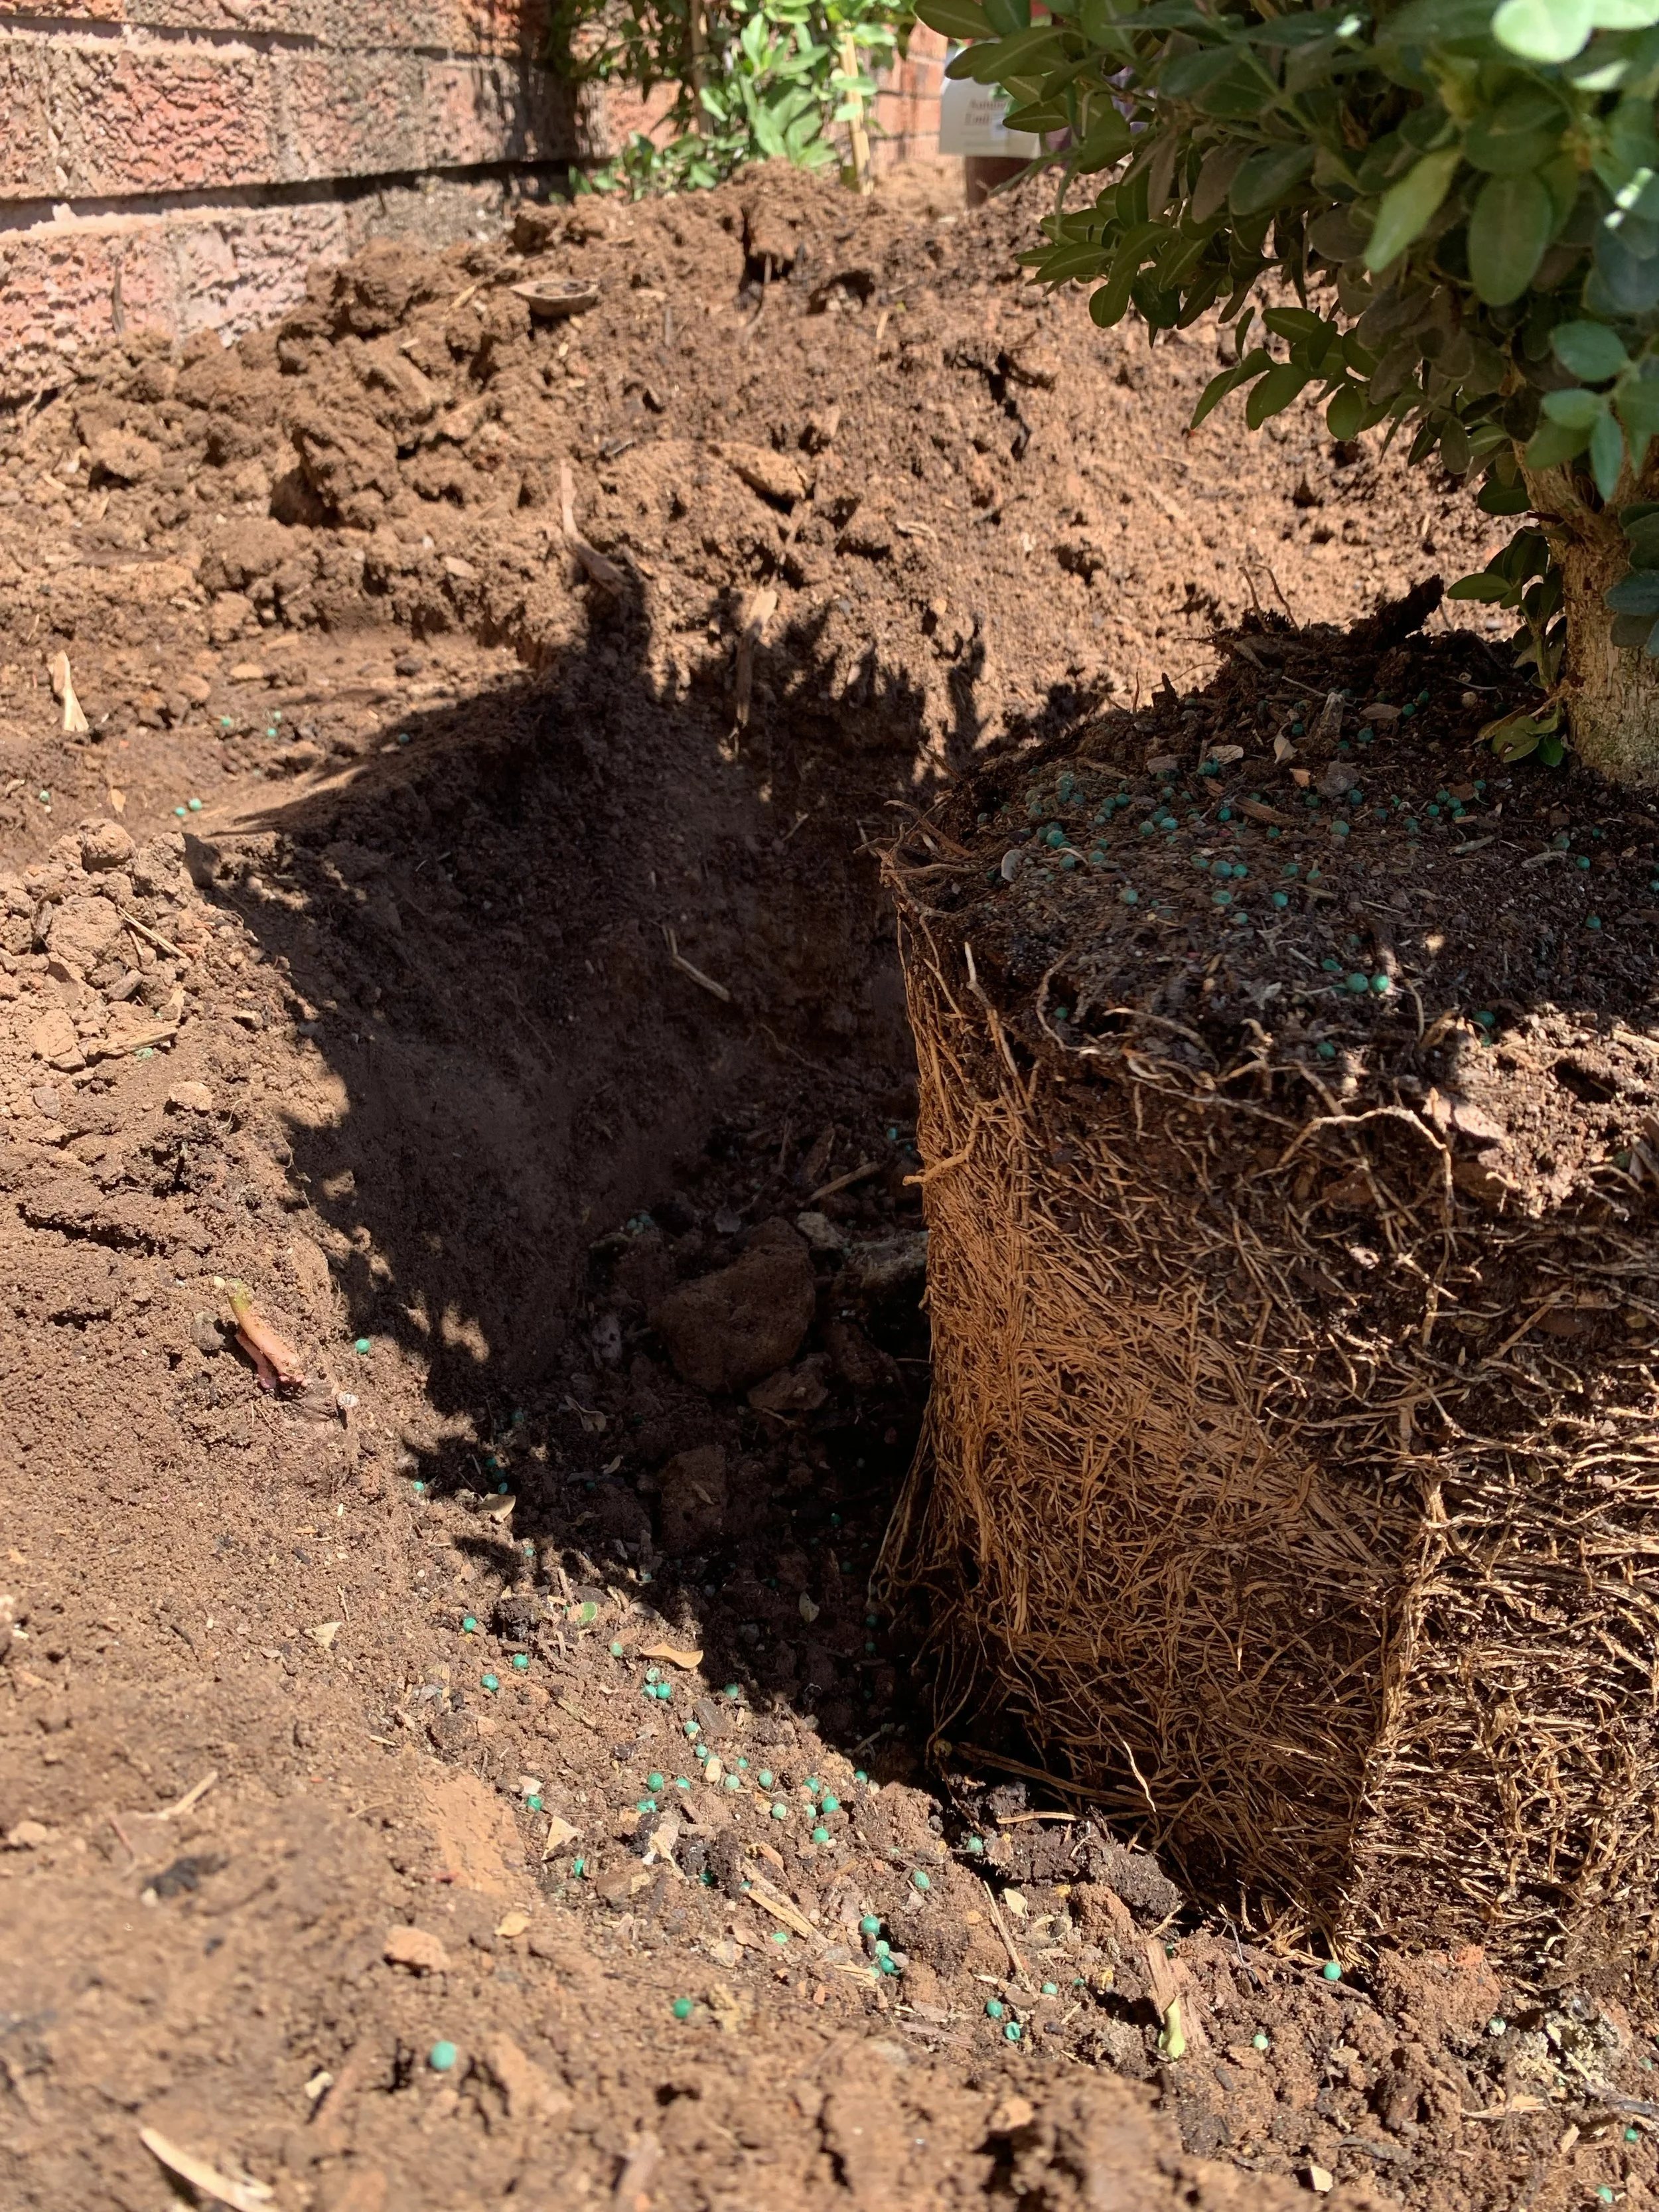
Position the plant with the top of the root ball approximately 1 to 2” above the soil level.

Finish backfilling and level the soil slightly tapering away from the top of the root ball.
As soon as the weather improves, get outside and go on a boxwood scavenger hunt.
Take a stroll around your neighborhood and see how many different boxwoods you can find and how many different ways they are used in the landscape.
What is your favorite way boxwood?
What is your favorite way to use boxwoods in the landscape: hedge, foundation, stand-alone accent, a punctuation, or in a container?
Lorne Hall
Hall | Stewart Lawn + Landscape
(405)367-3873
Merry Christmas!

“O holy night, the stars are brightly shining,
It is the night of the dear Savior’s birth;
Long lay the world in sin and error pining,
'Till he appeared, and the soul felt its worth.
A thrill of hope the weary world rejoices,
For yonder breaks a new and glorious morn;
Fall on your knees, Oh hear the angel voices!
O night divine! O night when Christ was born.
O night, O holy night, O night divine.
Led by the light of Faith serenely beaming;
With glowing hearts by his cradle we stand:
So, led by light of a star sweetly gleaming,
Here come the wise men from Orient land,
The King of Kings lay thus in lowly manger,
In all our trials born to be our friend;
He knows our need, To our weakness no stranger!
Behold your King! Before Him lowly bend!
Behold your King! your King! before him bend!
Truly He taught us to love one another;
His law is Love and His gospel is Peace;
Chains shall he break, for the slave is our brother,
And in his name all oppression shall cease,
Sweet hymns of joy in grateful Chorus raise we;
Let all within us praise his Holy name!
Christ is the Lord, then ever! ever praise we!
His pow'r and glory, evermore proclaim!
His pow'r and glory, evermore proclaim!”
O Holy Night by Adolphe Adam
May this Christmas be filled with love for one another!
Merry Christmas!
Your friends at Hall | Stewart Lawn + Landscape
Michelle, Lorne, Osman, Leo, Jesus, Justin, Cody, Watson, Rigoberto , Alfredo, Brady, Trinity, Keith, Paula, Tom, Marlon


The Year Fall Color Just Keeps On Going and Going

Let’s take a break from the hustle and bustle of the holiday season to celebrate the on going fall color show.
A quick scan through pictures from years past proved what I have been thinking, “This is as late of a fall color show I have witnessed in central Oklahoma!”
It’s mid-December…Why are some trees still so bright with color?
One of the key drivers of fall color is moisture. Late summer and early fall moisture this year was absent. But…November delivered the Oklahoma City area more rainfall than any other month this year. And, when we talk about moisture impacting fall color, rain in the 30 days before color change has the biggest impact.
November’s rainfall set us up for brilliant fall color in December!
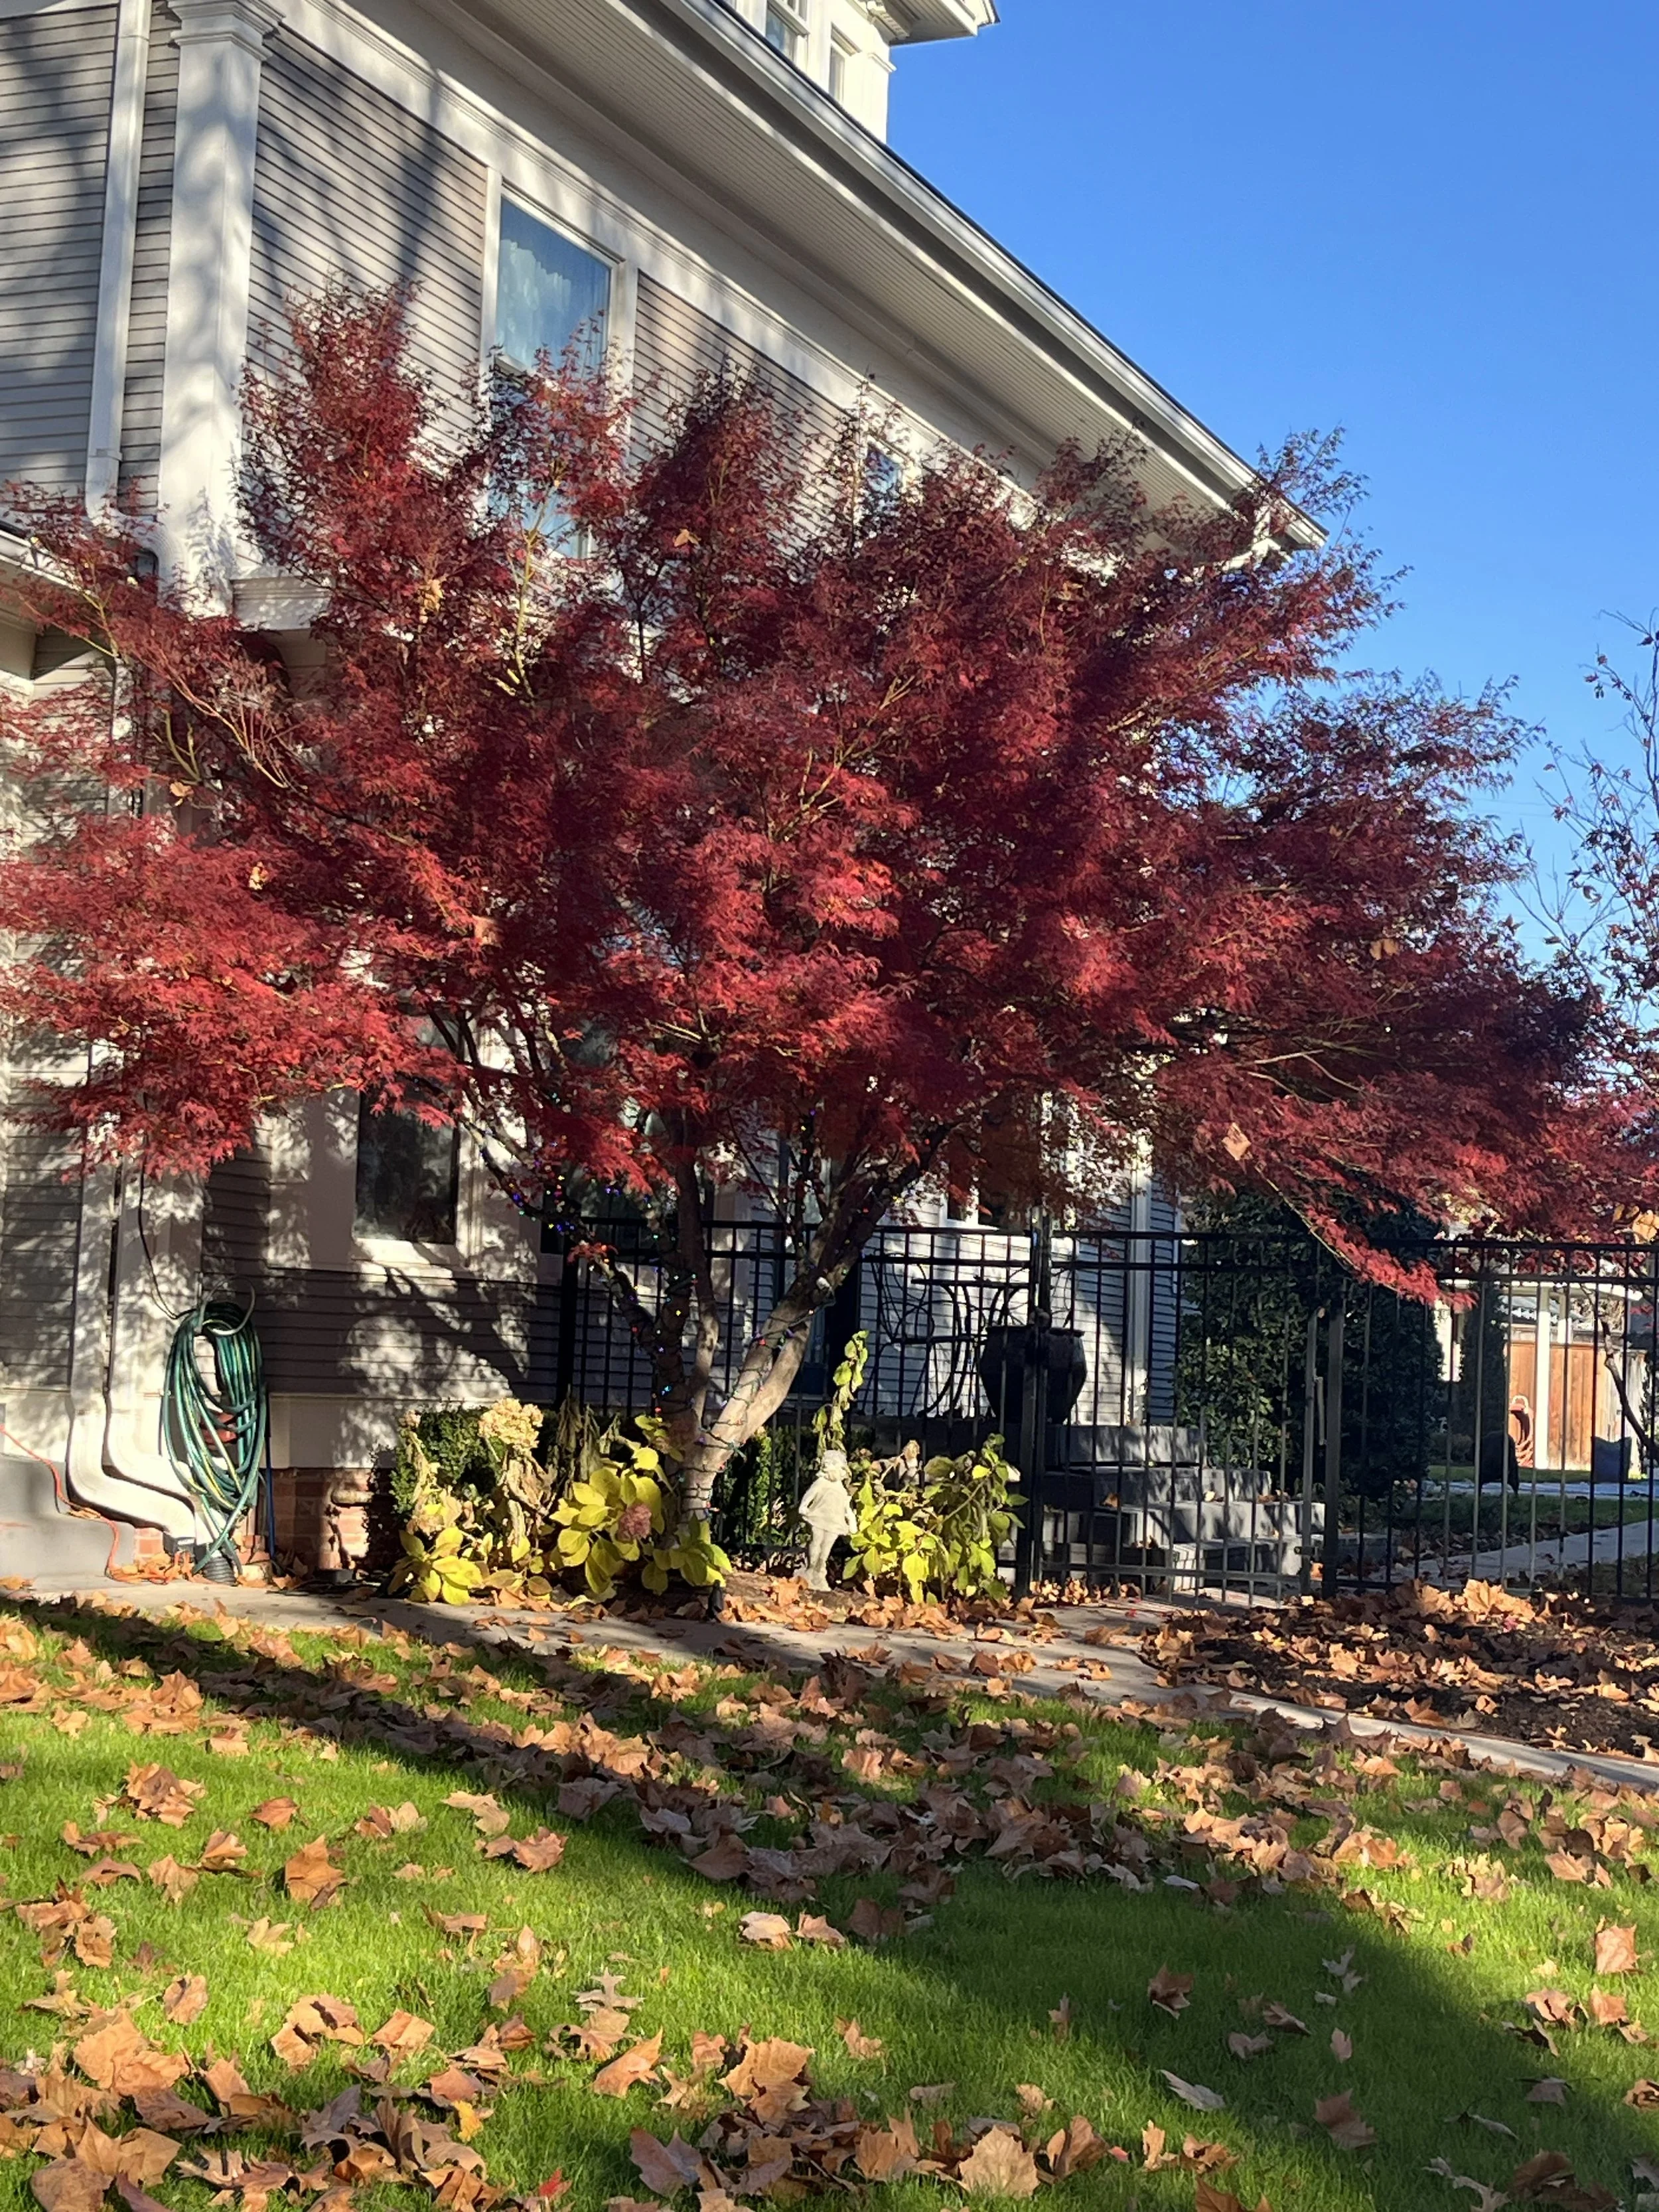
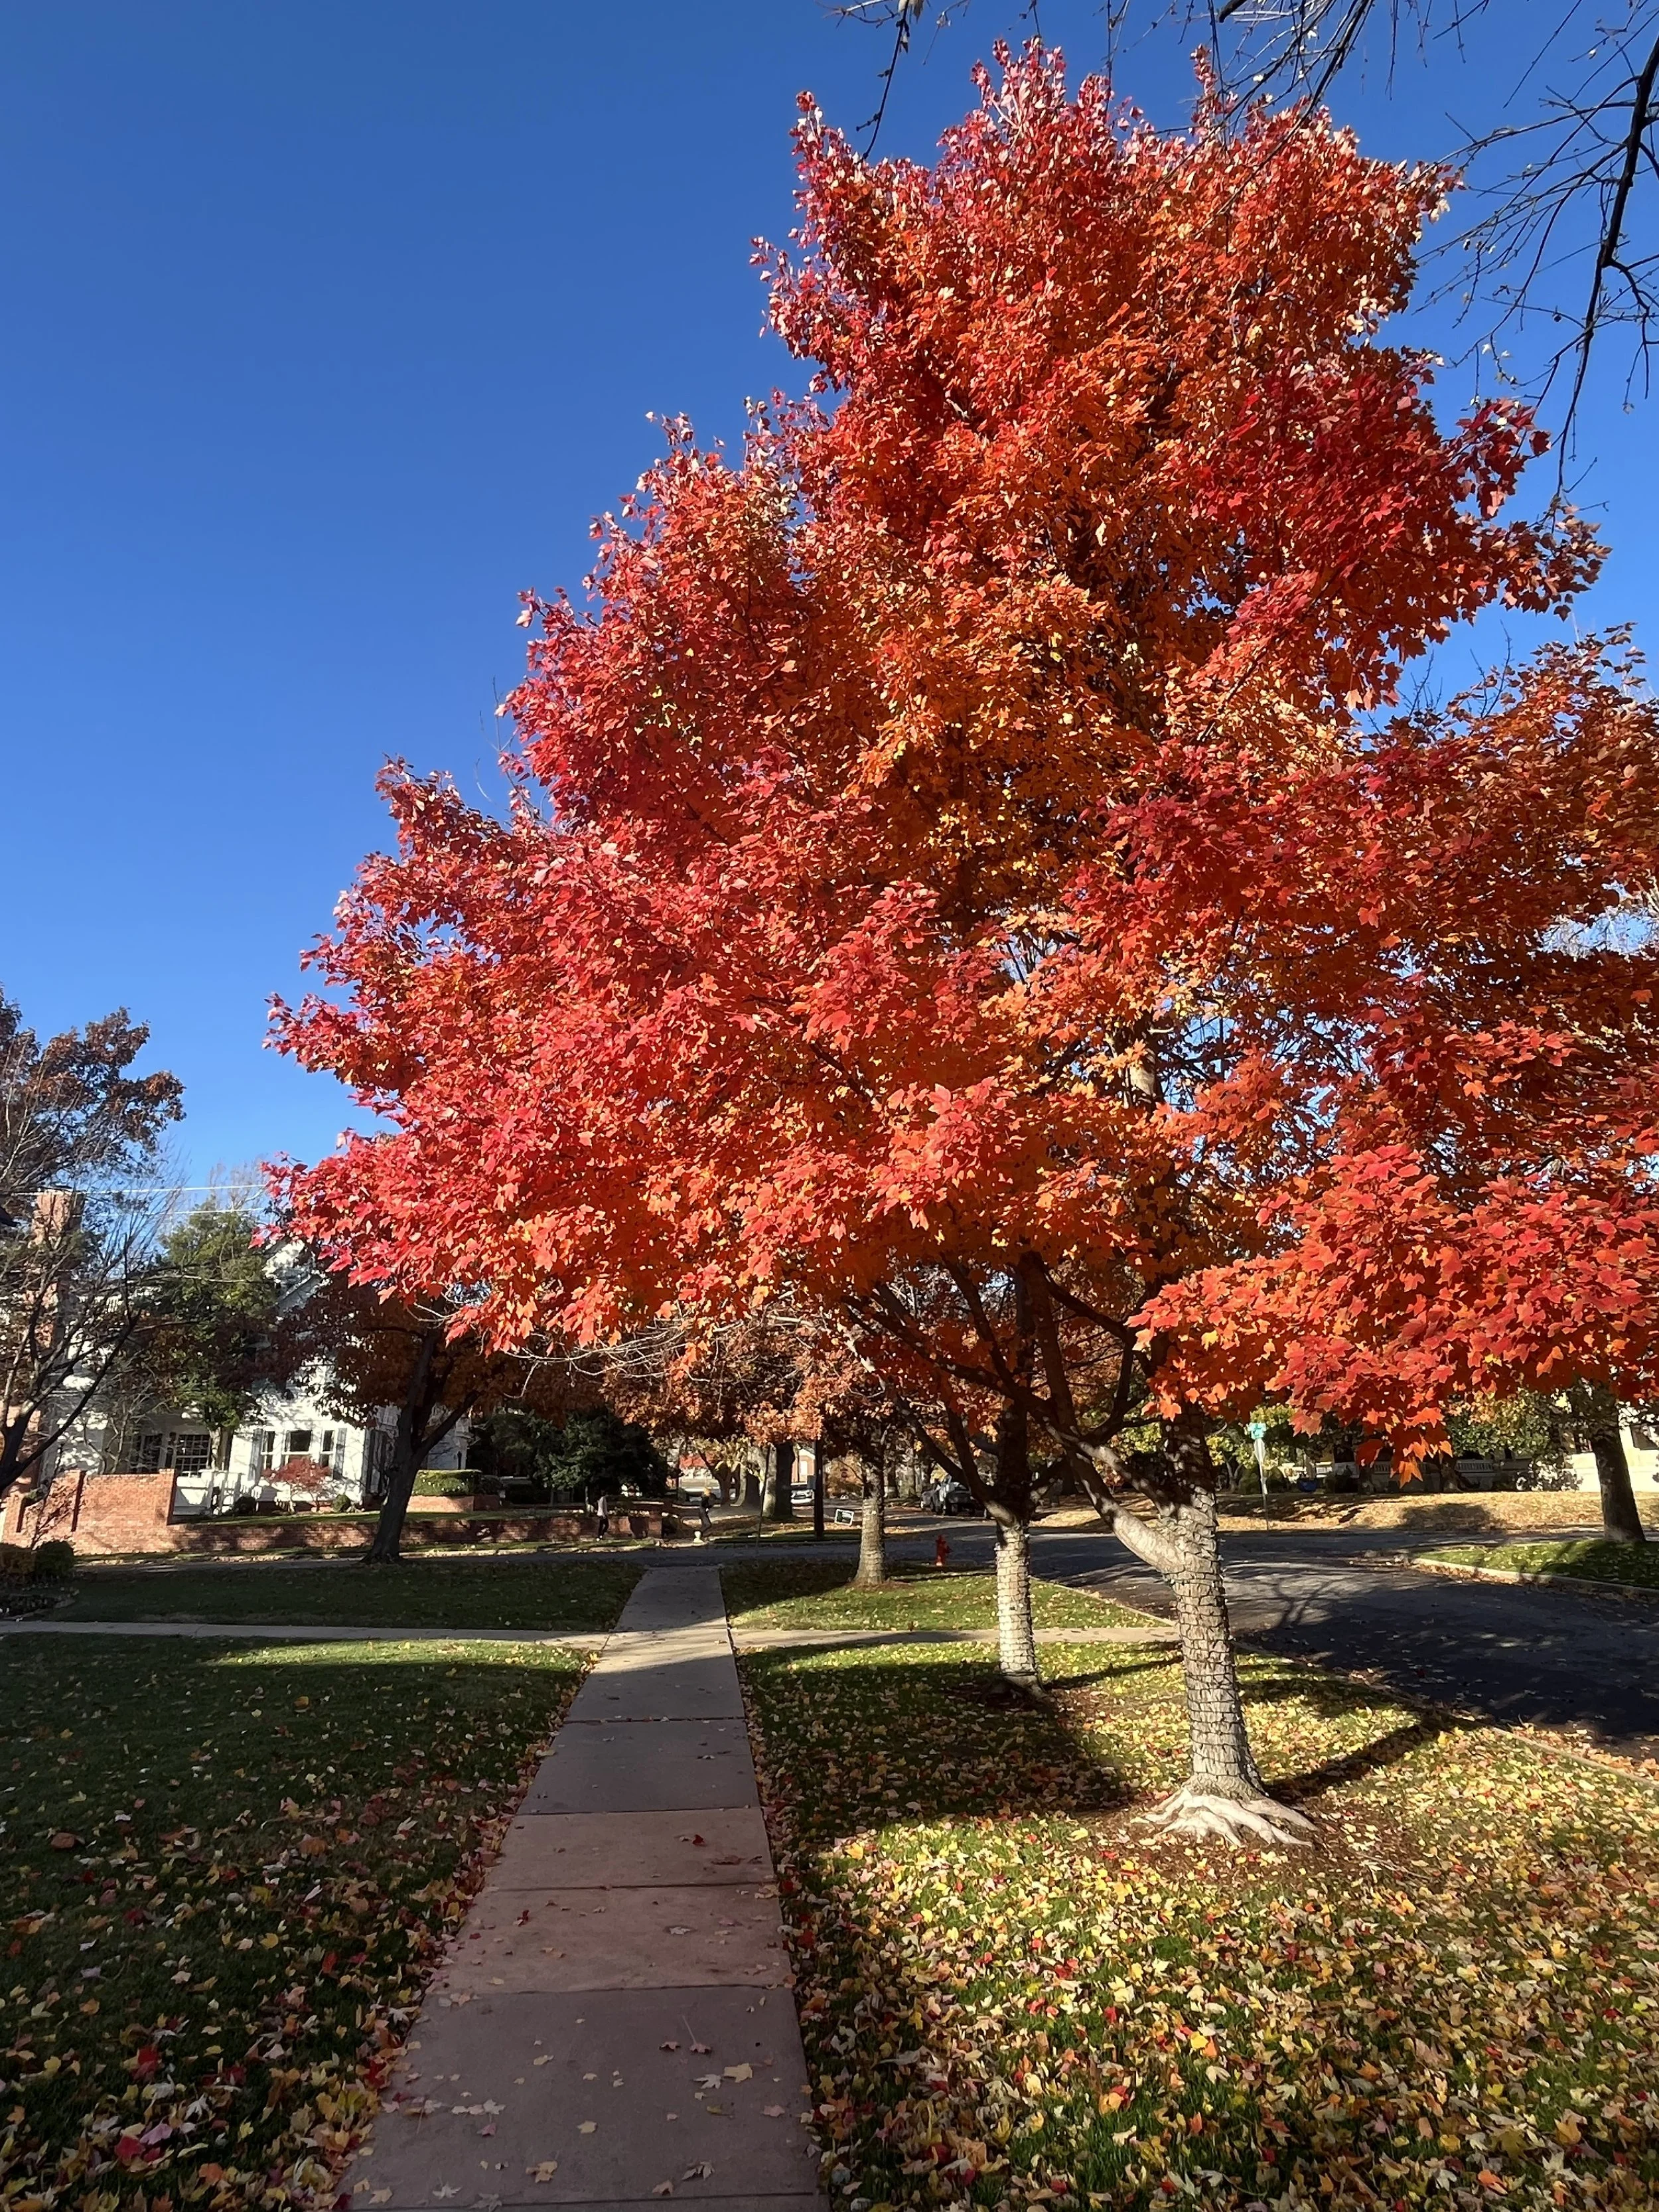
Japanese Maples and October Glory Maples are two varieties that are currently on fire with color. Other trees still adding color to the landscape include Oaks and Chinese Pistache.
Japanese Maples
For more information on Japanese Maples, follow these links to previous articles we have posted: Japanese Maples - The Aristocrat of the Landscape and Japanese Maples – Year-Round Interest.




October Glory Maples
As one of the last large Maple trees to turn colors in the fall, this year they have been the big benefactor of November’ rainfall. October Glory Maples are a cross between a Red and Silver Maple and typically have a thicker denser canopy than the Autumn Blaze Maple which is one of the first maples to bring fall color.



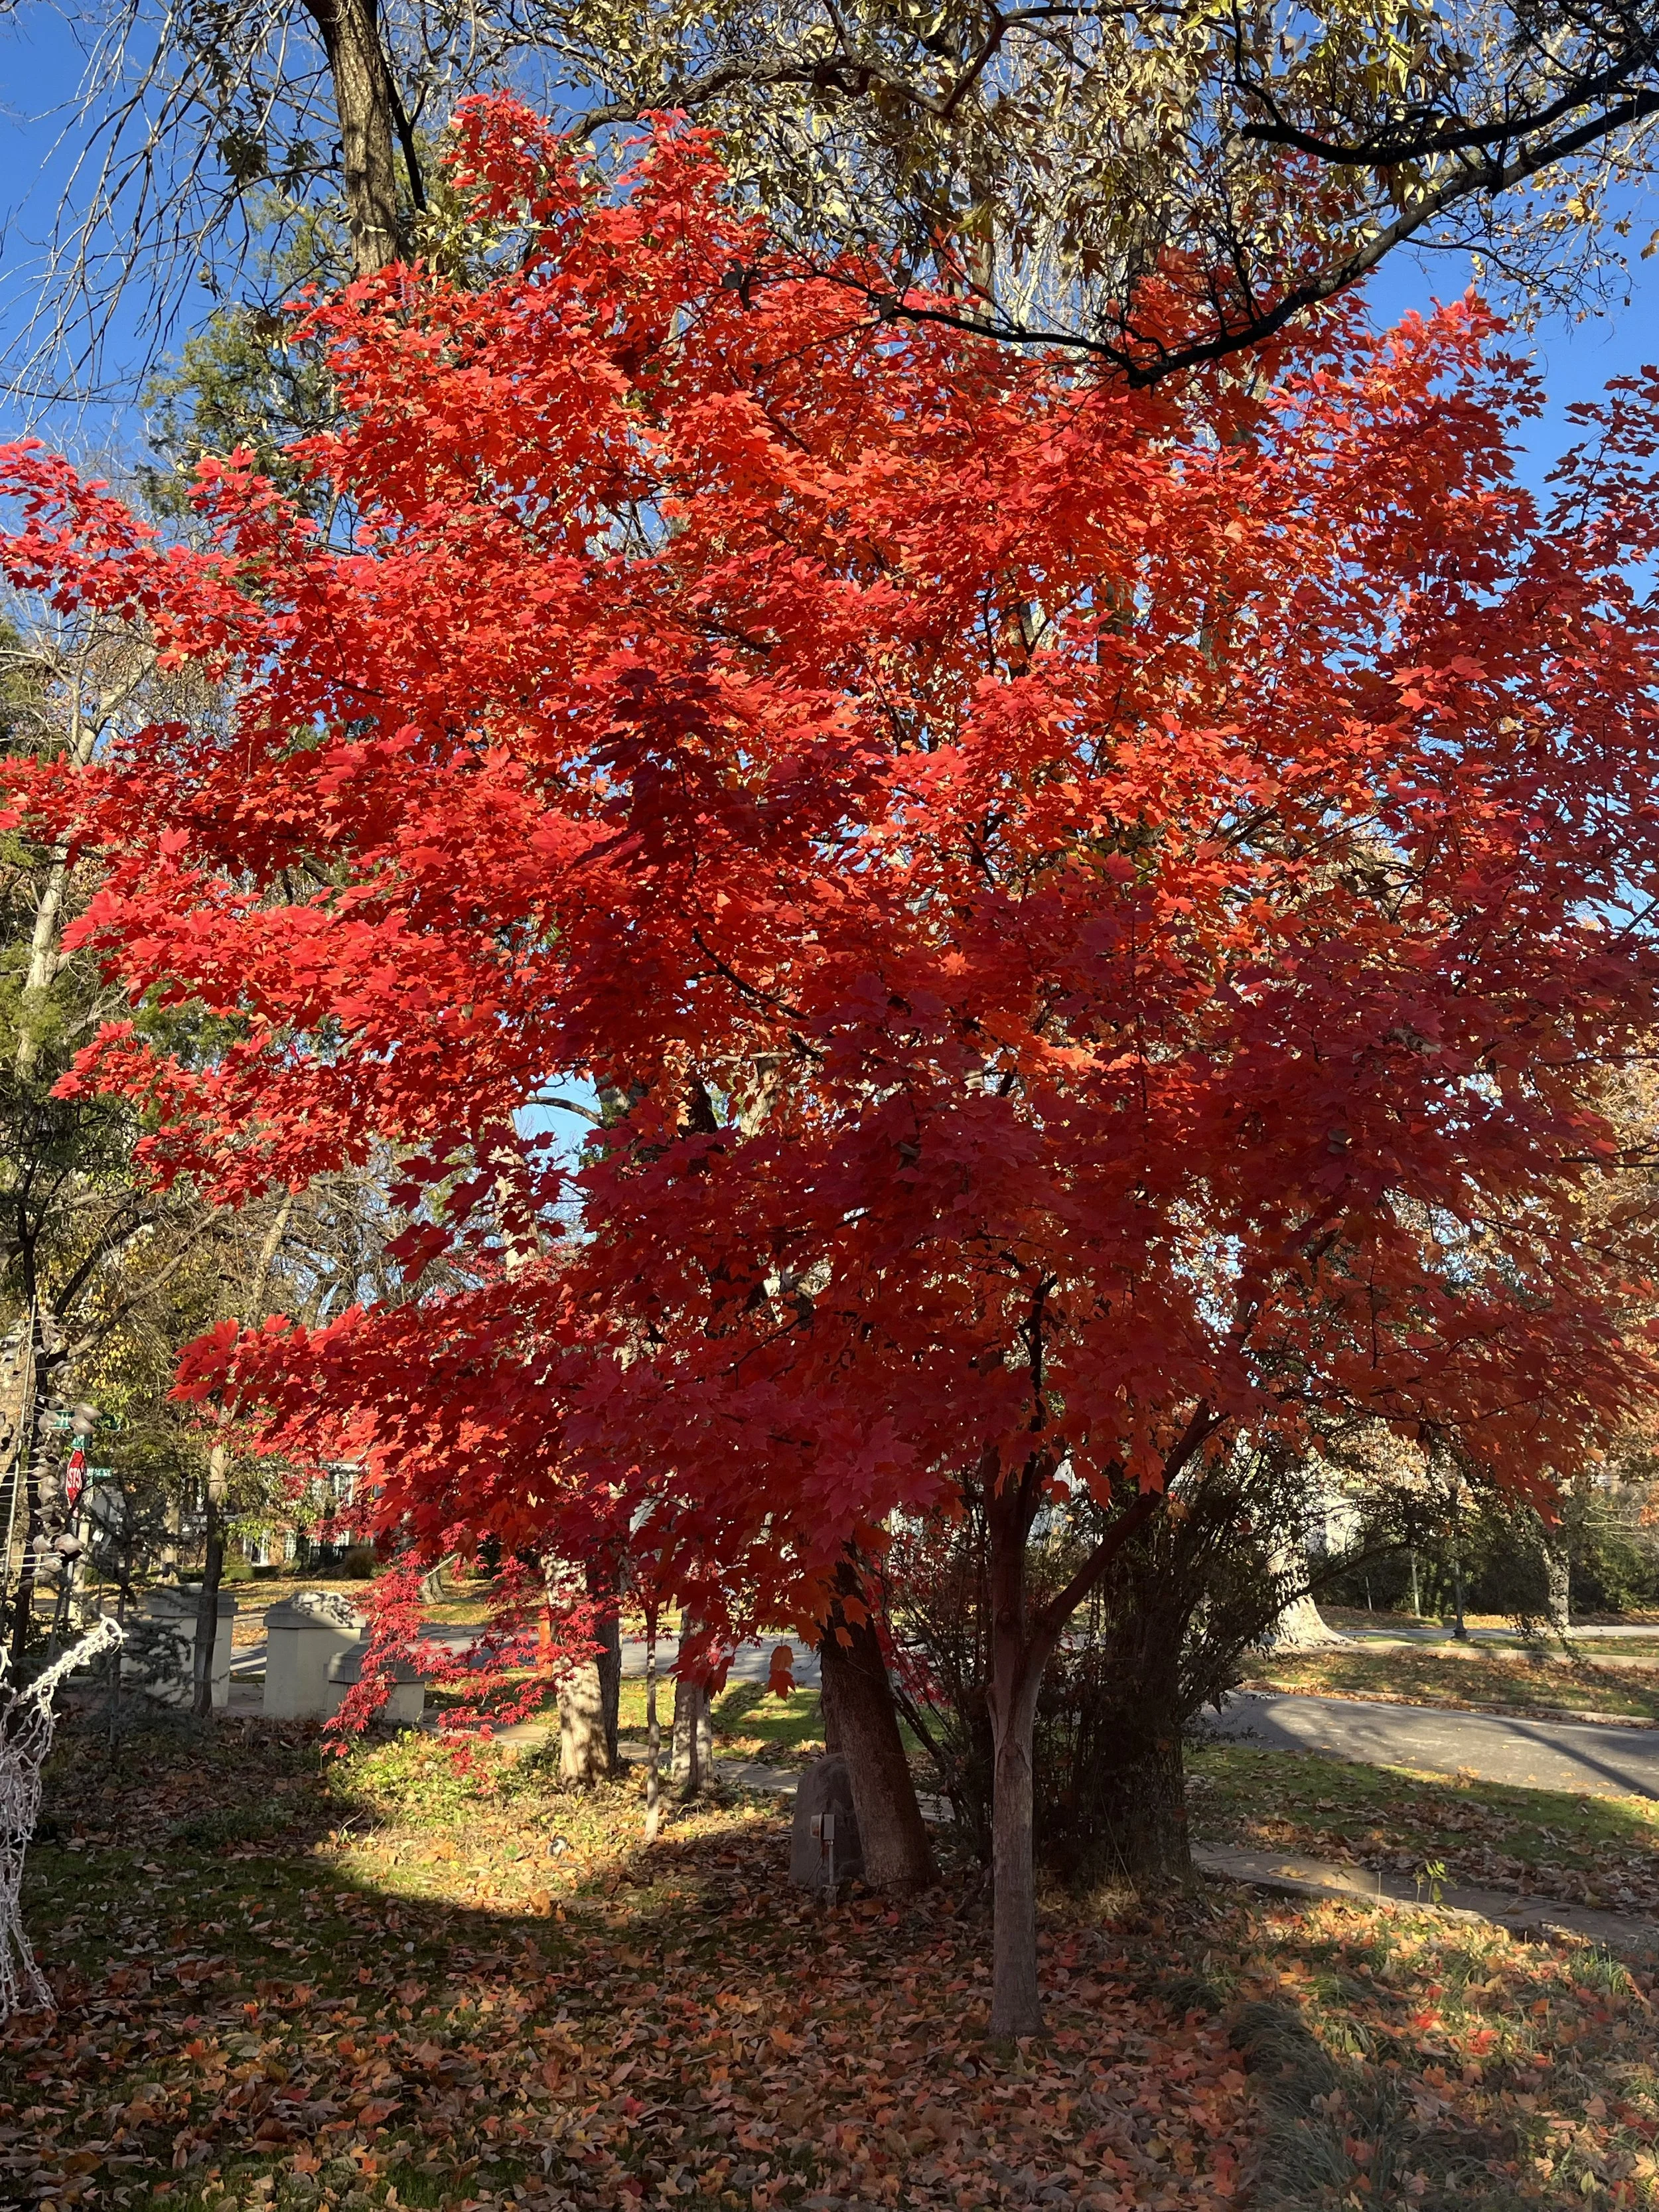
If you didn’t get a chance to slow down yesterday and enjoy the extended fall color, grab a few minutes today.
Take a walk.
Go on a bike ride.
Get outside and enjoy.
Lorne Hall
Hall | Stewart Lawn + Landscape
(405)367-3873
Thanksgiving!

"I would maintain that thanks are the highest form of thought; and that gratitude is happiness doubled by wonder."
G.K. Chesterton
Thanksgiving!
Yes, Thanksgiving comes with an exclamation point! How can it not? It is by far the best holiday. It is a break from the normal hurried lives we lead to reflect on what we are thankful for and spend time with friends and family.
Last year, we took a break at Thanksgiving from our normal lawn and landscape writings to ponder the difference between being “thankful” and being “grateful.” So, a year later, on the week of Thanksgiving, we again deviate from our normal discussion to again reflect on thought of thankfulness.
Our conclusion from last year’s Thanksgiving post:
Thankful is recognition of a transaction.
Grateful is a deeper, stronger, more emotional version of thankful.
Grateful is recognition, acknowledgement of the difference others make in our lives.
Seth Godin said it well in a Thanksgiving Day post, “The magic of gratitude is that it improves everything it touches.”
Gratitude is a state of being. A position of gratitude changes your perspective.
(To read the full post from last year, follow this link )
Thanksgiving…the week to slow your pace and ponder both the things you are thankful for and the things you are grateful for.
But, is it as simple as that… just being more thankful and grateful?
Could there more?
What if you add “rejoice” to the equation?
Be thankful when someone does something for you. A gift. A helpful hand. A kind word. Acknowledge benefits received with a kind word of thanks.
Recognize the difference others have made in your life with a heart of gratefulness.
And then, rejoice for the blessings in your life.
Thanksgiving…a week of thankfulness, a week of heartfelt gratitude, and a week of rejoicing for the many ways we have been blessed.
Yes, we all have worries. There are relationship worries, financial worries, health worries, career worries, social worries, political worries -- the list could go on and on. We all have worries.
But, we all have so many blessings too.
I bet, if we spend Thanksgiving week reflecting on our blessings, we will find we have far more blessings to rejoice about than worries.
And maybe, just maybe, if we spend the next few days being thankful, with a heart full of gratitude, while rejoicing for our blessings, maybe, just maybe, we will find our worries a little less worrisome.
Thank you for allowing Hall | Stewart to help you with your lawn and landscape this season. We are so grateful for every opportunity we have to visit your site. And, we rejoice as we see your lawn and landscape become your best lawn.
May your week be filled with thankfulness, gratitude and rejoicing!
Your friends… Alfredo, Brady, Cody, Emily, Jesus, Justin, Keith, Leo, Marlon, Michelle, Morgan, Osman, Paula, Rigoberto, Trinity, Watson, Tom and Lorne
Hall | Stewart
(405)367-3873
Late Summer to Fall Drought & the Impact on your Landscape

Drought is a meteorological event defined as the absence of sufficient rainfall over a period of time resulting in a depletion of soil moisture.
Most of Oklahoma is currently in a severe to extreme drought condition.
Officially, Oklahoma City is 5” below normal rainfall amounts for the year.
“Normal” can be misleading. Since late May, most of the metro area rainfall has come from a couple heavy rainfall events. And, since the last heavy rainfall event 5 weeks ago, we have been void of any rainfall.
When it comes to your lawn and landscape, the frequency of rainfall is more important than the total amount of rainfall year to date.
Long before the local weathermen started talking about drought conditions in our area, we were seeing the symptoms of drought on lawns and landscapes because the occasional rainfalls of the summer and fall were missing this year.

Without an occasional rainfall every deficiency in an irrigation system is noticeable. In this picture a tree is preventing a strip from receiving the much needed head to head irrigation coverage for seed to germinate.
What You Need to Know… Water is Very Important
Water is the lifeblood of all living organisms.
Without water there is no plant life.
Most often we are overly focused on the visible and not focused enough on the invisible. We worry about leaves and needles turning brown and falling off, while the real concern is the condition of the roots.
The root system of all plants (trees, shrubs, groundcovers, flowers, and lawns) is affected by drought before we see the visible signs of drought.
Water is primarily used by a plant to uptake and transport nutrients. Lack of water limits the plant’s ability to move food and minerals around.
Feeder roots are responsible for water uptake and are primarily located in the top 12-15” of the soil. When the available moisture declines to the point that there isn’t any available for the feeder roots, root damage occurs and if conditions persist feeder roots begin to die back.
Root loss leads to stress and dramatic increase in susceptibility to insects and disease.
Broadleaf evergreen plants are the first to be damaged in a drought. It is common for evergreens to appear to be surviving well until they suddenly die.
Many responses to a drought will not appear until the year following a drought. Spring flowering shrubs and trees may have reduced flowering the following year after a drought.
A drought can start a cycle of decline that a plant may never recover from resulting in plant loss months or even years after the drought.
It can take multiple years of normal precipitation for trees to regain their full health following a drought.

In periods of drought, it is not uncommon for an evergreen to appear healthy and then die suddenly. Often a quick death is the result of a cycle of decline from previous drought periods from which the plant never fully recovered.
Why You Need to Know… The Effects of Drought on Your Lawn and Landscape
The result is less growth, poor color in leaves, leaf drop, and a thinning or dying top.
On smaller, newer trees and shrubs, the impact of a drought is evident with yellowing, wilting and then finally the plant dies.
Newly planted trees and shrubs suffer more during a drought because they already have a reduced root system.
Mature plants with extensive root systems may not show signs of drought stress, but damage is still occurring.
Pest and diseases increase during drought. Plants produce defensive compounds when they are healthy, as they become stressed, they struggle to defend themselves. Borers are common in drought stressed plants.

Throughout the late summer and fall lawns that have not been watered or have poor irrigation coverage have gone prematurely dormant. It’s easy to tell if a lawn is loosing color due to lack of moisture, the cores we pull are powdery dry several inches below the surface.
Signs of Drought Stress
These signs apply primarily to trees, but in some form or another, these signs will be visible in all plants including lawns.
Temporary Wilting. Wilting will occur during the day. Leaves will recover and appear normal in the morning.
Permanent Wilting. As the drought continues leaves remain wilted all the time.
Yellowing Leaves. Leaves turn yellow and can exhibit fall color out of season.
Leaf Scorch. Leaf margins will have a brown or burned appearance.
Defoliating Trees. Tress will lose leaves from the top and ends of branches.
Bark Cracks. During prolonged droughts trees may develop cracks in the bark, especially in thin-barked species.
Dead Branches. The top and outer tips will begin to die.
Thinning Foliage. The canopy will appear sparse.
Small Leaves. New leaves will be unusually small.
Slowed Growth. Growth will slow and nearly stop
Increased Susceptibility to Pests. Borers or fungal disease will develop.

A visual sign of severe drought for a tree is permanent wilting followed by loss of leaves.


Yellowing leaves are a sign of drought stress. By the time a tree reaches this point the feeder roots are under stress and may be to the point of dying.


Another sign of drought stress for a tree is leaf scorch. Leaf margins have a burned appearance. In this picture taken in August the tree is exhibiting fall color out of season.

A Bald Cypress tree that is in the process of defoliating in the late summer due to lack of moisture.
Landscape Winter Hardiness
Few plants planted in the correct USDA hardiness zone die directly from cold weather. Winterkill is commonly a result of an unhealthy plant.
Lack of adequate soil moisture is often a major cause of winter damage.
All plants, especially evergreens, use water during winter.

When you pull a dry core from a lawn in the fall you know there is a chance the lawn may not have the stored nutrients required to overwinter well.
What You Need to Do…Best Practices to Prevent Drought Damage
Fall and winter irrigation is very important, especially with this year’s conditions.
Lawns and landscapes should be watered thoroughly in the fall to prepare them for the winter months.
Through the fall, lawns and landscapes need 1” of water per week. This applies for both fescue and fescue lawns, as well as trees and shrubs. Whenever we receive ½” of rain or more you can delay watering for a few days.
How long do you need to water to get 1” of water? Place a Hall | Stewart Rain Gauge or any small container in your lawn or landscape, run your irrigation through a cycle, and then check the amount of water. If you have ½” of water, you need to water 2 times per week through the fall.
Water deep. If you can get 1” of water on your lawn without excessive runoff in one event, water once per week. Deep watering creates deep roots and a more drought tolerant lawn and landscape.
Adding mulch around trees and shrubs improves the soil’s ability to hold moisture. Apply 2” to 4” of an organic mulch. Pull mulch away from the plant trunk 2”. Our preferred mulch is a grade A, all bark, shredded cedar.
Remember, even mature, healthy trees need supplemental watering to help them through a drought. Focus on watering around the dripline and a little beyond. Roots extend 2 to 3 times the trees dripline. The dripline is the circumference of the tree's canopy, where the water drips onto the ground.
Fall and winter watering is especially important for trees and shrubs planted in the last 2 years. Until the roots grow into the surrounding soil the plant has limited roots for supplying moisture.
During the winter, your lawn and landscape requires 1” of water every two weeks. Whenever we go a week without any rain or snowfall, pick a nice day and give the landscape a good soaking.
You can test soil moisture with a long screwdriver. If the screwdriver goes into the soil easily, watering may not be needed. If getting the screwdriver into the soil is difficult, your landscape needs water.

A gator bag is a great tool for slow and deep watering a tree.
At Hall | Stewart our goal is to help you have your best lawn and landscape and provide you with the information you need.
The lack of rainfall this summer and fall has become a major concern for our customers. We hope you did not give up on watering your lawn and landscape too early this fall.
If you did, please resume best watering practices. Your investment in your lawn and landscape is significant.
If you have questions about the impact of drought on your lawn and landscape, please call or respond to this email. We would love to hear from you.
Lorne Hall
Hall | Stewart
(405)367-3873
Trees – What Are Your Trees Worth?

Have you ever pondered the value of your trees?
Steve Dobbs, author of the book Oklahoma Gardener’s Guide put it this way:
“Trees are truly the pillars of our landscapes. Think of trees as an investment for future generations.”


So, what are trees worth?
Homes with “excellent” landscaping can expect a sale price 6-7% higher than equivalent houses with “good” landscaping. Improving “average” to “good” landscaping can result in a 4-5% increase. Clemson University
Landscaping can bring a recovery value of 100-200% at selling time. (Kitchen remodeling brings 75-125%, bathroom remodeling 20-120%). Money Magazine
A mature tree can have an appraised value between $1,000 and $10,000. Council of Tree and Landscape Appraisers
99% of real estate appraisers concurred that landscaping enhances the sales appeal of real estate. Trendnomics, National Gardening Association
98% of realtors believe that mature trees have a “strong or moderate impact” on the salability of homes listed for over $250,000. American Forests, Arbor National Mortgage


What are some of the insect and disease issues that are currently threatening your landscape investment?
Scale – Common on trees and shrubs. Scales produce honeydew which is a growing medium for sooty mold fungi. The honeydew also attracts ants. Rarely do they kill a plant themselves, but they predispose plants to attack from other insects and pathogens. There are two types of scale — soft scales, common on Redbud and Oaks, — and hard scales, such as the white scale found on Crape Myrtle.

White scale, a hard scale, is commonly found on Crape Myrtle. Just like soft scale on Oaks, rarely will it kill the plant but it does invite other insects and diseases that will cause harm.

Soft scale are common on Oaks. They rarely kill a tree but do weaken it making it susceptible to attacks from other insects and disease.
Bagworms – One of the most damaging pests in our landscapes. Bagworms start out very small and hard to notice. As they mature, their feeding becomes more apparent. On evergreen trees, the tips will appear brown and unhealthy. As they continue to feed, plants can become defoliated and even die, especially on evergreen species because their leaves do not replenish as well as deciduous plants.

Evergreens with tips that are turning brown and looking unhealthy likely are being attacked by bagworms.

Bagworms start out very small and nearly unnoticeable, but as they grow and feed on evergreens they become one of the most damaging pest to our landscapes.
Webworms – Caterpillars weave a loose web around tree branches while they are munching on the leaves. Favorite trees include hickory, mulberry, oak, pecan, popular, redbud, sweetgum, and willow. But, you can find them on most ornamental shade trees when populations are heavy. There can be 2 or 3 generations per season with the last generation causing damage when the branch tries to rebud just before a killing frost. When this occurs, you can expect the affected branch to die.

Webworms weave loose webs around tree branches. The late summer to early fall generation can result in twig and branch die back.
Borers – Nearly all trees are subject to borers when they are injured or weakened by disease or stress. Borer refers to the larval stage of some beetles and moths that feed inside the stems, branches, and trunks of plants. Generally, the presence of borers is indicated by their emergence holes through the bark. Other signs are a gummy fluid oozing from the tree, dead areas under the bark, or small piles of sawdust. When left unchecked trees, will decline and are likely to die. There are many types of borers with varying life cycles and habits.

Evidence of borers are holes, oozing fluid and saw dust. Borers often attack trees that are injured or weakened by disease or stress.

This large Blue Atlas Cedar was under attack by borers last summer. Trunk injections were made with an insecticide to control boring and chewing insects.
Anthracnose – Spores are transported to new buds and shoots in the spring and are enhanced by cool, wet conditions. There are many species of anthracnose that impact a variety of deciduous trees. The primary signs are tan to red-brown lesions that extend along the veins and edges of the leaf followed by considerable defoliation and sometime complete leaf loss.

Anthracnose is a fungus that results in leaves curling, wilting and defoliating. The disease is enhanced by wet and cool conditions.
Chloroses – Iron or manganese chlorosis describes a condition in which a tree’s foliage loses its healthy green color and fades to pale green or yellow hue. If allowed to progress, it will cause slow growth, leaf loss and eventually tree death. It is particularly prevalent in oaks. It is caused by deficiencies of the micro-elements iron and manganese. Trees growing in poorly drained soil are also susceptible.

The signs of chloroses are leaves fading from a healthy green to pale green to yellow.

By injecting minerals directly into the tree, cholorses can be reversed.

A severe case of chloroses on a mature oak.

One year after treatment the oak leaves have returned to a healthy green color.
Sudden Oak Death – Sudden oak death is often a fatal tree disease caused by Phytophthora ramorum which attack roots. Leaves appear drought-stressed, turning dull green, yellow, red or purple as they wilt. Bleeding cankers form at the base of the trunk and eventually lead to death. The disease is often followed by beetle infestations.

Sudden Oak Death will result in leaves turning brown, leaves appearing drought stressed and wilting. A trunk injection of a fungicide will give the tree a chance to recover.
Hall | Stewart Lawn + Landscape Plant Health Care Professionals can help you keep your landscape investment healthy:
Tree & Shrub Care Program –
Four regularly scheduled plant health care visits to keep your trees and shrubs healthy throughout the year. Program includes:
Dormant oil application to smother overwintering insects
Two spring to summer applications to minimize insect and disease population during the growing season
Fall fertilizer application
Applications are tailored to your plant species

Trunk Injections –
An effective treatment to control insect, disease and nutrient issues on larger trees.
Specific formulations are injected directly into the truck where it is quickly taken up by the vascular system and distributed throughout the tree.
In most situations, the treatment provides protection for 12-18 months.
Unlike spraying, herbicides injected directly into the tree limits impact to the surrounding environment.


Deep Root Feeding –
Deep root feeding techniques inject fertilizer 5-6” below the surface ensuring fertilizer reaches tree roots. As trees mature, they are in competition with the turf grass growing on top of roots for nutrients.
Deep root feeding restores soil health for struggling trees by providing essential nutrients.
Signs your large trees may need deep root feeding:
Reduced foliage in the canopy.
Light green to yellowish leaves.
Little to no annual growth.
A healthy tree is more likely to withstand harsh weather conditions, pest infestations, and diseases.


We believe…
Trees are worth it.
Trees make a difference in the appearance of our communities.
Trees make a difference in the way we feel.
Trees increase the value of a property.
Trees, trees... trees just make the world a better place!
We believe trees are the pillars of our landscapes.


Hall | Stewart’s goal is to help you have your best lawn and landscape.
If your trees need help, please call (405)367-3873 or respond to this email to schedule a time for a Plant Health Care Professional to visit your landscape.
Lorne Hall
Hall | Stewart Lawn + Landscape
(405)367-3873
Grubs – Our Most Consistent Turf Damaging Insect

For those of you who experienced the army worm invasion of 2021, I’m confident you disagree with “Grubs are the most consistent turf damaging insect.”
The key word is “consistent.”
Yes, there are many turf damaging insects and when conditions are just right, and populations increase, damage occurs. That was the case in July and August of 2021. Army worm populations reached damaging levels, resulting in battalions of army worms marching across lawns.
But grubs…Grubs are a consistent pest, every year!
White grubs consistently, year over year, cause more turf damage than any other insect.
Here is what you need to know about grubs…

Grubs are white, c-shaped, insects with three sets of legs who feed on all types of turfgrass roots.
What is a grub worm –
Grubs, specially called White Grubs, are white, C-shaped insects with a chestnut-colored head and 3 pairs of legs. Size will range from ¼” to 1 ½” in length depending on age.
They feed on grass roots of all types of turf resulting in yellowing, wilting turf, dead patches, and when left unchecked they will destroy the grass roots to the point that your lawn can be rolled up like it is a piece of carpet.
Signs you have a grub problem -
Early indications of grub damage may include patchy areas of wilting, discolored or stressed turf resembling drought stress.
As the grubs continue to destroy roots, the effected patches expand outward into irregular shaped patches of dying turf.
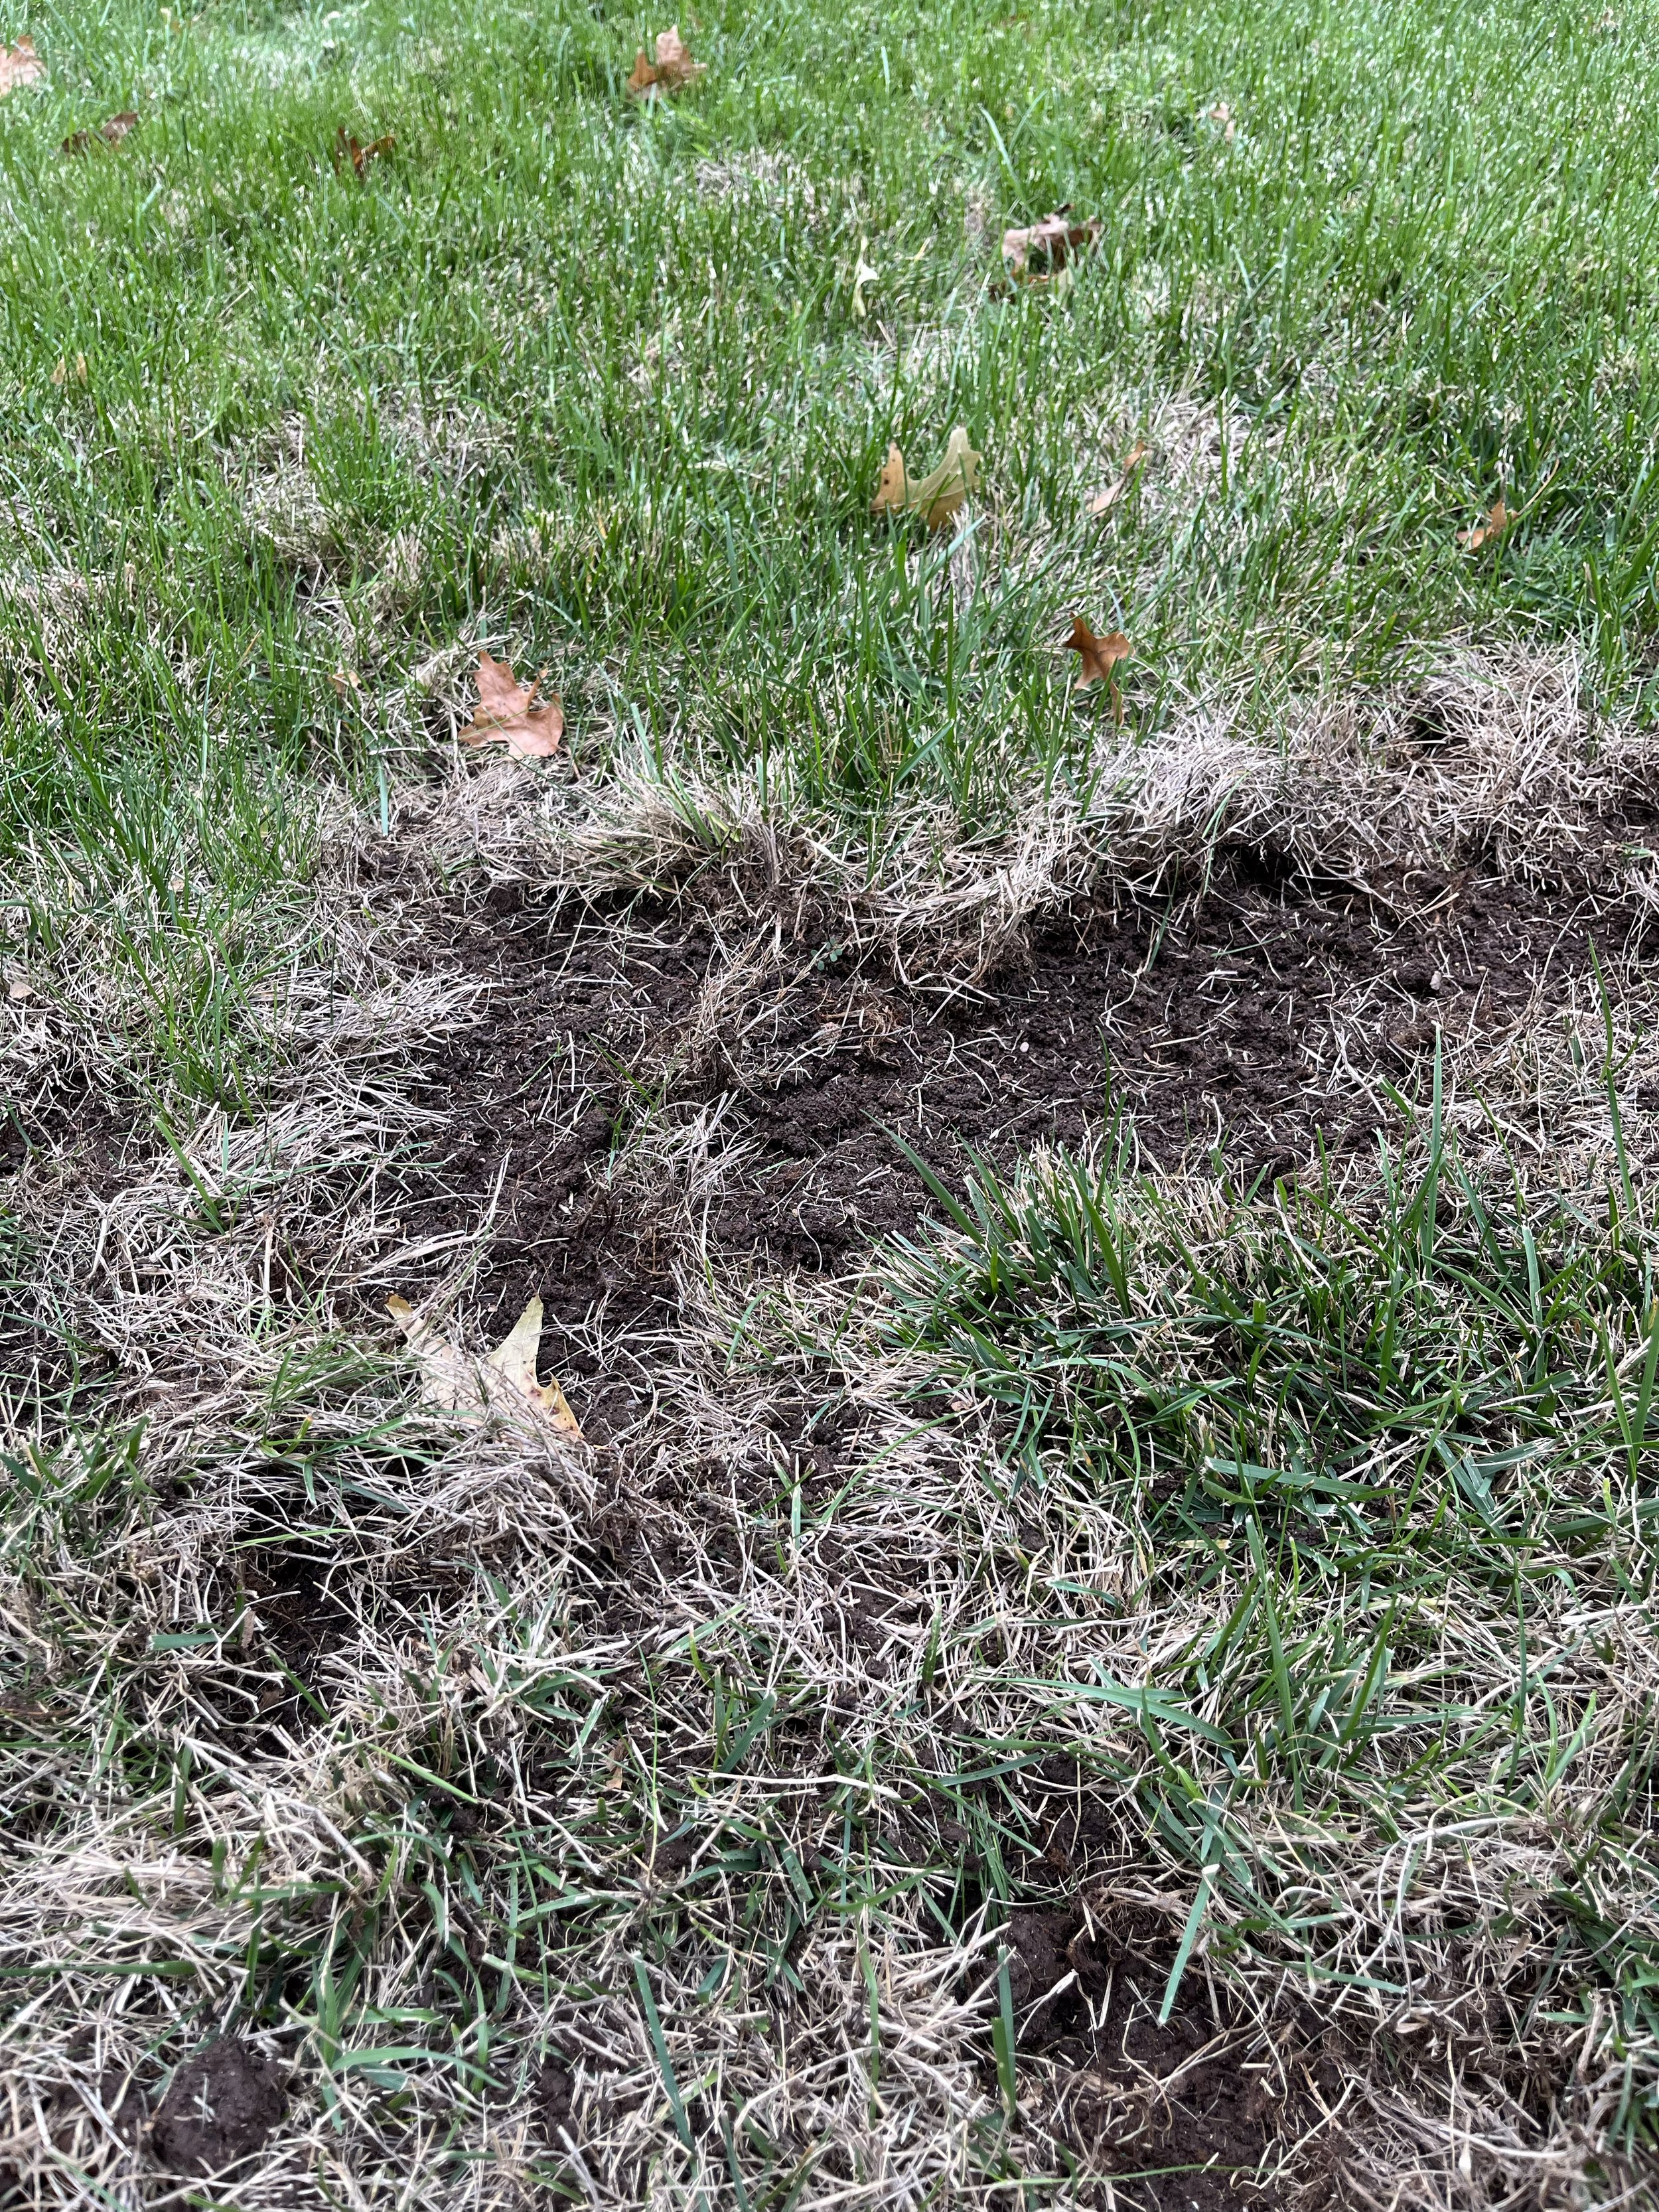
If you have areas that are wilting, discolored, stressed or dying, it could be grubs, our most consistent turf damaging insect.
Often grubs will start out centralized in an area, but will spread throughout an entire lawn when left untreated.
An indication you have white grubs (often before you have any idea you have a grub problem) is damage caused by armadillos, skunks, possums, and raccoons foraging for grubs. If your home is near wooded or native areas, damage from animals digging for grubs is more common.

Animals foraging for grubs will destroy your lawn in just one night. If you have experienced this, annual preventative grub control treatments should be a part of your routine maintenance plan.
The first step in confirming if you have a grub problem is to check your irrigation for proper coverage. Place a Hall | Stewart Water Gauge or any container in the area showing signs of wilting, run your system through a cycle to see if the area is receiving sufficient moisture.
The next step is to dig up small sections on the edge of the dying grass to see if grubs are present.
The third step is to pull on the grass to see if it comes up easily with few roots.

If you can pull up the grass in the damaged area easily, as if there are no roots hold the turf down, then grubs have been feeding on the grass roots.
If the stressed area is receiving water,
if you find grubs when you dig around the edges of the area,
if you can easily pull the turf up,
treatment is required.
If you find an occasional grub, it is common to find a grub, it does not mean you have a grub problem or that treatment is needed.
In a healthy turf, 5 to 10 grubs per square foot is considered the threshold above which damage will occur.
The grub life cycle -
White grubs complete their life cycle of egg, larva, pupa and adult in one year.
The June bug (beetle), the adult form of the grub worm, emerges in late May to early July. The beetles, attracted to outdoor lights and light from windows, are mostly active in the night. After mating, females burrow into the soil and lay about 50 eggs.

The adult form of the White Grub worm is the June Bug. June Bugs lay eggs in July which become White Grubs in August.
Two to three weeks later the larvae hatch and start feeding first on organic matter, later moving to grass roots.
Grubs go through three stages as they grow. In each stage, their size and appetite grow exponentially.
Stage 1 - Late summer through the fall, grubs are small and feeding near the soil surface. During this phase grubs grow rapidly, feed heavily, and are fully grown by early September.
Stage 2 - During the winter, grubs move deeper into the soil and are mostly dormant.
Stage 3 - In the spring, grubs begin moving closer to the soil surface. As soil temperatures warm, the full-grown grub returns to heavy feeding and can be very destructive.
In late May and early June, the larvae return to adulthood as the June beetle starts the cycle all over again.
Because the June beetle is attracted to light, eggs are commonly laid near outdoor lights.
If you live near a neighborhood streetlight or leave your outdoor lights on at night, you are more likely to see heavier populations of June beetles and consequently a higher probability of grub damage.
Control
There are two methods for controlling white grubs: Preventive and Curative.
Preventive applications of insecticides are systemic in nature. Preventive insecticides are absorbed by the turfgrass roots. As grubs feed on treated roots, they consume a lethal dose of the insecticide. Preventive applications are best applied April through early summer.
Curative applications of insecticides are applied in August through the fall. Curative applications control the insect by making contact with the insect. Contact insecticides are most effective when the grubs are small and feeding near the surface in the late summer and early fall.
There are two approaches to grub control:
Approach 1 – Preventive Plan. If you have a history of grub damage, have outdoor lighting, have experienced the destruction of animals foraging for grubs, preventive applications of grub control should be a part of your normal maintenance program.
Approach 2 – Wait and See. Inspection of your lawn on a regular basis is the key to this approach. If you see areas of wilting, yellowing, or dying turf, check the area by first making sure the area is not just dry, then dig around the area to see if grubs are present, then tug on the turf to see if it comes up easily. Follow up with a curative insecticide if you find grubs are the cause of the stress you are witnessing.
Note: When making a grub treatment, watering is important. If soil is dry, watering (1/4-1/2”) before the application will encourage grubs to come closer to the surface. After the insecticide is applied, water is required to move the insecticide into the soil where the grubs are feeding. It is best to water within 2-3 days as the insecticide will not be active until it is watered into the soil.
Hall | Stewart wants you to help you have your best lawn!
Control of grubs is an important step in having your best lawn!
If you need help determining if you have a grub problem or if you have had grub problems in the past, we would be glad to help.
Simply call (405)367-3873 or reply to this email.
Lorne Hall
Hall | Stewart Lawn + Landscape
(405)367-3873
Dallisgrass – The “Address It As Soon As You See It” Weed

VIEWER DISCRETION ADVISED:
This email may not be suitable for all lawn and landscape lovers.
WARNING: This week’s post does not contain any pretty lawn and landscape pictures. Only ugly pictures of dallisgrass infestations. If you only click on our emails for inspiring pictures, please do not continue. We promise to return to normal content next week.
Often the content of our weekly emails is the result of what we are seeing in lawns and landscapes. This time of year, while doing lawn evaluations for soon to be Hall | Stewart clients, it is common to encounter lawns with dallisgrass issues.
Let’s spend a few minutes learning about this invasive weed and learn why it is so important to “address it as soon as you see it.”
Dallisgrass is a perennial grassy weed that was introduced to the US from Uruguay and Argentina in the 1800’s by A.T. Dallis as a fast-growing forage plant. Unfortunately, dallisgrass liked the environment a little too well and soon was growing out of control.
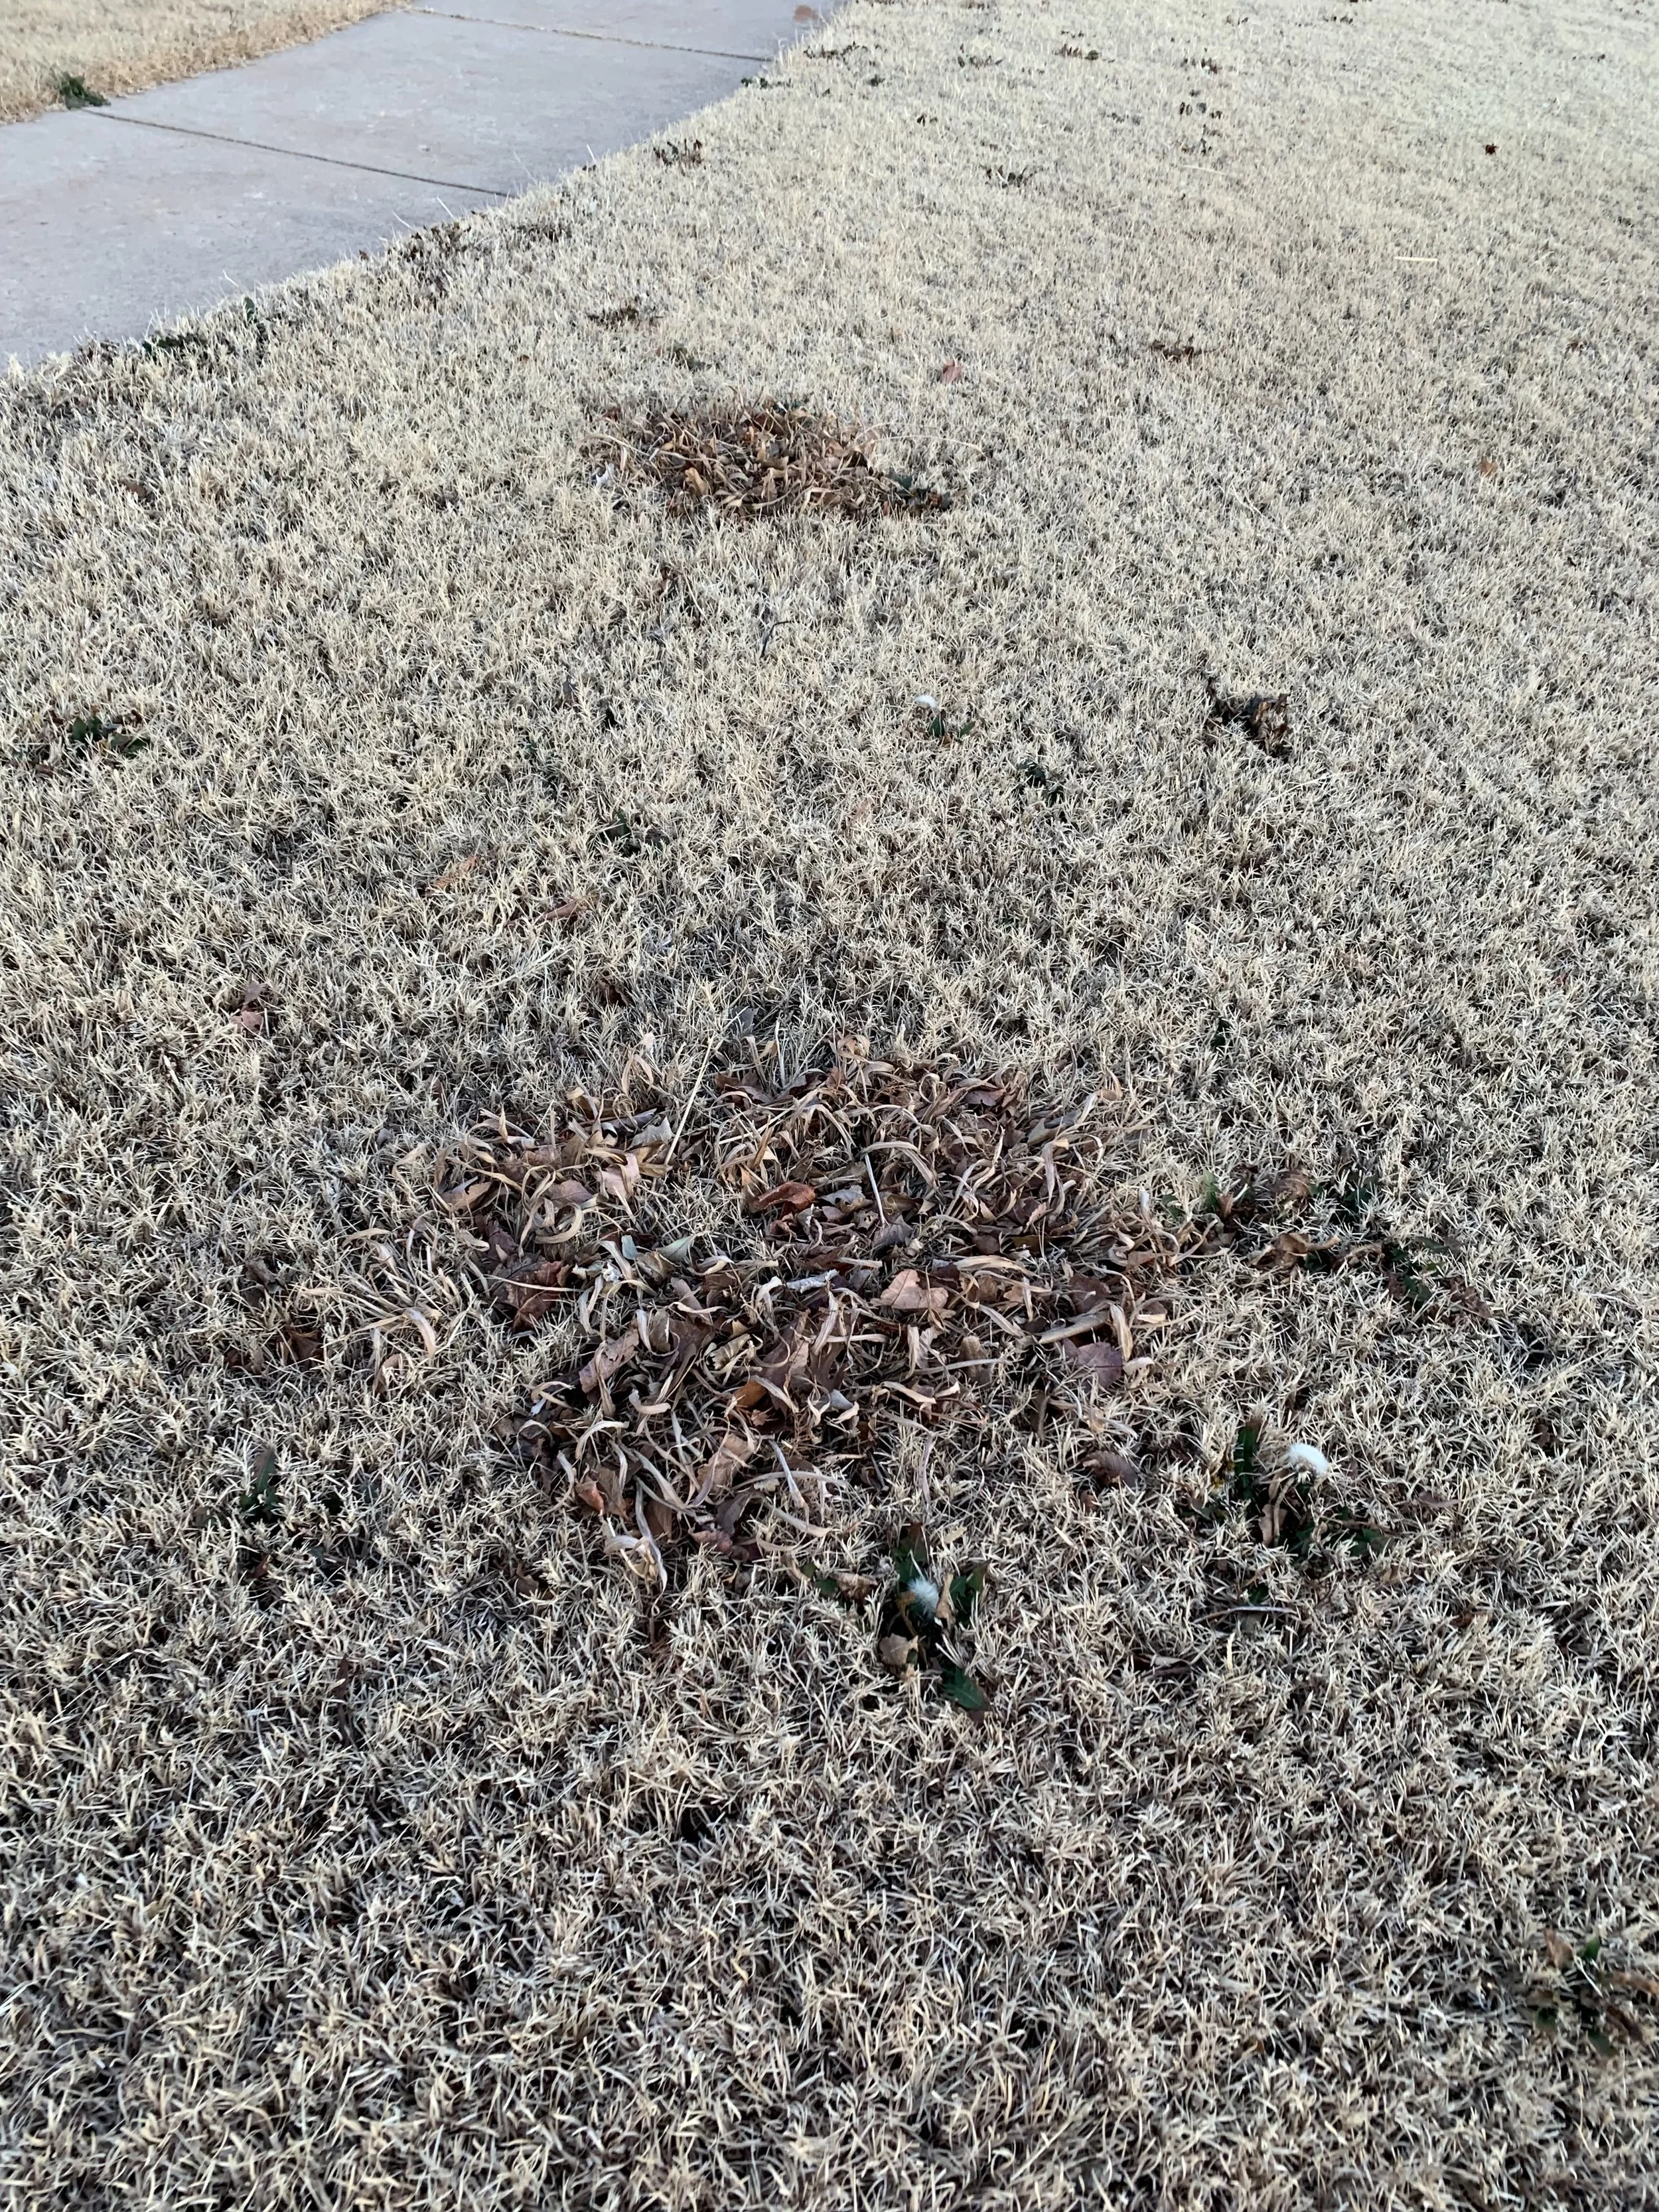
Dallisgrass is a grassy perennial weed that is very noticeable this time of year in dormant bermuda lawns.
How fun would it be to bring to market a plant that is beneficial for generations to come and have it named after you! Poor A.T., he thought he was helping, but instead of a plant people love named after him, he has a weed with his name that is the catalyst for a lot of foul language.
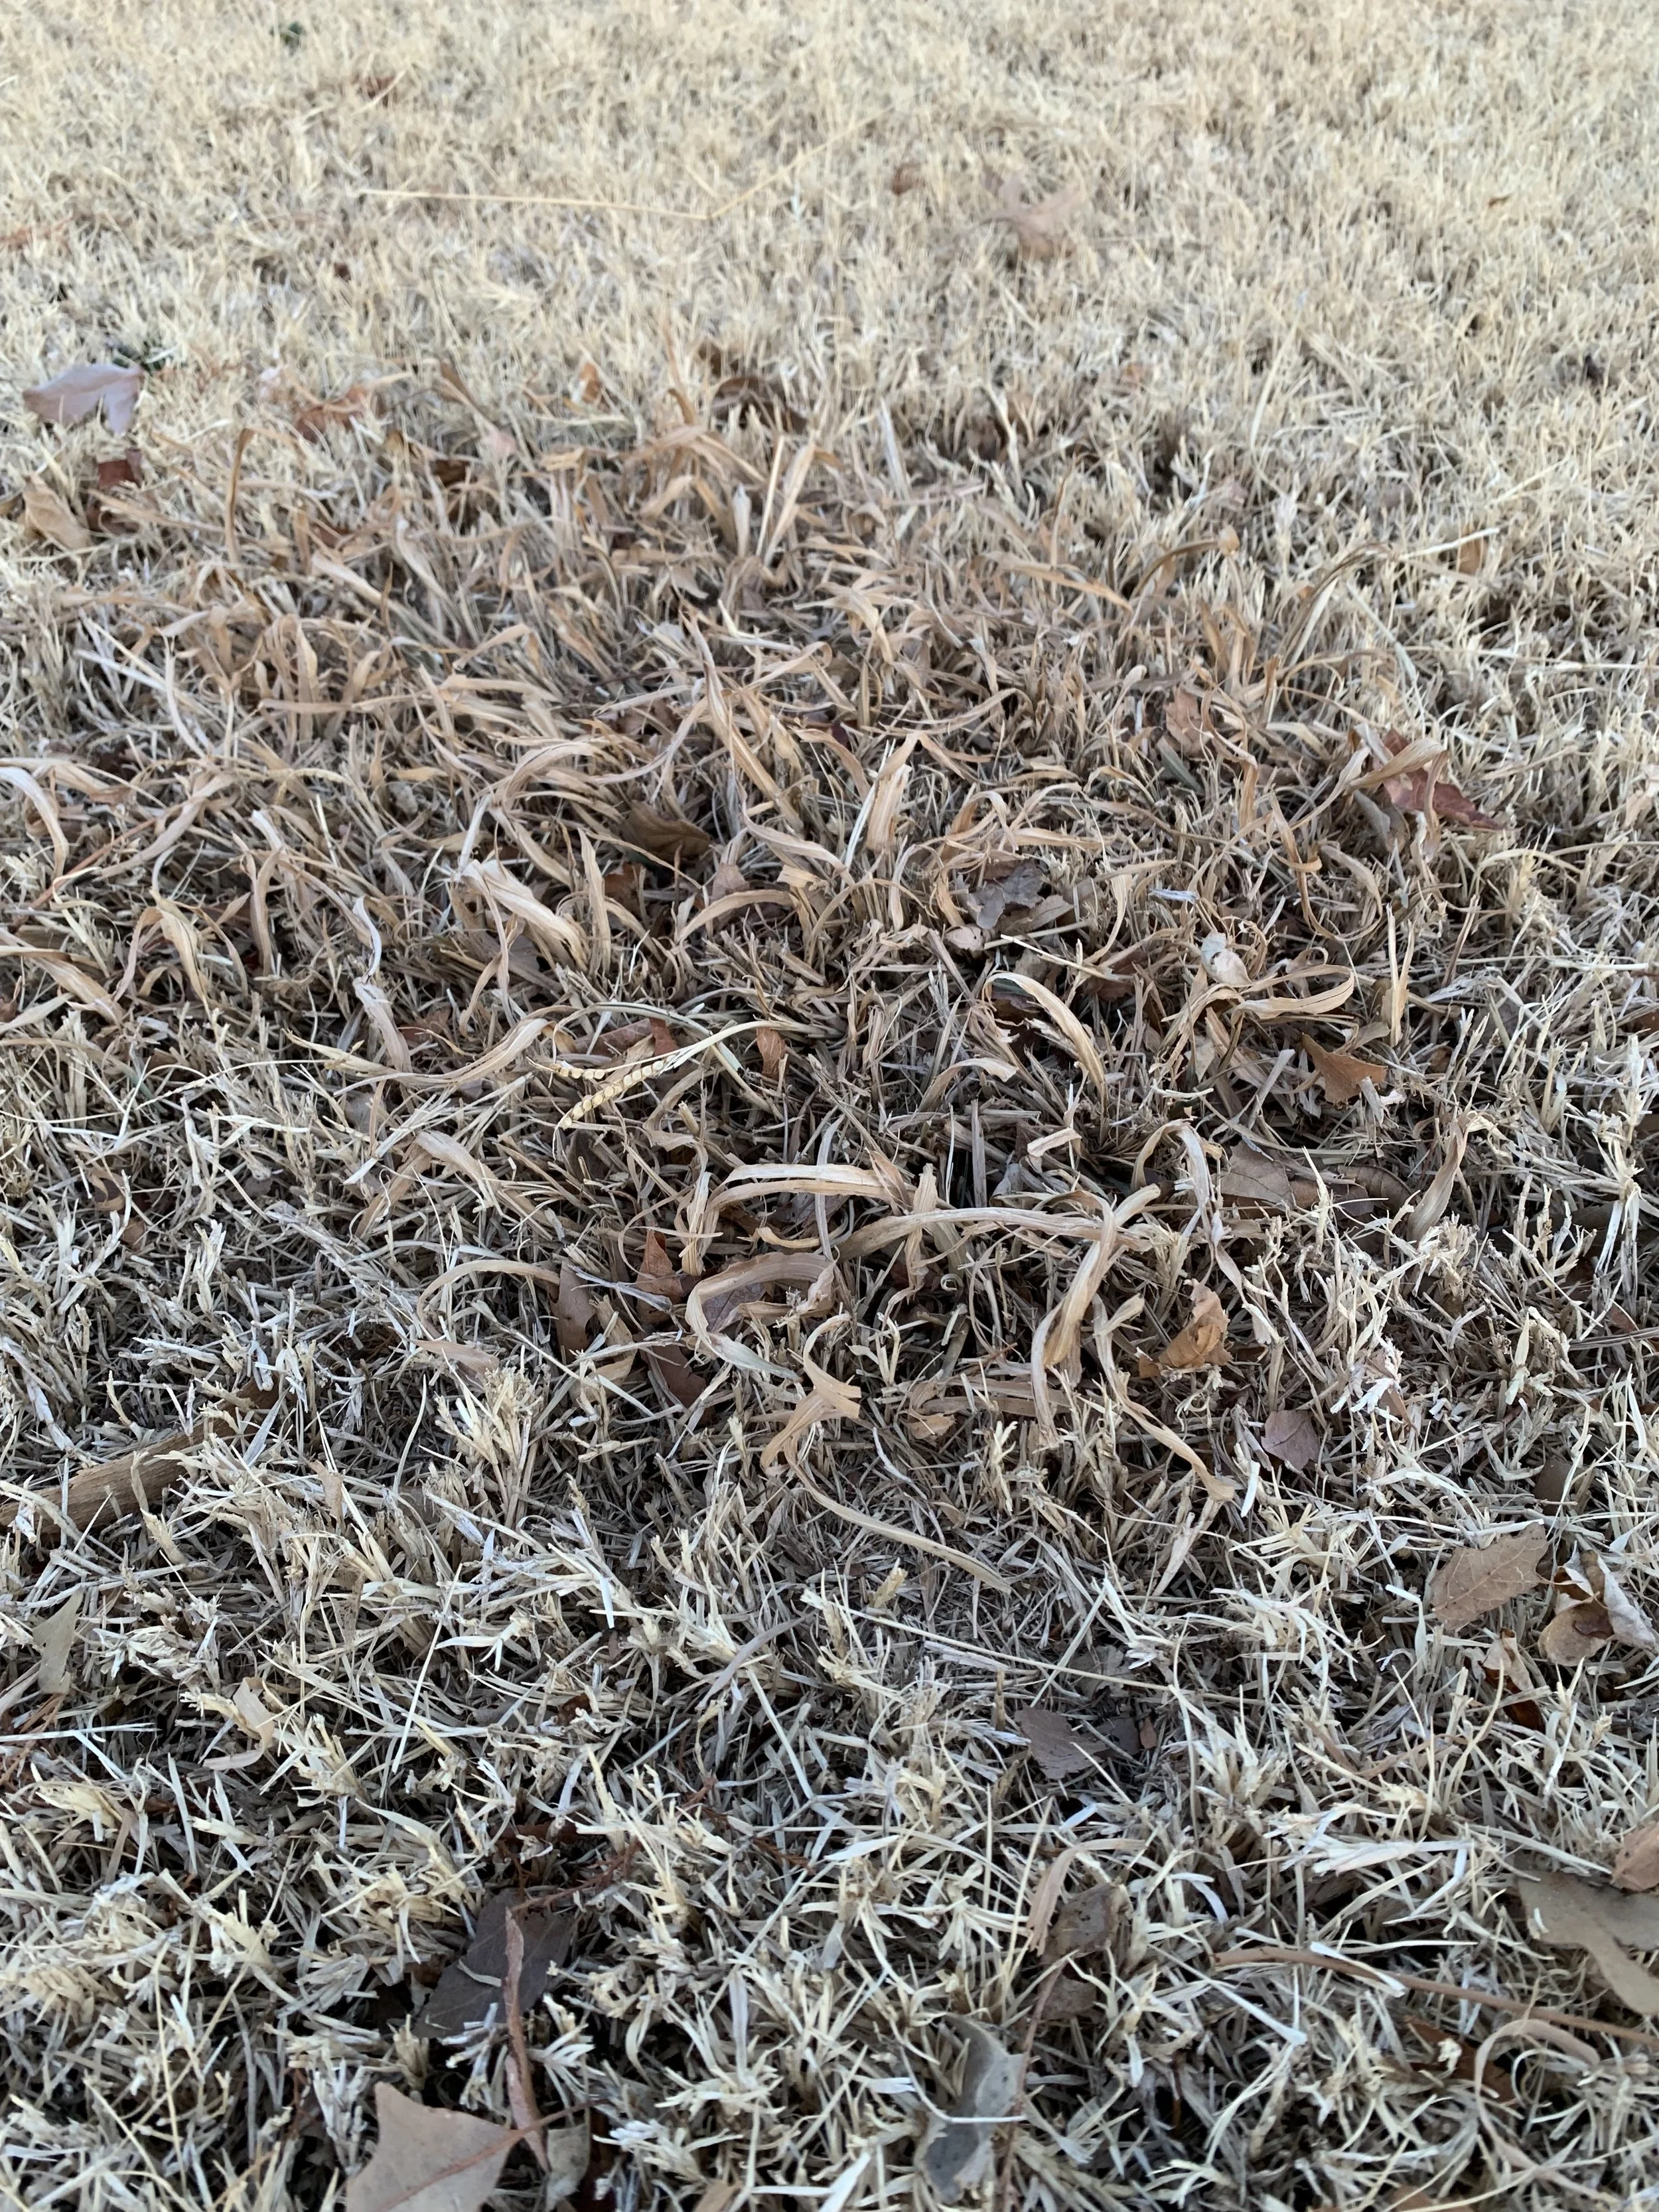
Dallisgrass is often confused with crabgrass. Crabgrass is an annual, meaning it dies every winter and can be completely prevented with a pre-emergent. While dallisgrass is a perennial, a pre-emergent will prevent the spread of new clumps but repeated post-emergent grassy weed control is required to eradicate existing clumps.
What is Dallisgrass?
Dallisgrass is a coarse textured perennial that grows in an ever-enlarging circular clump and is often confused with crabgrass.
A perennial is a plant that comes back year after year. Dallisgrass goes dormant during the winter, but the rhizomes do not die. In the spring, new growth appears from the roots.
Dallisgrass has short underground rhizomes that gradually grow outward. It has wide ¼ to ½” leaf blades that grow 4-12” long when not mowed.
Mature clumps typically have dying centers while the outer edge continues to grow smothering turfgrass as it spreads.
Individual plants increase in size while new clumps start from weed seeds.
Dallisgrass flourishes in all soils, sandy to clay, but is partial to compacted, wet soils.
Dallisgrass is a very common problem for lawns throughout the south from coast to coast.
How To Control Dallisgrass
1. Healthy Turf - As with all weeds, maintaining a healthy, dense turf is the first step. Good mowing, watering, fertilizing and aeration practices result in a thick turf leaving less area for dallisgrass seeds to come in contract with and germinate. Thin turf and bare soil areas are an invitation to all weeds, especially dallisgrass.
2. Pre-Emergent Applications – Although dallisgrass is a perennial, it does produce an abundance of seeds that are spread by wind, animals and lawn equipment. Pre-emergent applications will not control existing dallisgrass, but it will prevent it from allowing more clumps to develop in your lawn. Seeds germinate in 60-65 degree soil temperatures, a few weeks after crabgrass germinates.
The second spring pre-emergent application between mid-March to early May is critical in stopping the spread of dallisgrass.

Dallisgrass goes dormant in the winter but the rhizomes stay alive and often keep some green color near the soil surface.
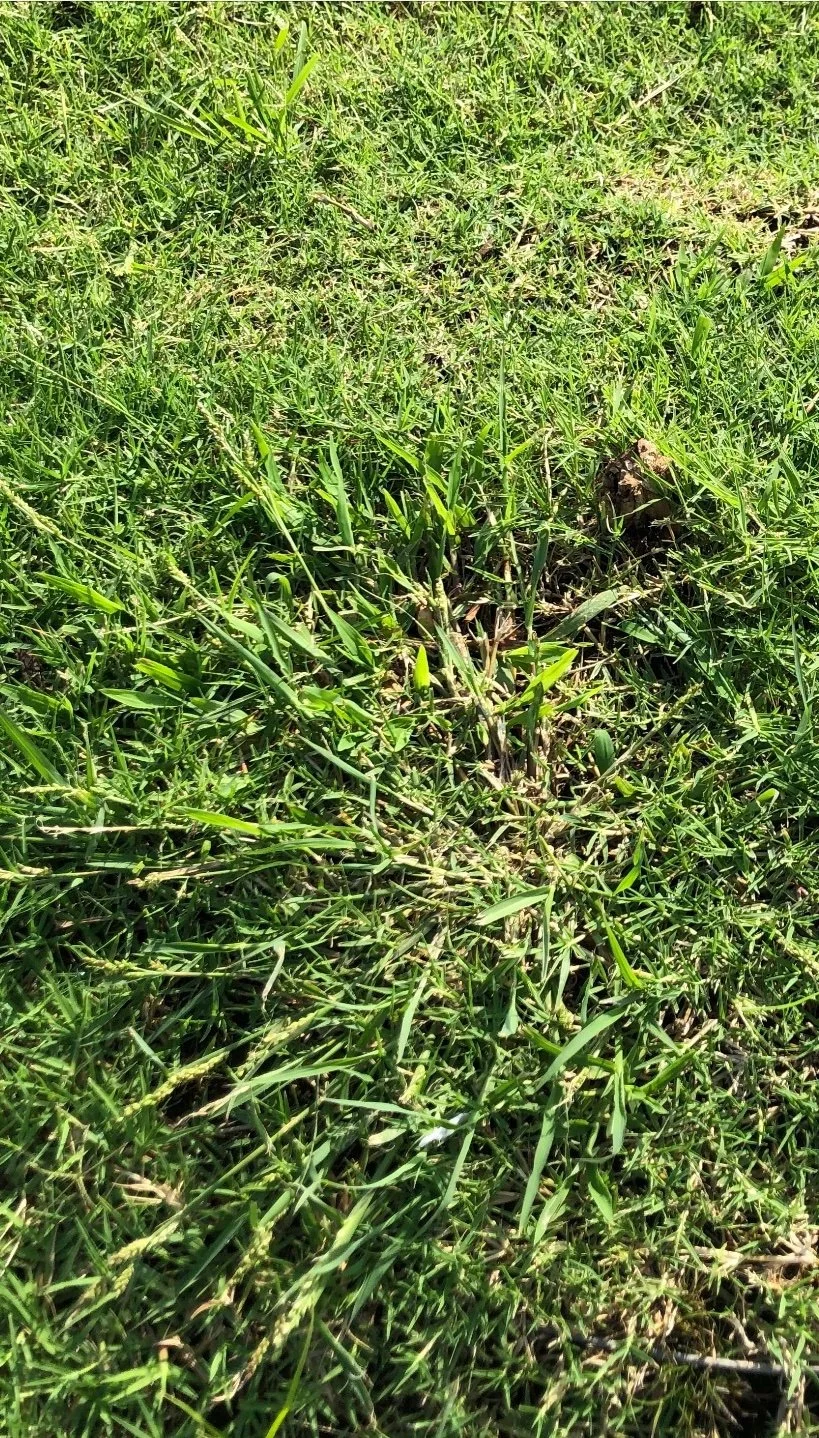
Dallisgrass grows outward smothering turfgrass as it spreads. Over time the center of the weed dies out while the rhizomes continue to spread.
3. Selective Post-Emergent Applications – Grassy weed control products labeled for crabgrass will work on dallisgrass, but repeat applications are required every 2-3 weeks until the rhizomes are completely dead. MSMA was the go-to product for years, but it is no longer available for home lawn use. One product labelled for homeowner use is Weed-B-Gone Crabgrass Killer. Always follow label instructions. Know your type of turf, and make sure the product is labeled for your turf type. Licensed lawn care professionals have restricted use herbicides available to use that provide better control of dallisgrass.
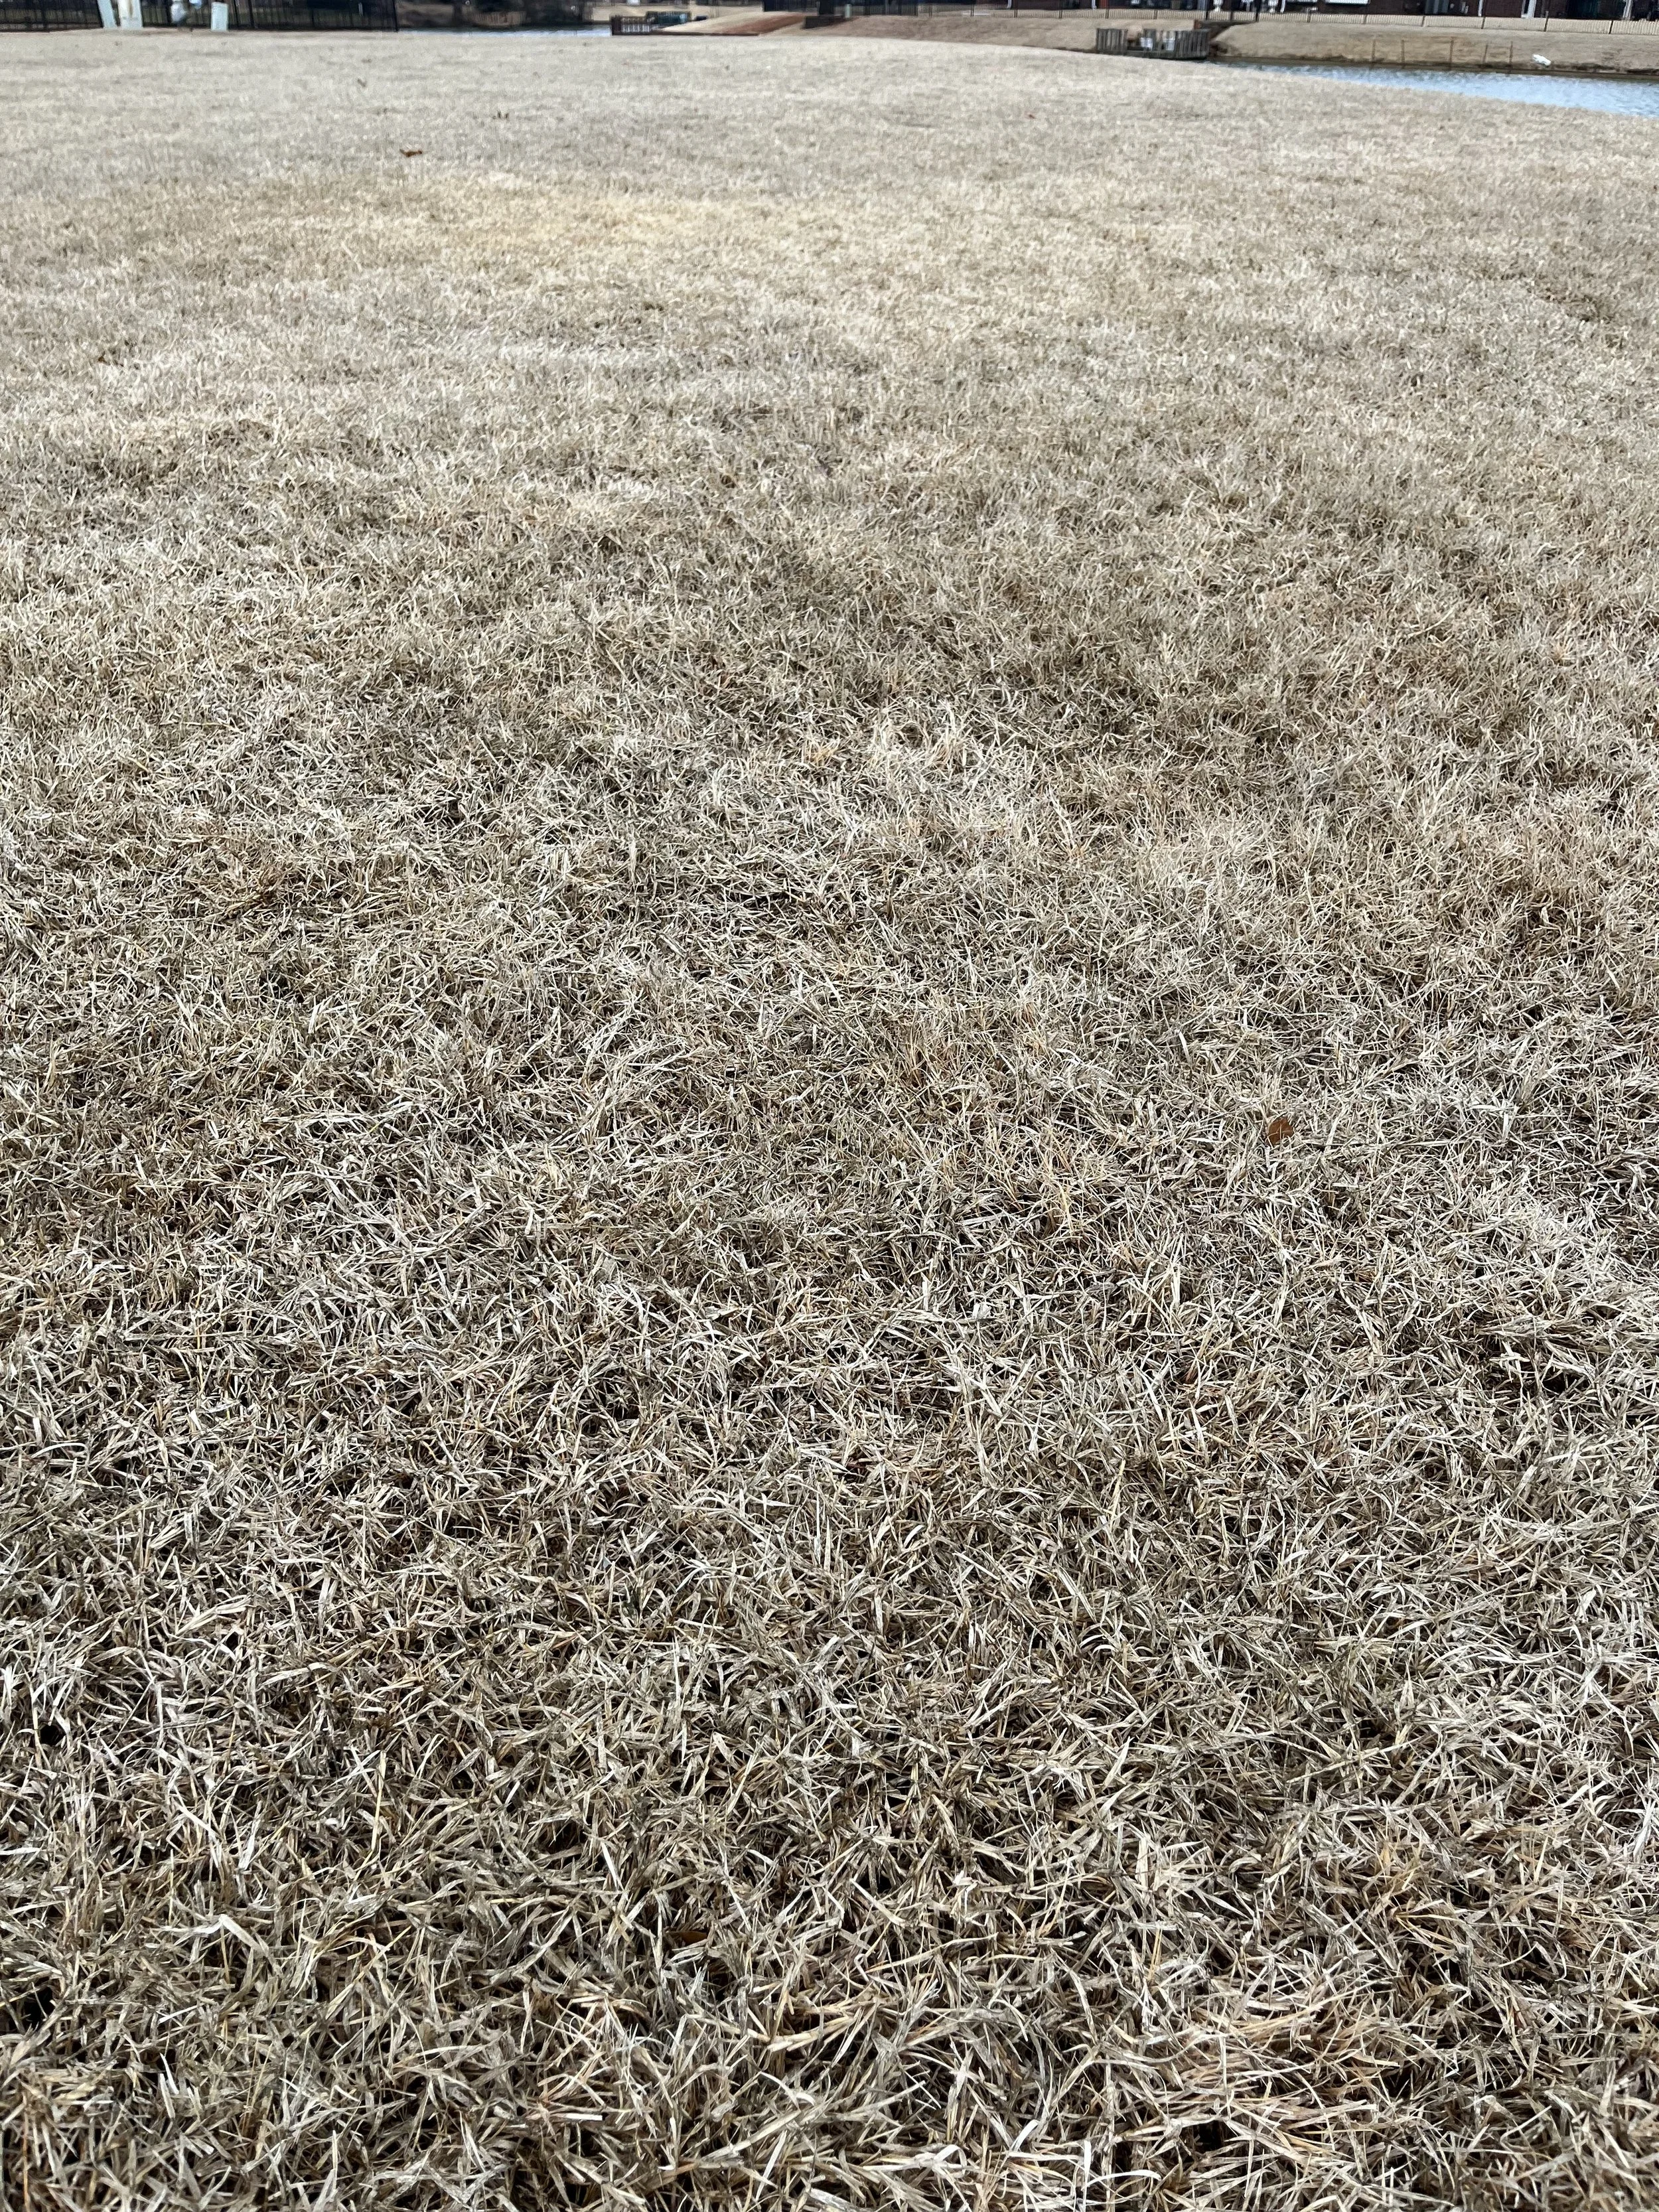
This lawn was overtaken with dallisgrass when we started working on it last spring. The owner agreed to allowing us to use glyphosate early in the growing season to aggressively control dallisgrass resulting large bare areas. Over the summer, most of the areas recovered. But another year of good turf management practices and this lawn is needed to return the lawn to looking great. Control of dallisgrass and recovery is often a two year process.
4, Non-Selective Post-Emergent Application – The best control of large areas of dallisgrass infestations where there is little to no desirable turfgrass remaining is to treat with glyphosate. Glyphosate is a non-selective herbicide, meaning it kills everything it comes in contact with. Repeated applications are still required. If spot treating clumps of dallisgrass in your lawn, take care not to allow the spray to reach desirable turf. Once the weed is completely killed, rhizomes included, resodding may be required.
5. Digging It Out – The most environmentally friendly, but the most time consuming and physically demanding, is to dig out the invasive weeds. A good step in preventing a dallisgrass outbreak is to dig out small clumps, rhizomes and all, as soon as you see them in your lawn.
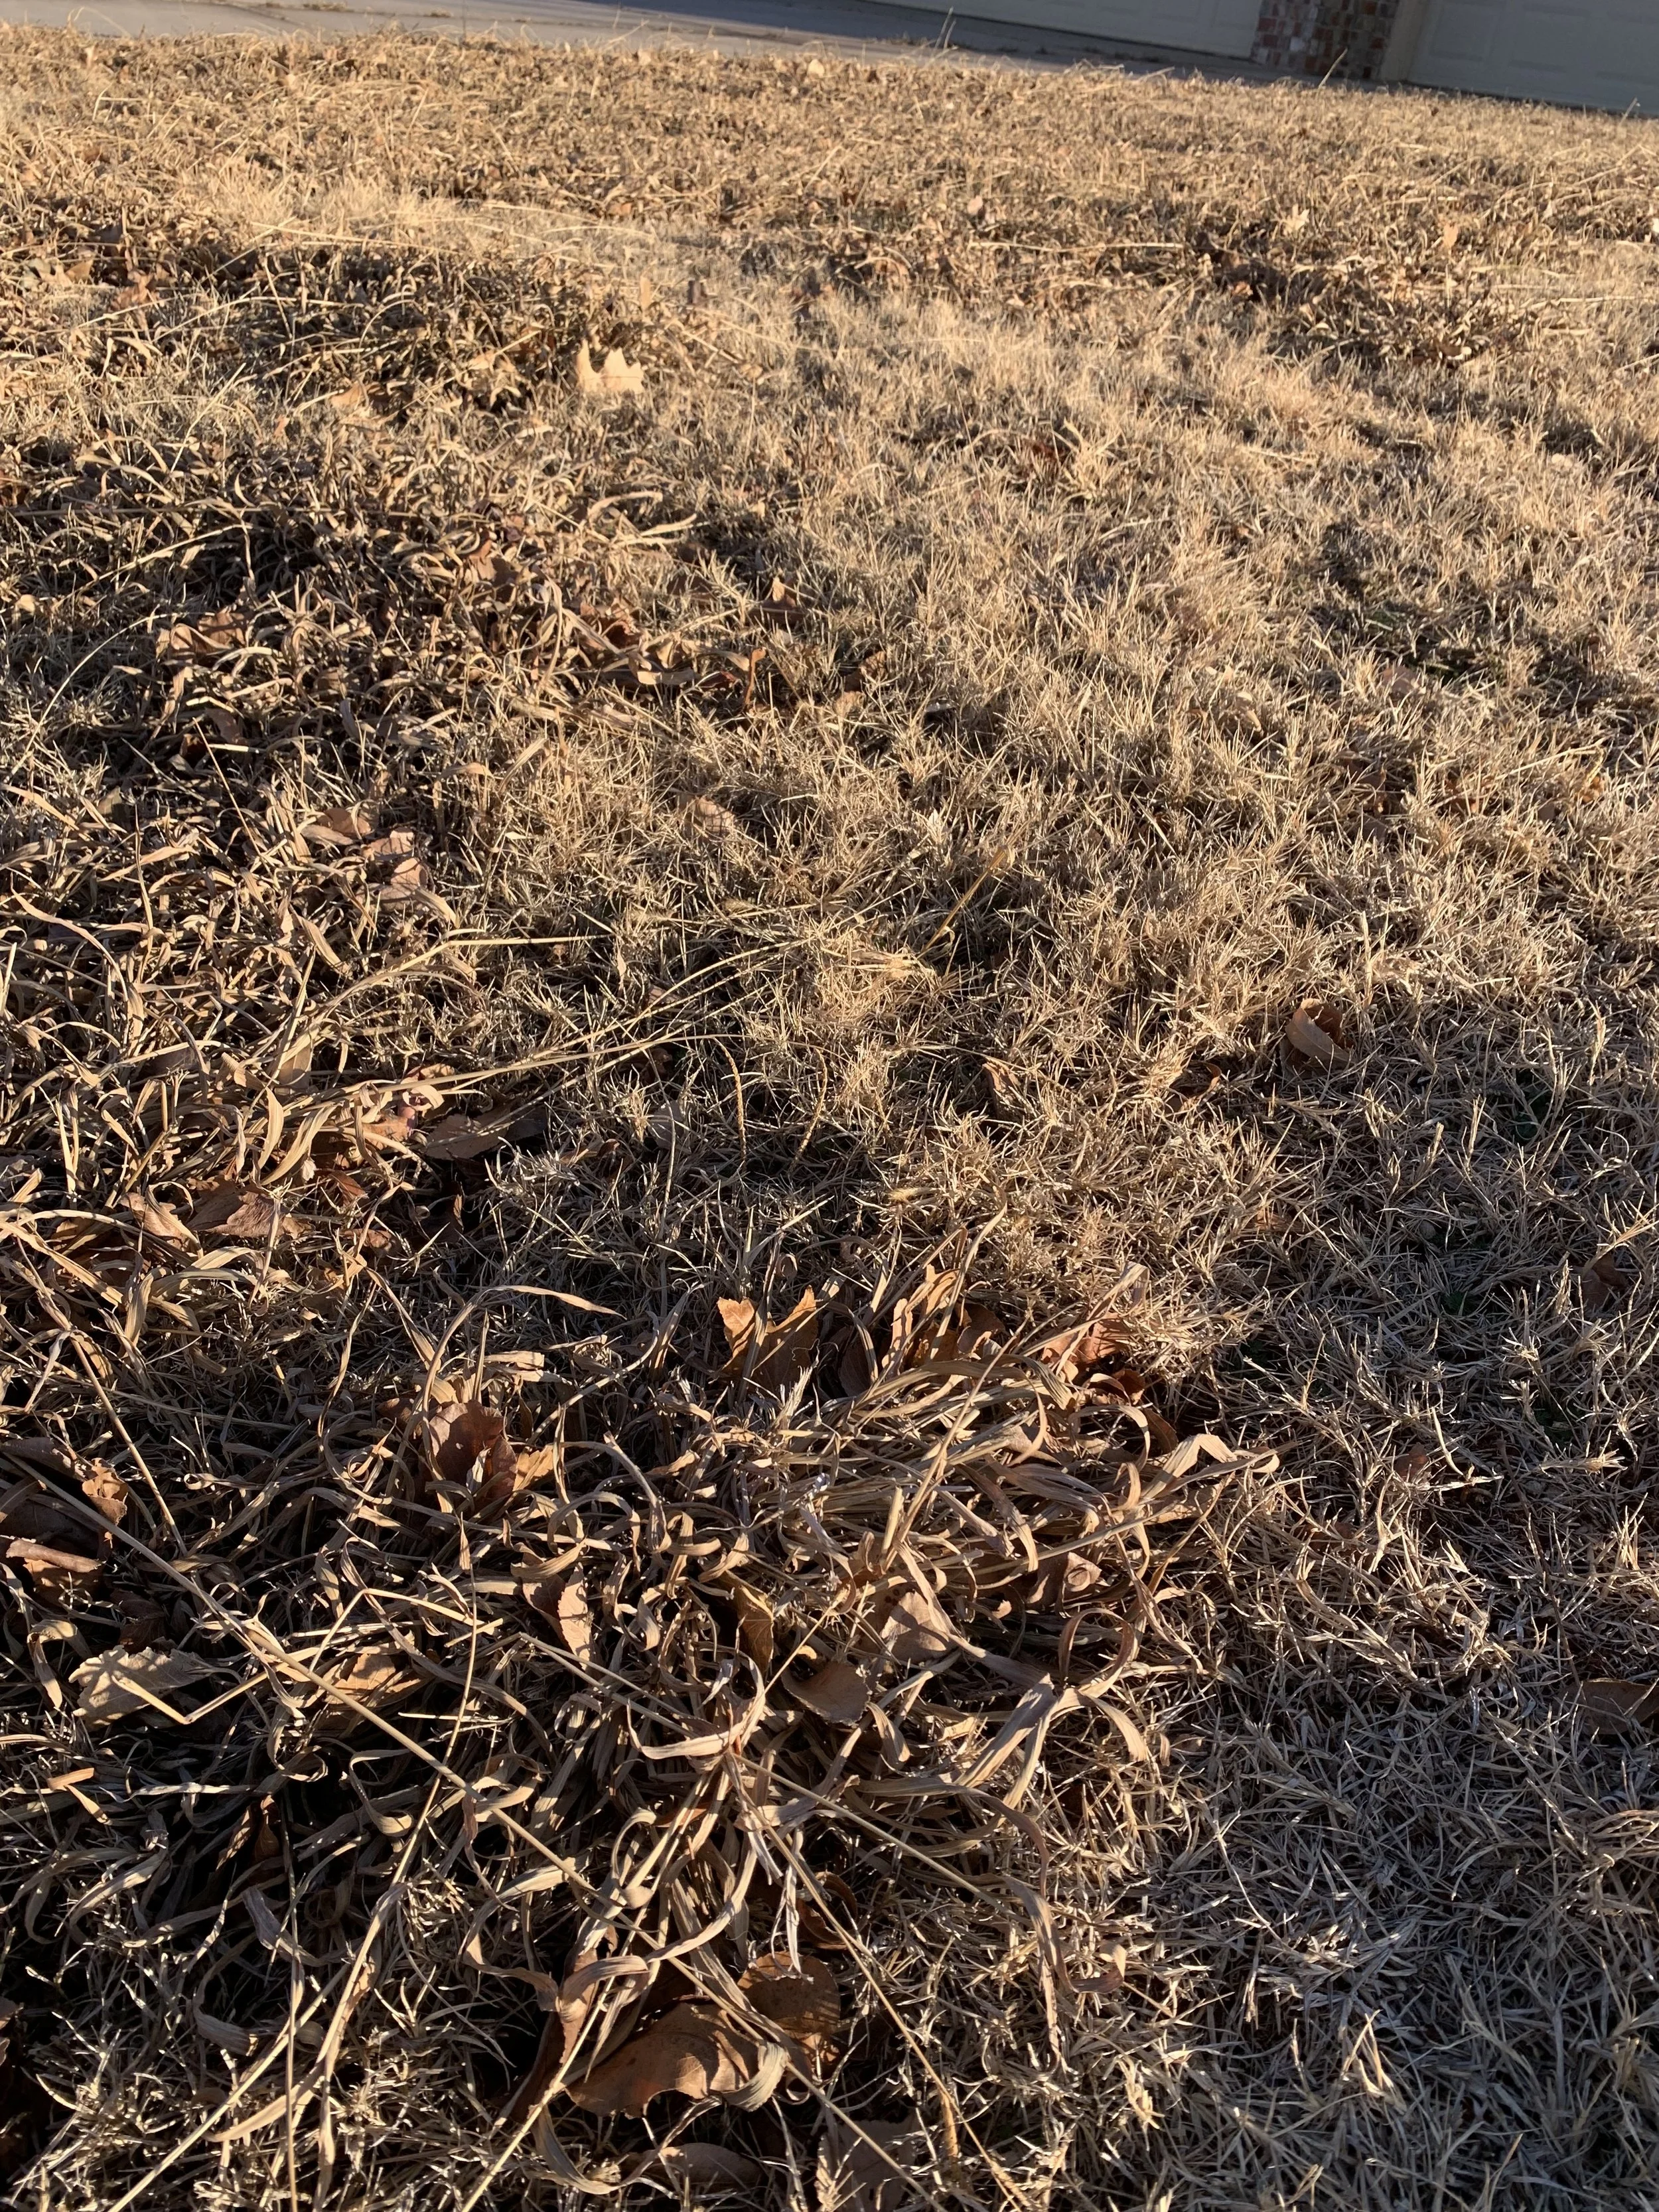
Large areas of dallisgrass where little to now desirable turfgrass remains are best completely killed out with a non-selective herbicide and then resodded.
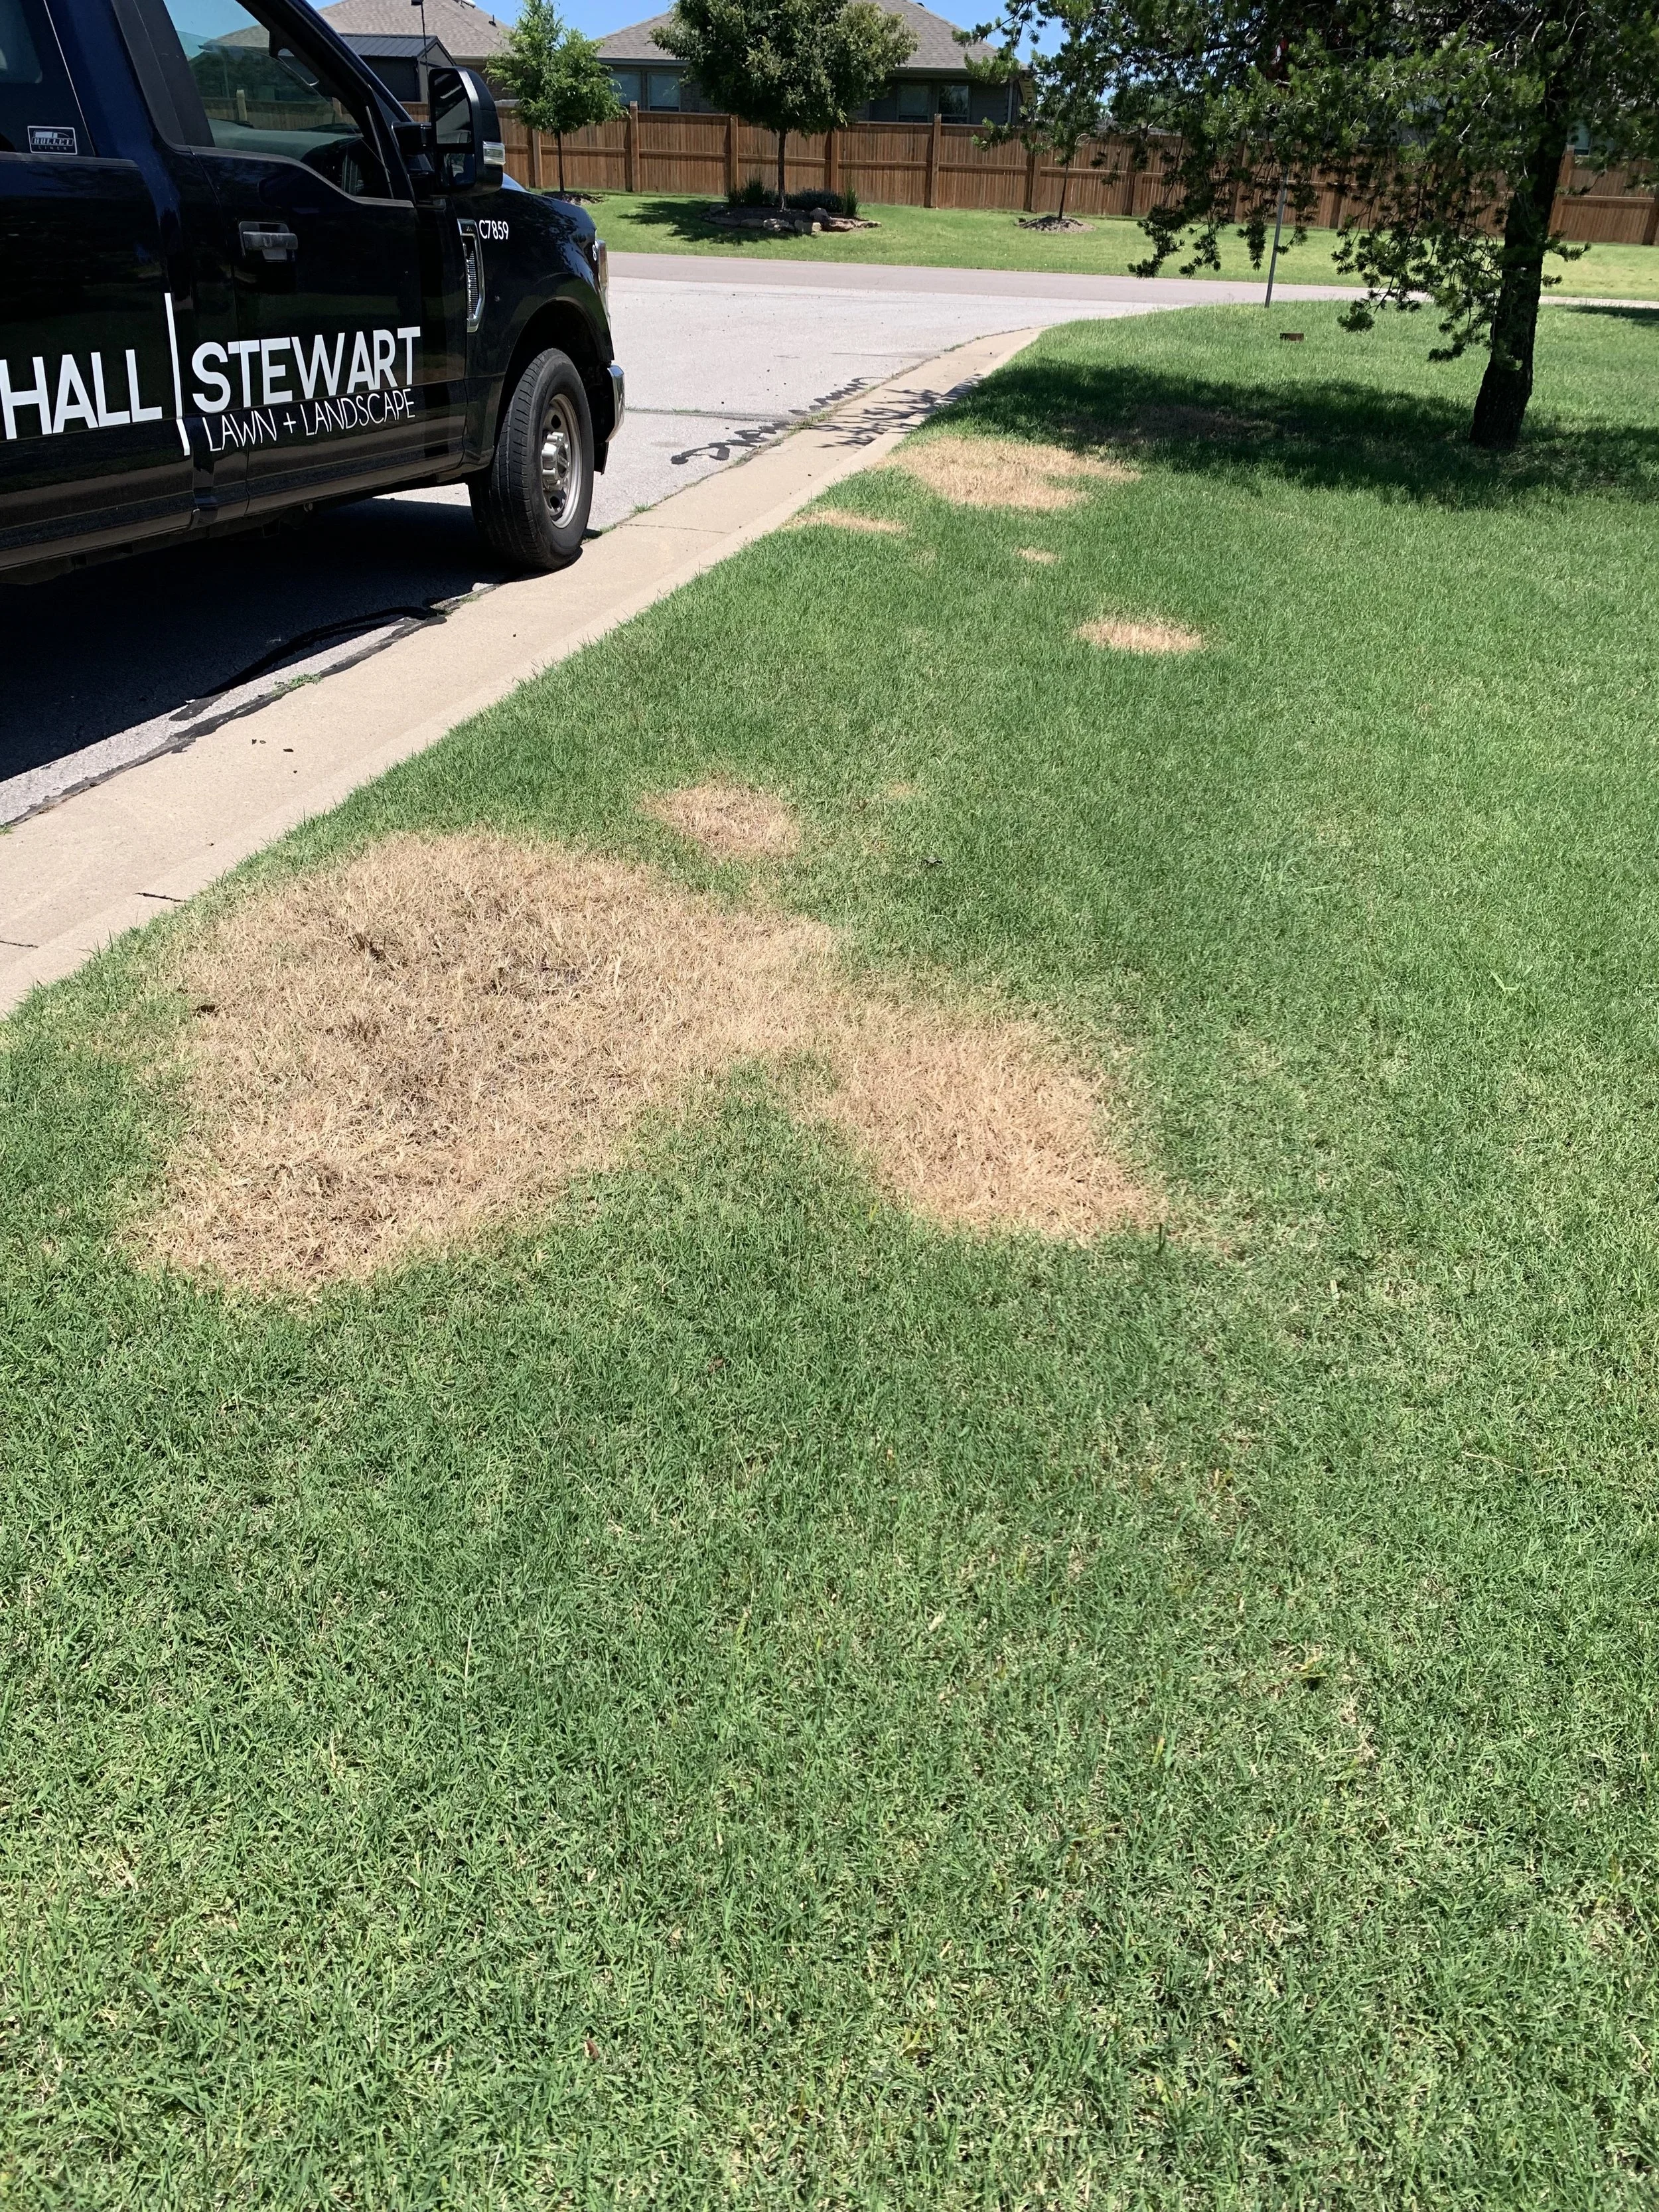
Non-selective herbicides were used in June to control dallisgrass in this lawn. After the dallisgrass was completely controlled, the areas were sodded with Bermuda.
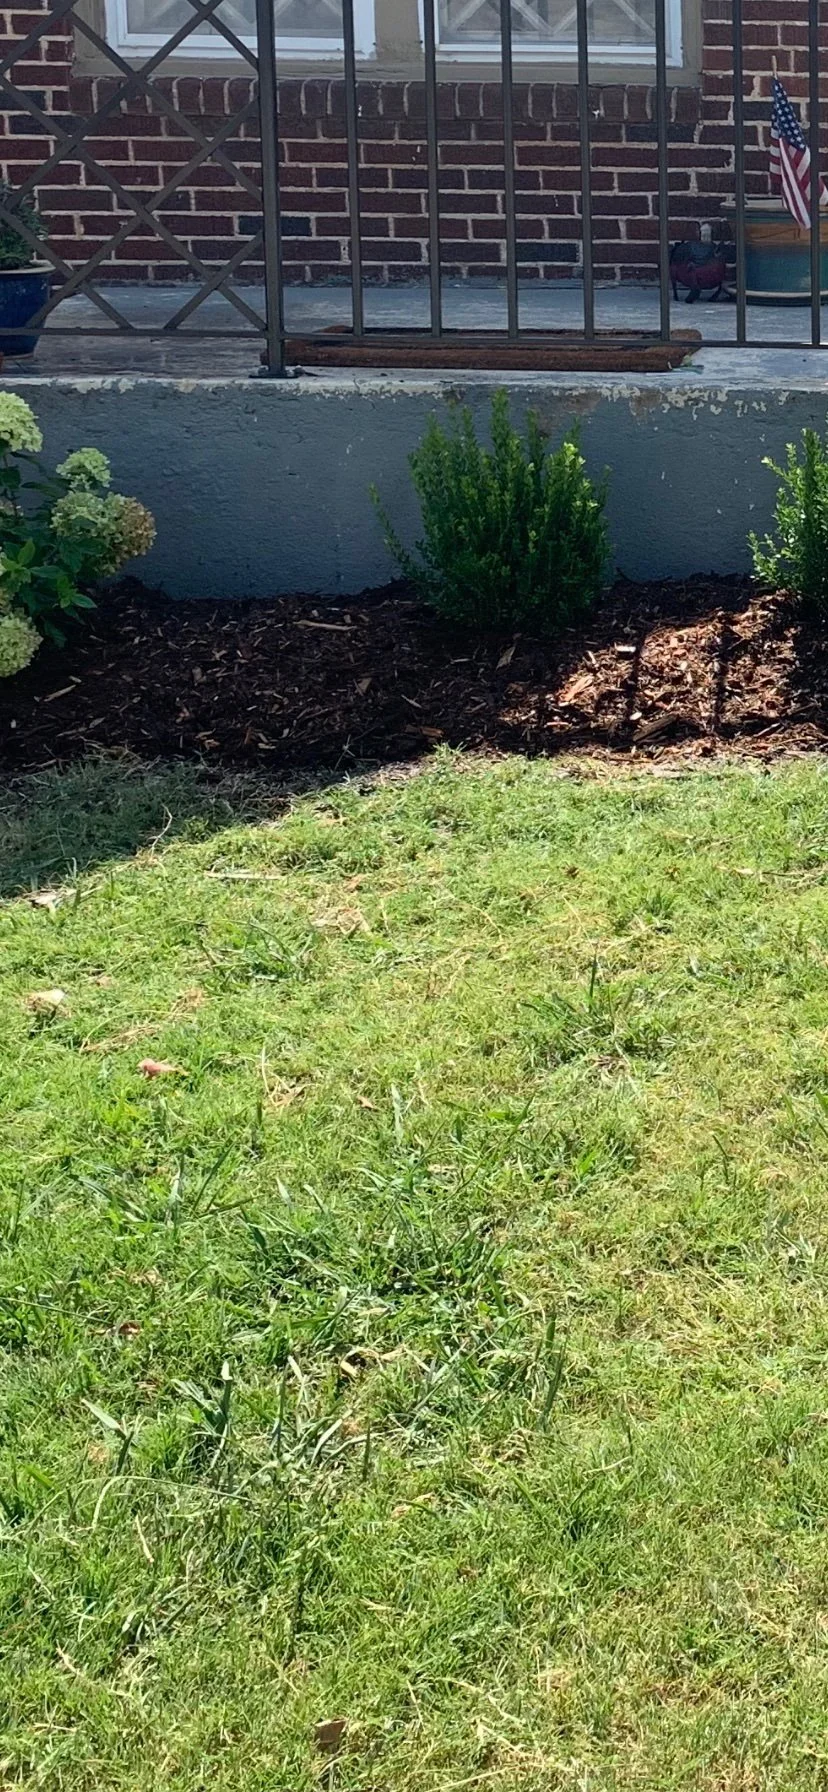
Dallisgrass grows faster than turfgrass spoiling a well maintained lawn and landscape.
Because dallisgrass is a perennial, persistence is required. Total eradication of a large area may take more than one season. Multiple treatments over a two-year period can be expected.
It is one of the more difficult to control weeds homeowners will face and the longer it has been established the harder it is to gain control.
Address dallisgrass as soon as you see it. The longer you wait the more invasive it will become.
If you have dallisgrass problems, or if you need help in identifying dallisgrass, please give us a call or respond to this email.
Lorne Hall
Hall | Stewart Lawn + Landscape
(405)367-3873
The goal is to have a clean and healthy lawn this summer. It is critical you address dallisgrass as soon as you see it.
Japanese Maples – Year Round Interest

With over 140 hours of the past 7 days below freezing with very little snow cover, our lawns and landscapes look as if they have been left uncovered in the deep freeze and are now suffering from a bad case of freezer burn.
After a long cold week of long johns, heavy coats and gloves, I doubt you are looking for a list of lawn and landscape tasks to accomplish over the next few days.
So, go ahead, pour yourself another cup of coffee, grab a blanket, and head to your comfy chair closest to the fireplace and spend a few minutes dreaming about beautiful landscapes.
Specifically, let’s dream of Japanese Maples – The Aristocrat of the Landscape
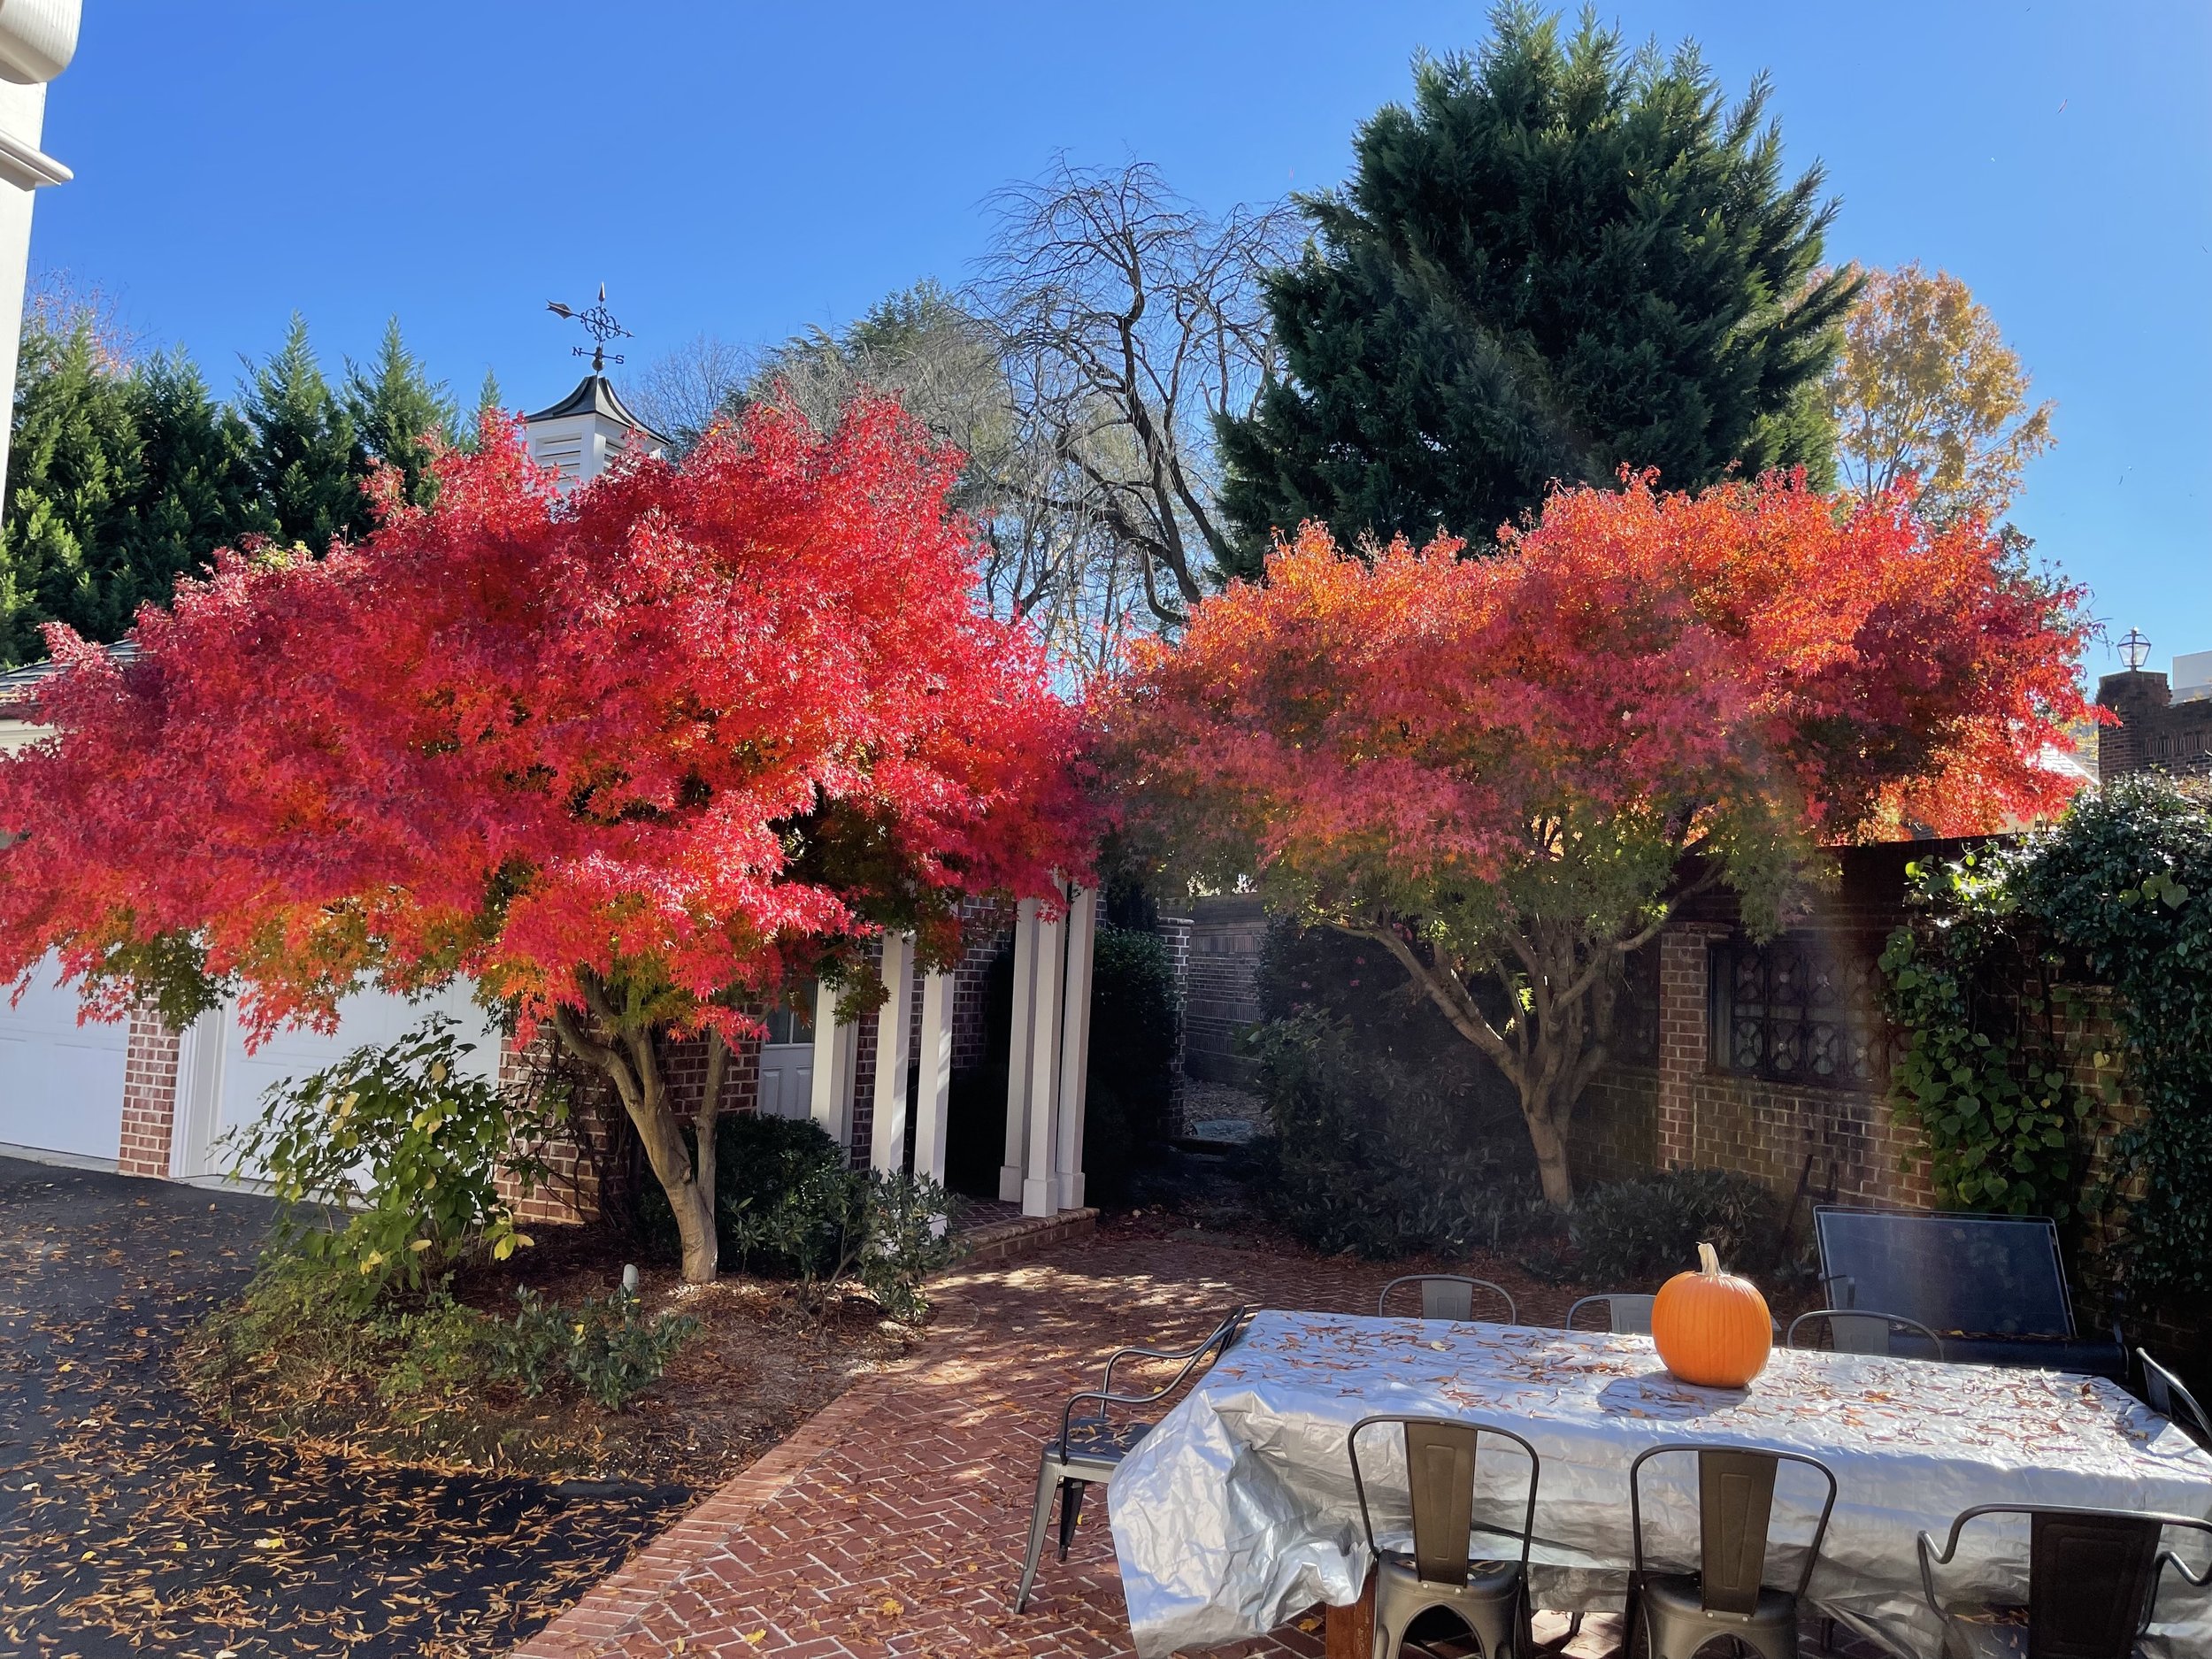

Japanese Maples are sure to add bright colors to your fall landscape.
Michael Dirr, author of the Dirr’s Hardy Trees and Shrubs textbook, writes:
“True aristocrats are rare among people and trees, but Japanese Maple is in the first order.
It is difficult to imagine a garden that could not benefit from one of the many forms of Acer palmatum.
The normal habit is round to broad-rounded, with the branches assuming a layered,
almost stratified architecture similar to Flowering Dogwood.
Leaves are light green to dark green, to reddish purple.
Fall color is sensational with rich yellow and reds through the fall.
The winter silhouette is attractive, providing interest during the off season.
Landscape uses for the species and its many cultivars are limited only by
the imagination of the gardener.”
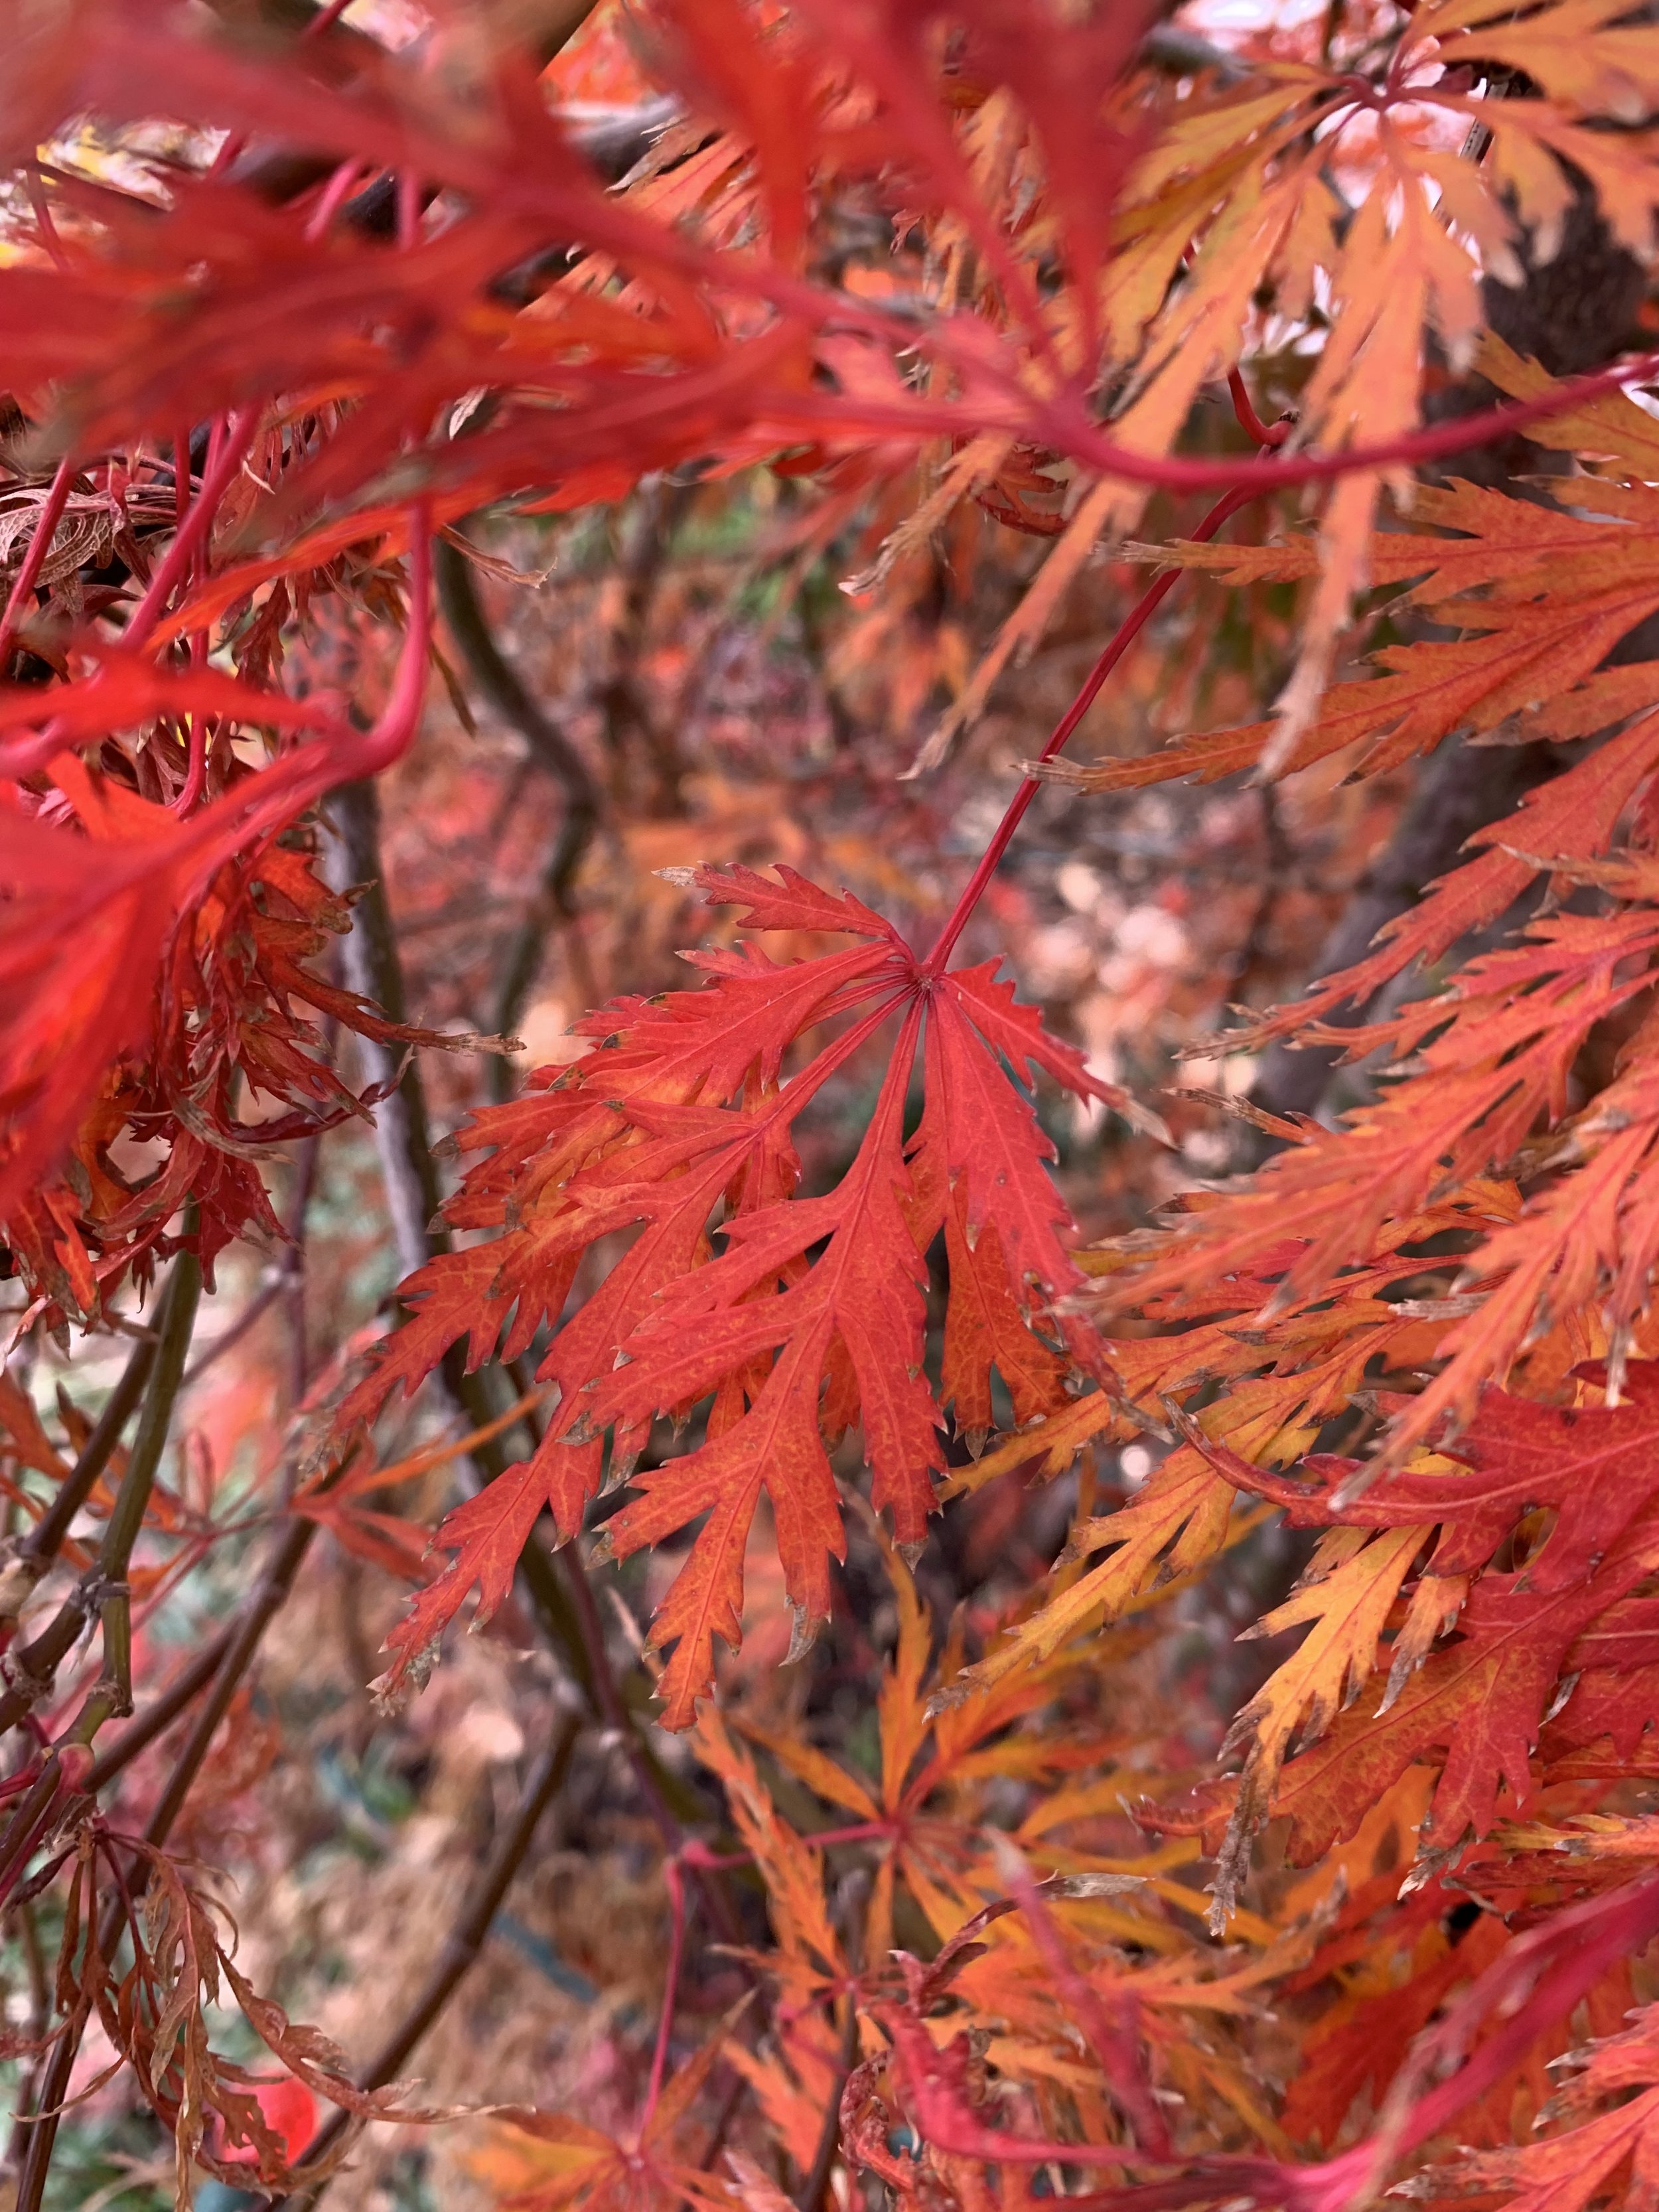
Japanese Maples have added spectacular color to the fall landscape this year. Garnet is a graceful small variety with lacy leaves and a weeping growth habit.
A few things everyone needs to know about Japanese Maples:
Site
Japanese Maples grow well from zone 5-8, making them a good choice for Oklahoma City’s zone 7. They perform best when planted in dappled sun to shade and out of direct afternoon sun. Shade does have its limits…they need some sun for the best fall foliage color. During the summer heat, it is common for them to experience some leaf scorch, especially if they receive direct sun. They prefer well-drained soil and consistent moisture. During the heat of the year, you can expect them to need extra deep watering the first couple of seasons. But once they are established, they are essentially carefree.
Monrovia, a leader in the development and growing of landscape plants, refers to “Japanese Maples a statement plant…one of the most compelling plants you can add to your landscape.”
With over 1,000 varieties and cultivars of the Japanese Maples, there has to be one perfect for your landscape.

Tamukeyama Japanese Maple has deep red-purple leaves through the summer and bright red fall foliage. With cascading branches it grows in a mounding shape 10’ fall and 10’ wide.

Coral Bark Japanese Maples have pale green leaves in the summer, Golden yellow fall color, and bright red-coral branches in the winter.
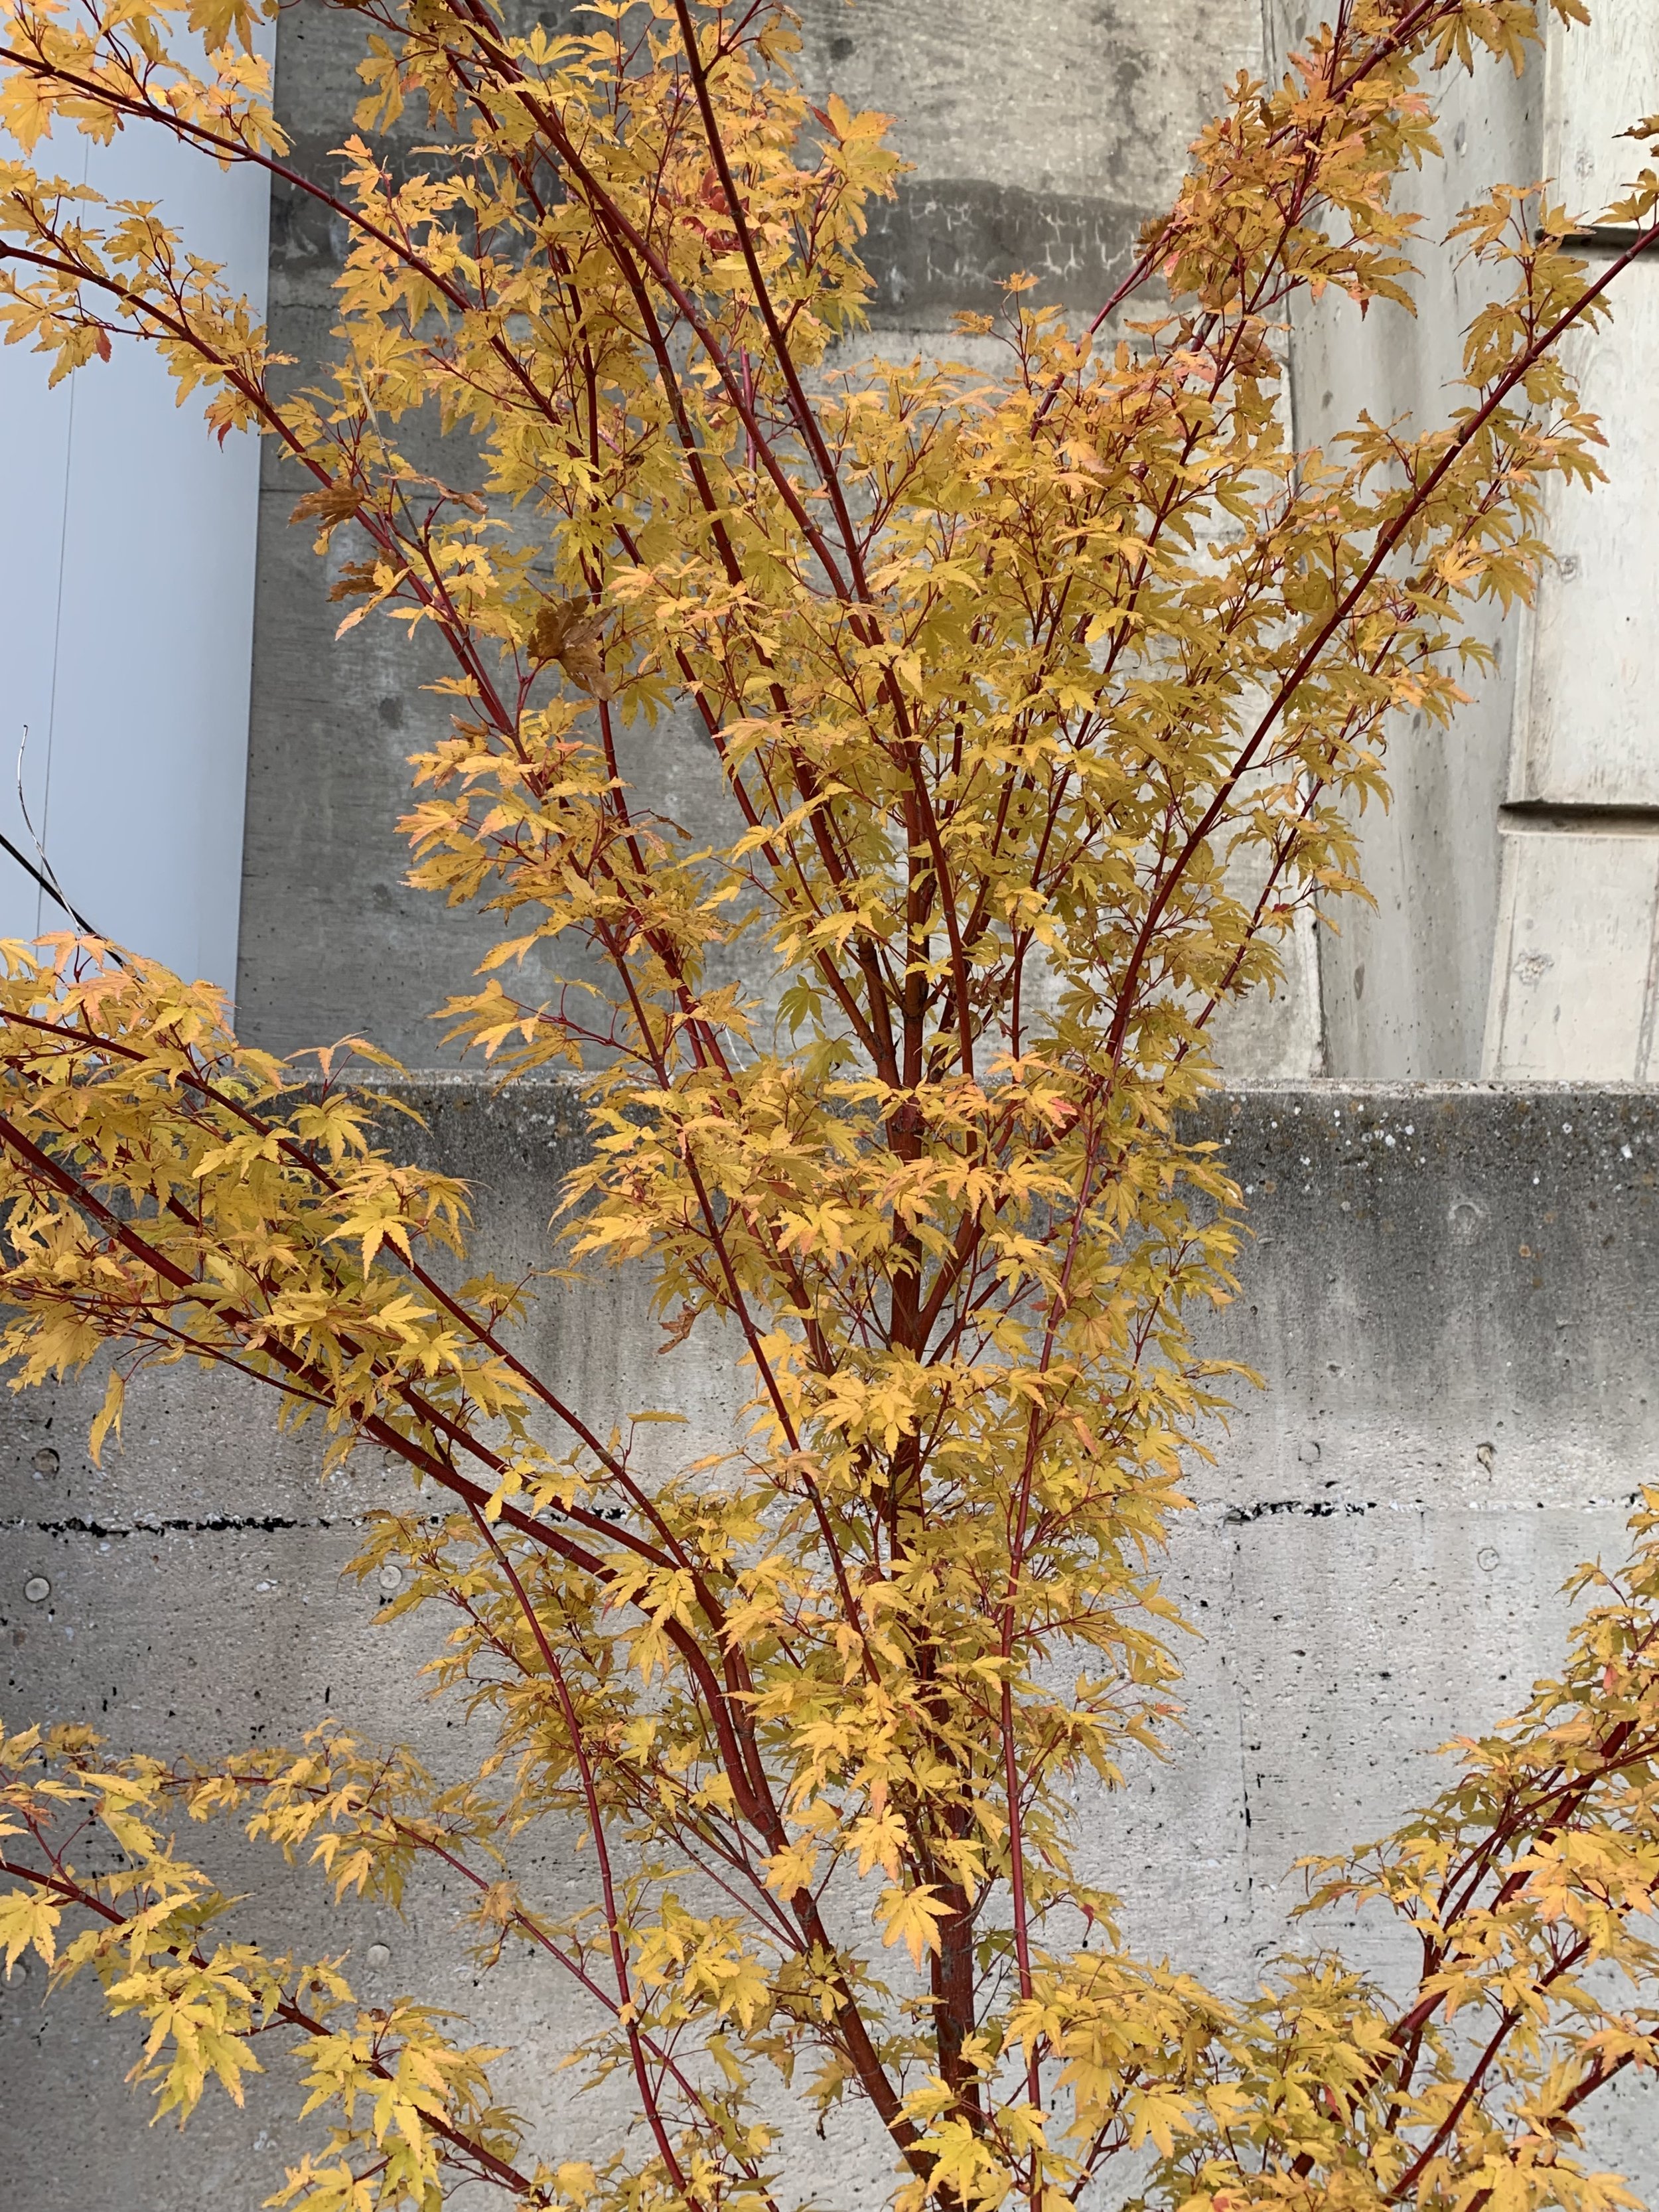
Coral Bark Japanese Maple

Japanese Maples are a staple landscape plant that will add interest to a landscape year round.

A mature Japanese Maple, such as this Bloodgood, will grow in full sun locations where the soil is shaded.
Size & Form
Japanese Maples range from a few feet tall to 25’. Considered a deciduous small tree or shrub, there are rounded, dwarf, weeping, upright, cascading, single trunk, multi-trunk…. varieties.
How can you use a Japanese Maple in your landscape?
You can create a solitary specimen as a spotlight in the landscape.
You can plant them in a group as a grove.
Or, you can use them in large containers.
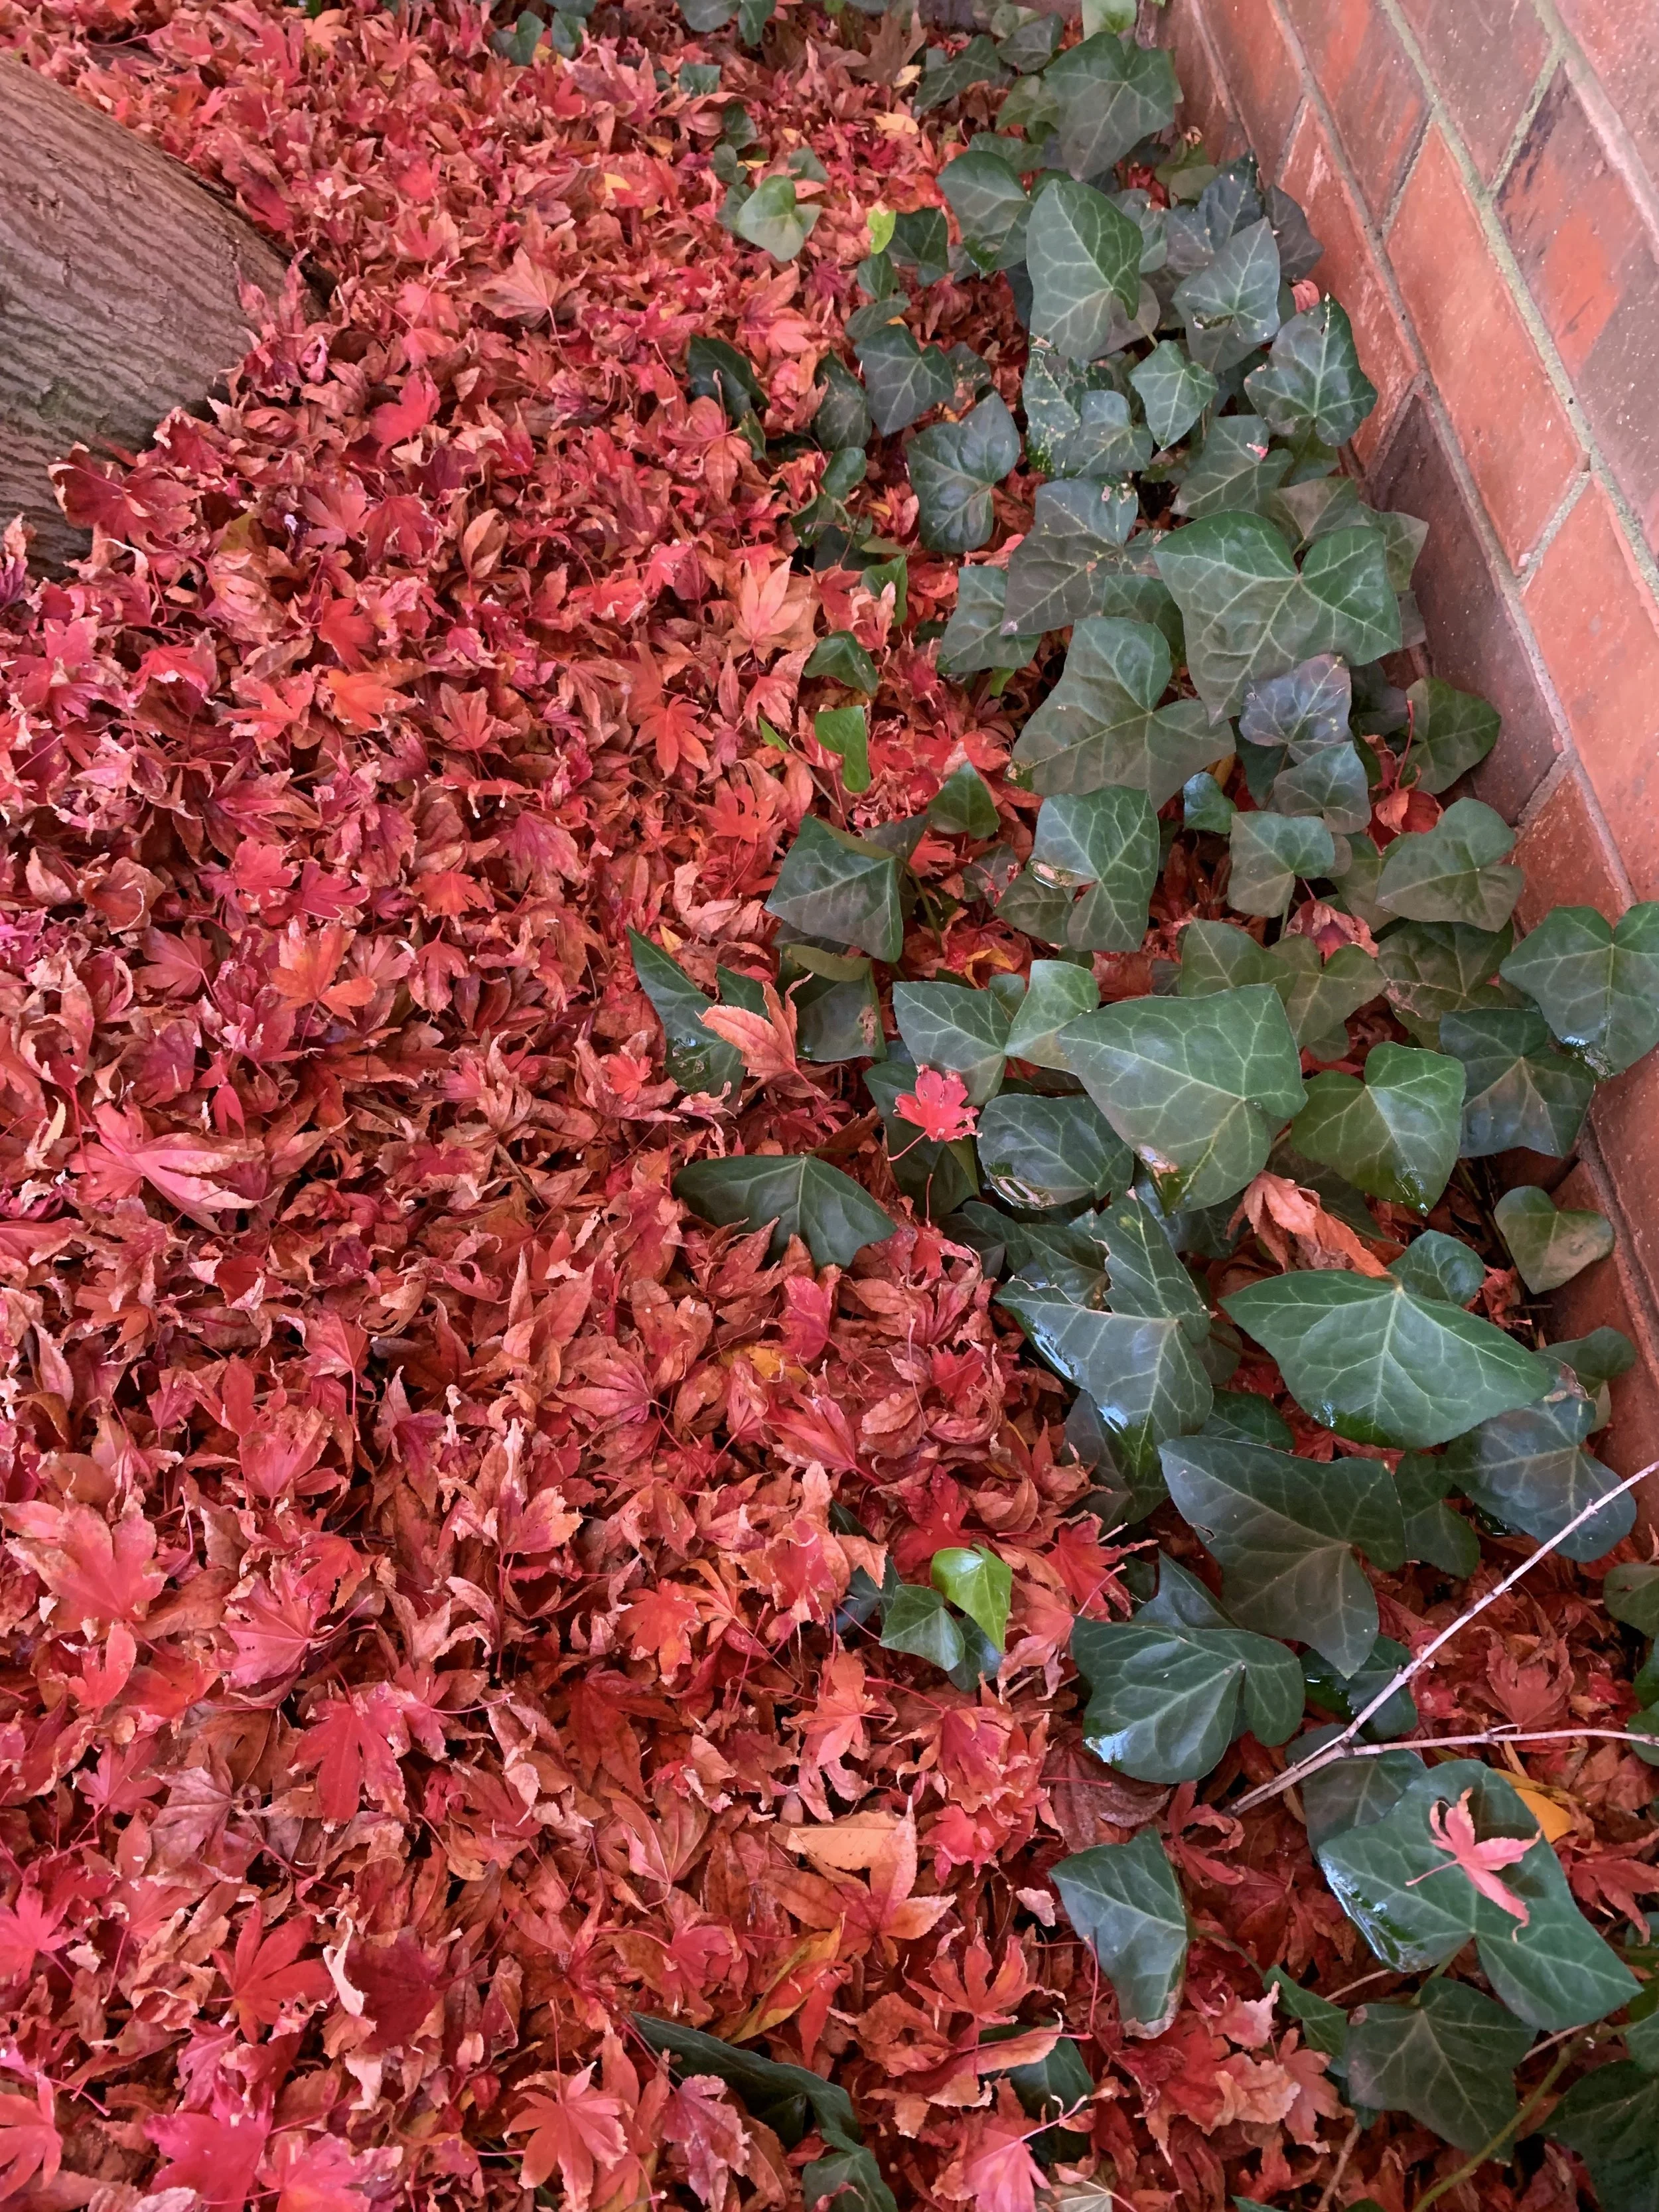
Leaves from a Bloodgood Japanese Maple cover the ground with a red carpet as they drop from the tree.
Leaf Shape
Japanese Maple foliage is divided into two types: traditional maple type, 2-5” wide palm-shaped with 5-7 lobes, or delicate and lacy.

Japanese Maples varieties will have either traditional maple shaped leaves or delicate and lacy leaves like this weeping variety.

Green and red Japanese Maples planted in a group to create a grove.

Bloodgood Japanese Maples make a bold statement in April when their leaves emerge a brilliant red.
Leaf Color
Japanese Maples are among the most wide-range, colorful trees. The foliage ranges from red, green, orange, deep red-purple and bright red-pink depending on the time of year. Some leaf out brilliant reds in the spring, change to green in the summer, and finish the year in bright reds, yellows and oranges. Other varieties start red in the spring, keep a red cast all summer keeping the red color through fall.
Monrovia’s website is a great place to explore Japanese Maples.
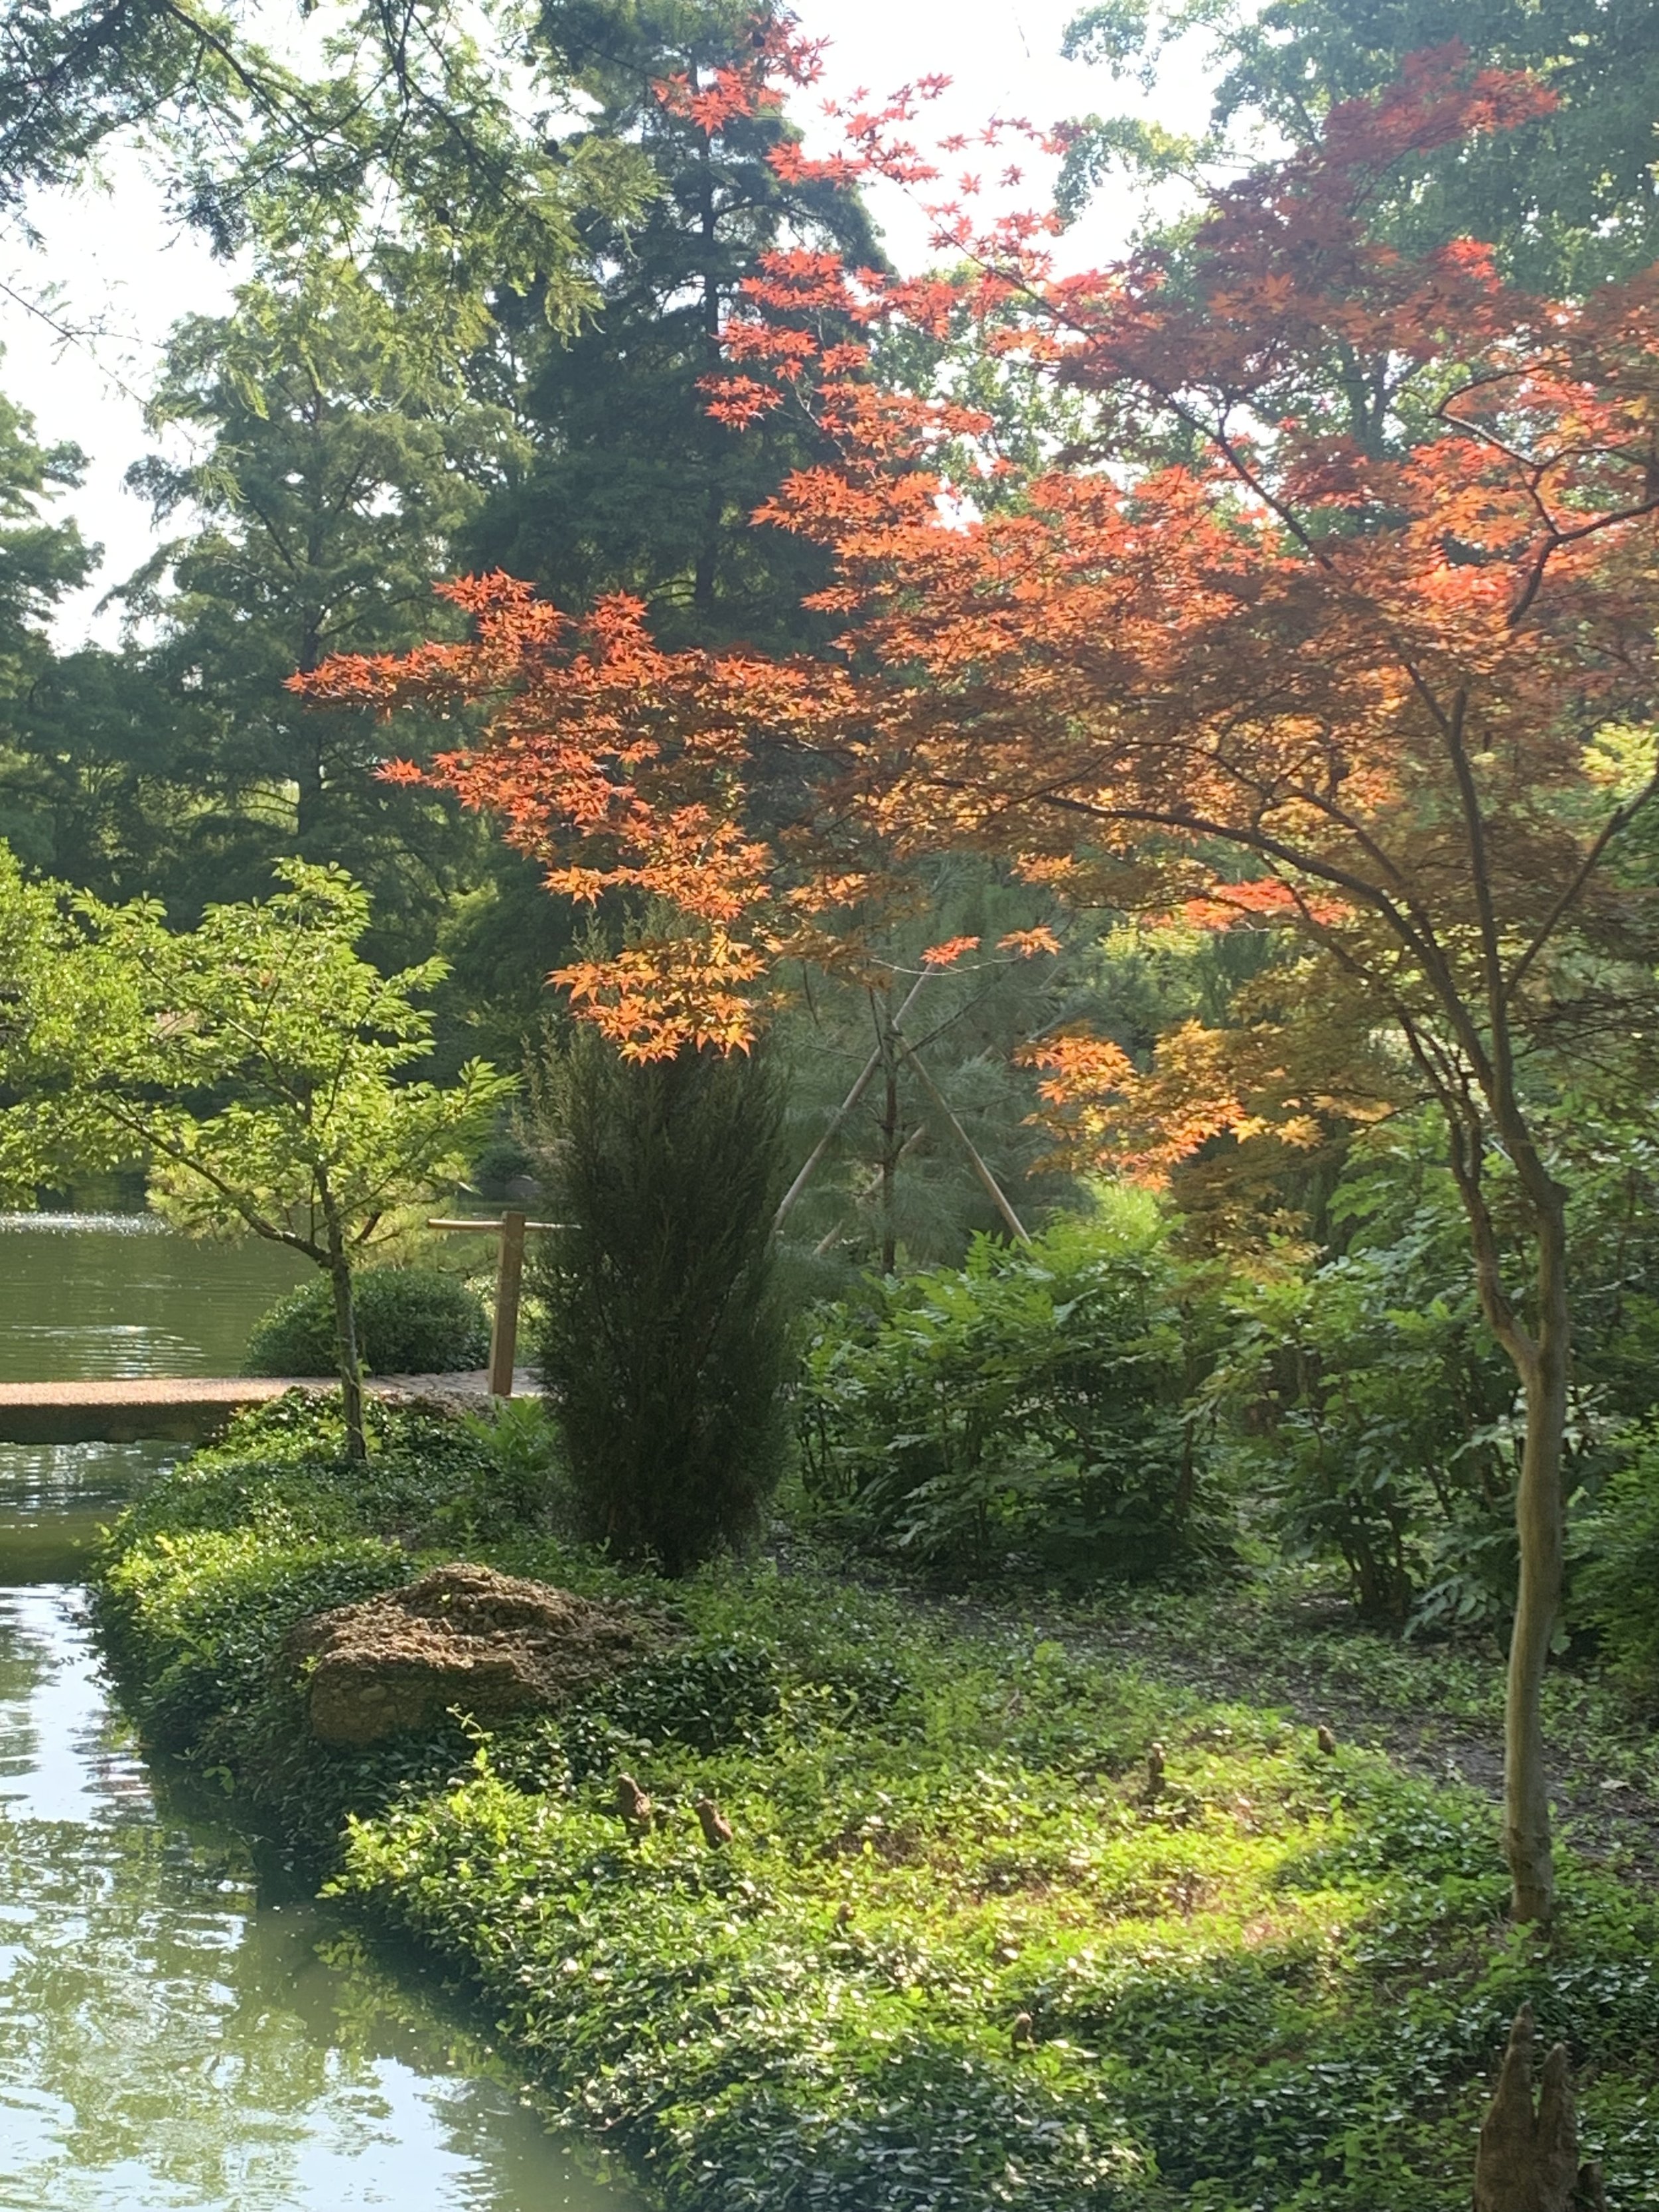
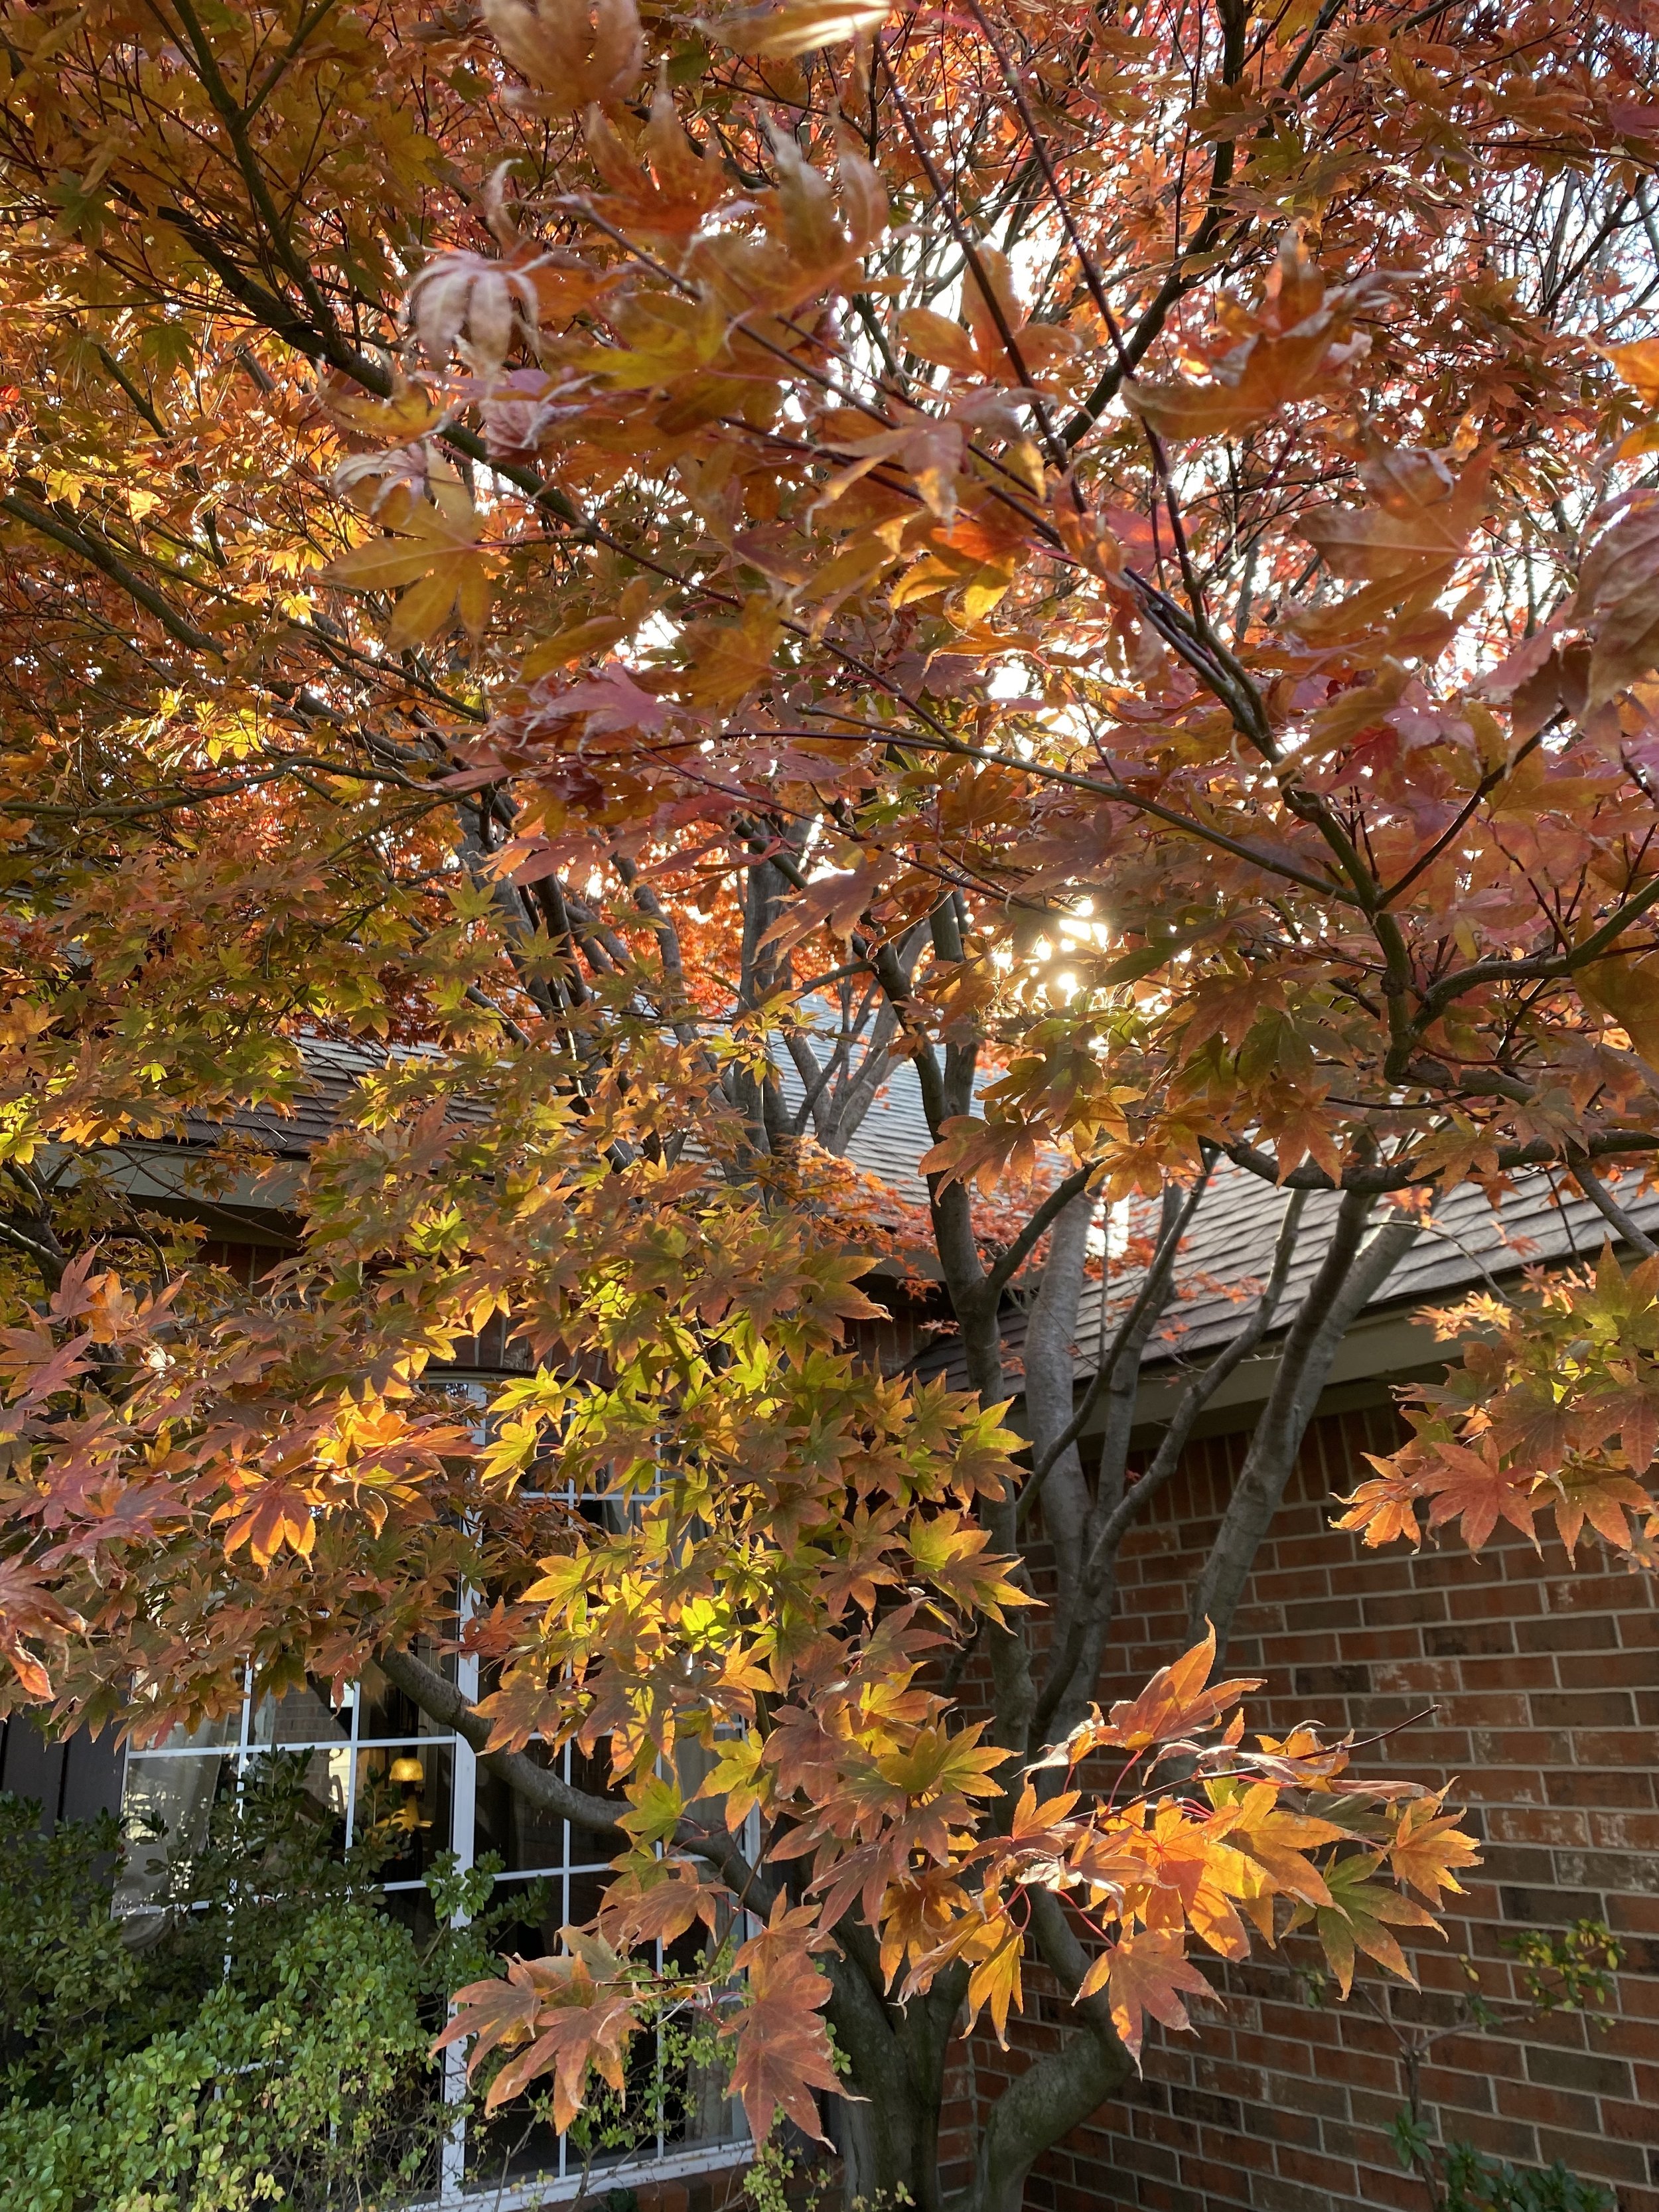

Fun Fact – Fried maple leaves are a very popular snack in Japan. The city of Minoh is famous for their fired maple leaves. The leaves are dipped and fried in tempura batter.
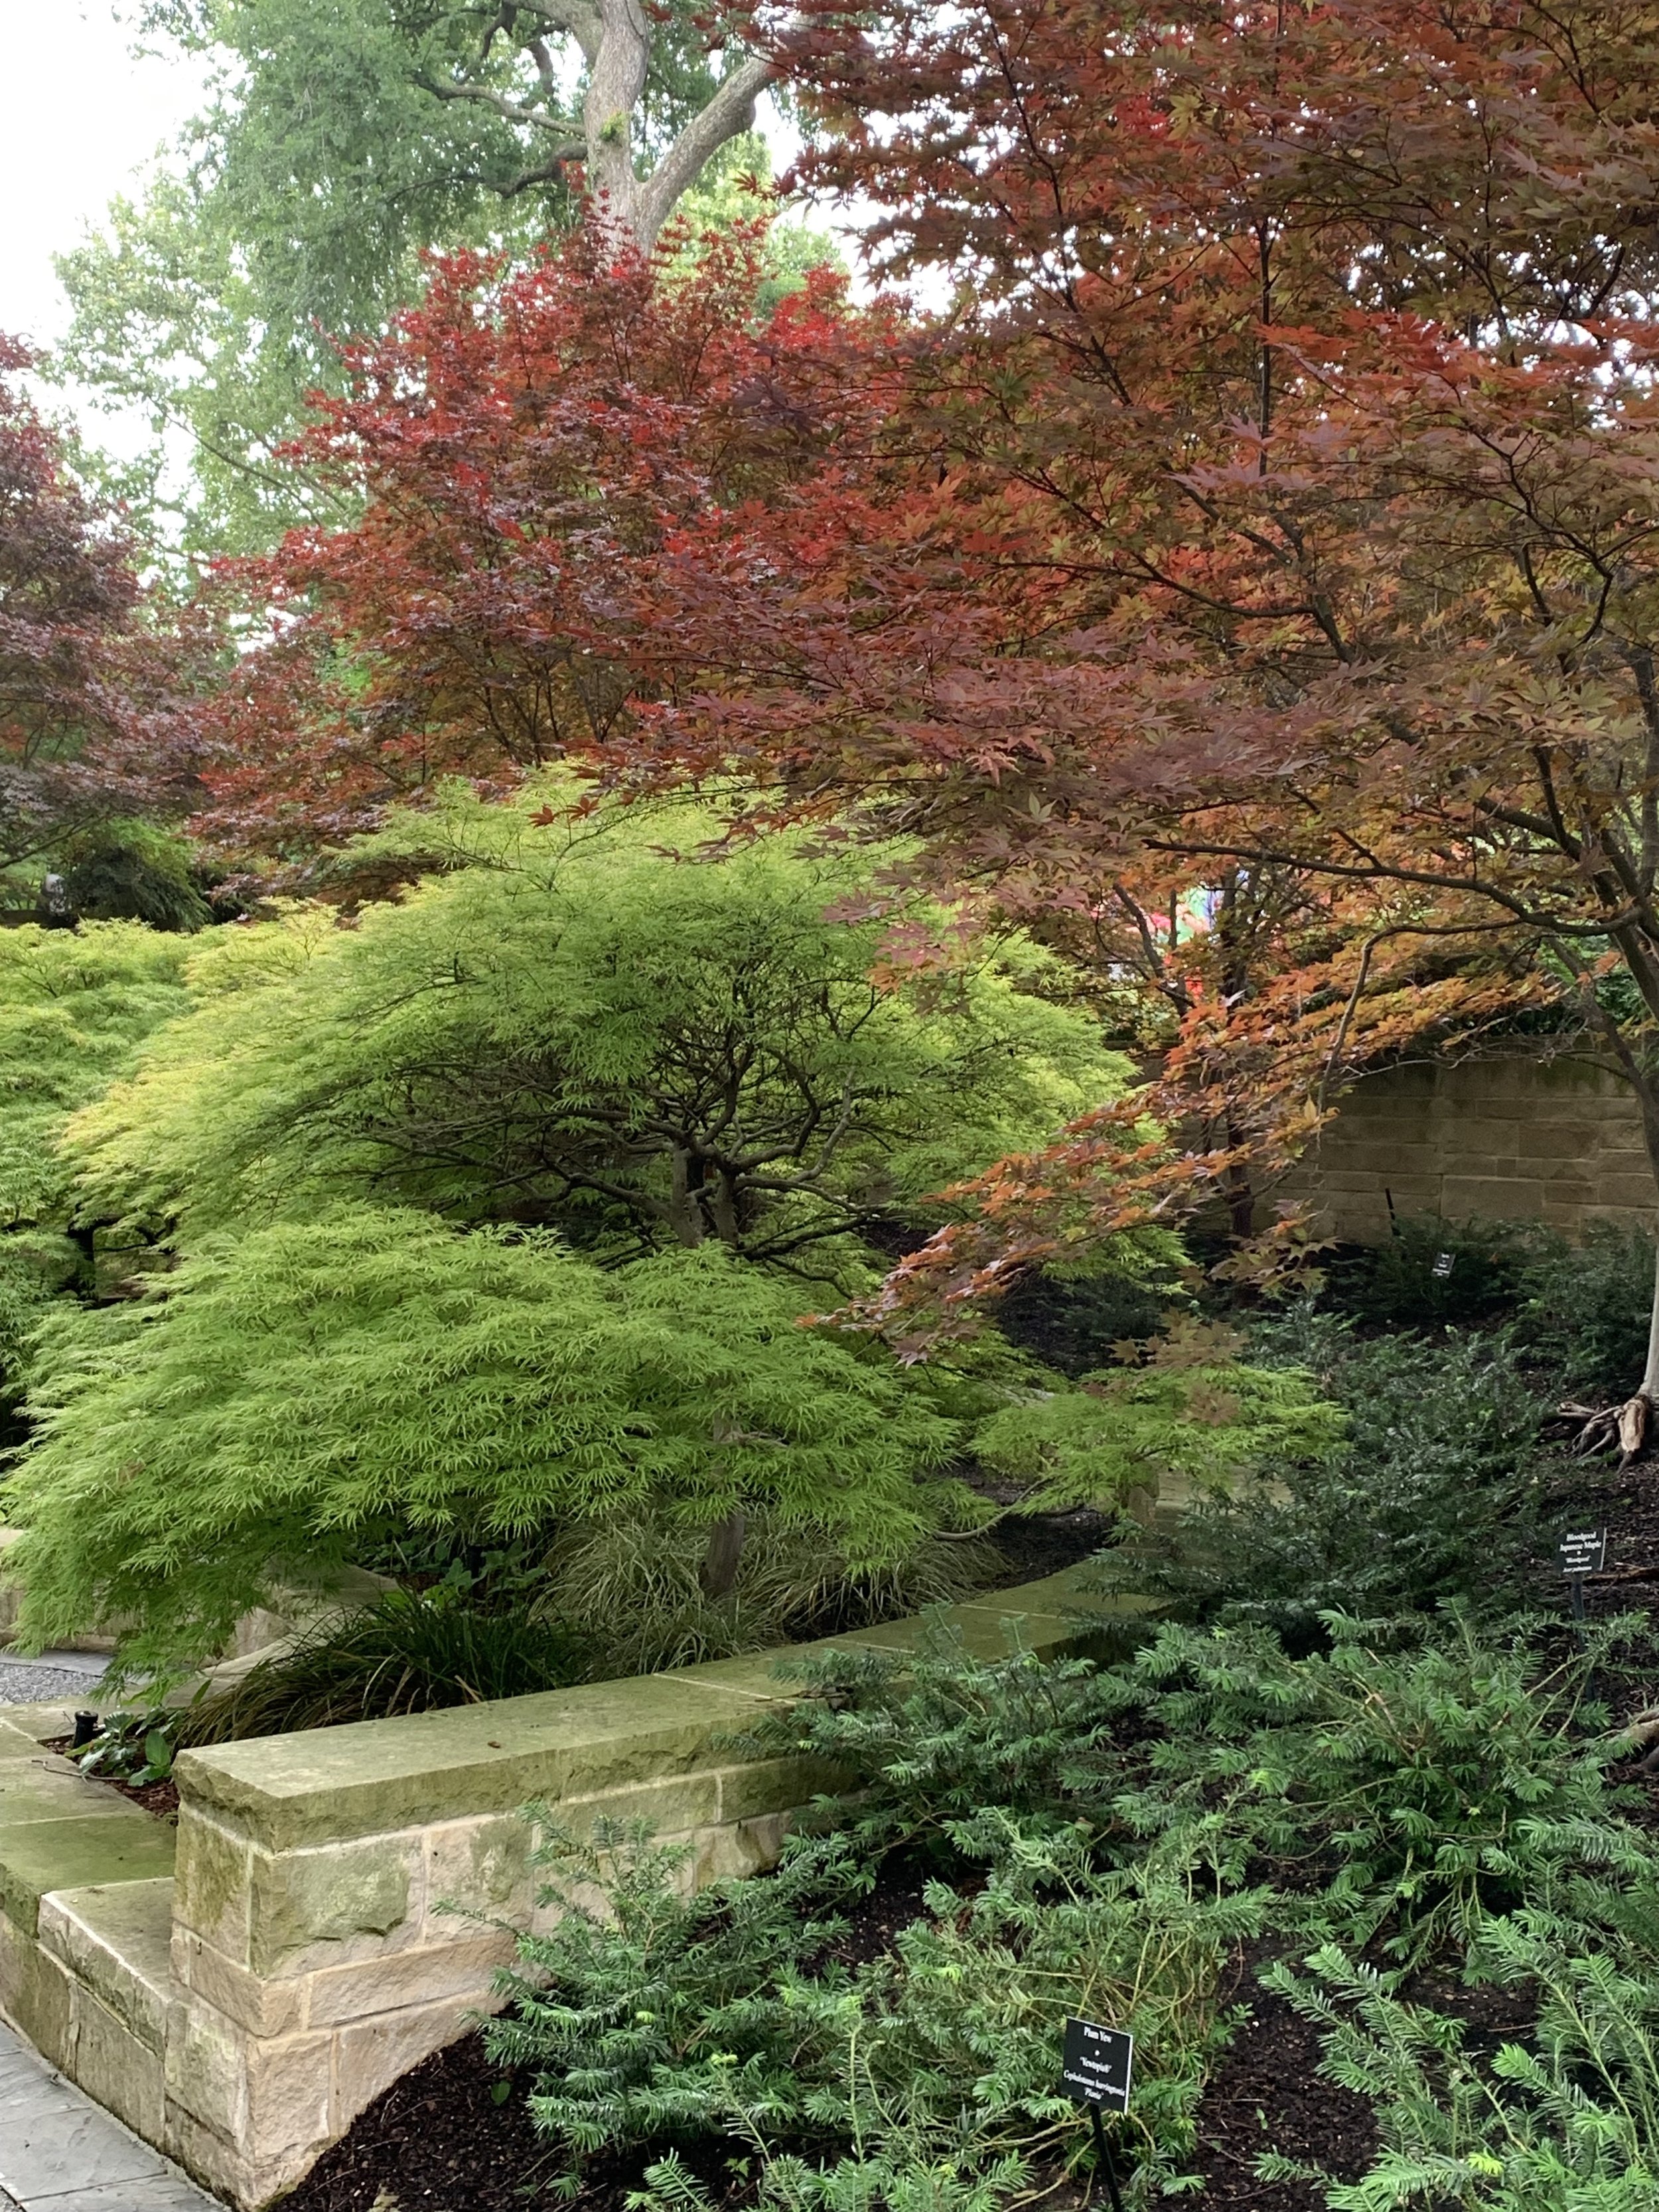
How To Plant A Japanese Maple
Dig a hole twice as wide as the tree container and a few inches deeper.
Backfill the bottom of the hole with a mixture of the soil from the site and a compost material (Back to Nature or Landscape Grower’s Mix are a couple of favorites). Tamp firmly the soil in the bottom of the hole.
Place the tree in the hole with the top of the root ball approximately 2” higher than the surrounding grade.
Back fill halfway with your soil and compost mixture.
Lightly tamp down the soil and water well.
Finish filling around the tree.
Mulch with a 2” layer of a Grade A Cedar Mulch and water well.
Japanese Maples are a great staple plant for every landscape. If you don’t have one, you should consider adding a Japanese Maple to your landscape this year.
Oh, you have one? Don’t you think you should add another?
Lorne Hall
Hall | Stewart Lawn + Landscape
(405)367-3873
Winter & Your Landscape

It’s January and the local weather forecasters are warning us about winter weather approaching in the days to come.
What does winter weather mean for your lawn and landscape?

For young trees and trees with thin bark, wrapping the trunk in the winter will protect the tree from damage due to freezing and thawing temperatures.
If you have perennials or winter annuals such as pansies or kale, winter moisture is critical to their performance going into the spring.
Fescue lawns will retain more color in the winter and rebound quicker in the spring if they are not allowed to become bone dry during the winter.
Newly sodded lawns, due to a shallow root system, can experience freeze damage if the roots are dry during a winter cold spell.
Finally, all newer landscapes, those installed in the last two years require a little more watering attention over the winter.
The goal is to make sure the top few inches of soil is moist well ahead of freezing temperatures. Roots are still active and providing moisture for the plant. Once the soil freezes, the roots no longer have the ability to replace moisture lost to transpiration.
Our rule of thumb is to keep your irrigation operational through the winter, monitor the weather, and be ready to water once every 7-14 days if we have not received a good rainfall.
Biggest Winter Issue – Lack of moisture
Lack of adequate soil moisture is often a major cause of winter damage. All lawns, shrubs, trees, perennials, and annuals need moisture during the winter. This is particularly true about evergreens. Remember, your lawn and landscape are dormant, not dead, and moisture is still important.
Most winter plant injury occurs when we receive a harsh cold spell while plant root systems are dry.
Winter watering is particularly critical for evergreen shrubs and trees. Windy days zap the moisture stored in their leaves making them sensitive to winter injury when we receive a harsh cold snap when they are dry.
Windy and cold winter temperatures dry needle and evergreen plants foliage. It is important they have moist soil for the days leading up to extreme winter weather.
Shallow-rooted plants, such as azalea and Japanese maple, are also prone to winter injury when they do not receive regular moisture during dormancy.
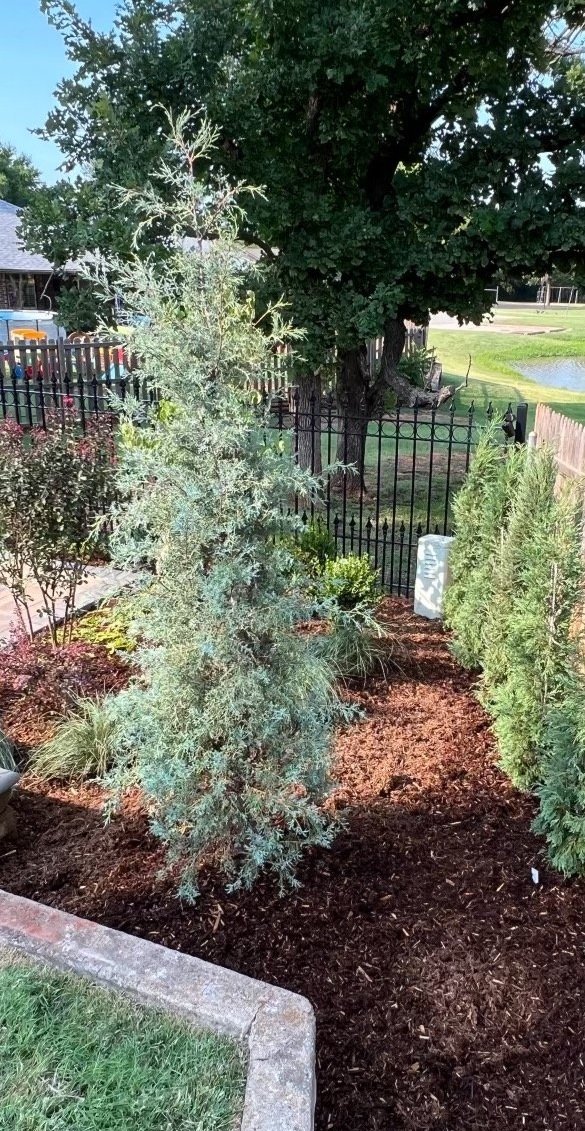
Newly planted landscapes need additional water in the winter for the first two years until the roots are established in the native soil.
Current Watering Recommendation:
We received ¼” of rain this week. If we do not receive at least a ½” of rain early this week, give your lawn and landscape a good deep soaking before the next cold front arrives.
First Step in Avoiding Winter Damage – Select plants that are winter hardy in our area.
Plant cold hardiness is based on the USDA Hardiness Zones. Central Oklahoma is Zone 7A. Plants with a 7A rating can withstand temperatures of 0 to 5 degrees. Northern Oklahoma is Zone 6B, -5 to 0 degrees. And southern Oklahoma is Zone 7B which can survive temperatures of 5 to 10 degrees.
If you live in central Oklahoma and are tempted to experiment with a plant that grows best in Zone 7B, plant it in a protected area that is shielded from dry winter winds.
Also, when selecting plants, look for plants that perform well in our tighter, clay soils. A 7A plant that grows best in loose soil may live for years when we have mild winters only to fail when we have a winter of extreme temperatures.

When making plant selections, don’t overlook ones that add winter interest such as Nandina with their bright red berries.

The best weather for your plants during extreme temperatures is a snowfall of 2 or more inches.
Snowfall is moisture!
If we get a ½” rainfall, there is a lot of runoff. But, when the snow melts, it slowly soaks in. Every single drop benefits the roots of your turf, flowers, shrubs, and trees. On average, a 4” snow equals nearly a 1/2” rainfall.
The Old Farmer’s Almanac calls snow a “poor man’s fertilizer.”
Snow is full of nitrogen. As snow falls it collects nitrogen that is naturally in the air and distributes it evenly over your lawn and landscape.
Best Weather Condition for Extreme Cold – Snow.
Fresh snow is like a warm blanket when temperatures dip into the teens or lower!
Snowfall is nature’s way of insulating your valuable landscape from cold temperatures. A fresh snow cover of more than 2” is very beneficial to the landscape by trapping soil warmth below the snow.
Without snow, soil temperatures fluctuate more, dipping deeper during cold spells. It is common for soil temperatures to be as much as 10 degrees warmer when there is a snow cover.
Your landscape is thankful for a blanket of snow to trap the warm soil temperatures around its roots and keep the cold windy temperatures at bay.


A Key to Preventing Winter Damage – Healthy Plants.
Rarely does a healthy plant die due to winter injury. Plants in poor health are the first to die during cold periods.
Keep your plants healthy during the growing season and they will be better suited for the winter cold. Inspect often for insects and disease. Make sure they are receiving the correct nutrients in the correct amounts. Practice good watering techniques throughout the growing season.
The healthier your plants, the better they will do in the extreme temperatures of winter.
One More Great Winter Practice – Mulch.
A fresh 2-3” layer of mulch will provide insulation for your plant roots, retain moisture, and moderate soil temperatures.
As always, let us know if you have any questions or if we can help you have your best lawn and landscape.
And…stay warm…. after all, it is January.
Lorne Hall
Hall | Stewart Lawn + Landscape
(405)367-3873

Merry Christmas!

Christmas…the season of hope!
What are you hoping for this Christmas? The top item on your wish list? Time with family and friends? Joy? Health?
Hope is a feeling of expectation and desire for a certain thing to happen.
Everyone is hoping for something.
But, what happens when the thing you are hoping for does not happen?
The feeling of hope is replaced with a feeling of disappointment. When the feeling of disappointment lingers it is easy to find ourselves feeling hopeless. Hopelessness is the feeling of despair about something.
I don’t like the feelings of disappointment. I really don’t like the feeling of hopelessness. We have all been there. Especially when we have placed our hope in finances, relationships, health, and careers…...
But this is Christmas… the celebration of real hope!
A hope that does not disappoint!
A hope that erases hopelessness!
Christmas, the celebration of the birth of Christ.
Christmas, the celebration of the birth of hope and love for all mankind.
May your entire holiday season be filled with the true hope and love of Christ!
Merry Christmas from your friends at Hall | Stewart Lawn + Landscape

Small Trees in the Landscape
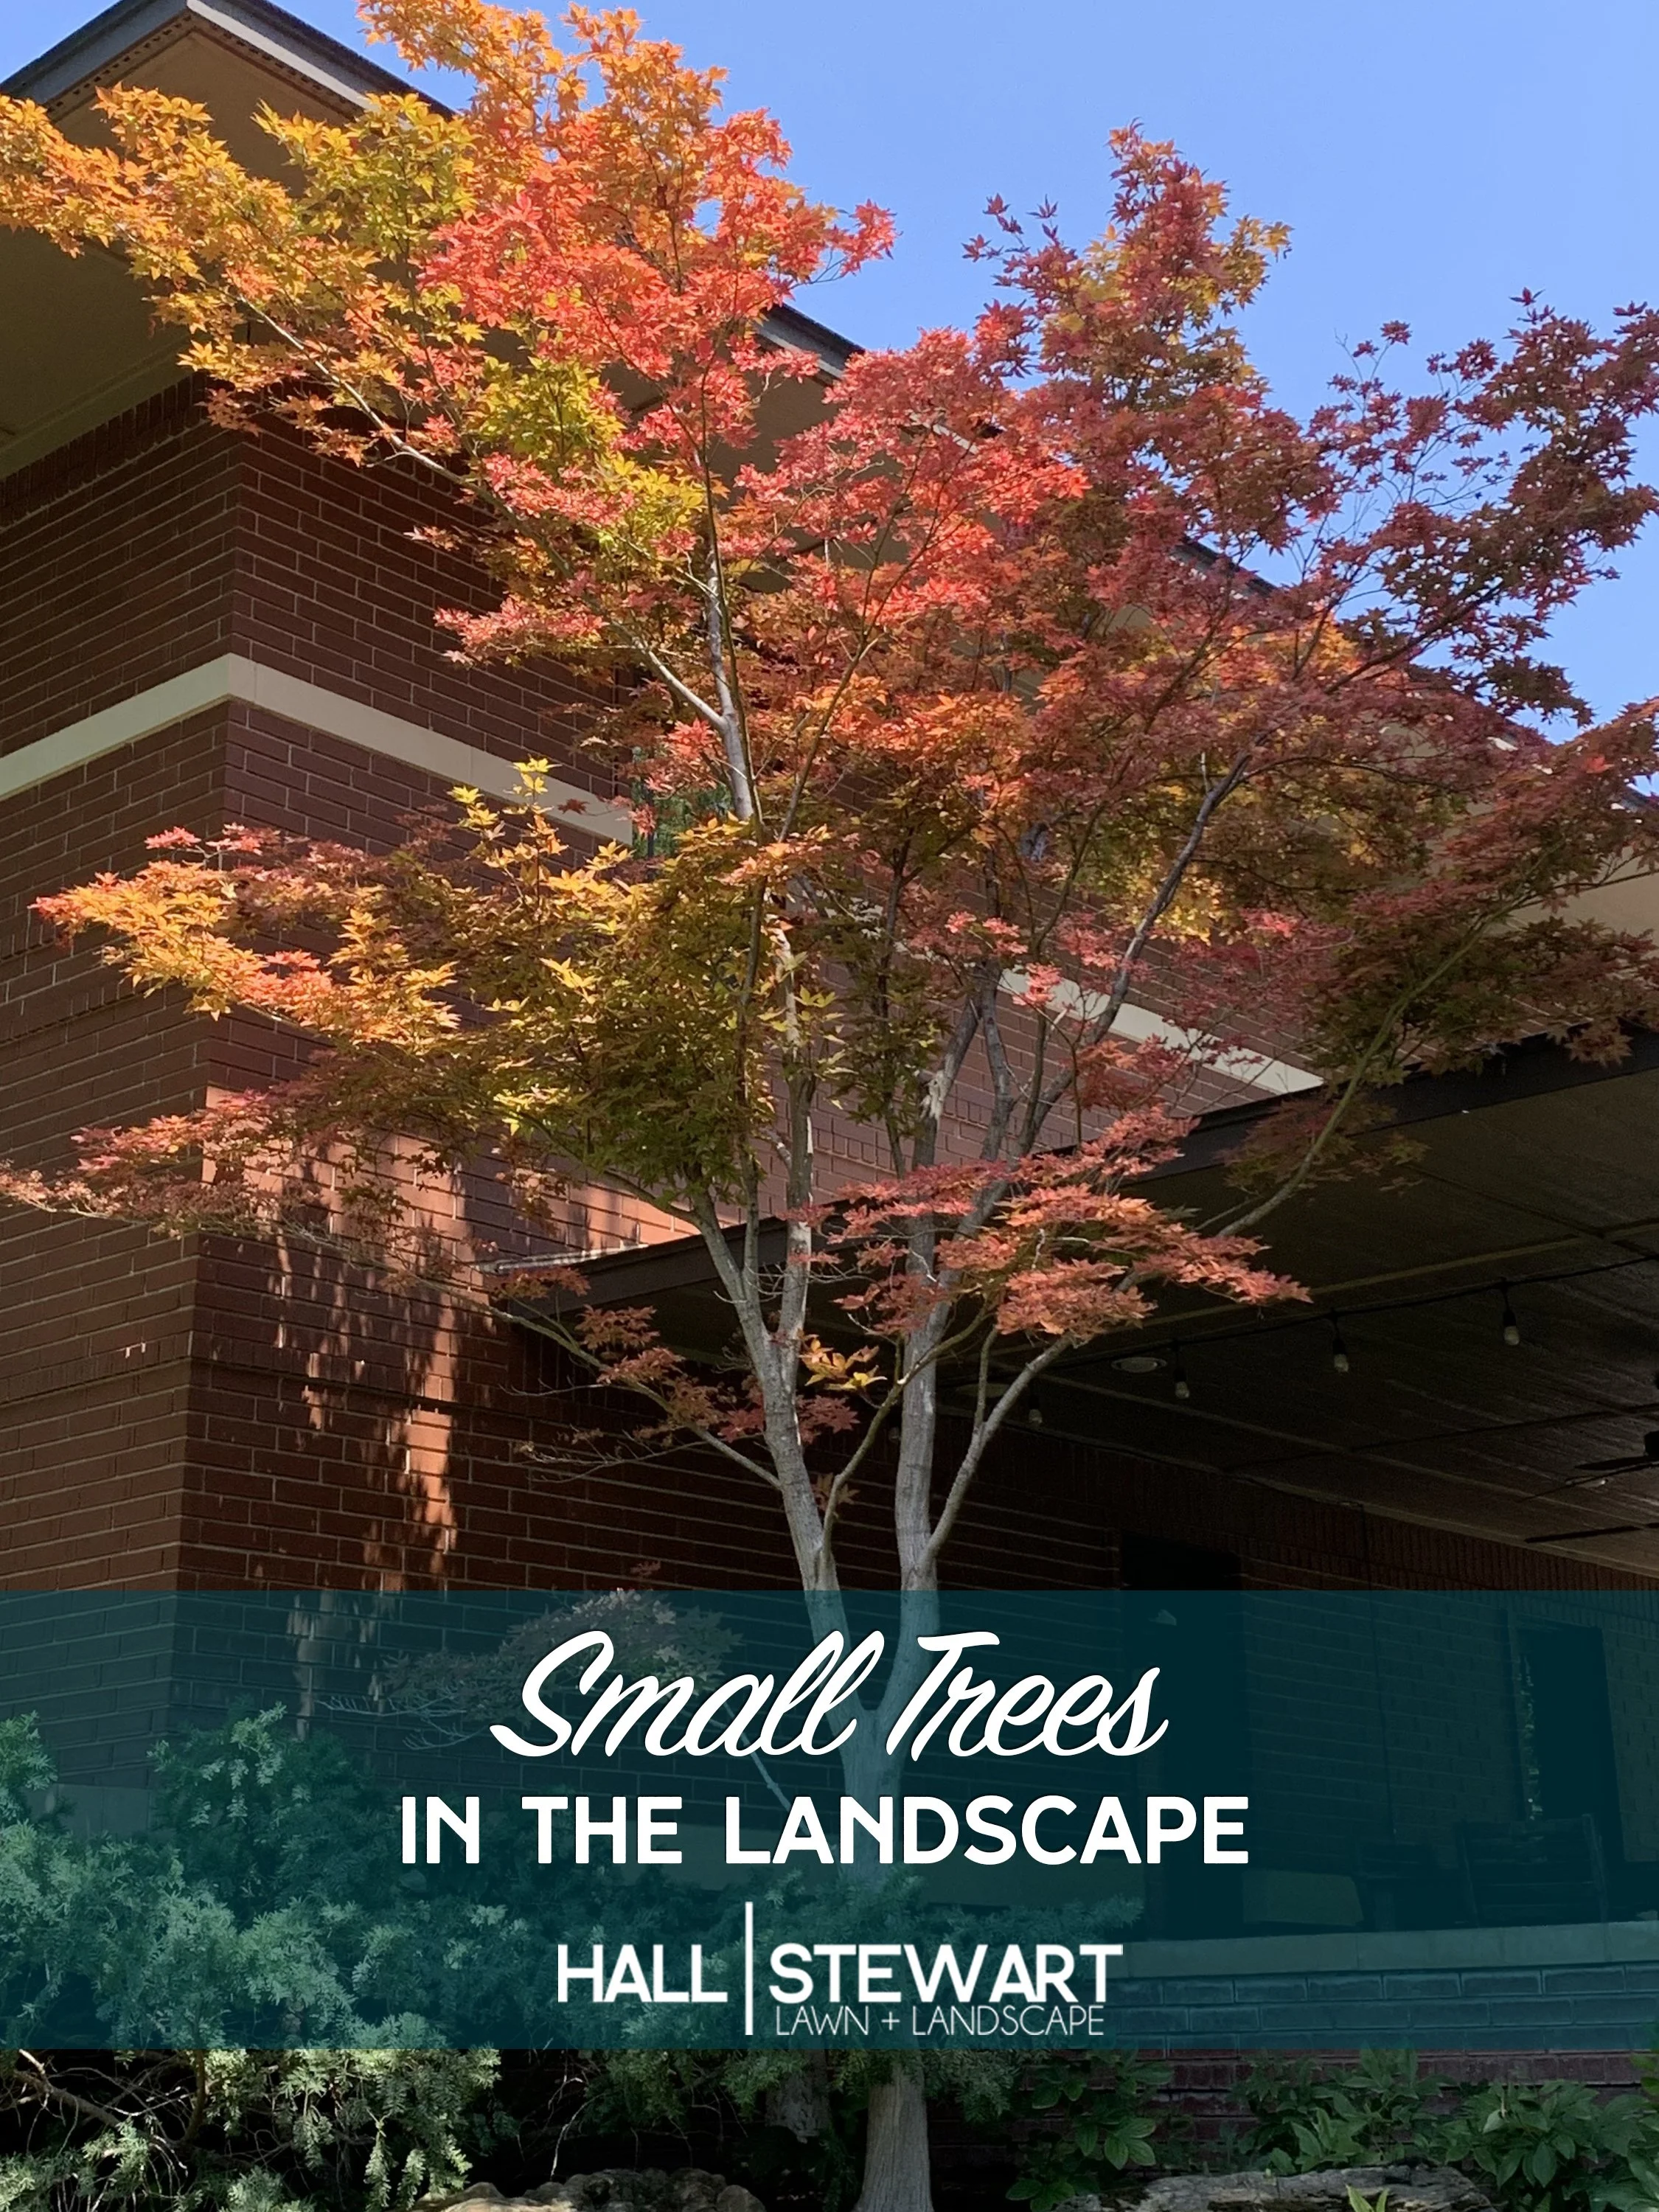
A few times we have posted an article titled Great Landscapes Have Three Levels. In the article, we mention the use of small trees as one of the ways to create three levels.
Wintertime, with fewer lawn and landscape maintenance activities dominating your time, is the perfect time to evaluate your landscape. Let’s spend a few minutes learning about the importance of small trees in the landscape.
Reasons For Using Small Trees
Small trees often are the punctuation points of your landscape. They are the anchor plants that give the landscape balance.
Small trees are the stars of the landscape with the rest of the landscape playing a supporting role.
Often, they are the first to be placed in the design and commonly the first to be planted.
Small trees add height, color, and texture to the landscape.
They complement the landscape.
They direct the eye to key features or views.
Small trees can frame a house or an entry.
They can be used to create privacy or screen an undesirable view.
Small trees give the landscape balance.
Small trees are defined as those that have a mature height of 12-30’.
Small trees are typically multi-stemmed but can be a single trunk plant as well.
The list of small trees is long.
Here are a few to consider:
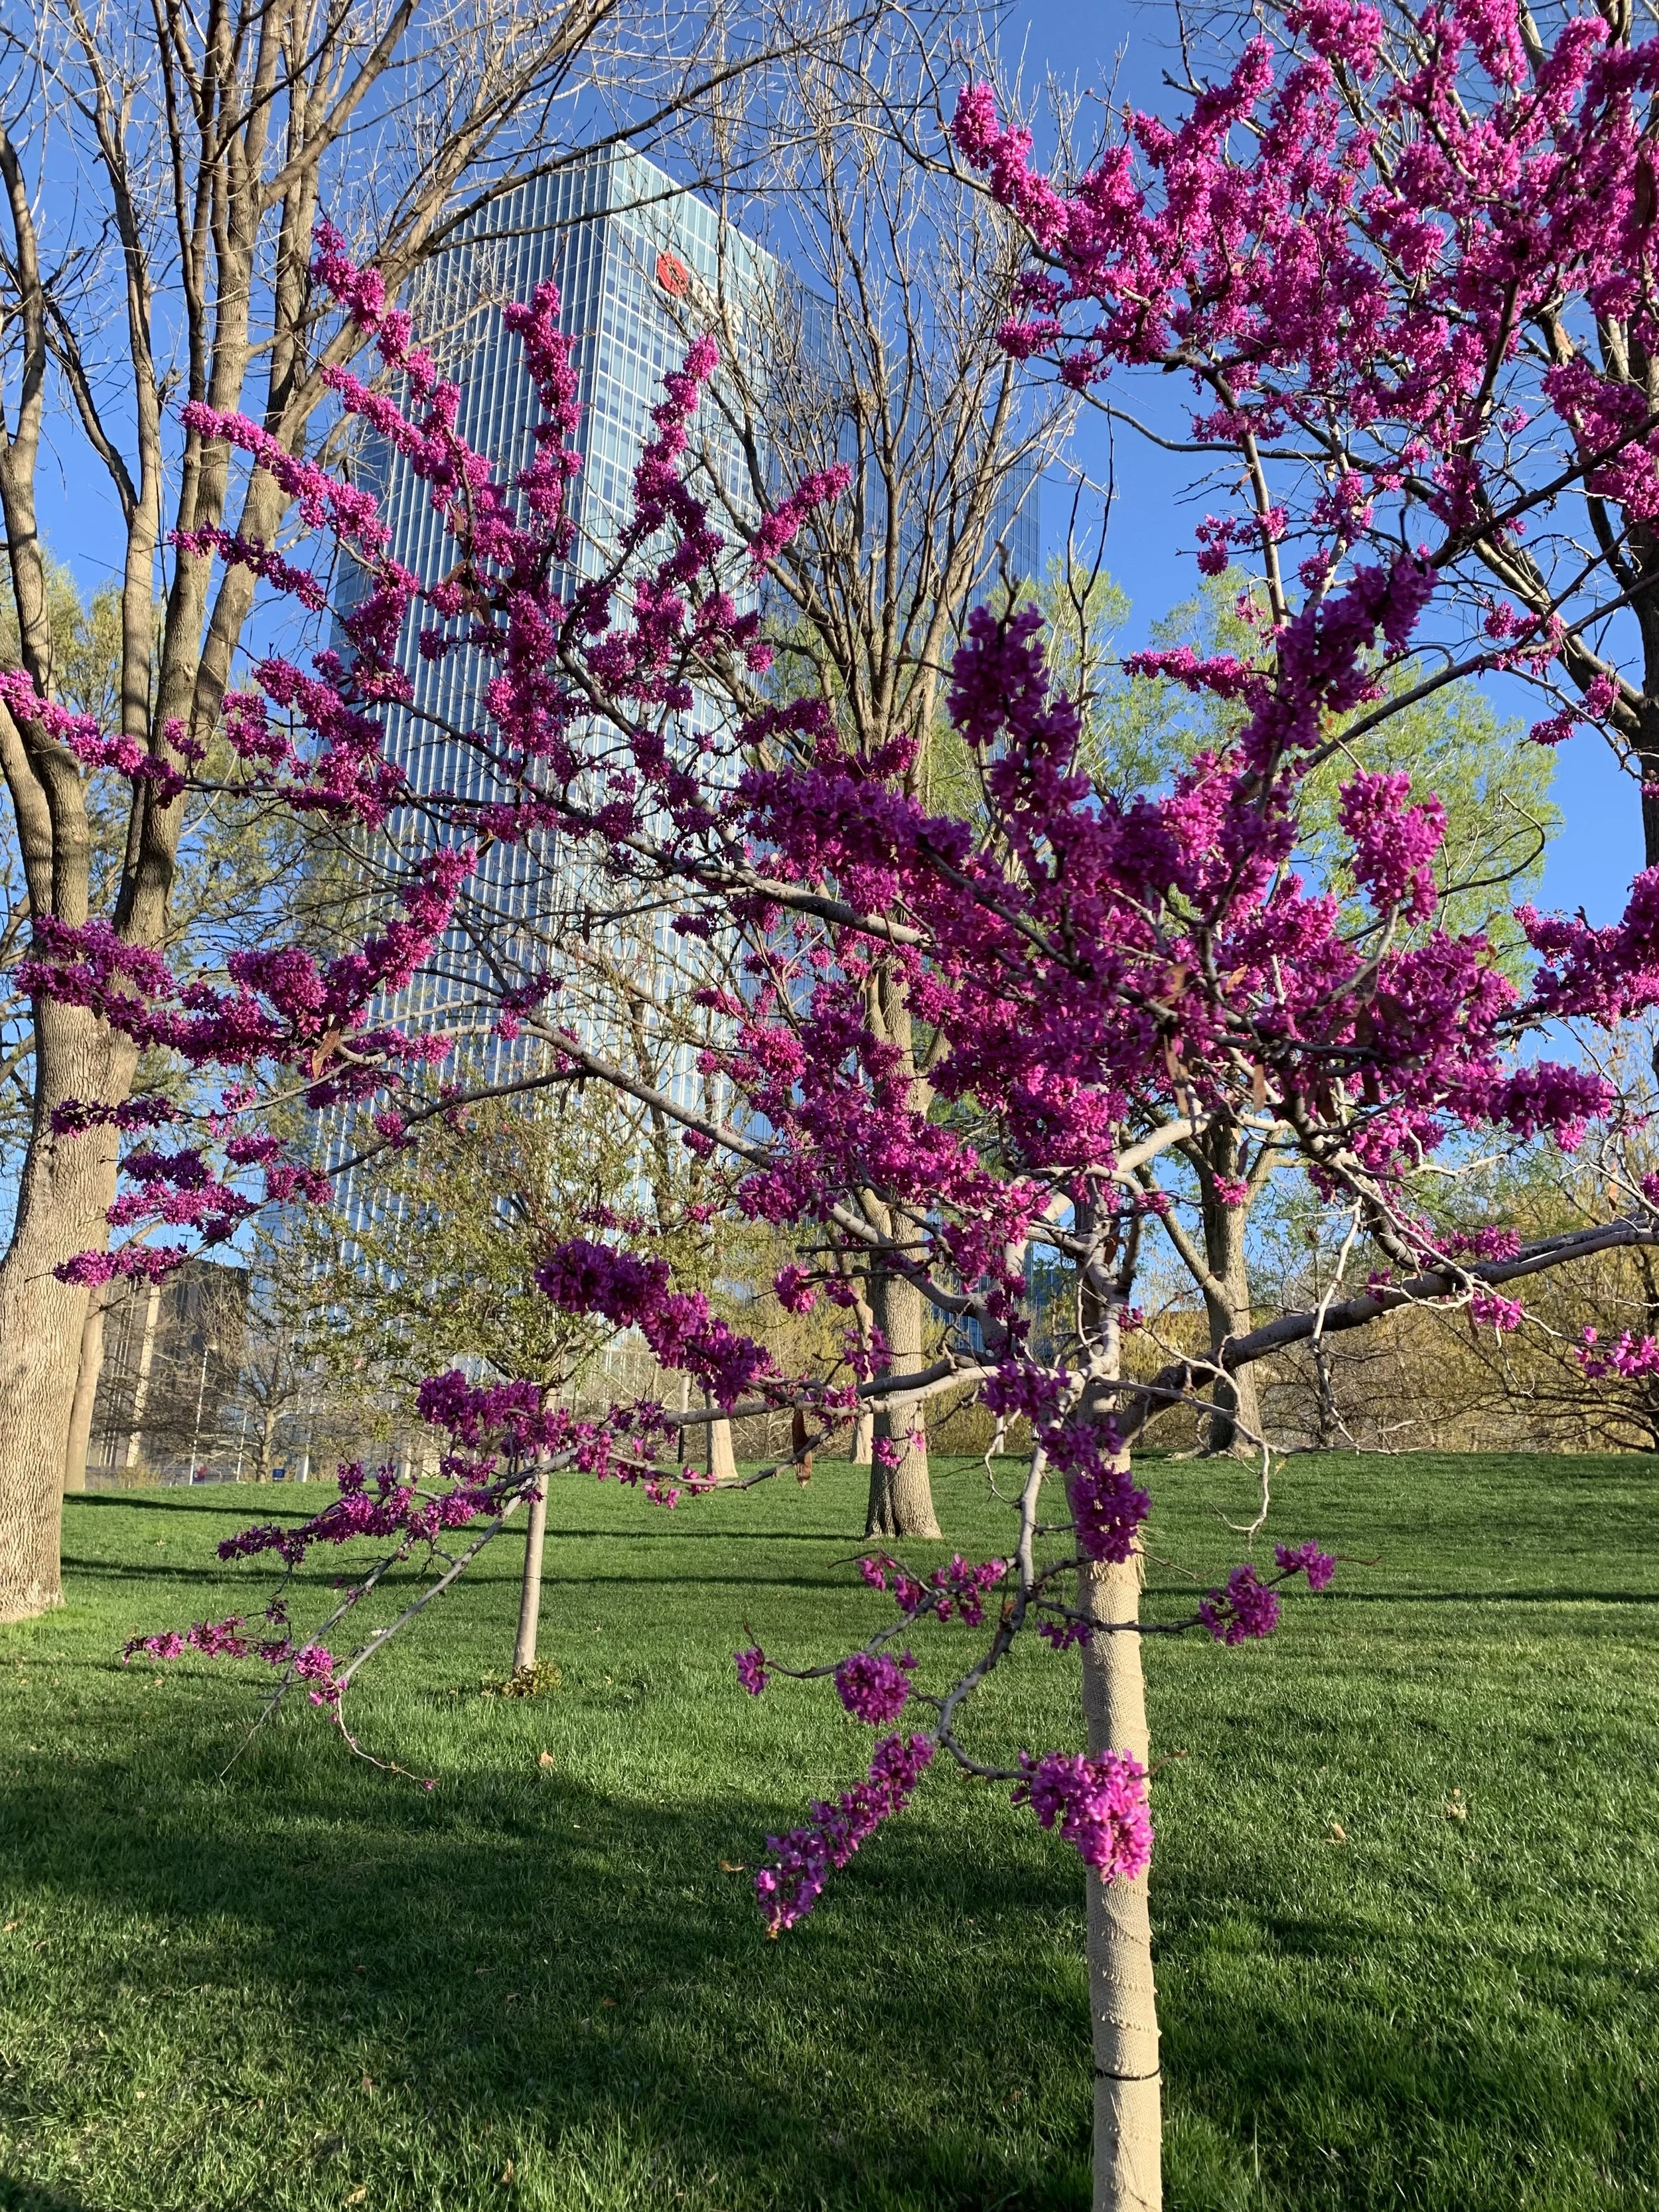
Redbud
Redbud – There are many varieties, but the Oklahoma Redbud stands out as a great landscape specimen with vibrant pink-purple flowers on bare branches in the early spring and glossy heart-shaped leaves during the growing season. 15-20’ tall and wide.
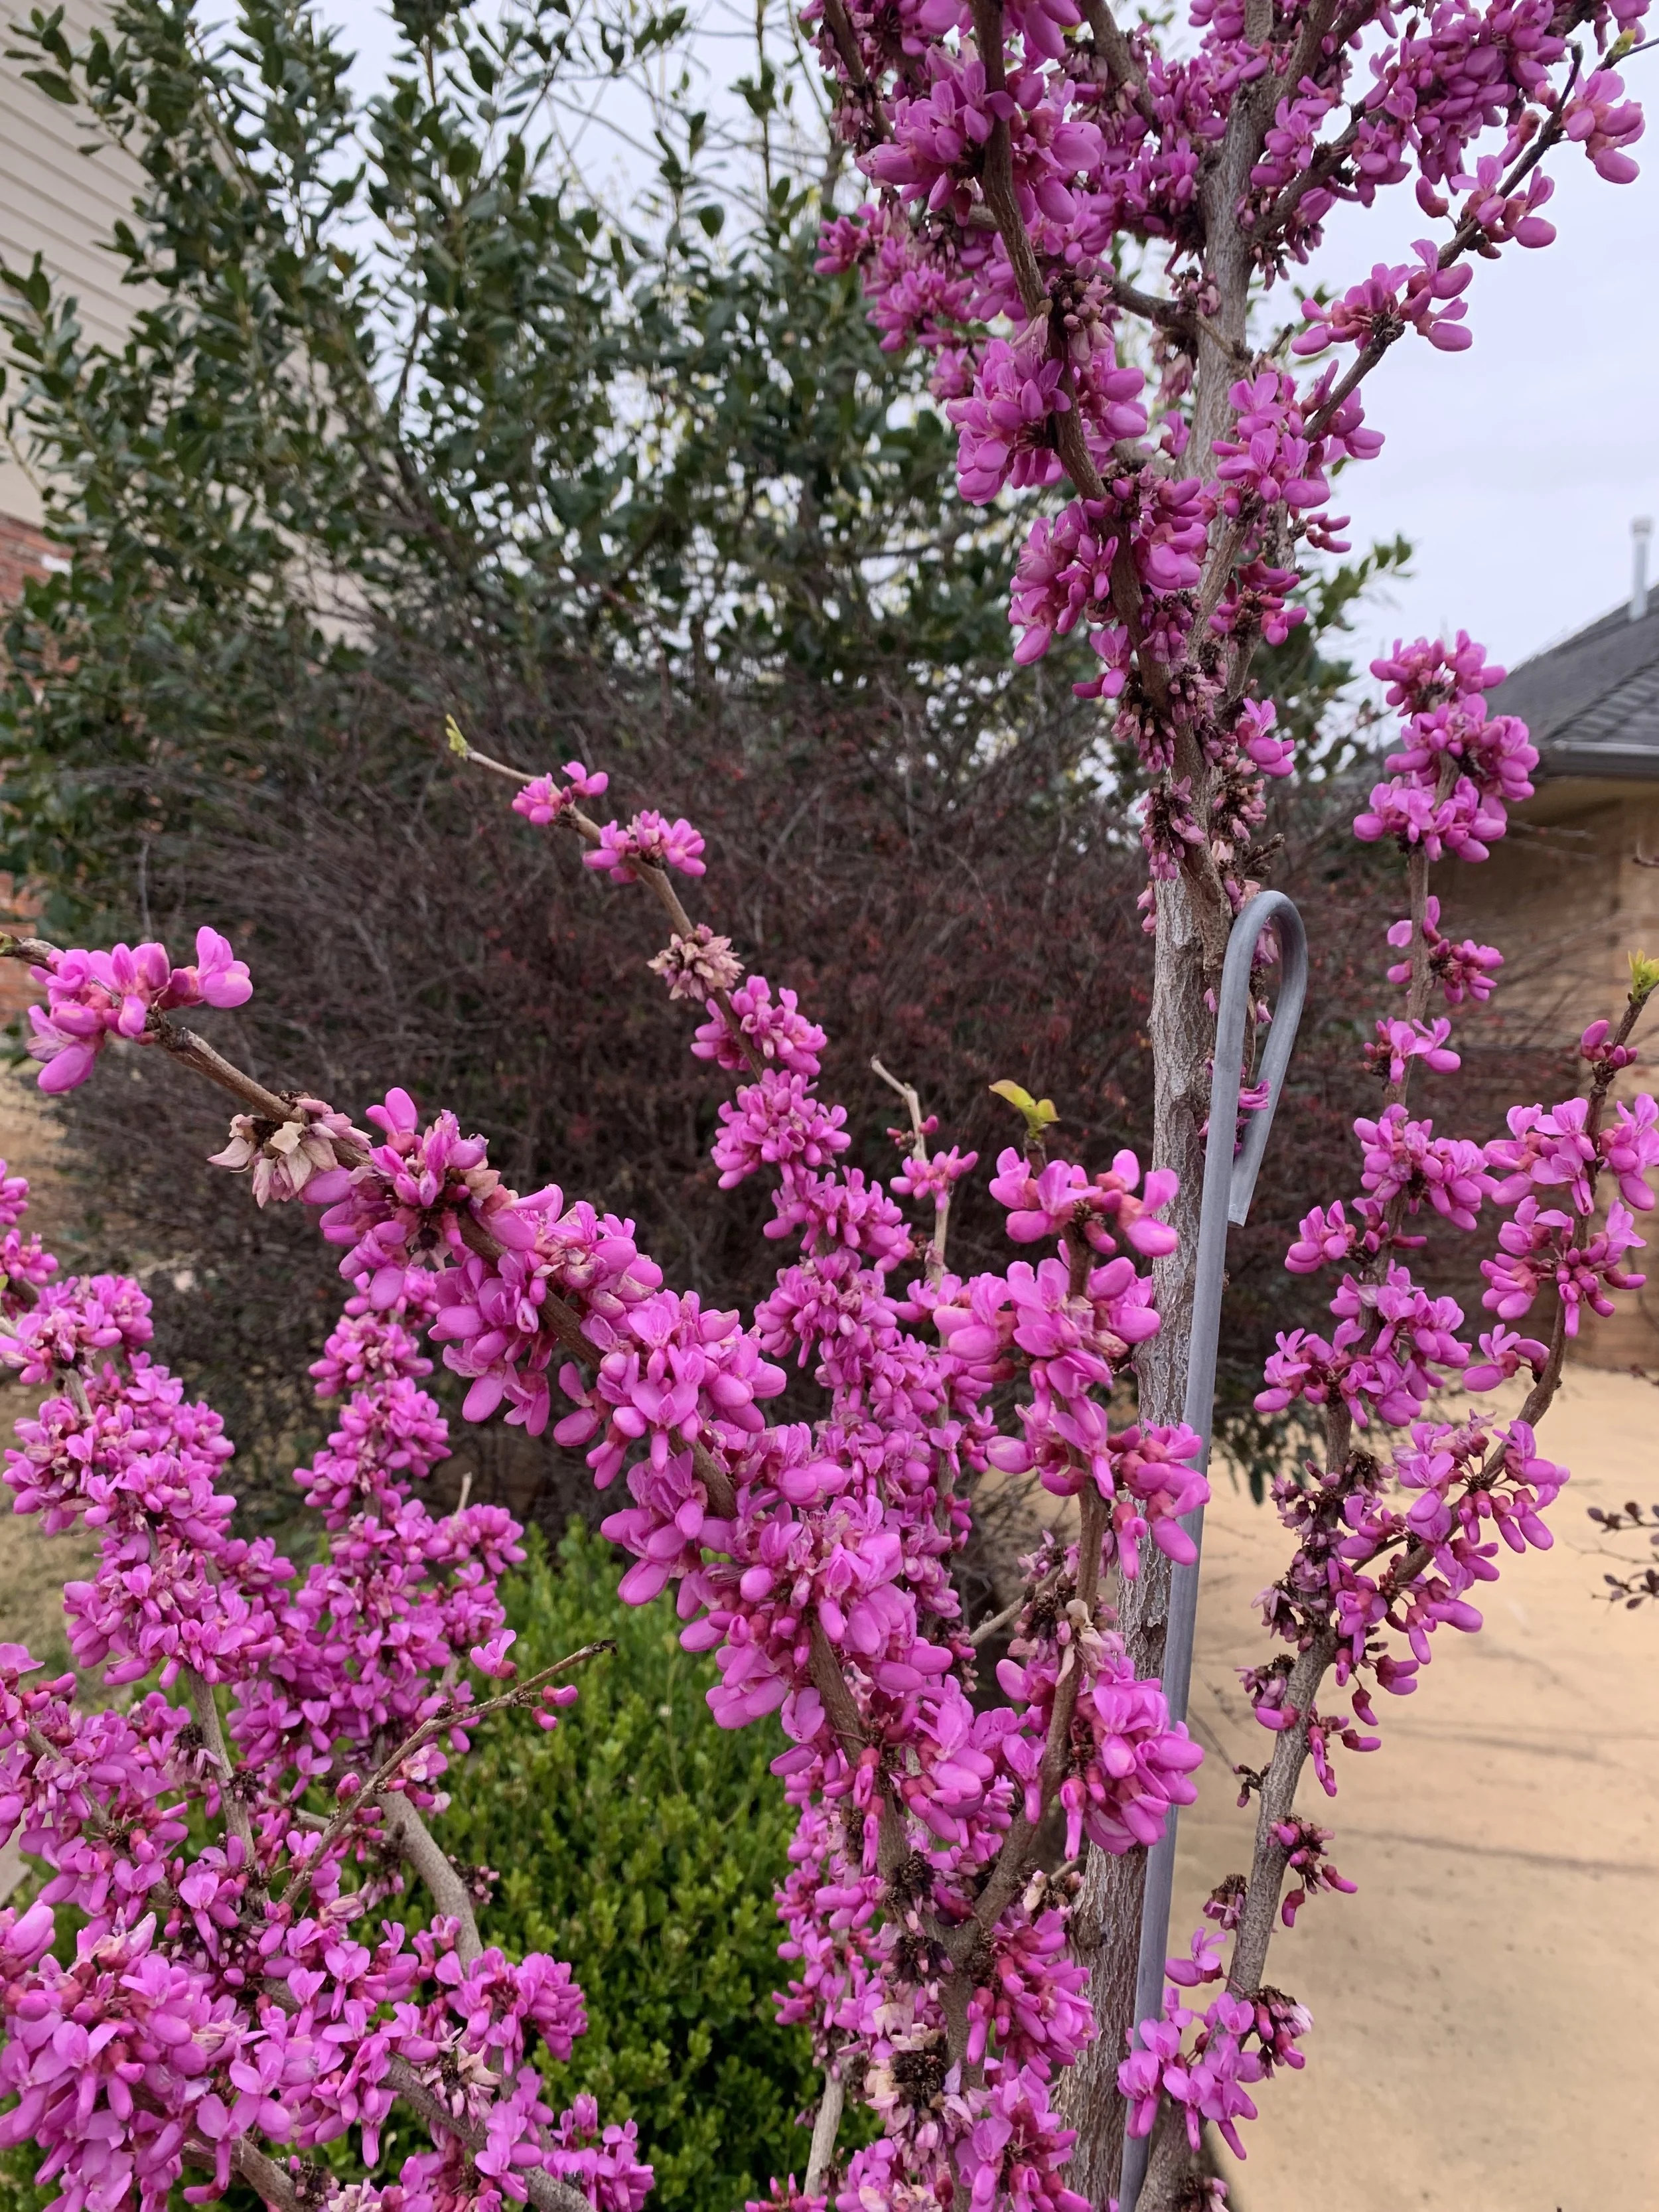
Redbud
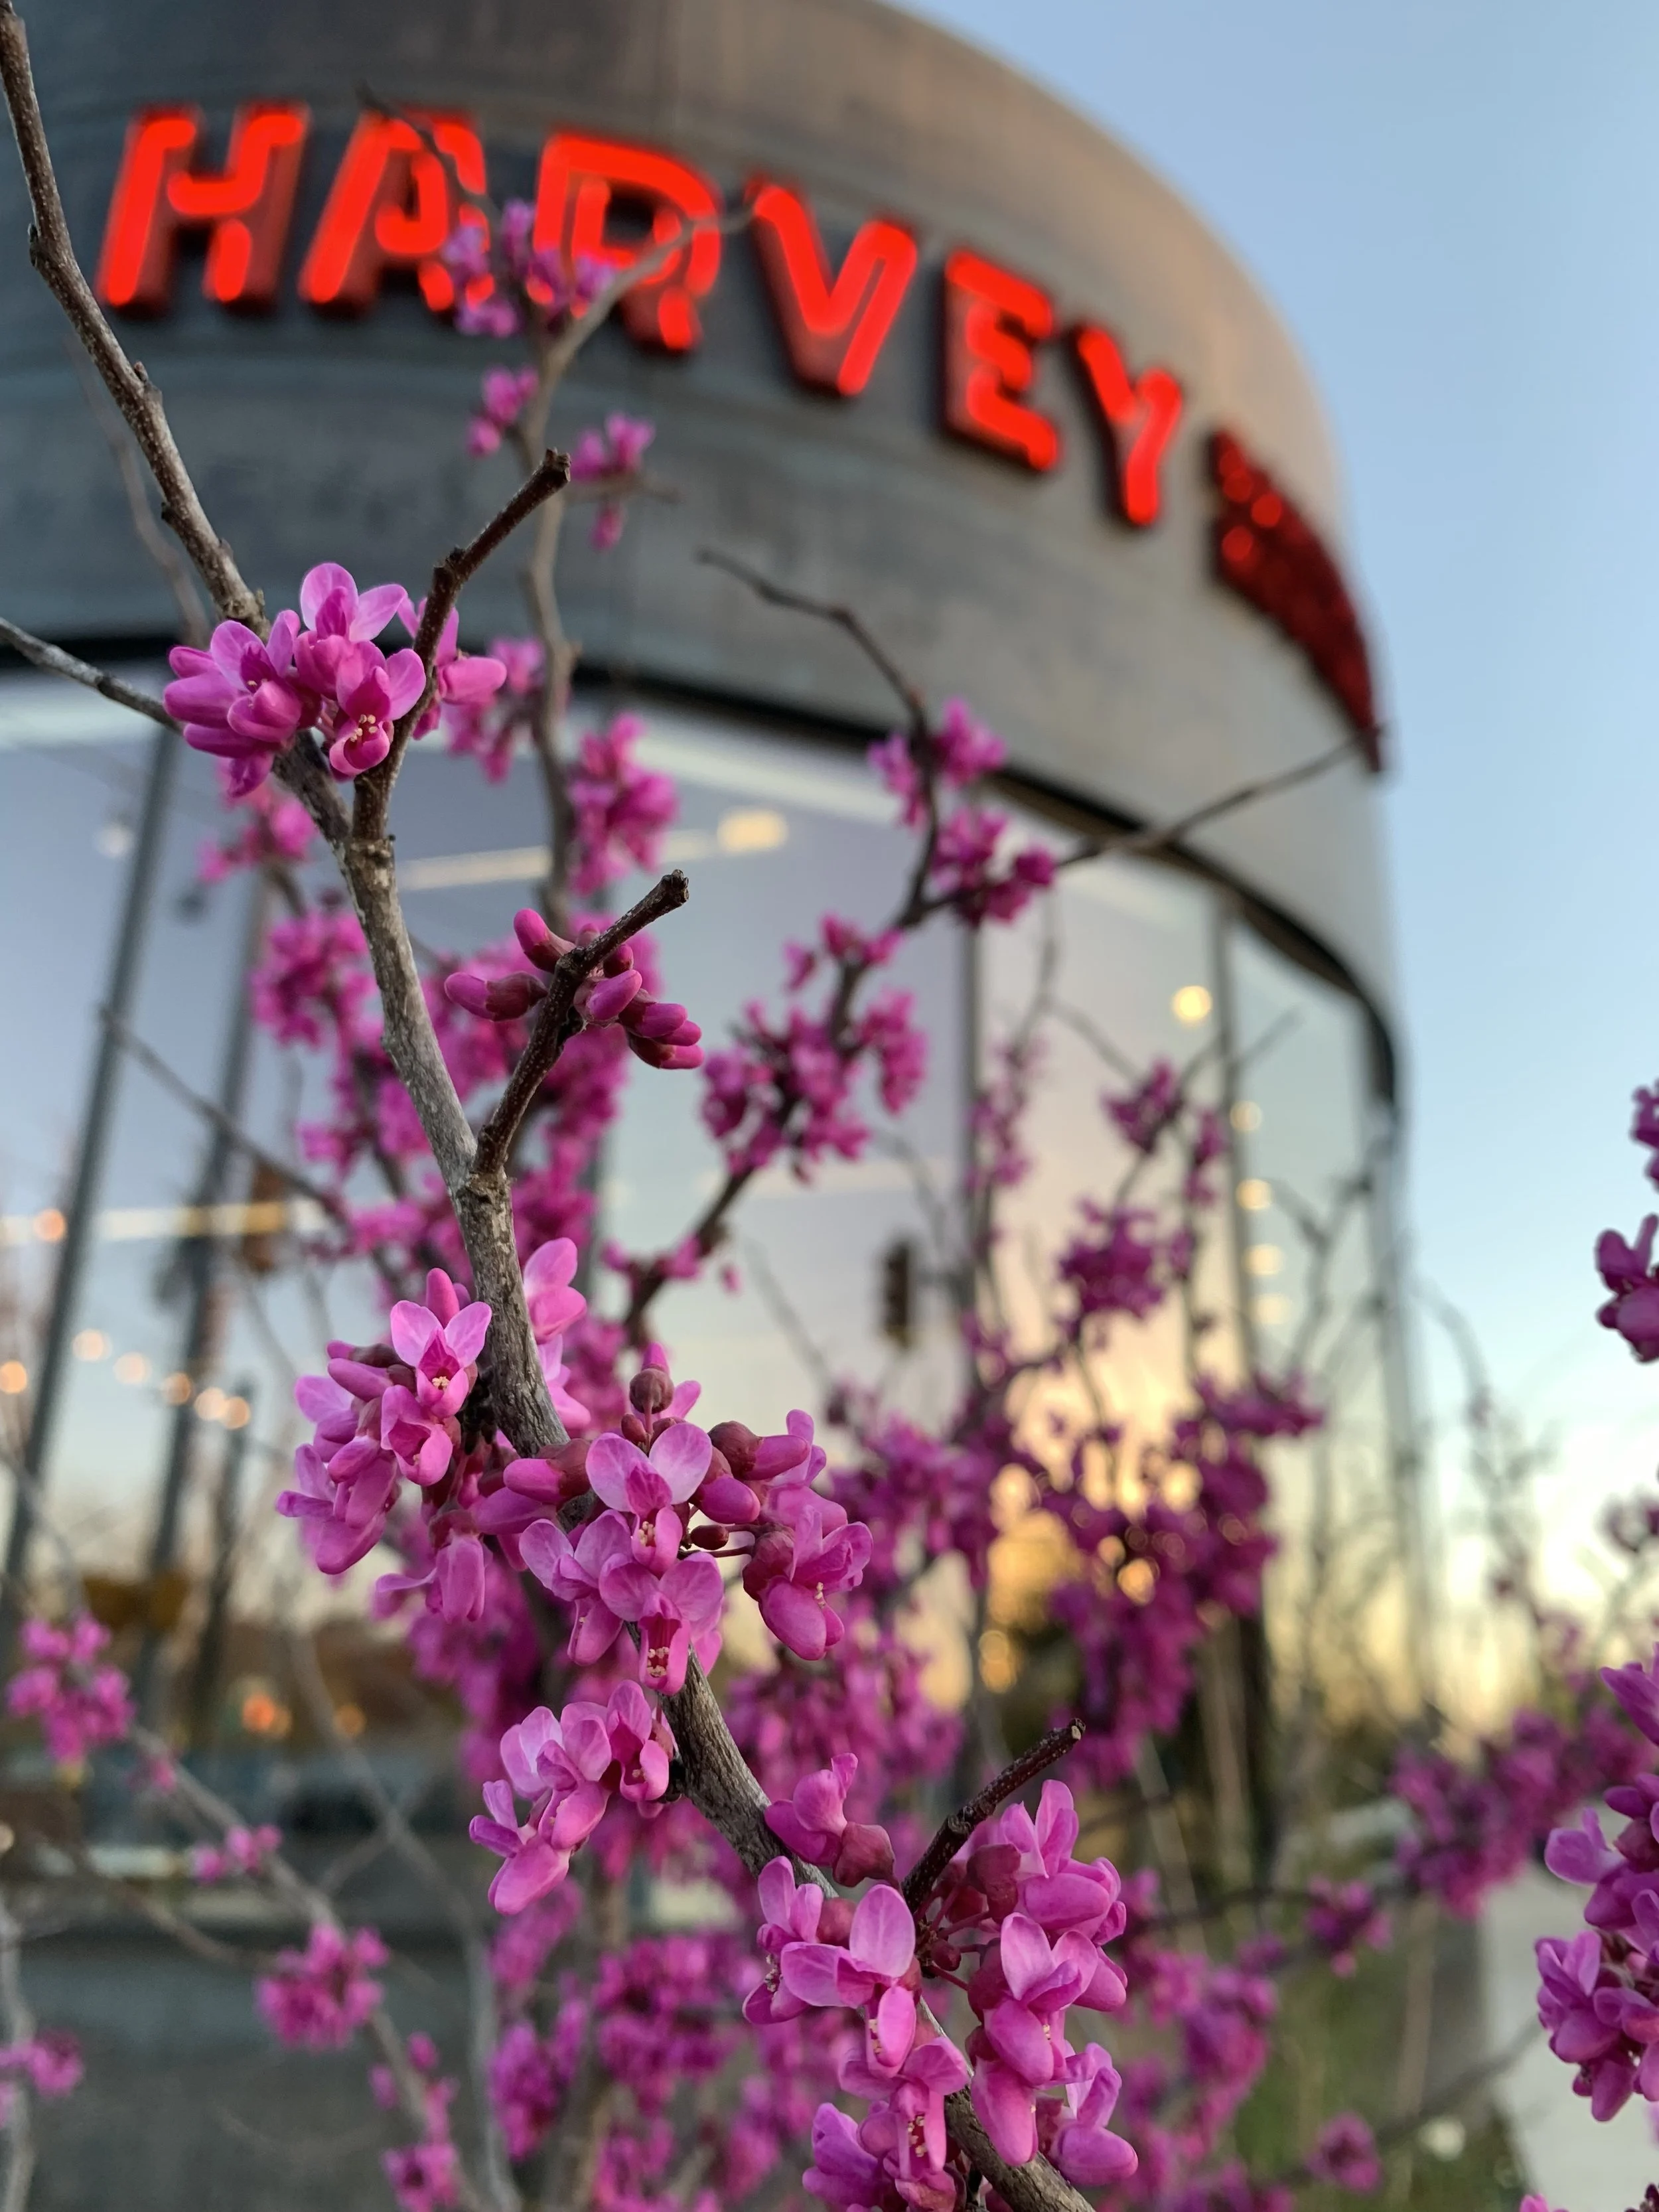
Redbud
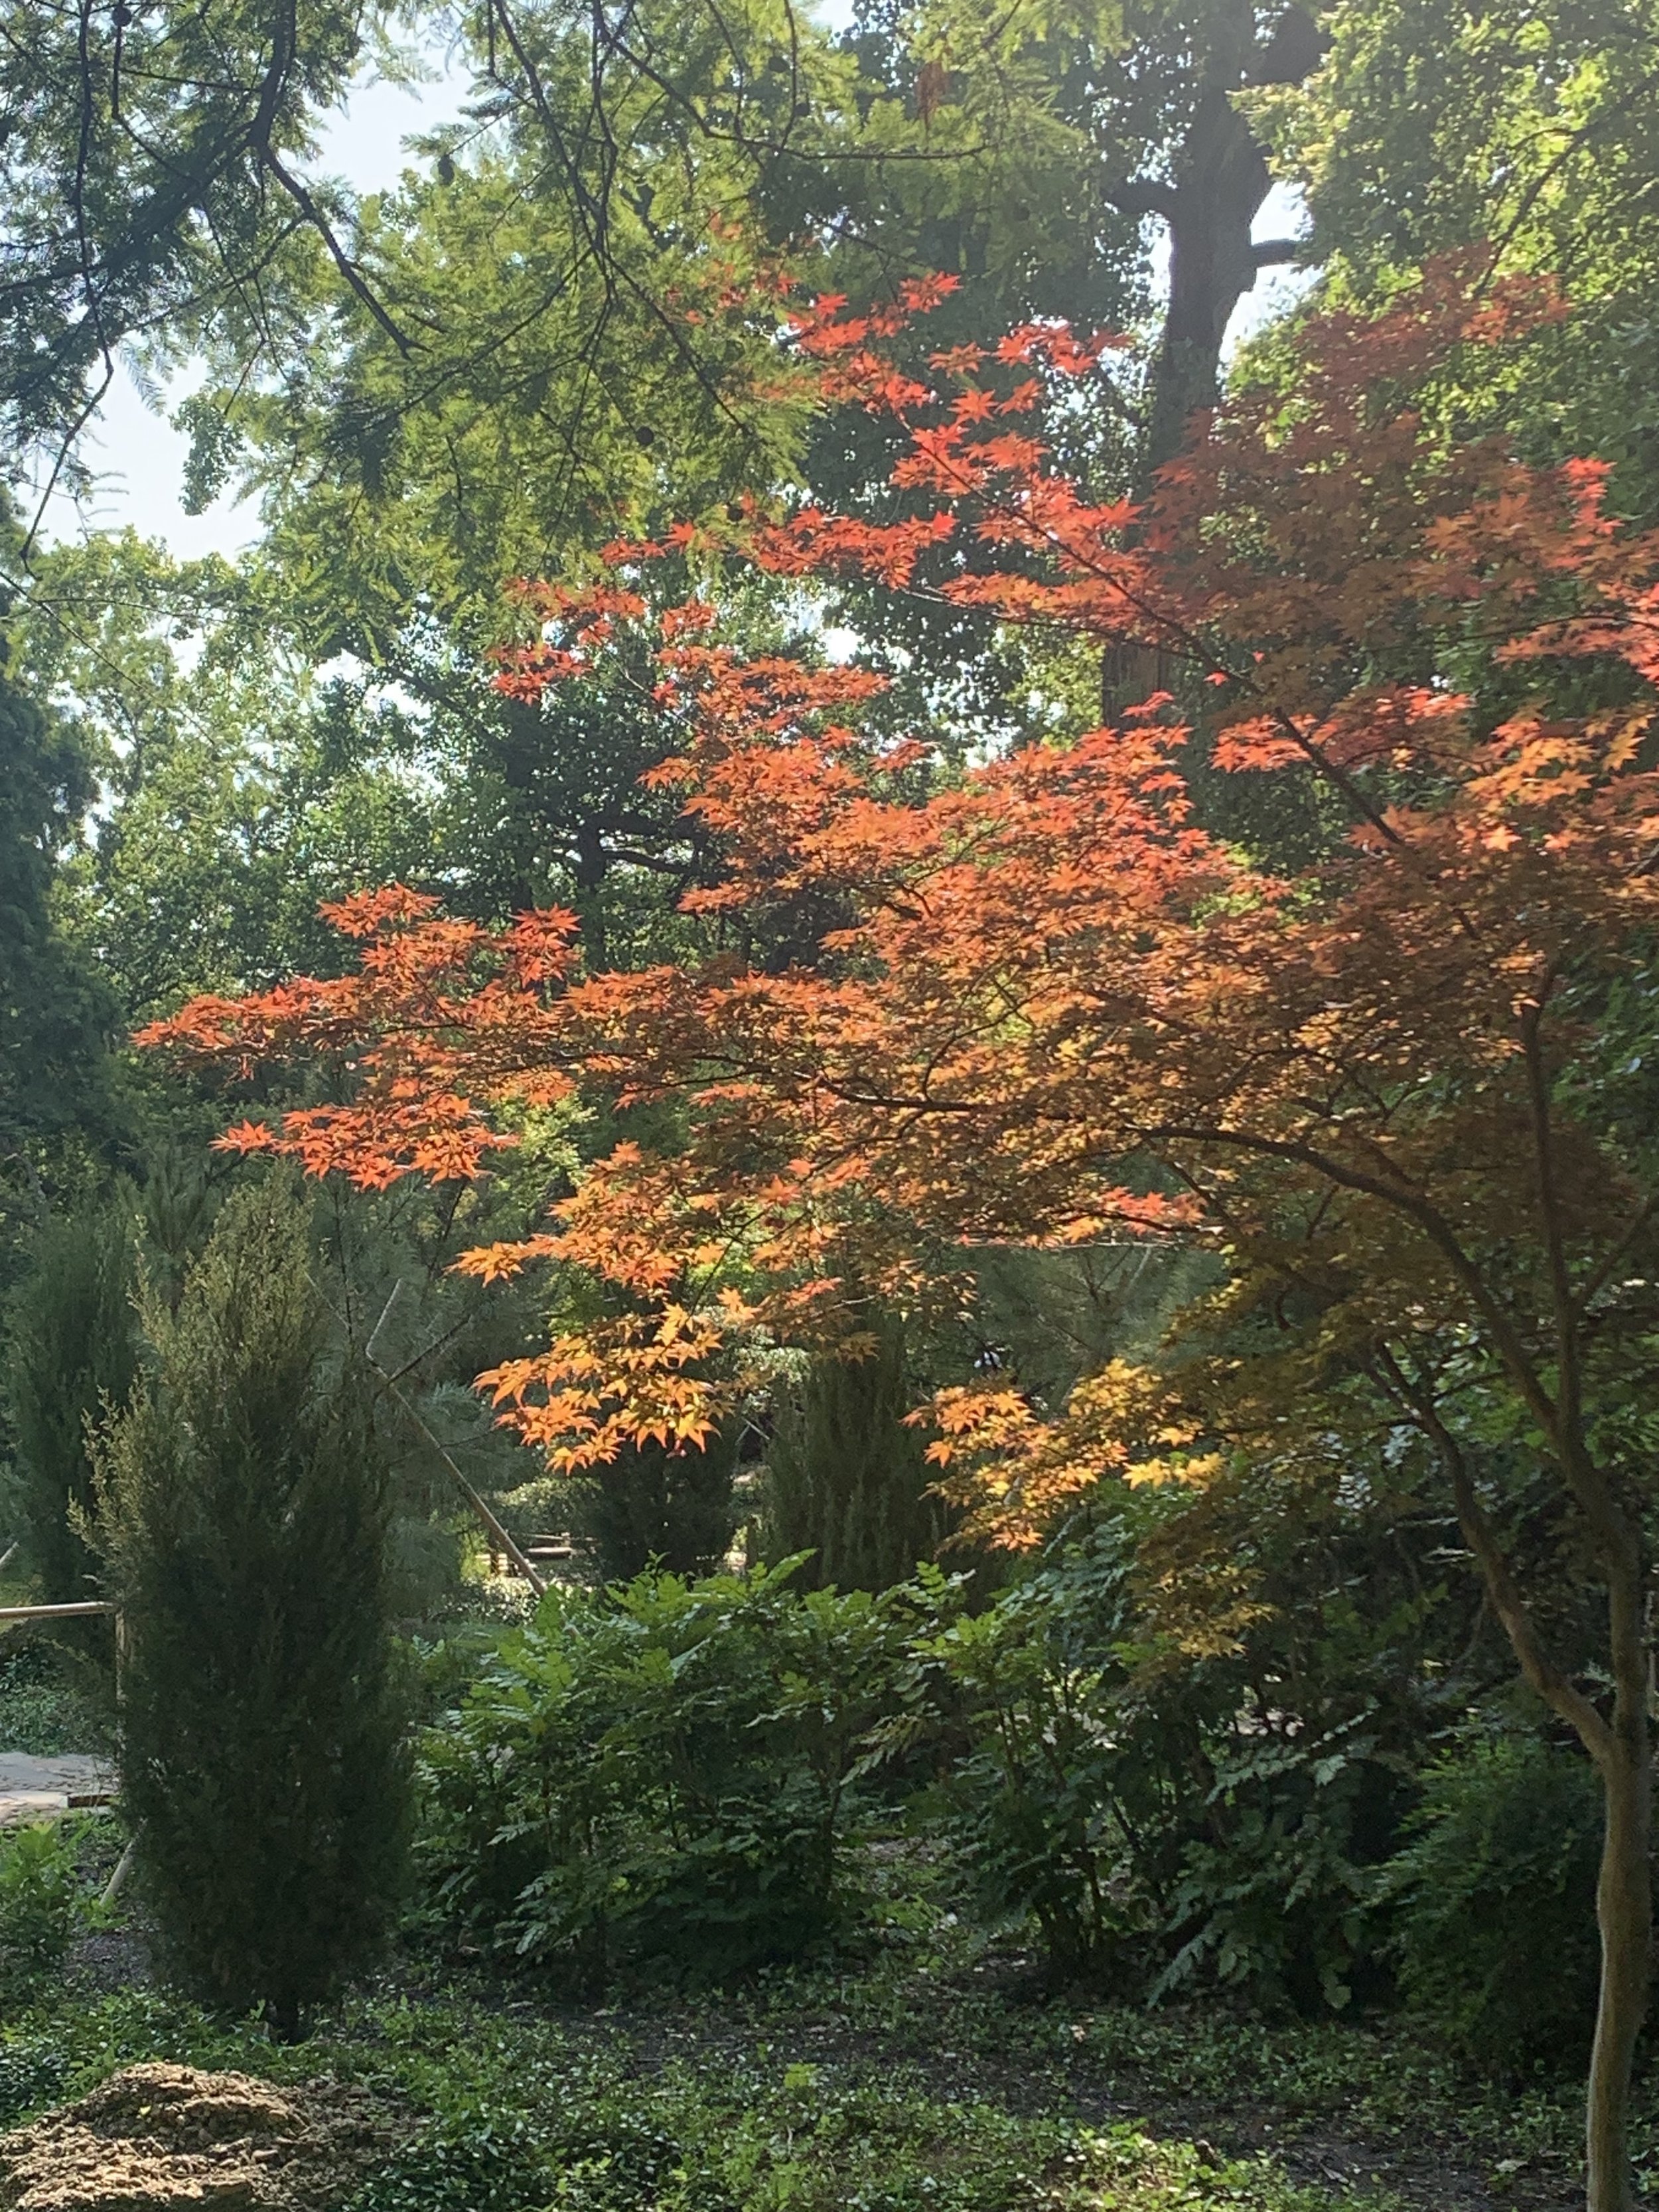
Japanese Maple
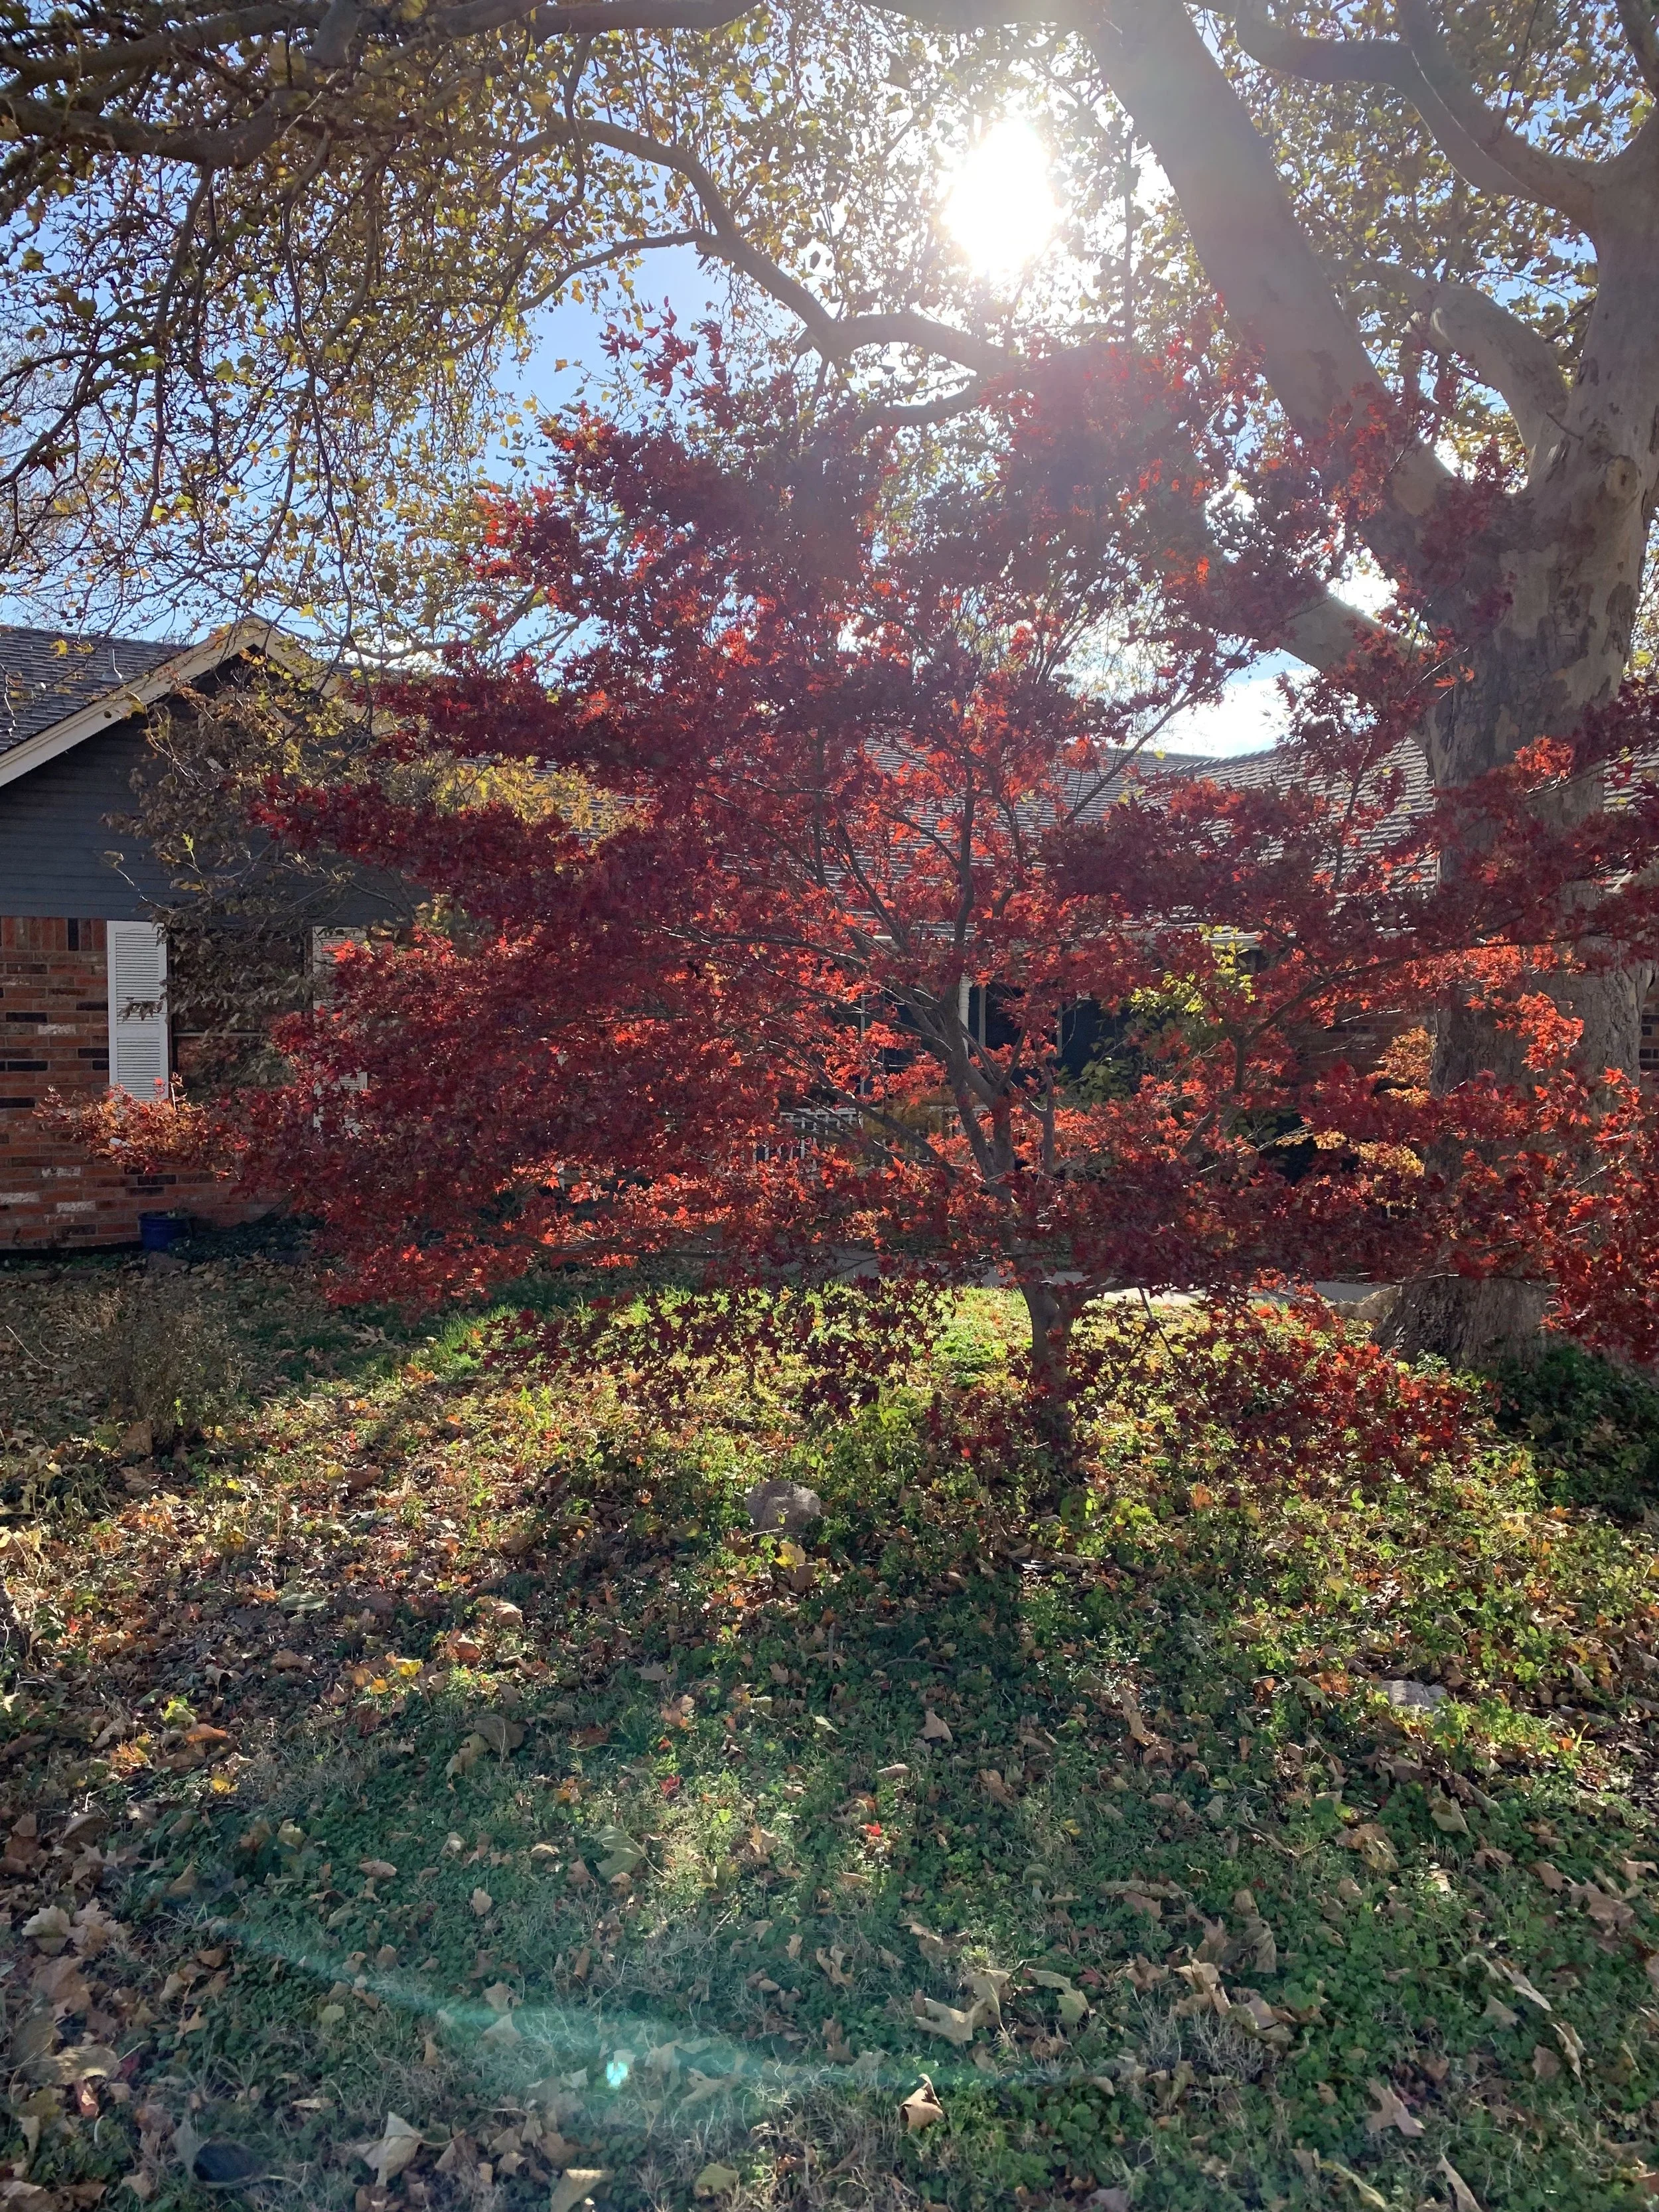
Japanese Maple
Japanese Maple – A favorite small tree for the north or east side of a house. There are weeping, upright, and spreading varieties. Varieties with red leaves, purple leaves, green leaves, and yellow leaves. Their color and texture create interest in any shady to dappled sun area. 10-25’ high and wide.
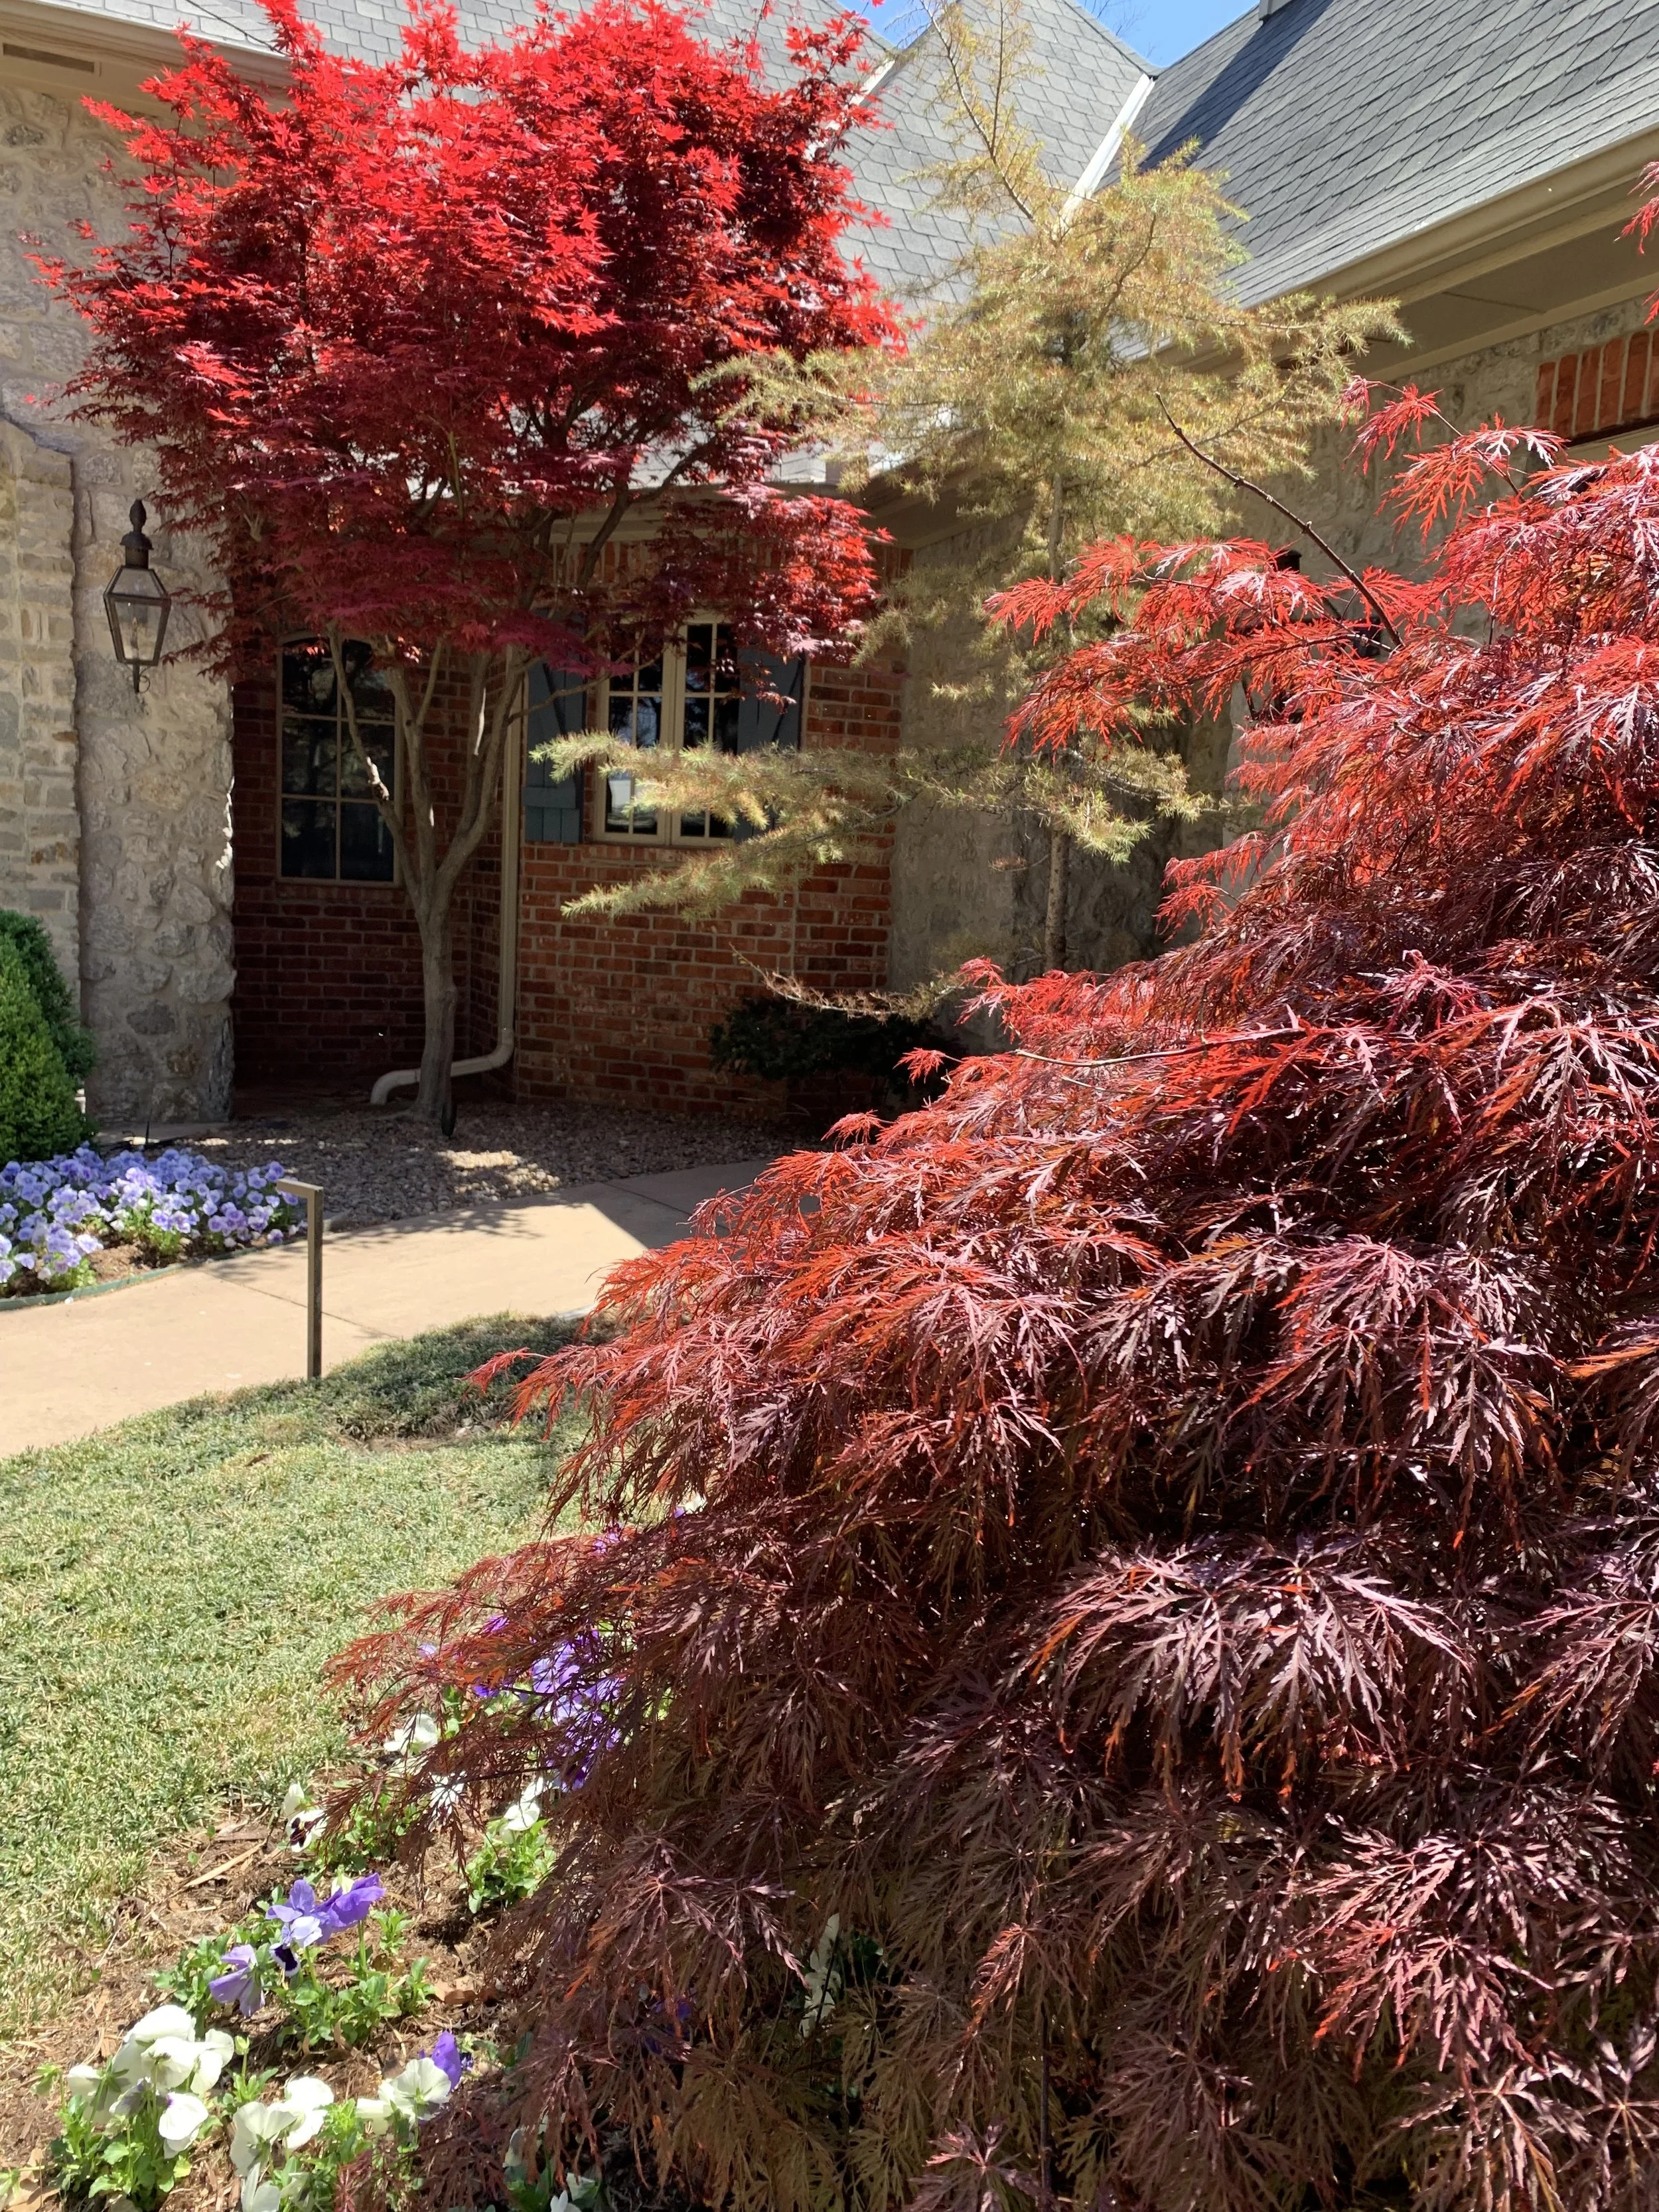
Japanese Maple
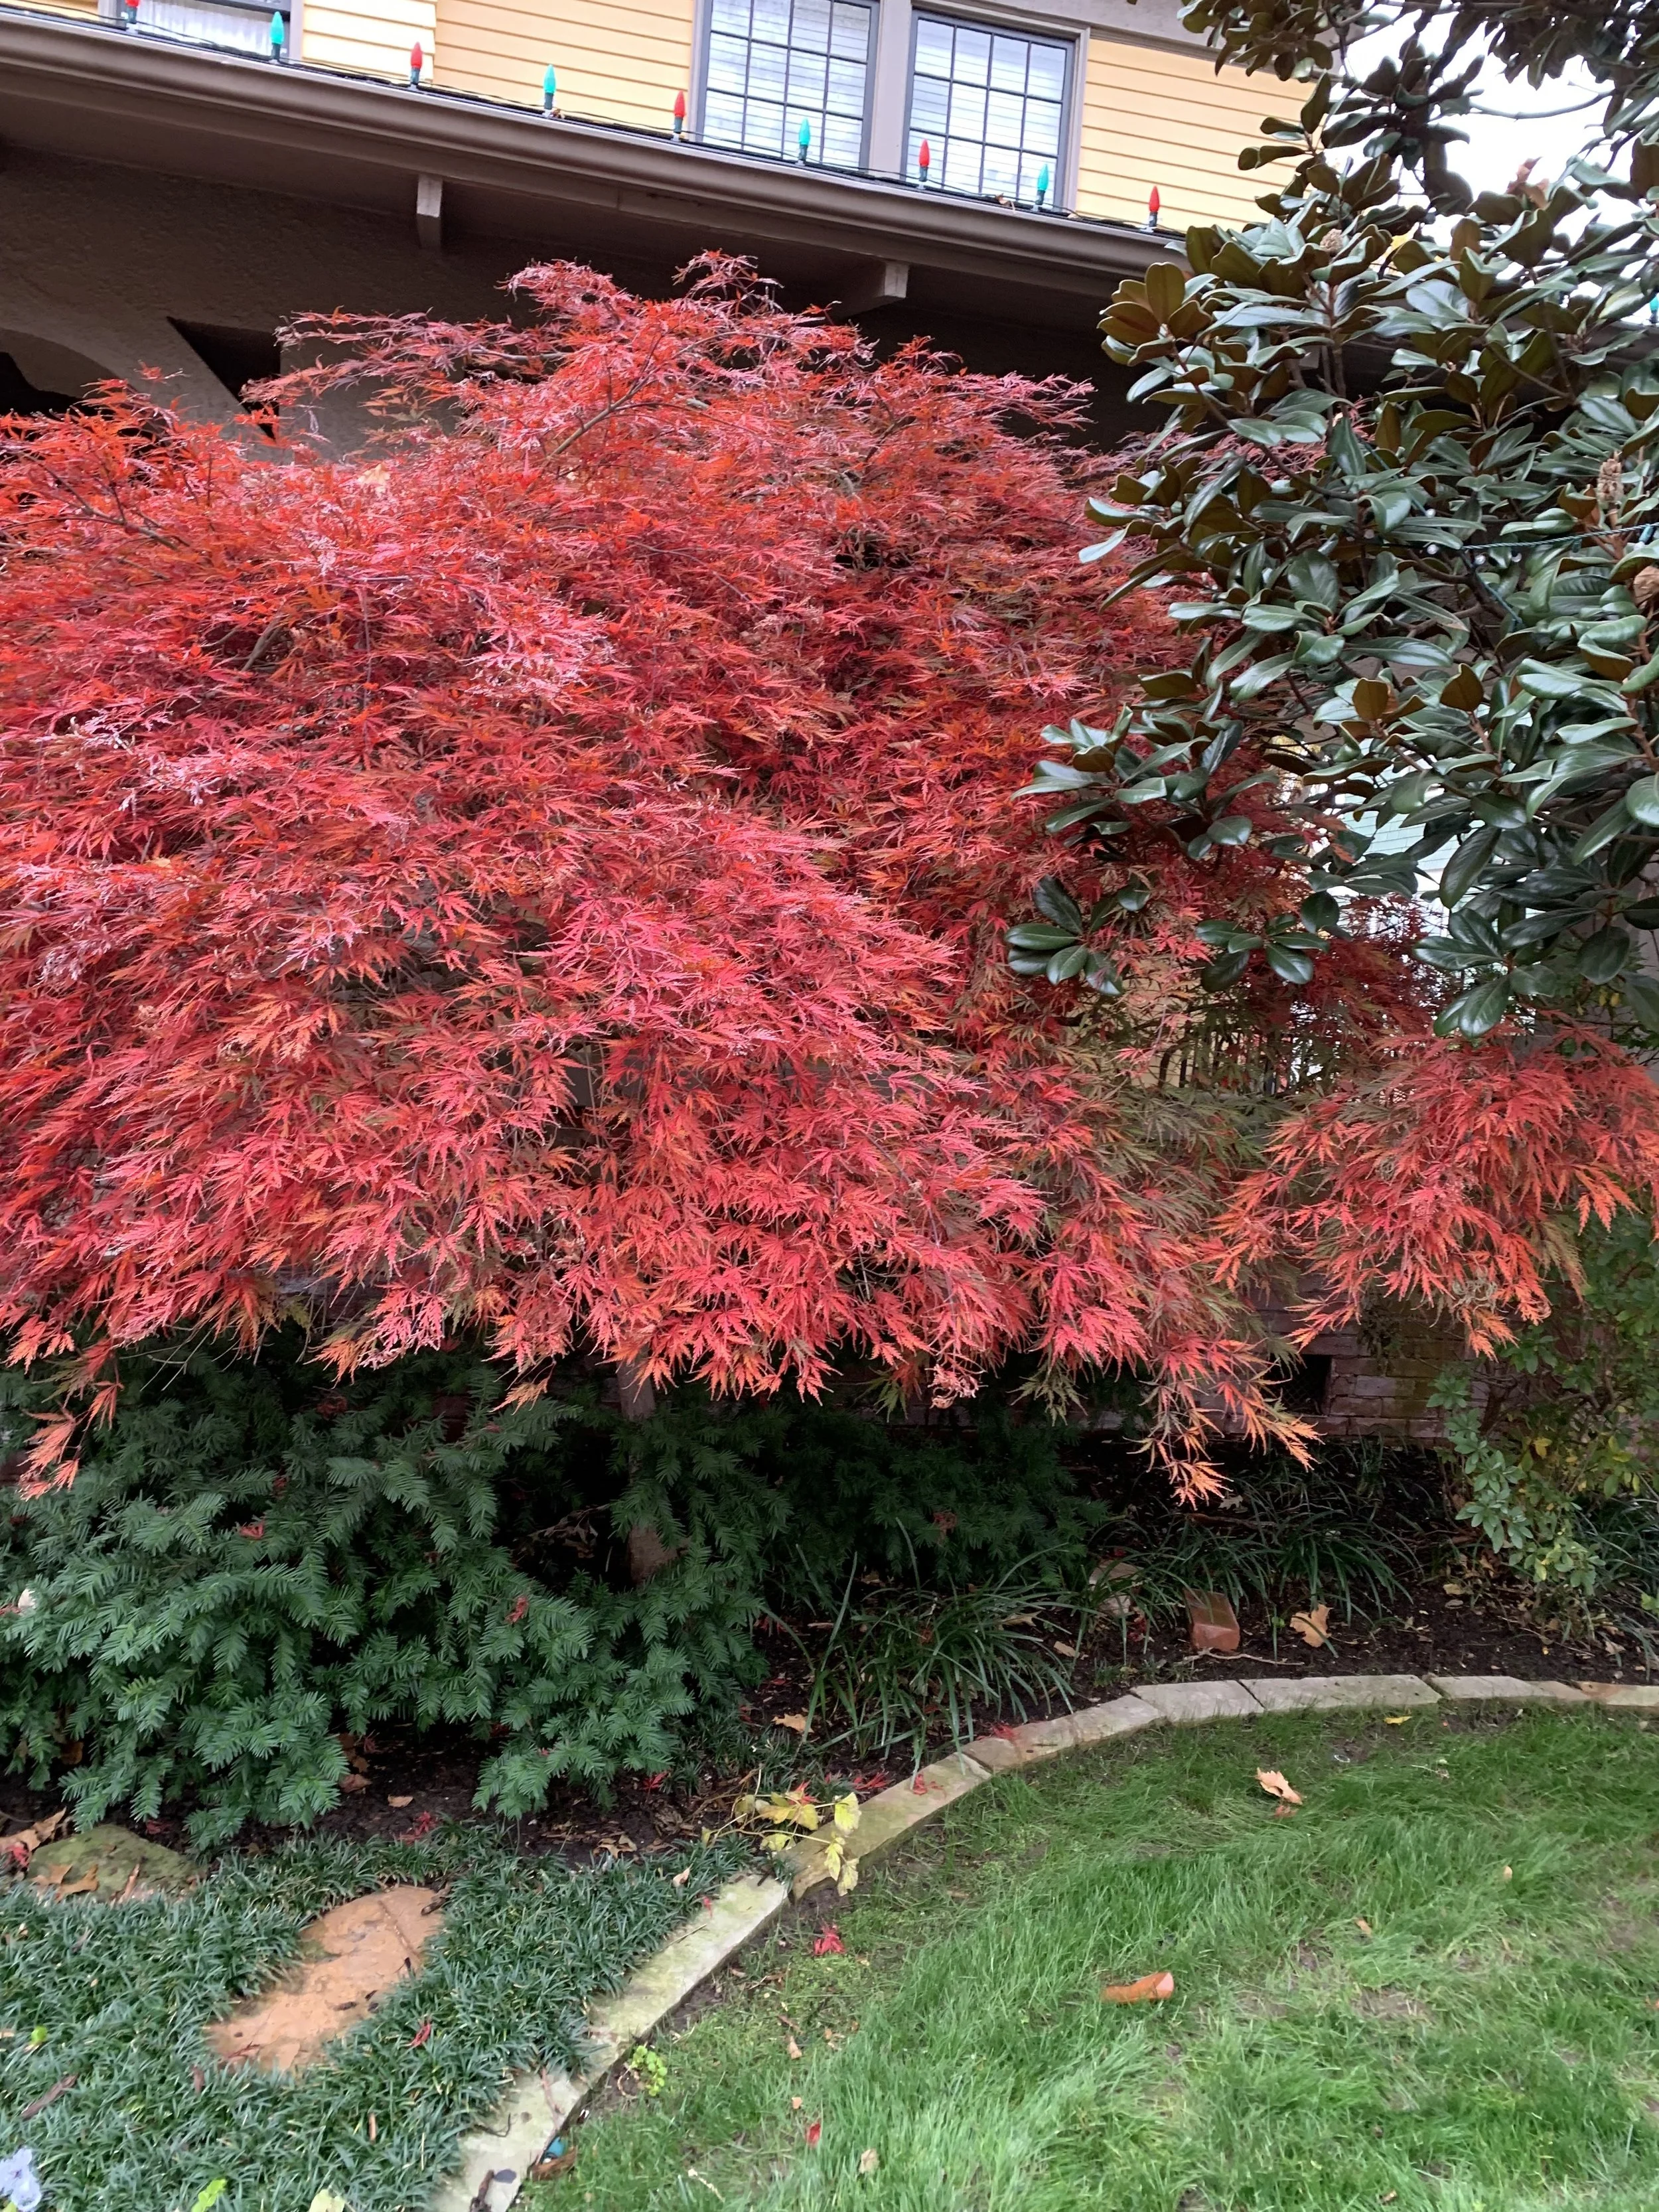
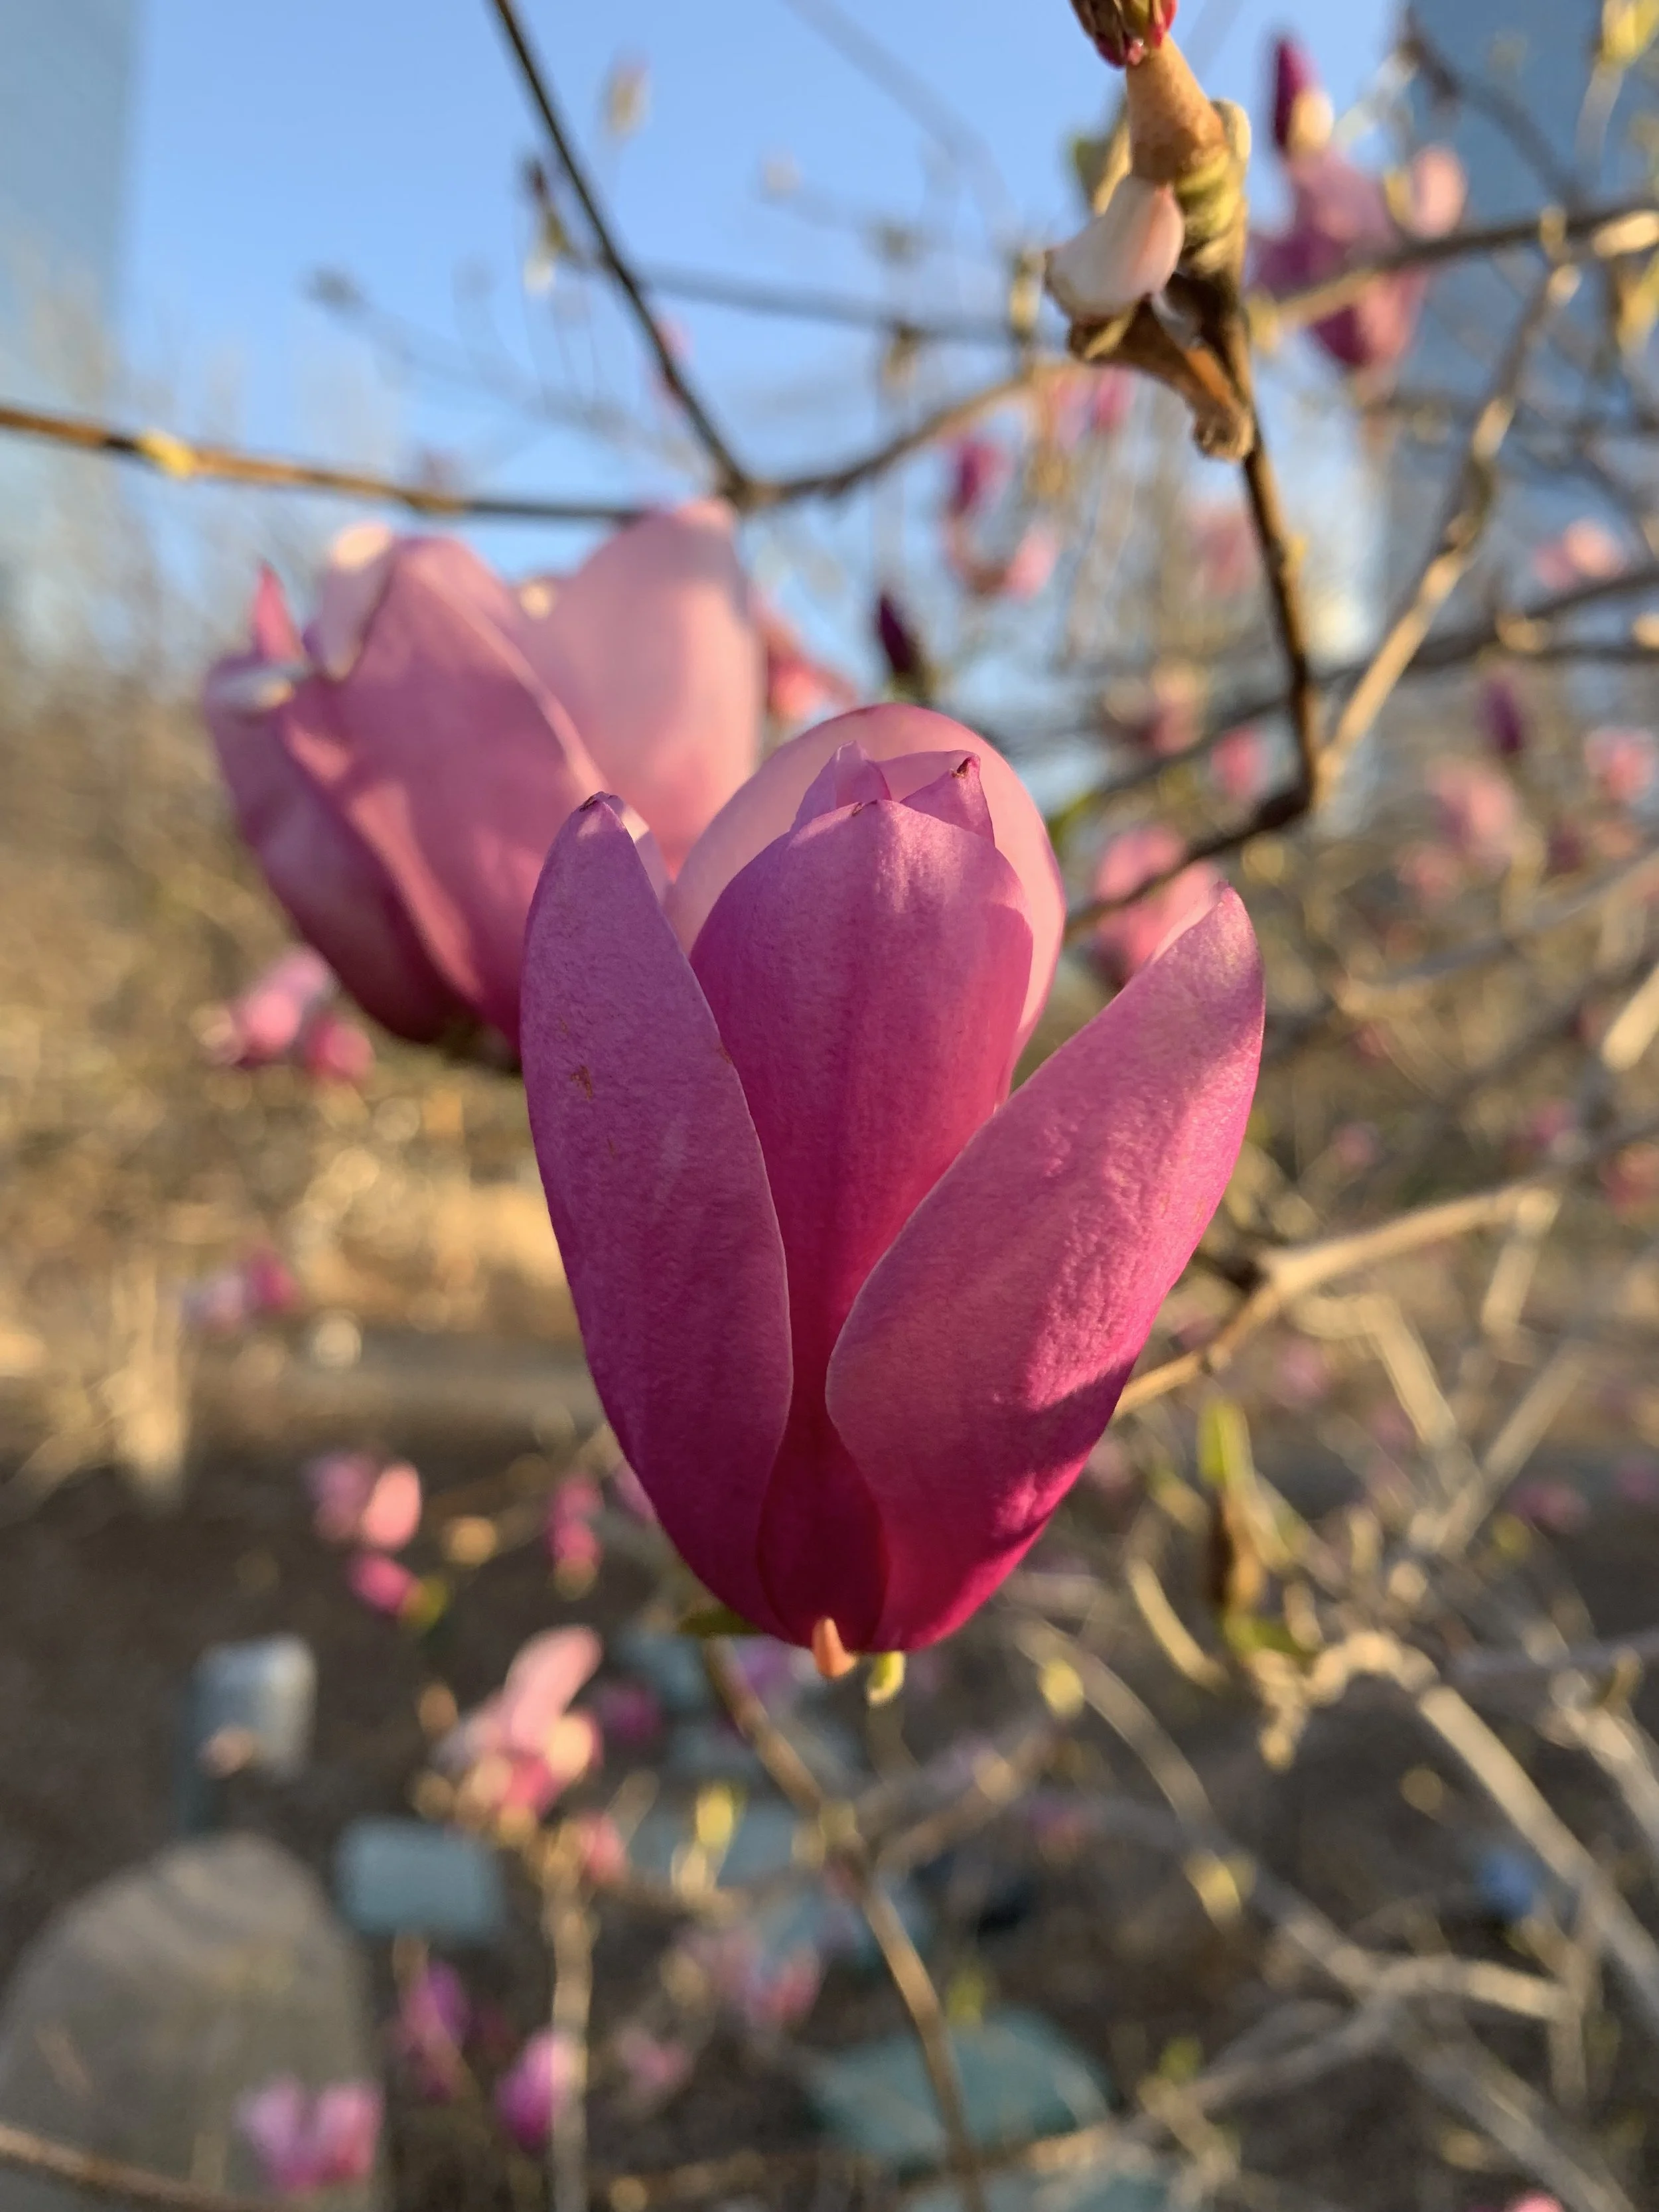
Saucer Magnolia
Saucer Magnolia – Large saucer-shaped blooms of white, pink, or purple in the early spring on spreading multi-trunk branches. 20’ tall and 20’ wide.
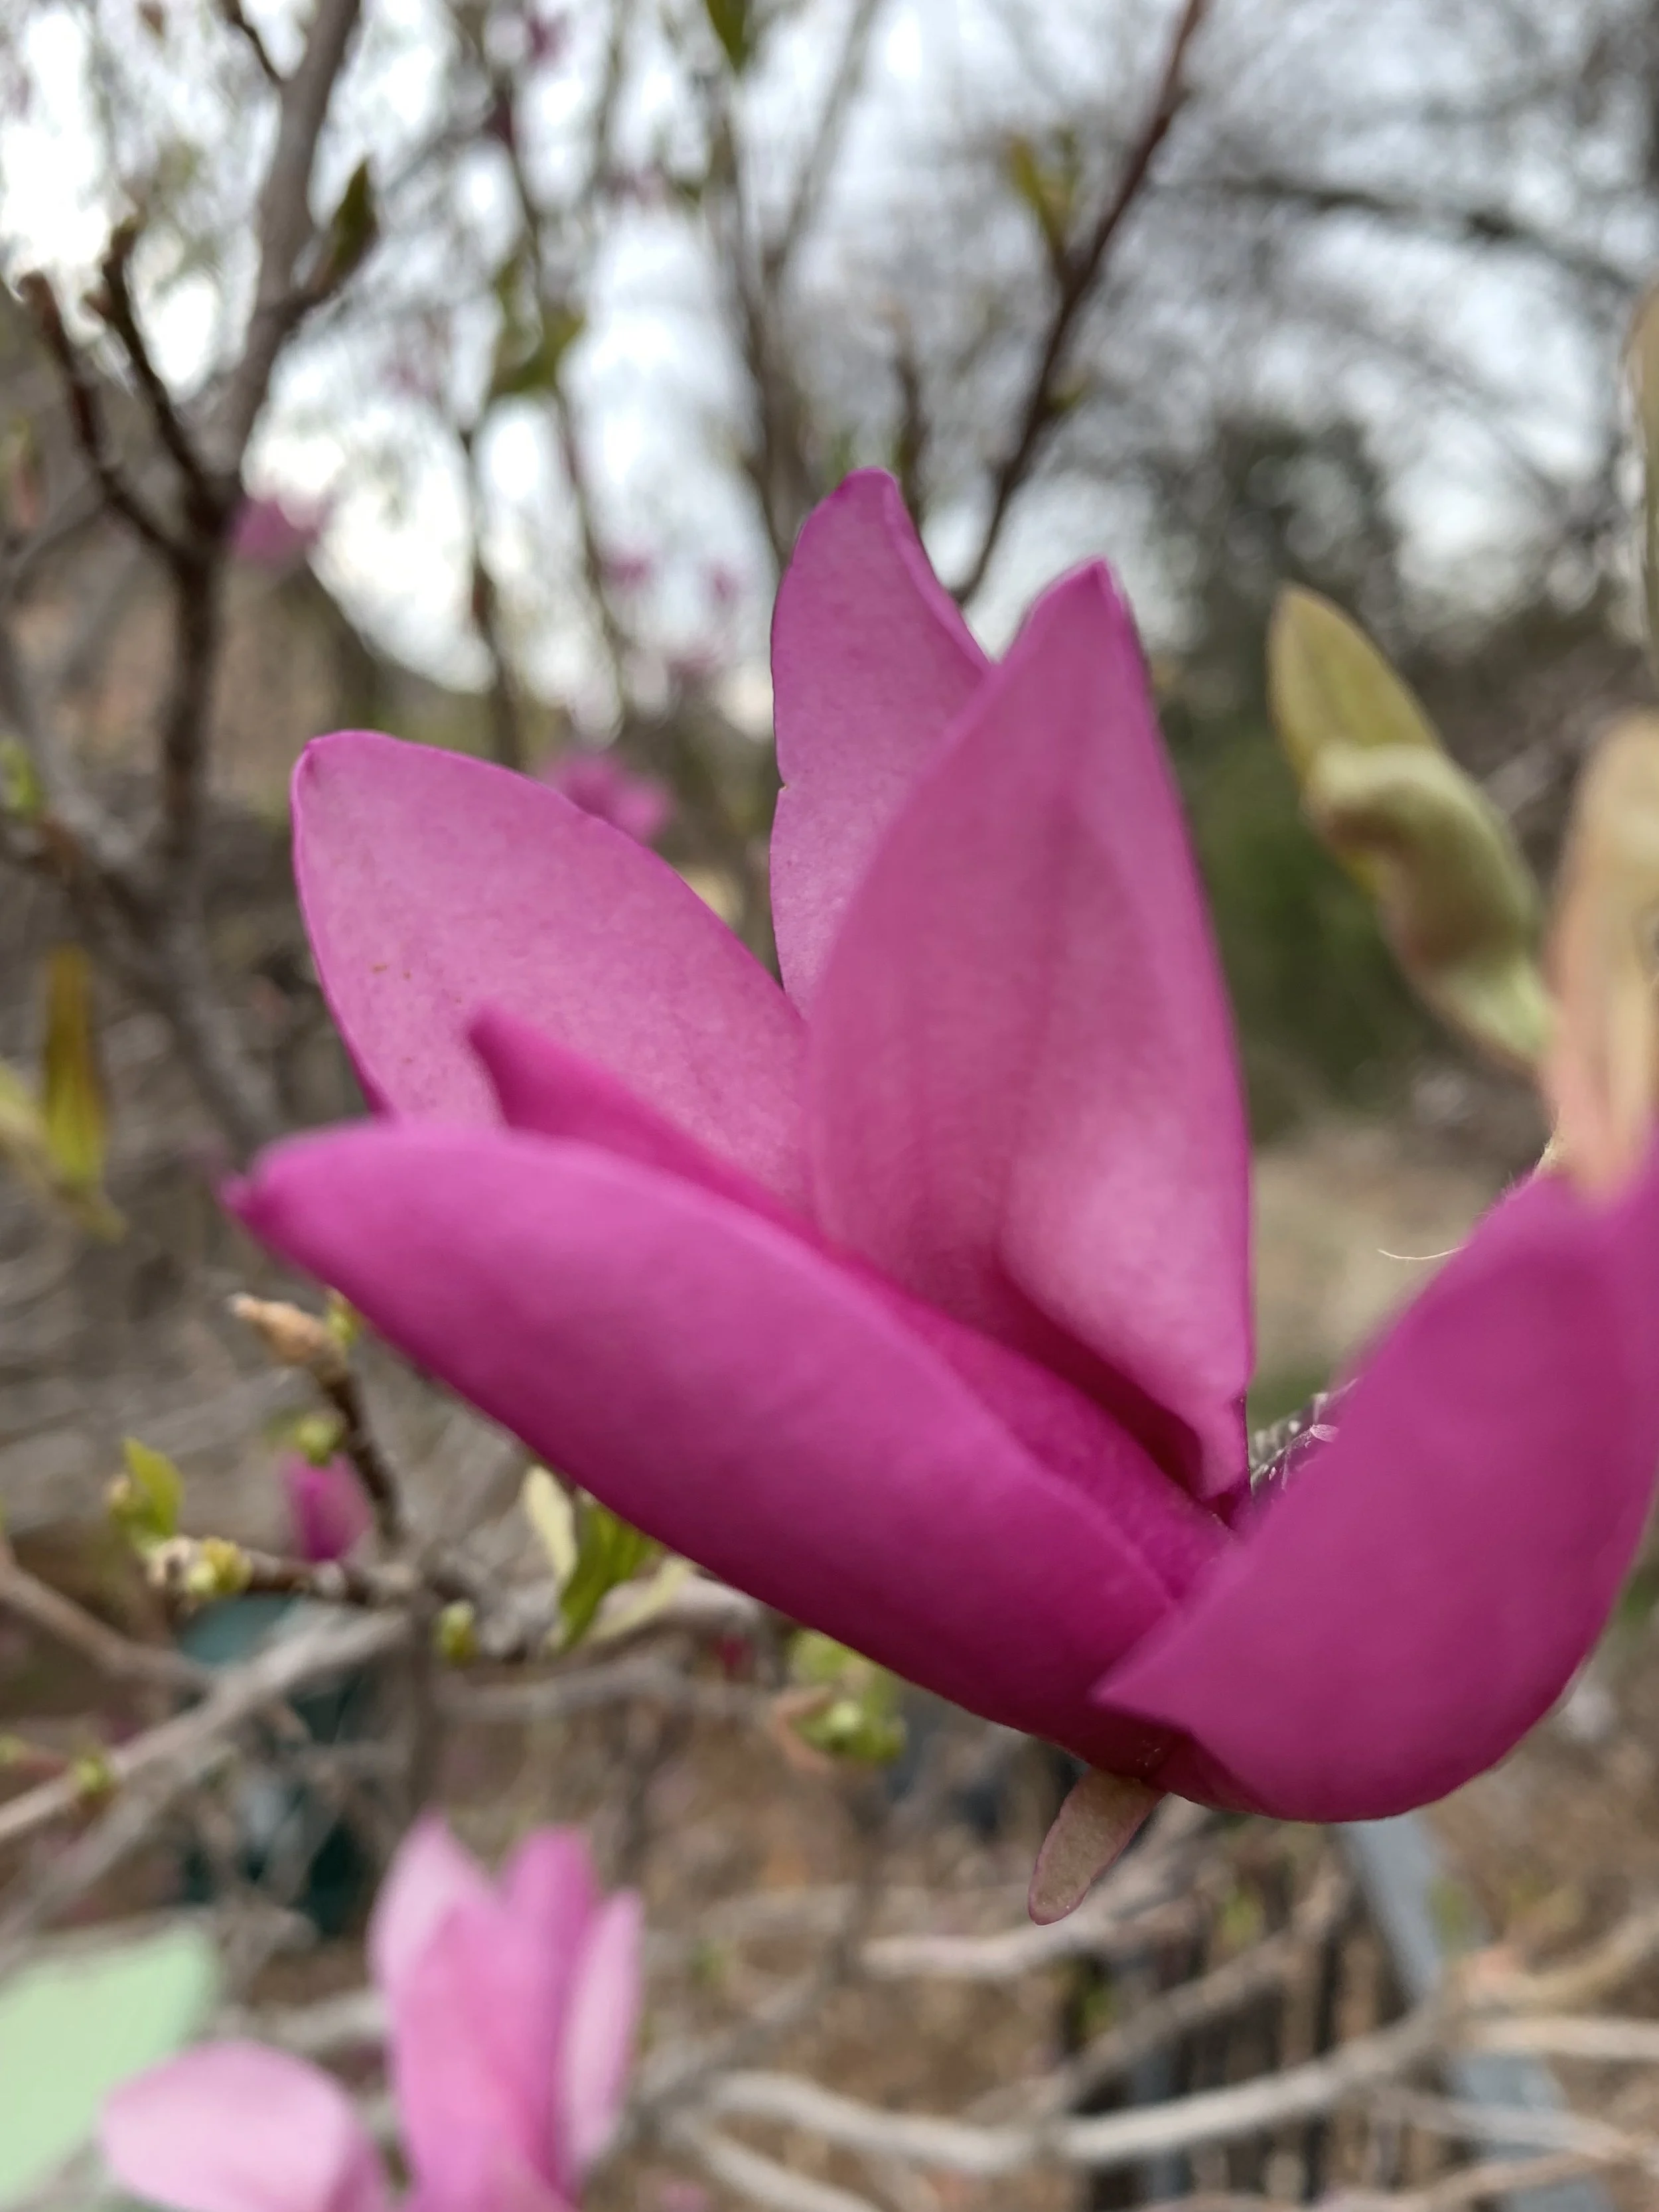
Saucer Magnolia
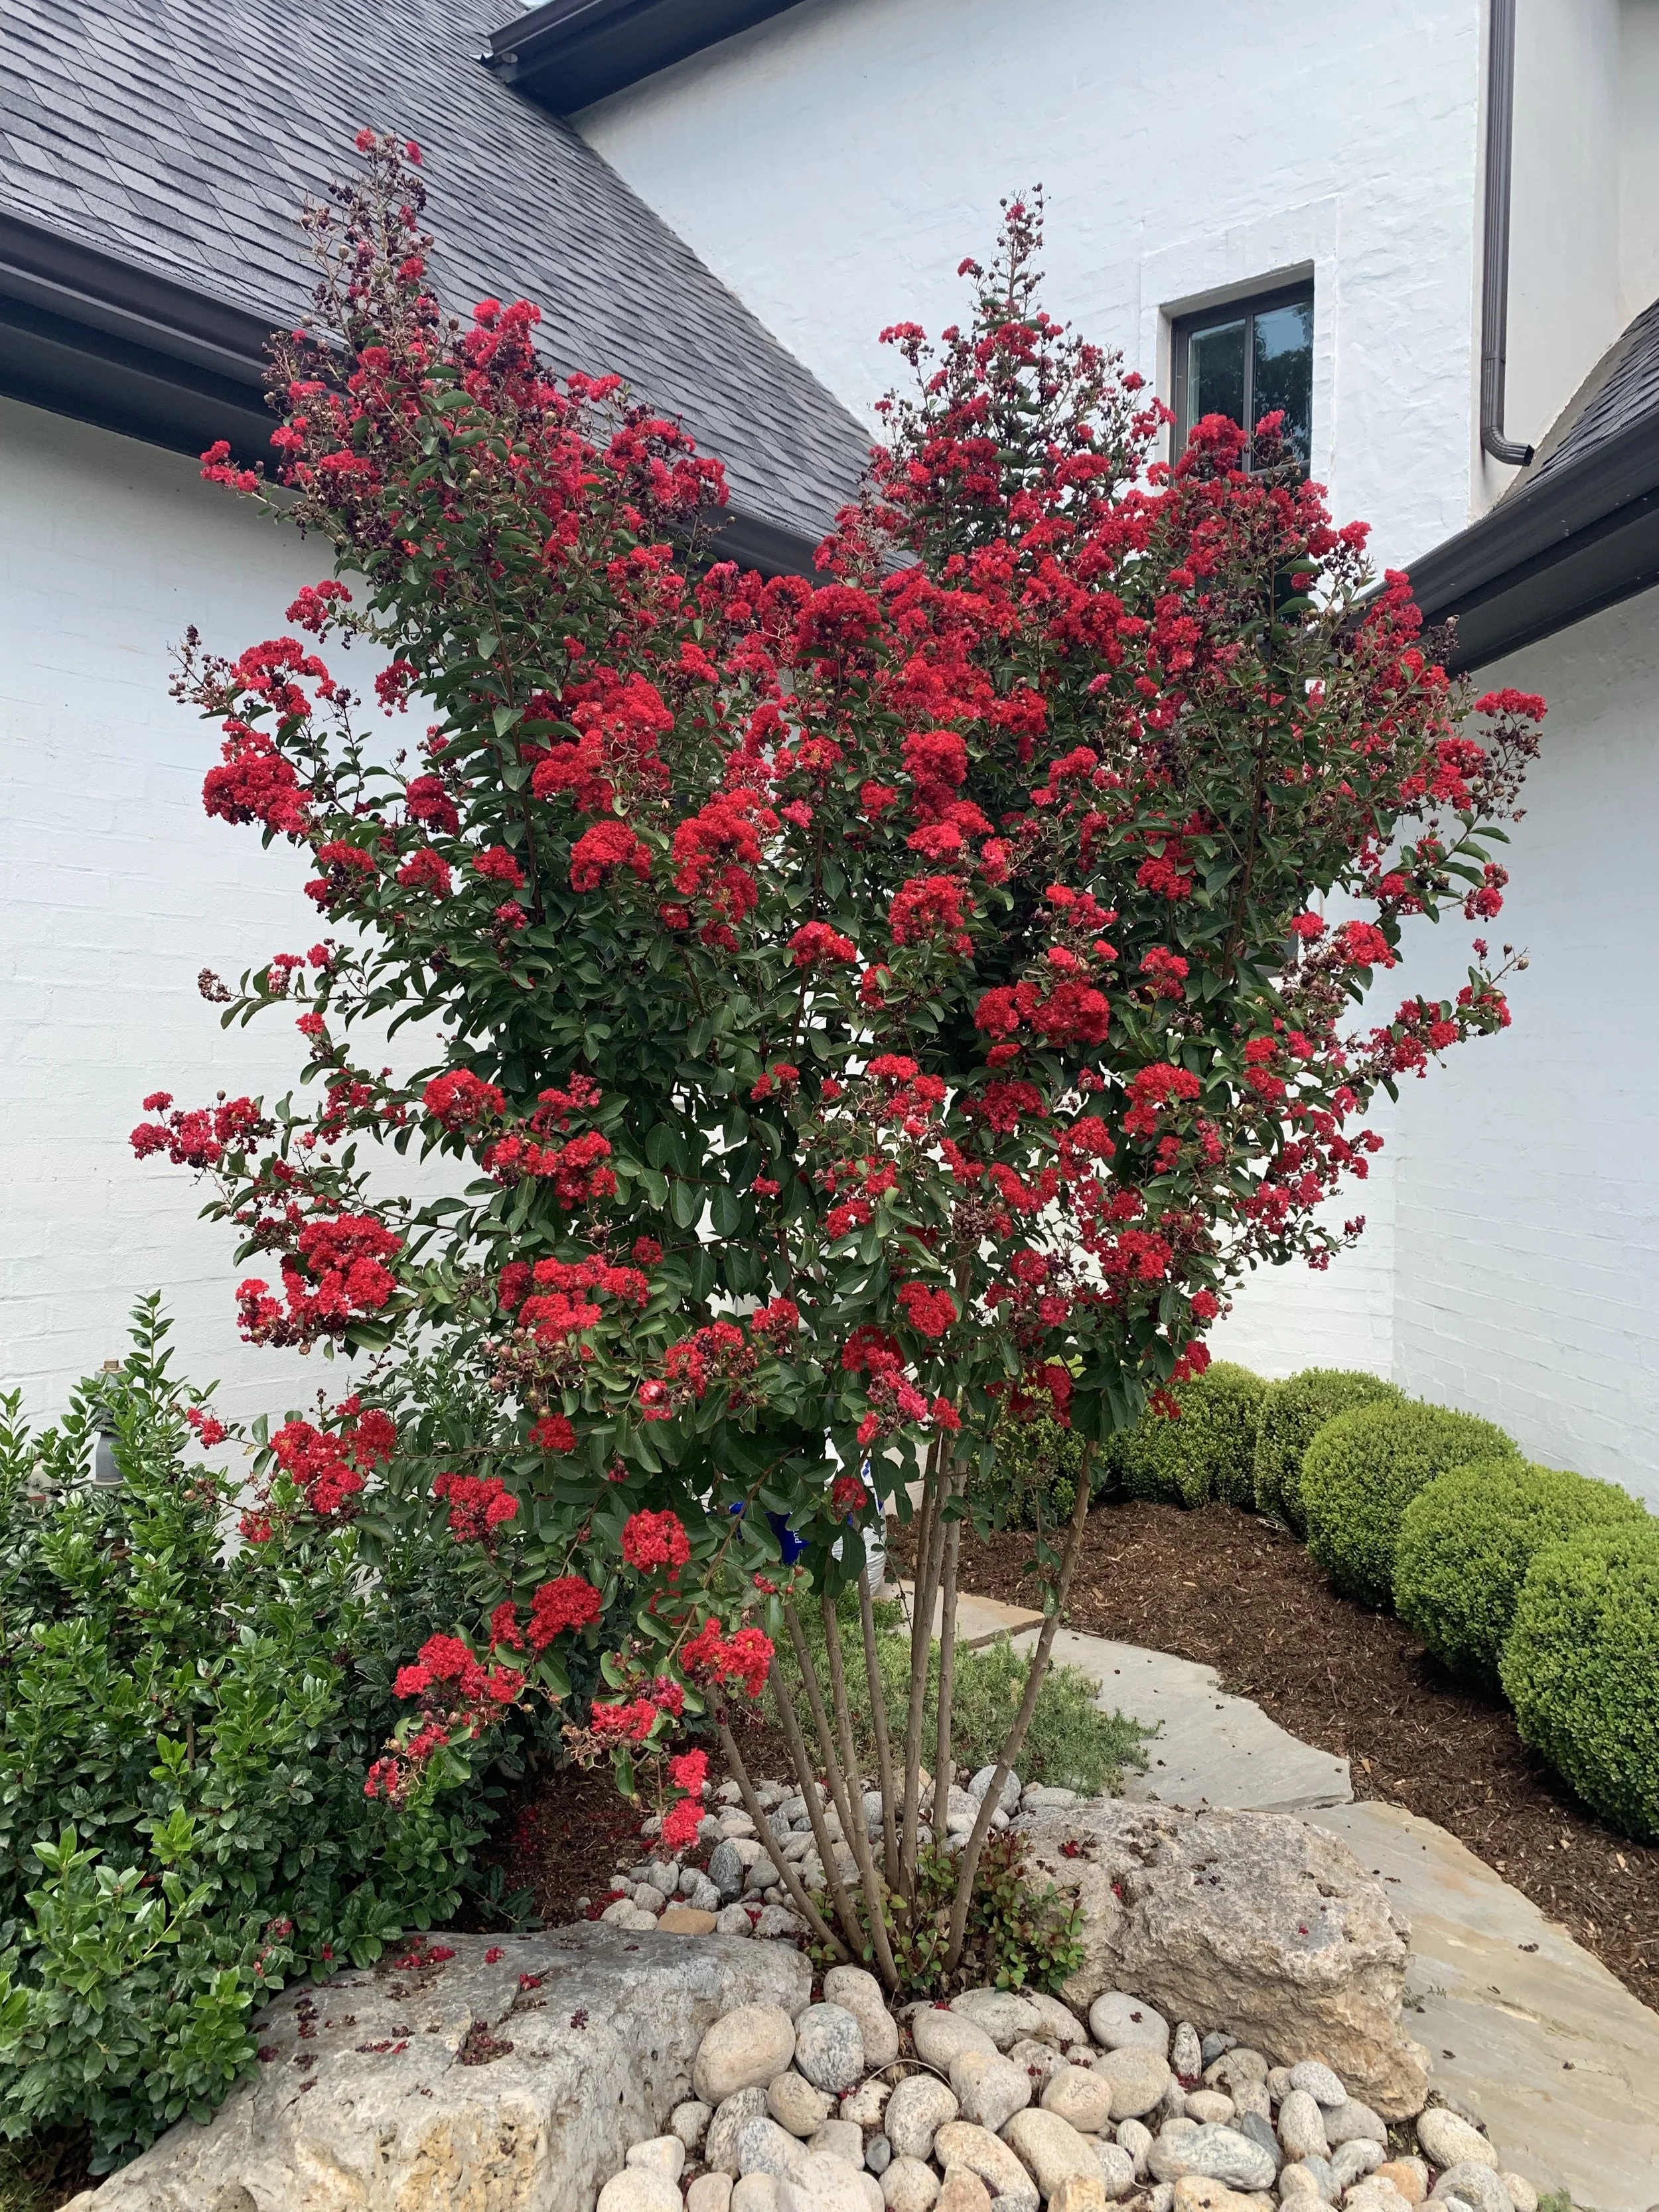
Crape Myrtle
Crape Myrtle – Our longest summer blooming plant with so many colors and growth habits to choose from there has to be one just right for any landscape. 12-30’ tall and 10-20’ wide.
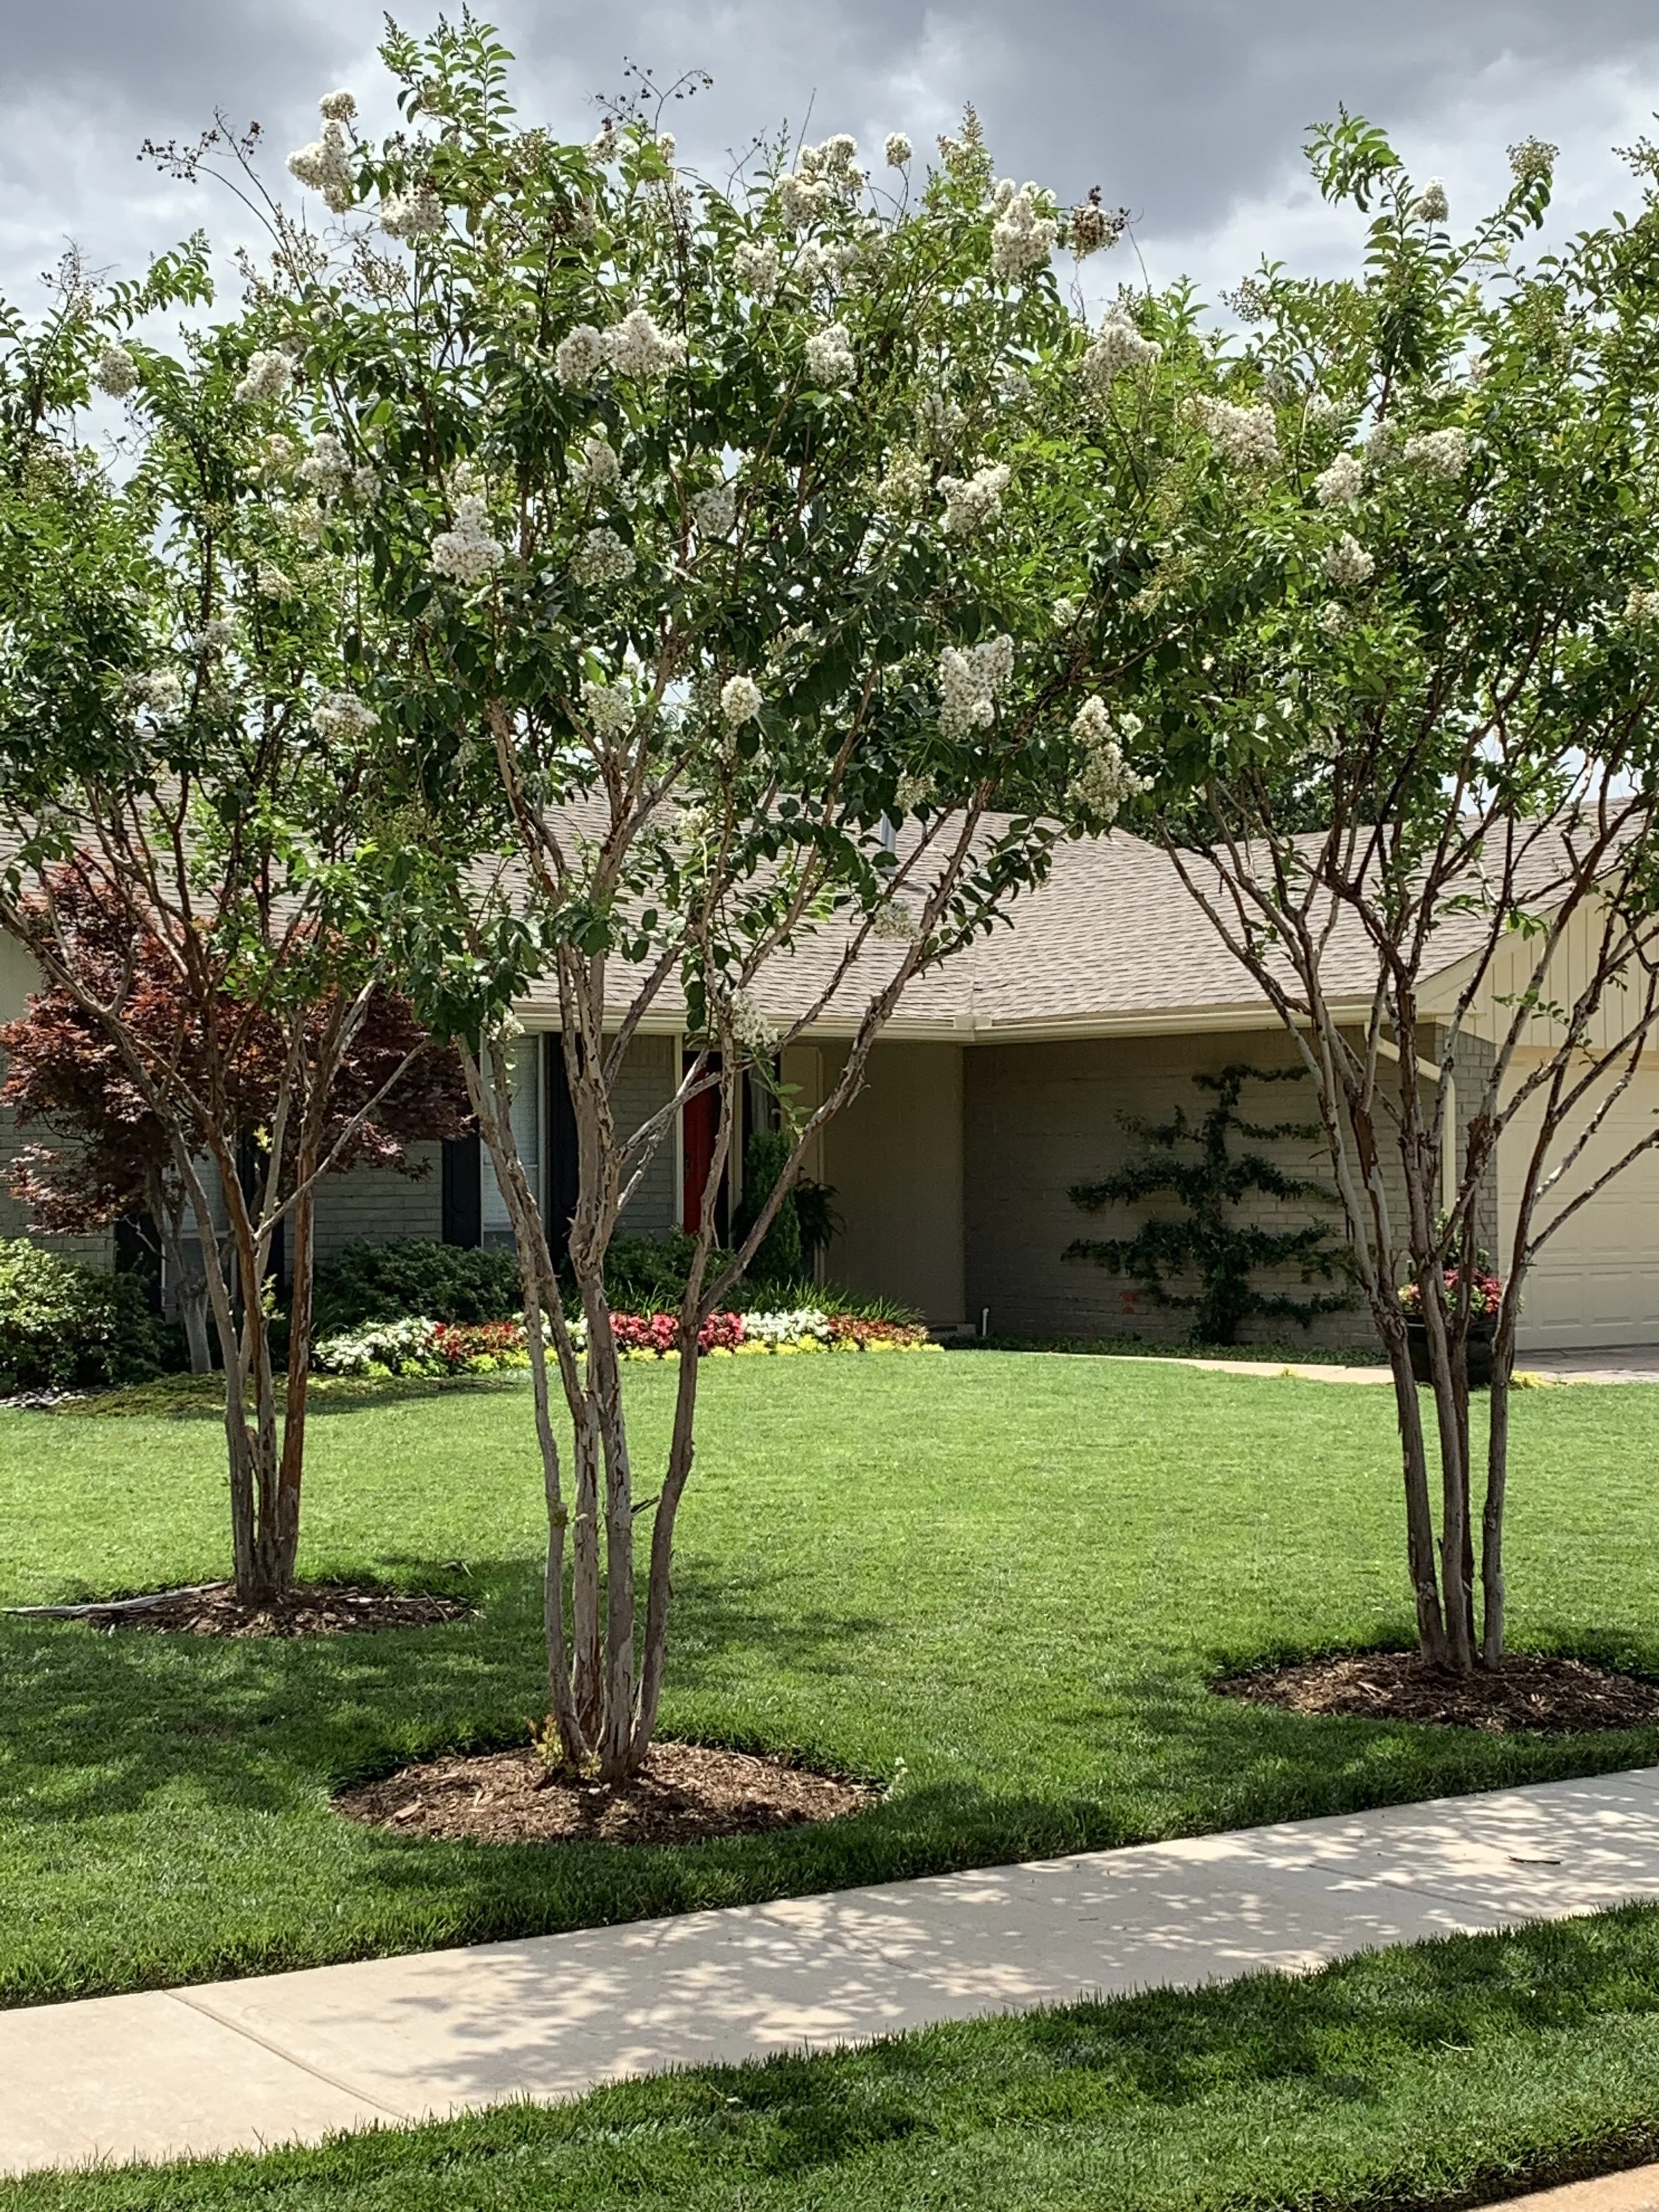
Crape Myrtle
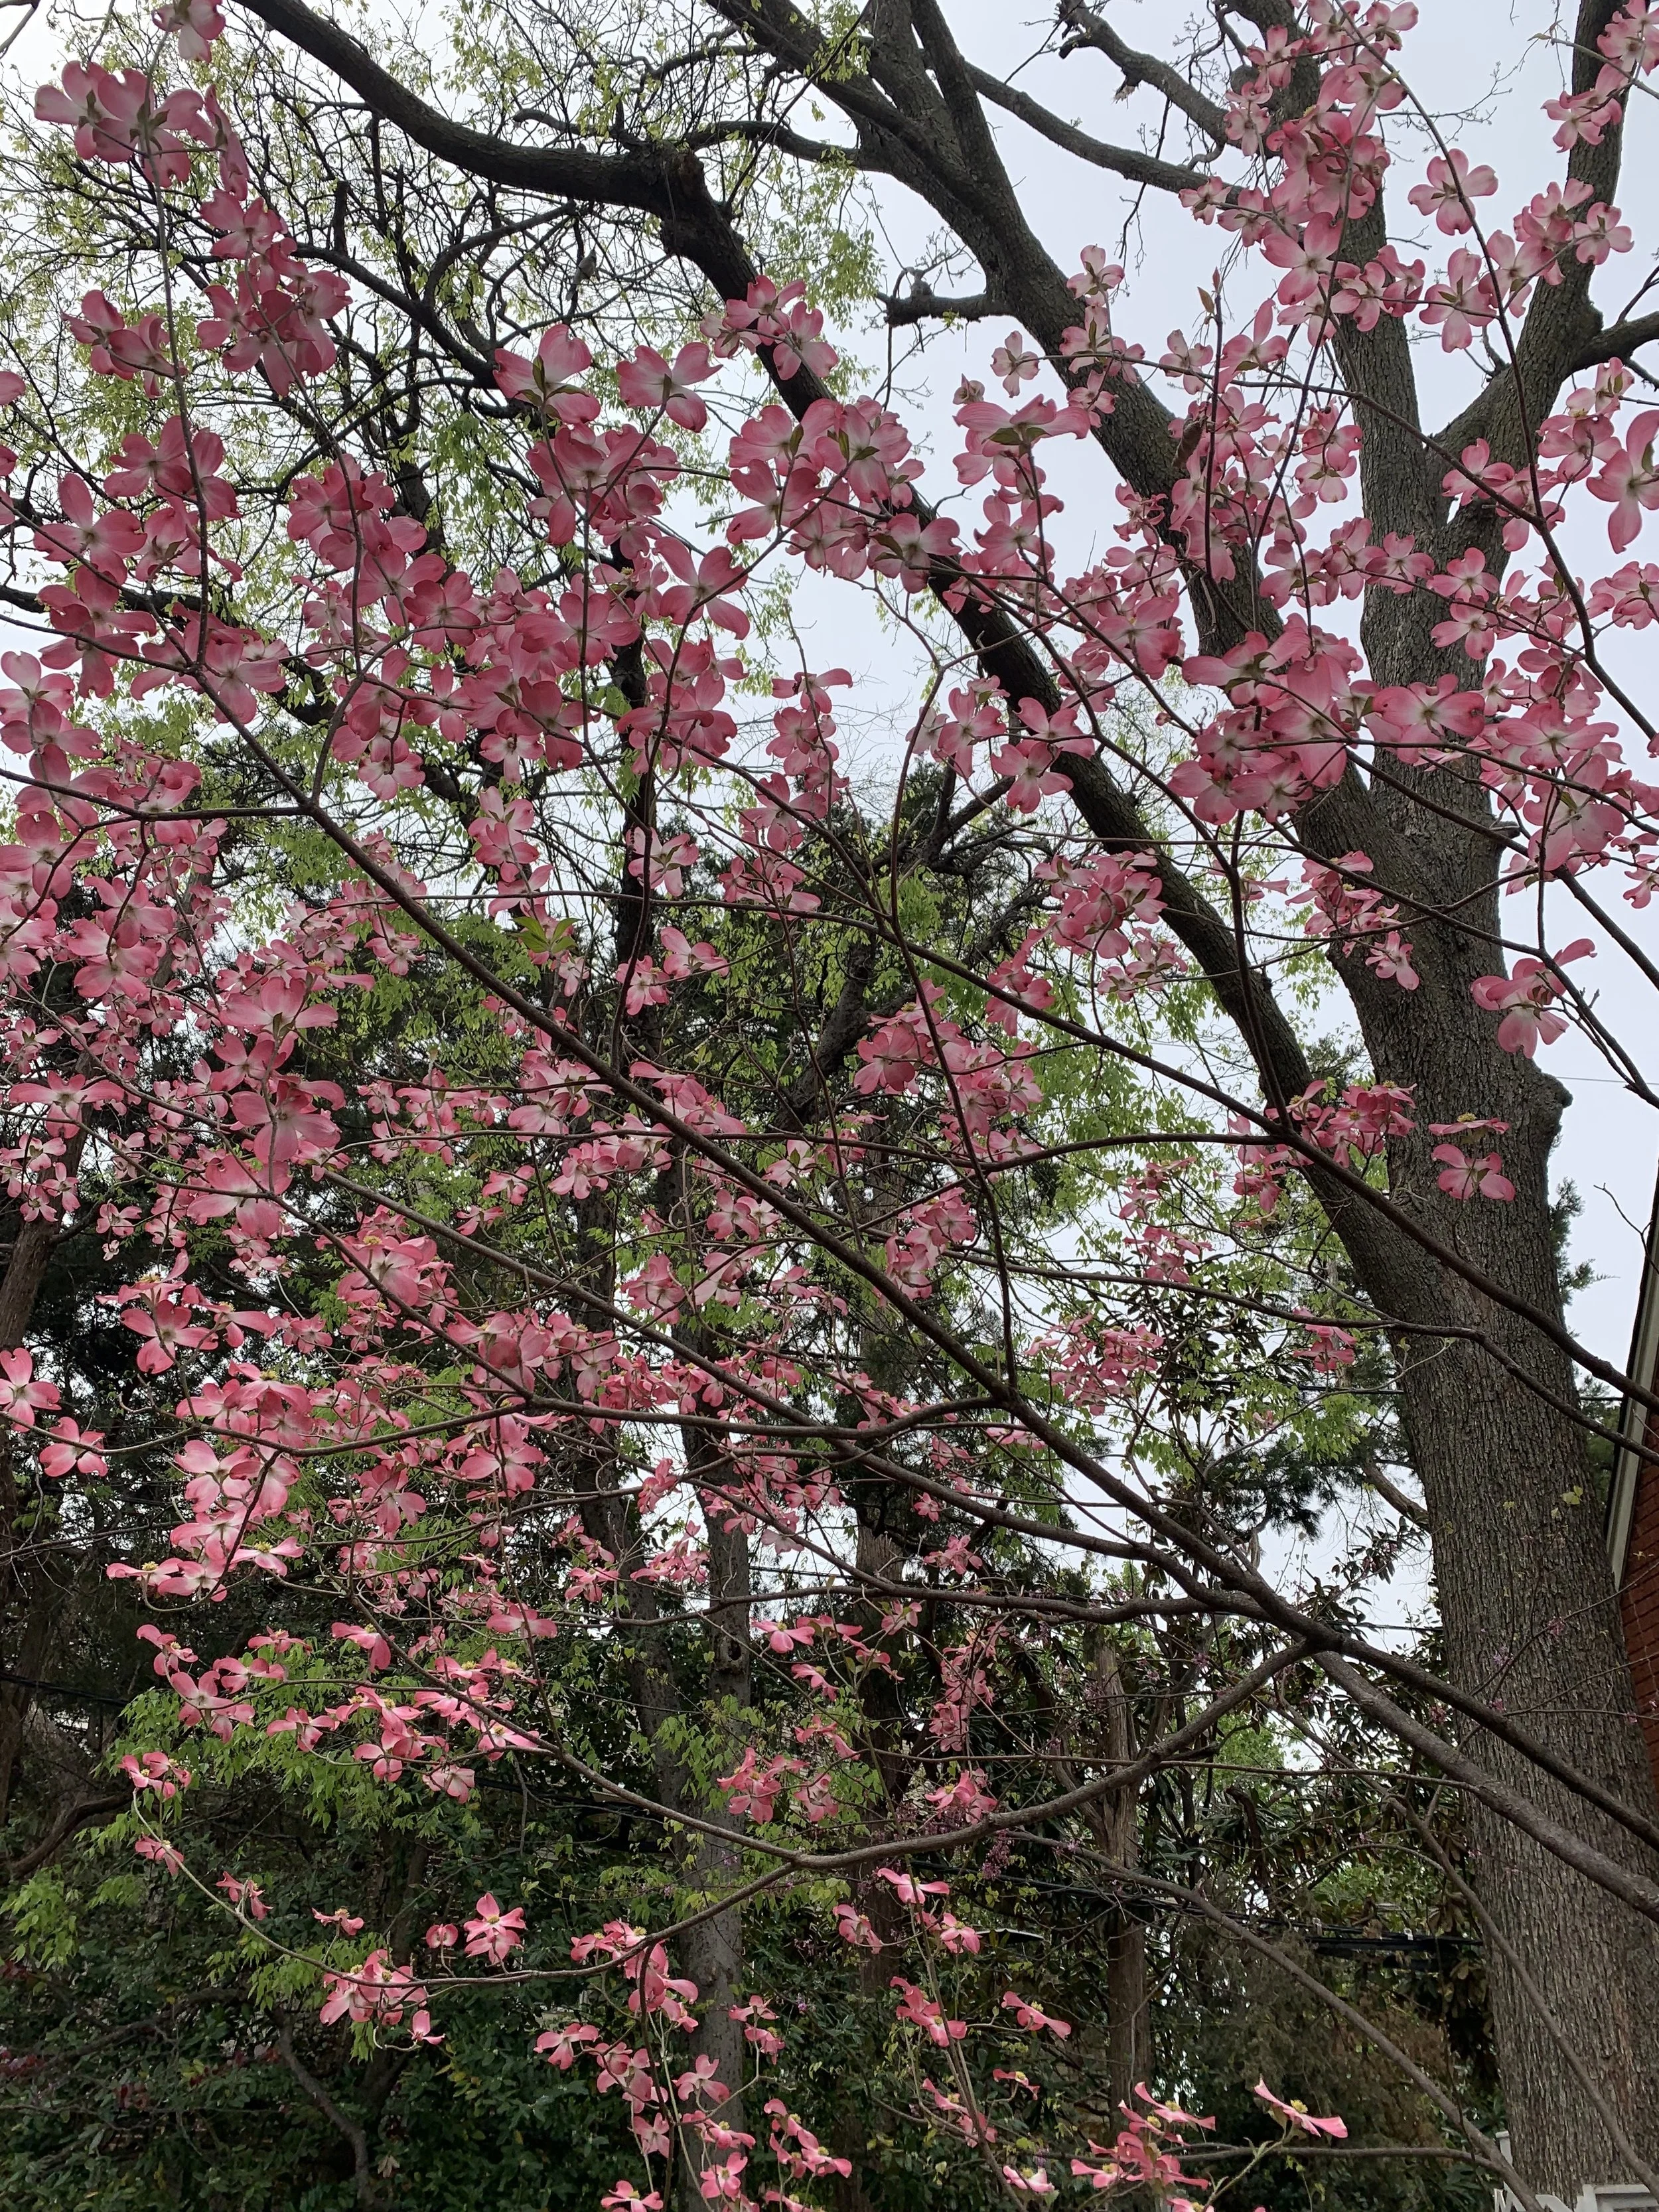
Dogwood
Dogwood – White or pink blooms in the late spring. Great for areas protected from the afternoon sun or as an understory accent tree. 15’-20’ tall and wide.
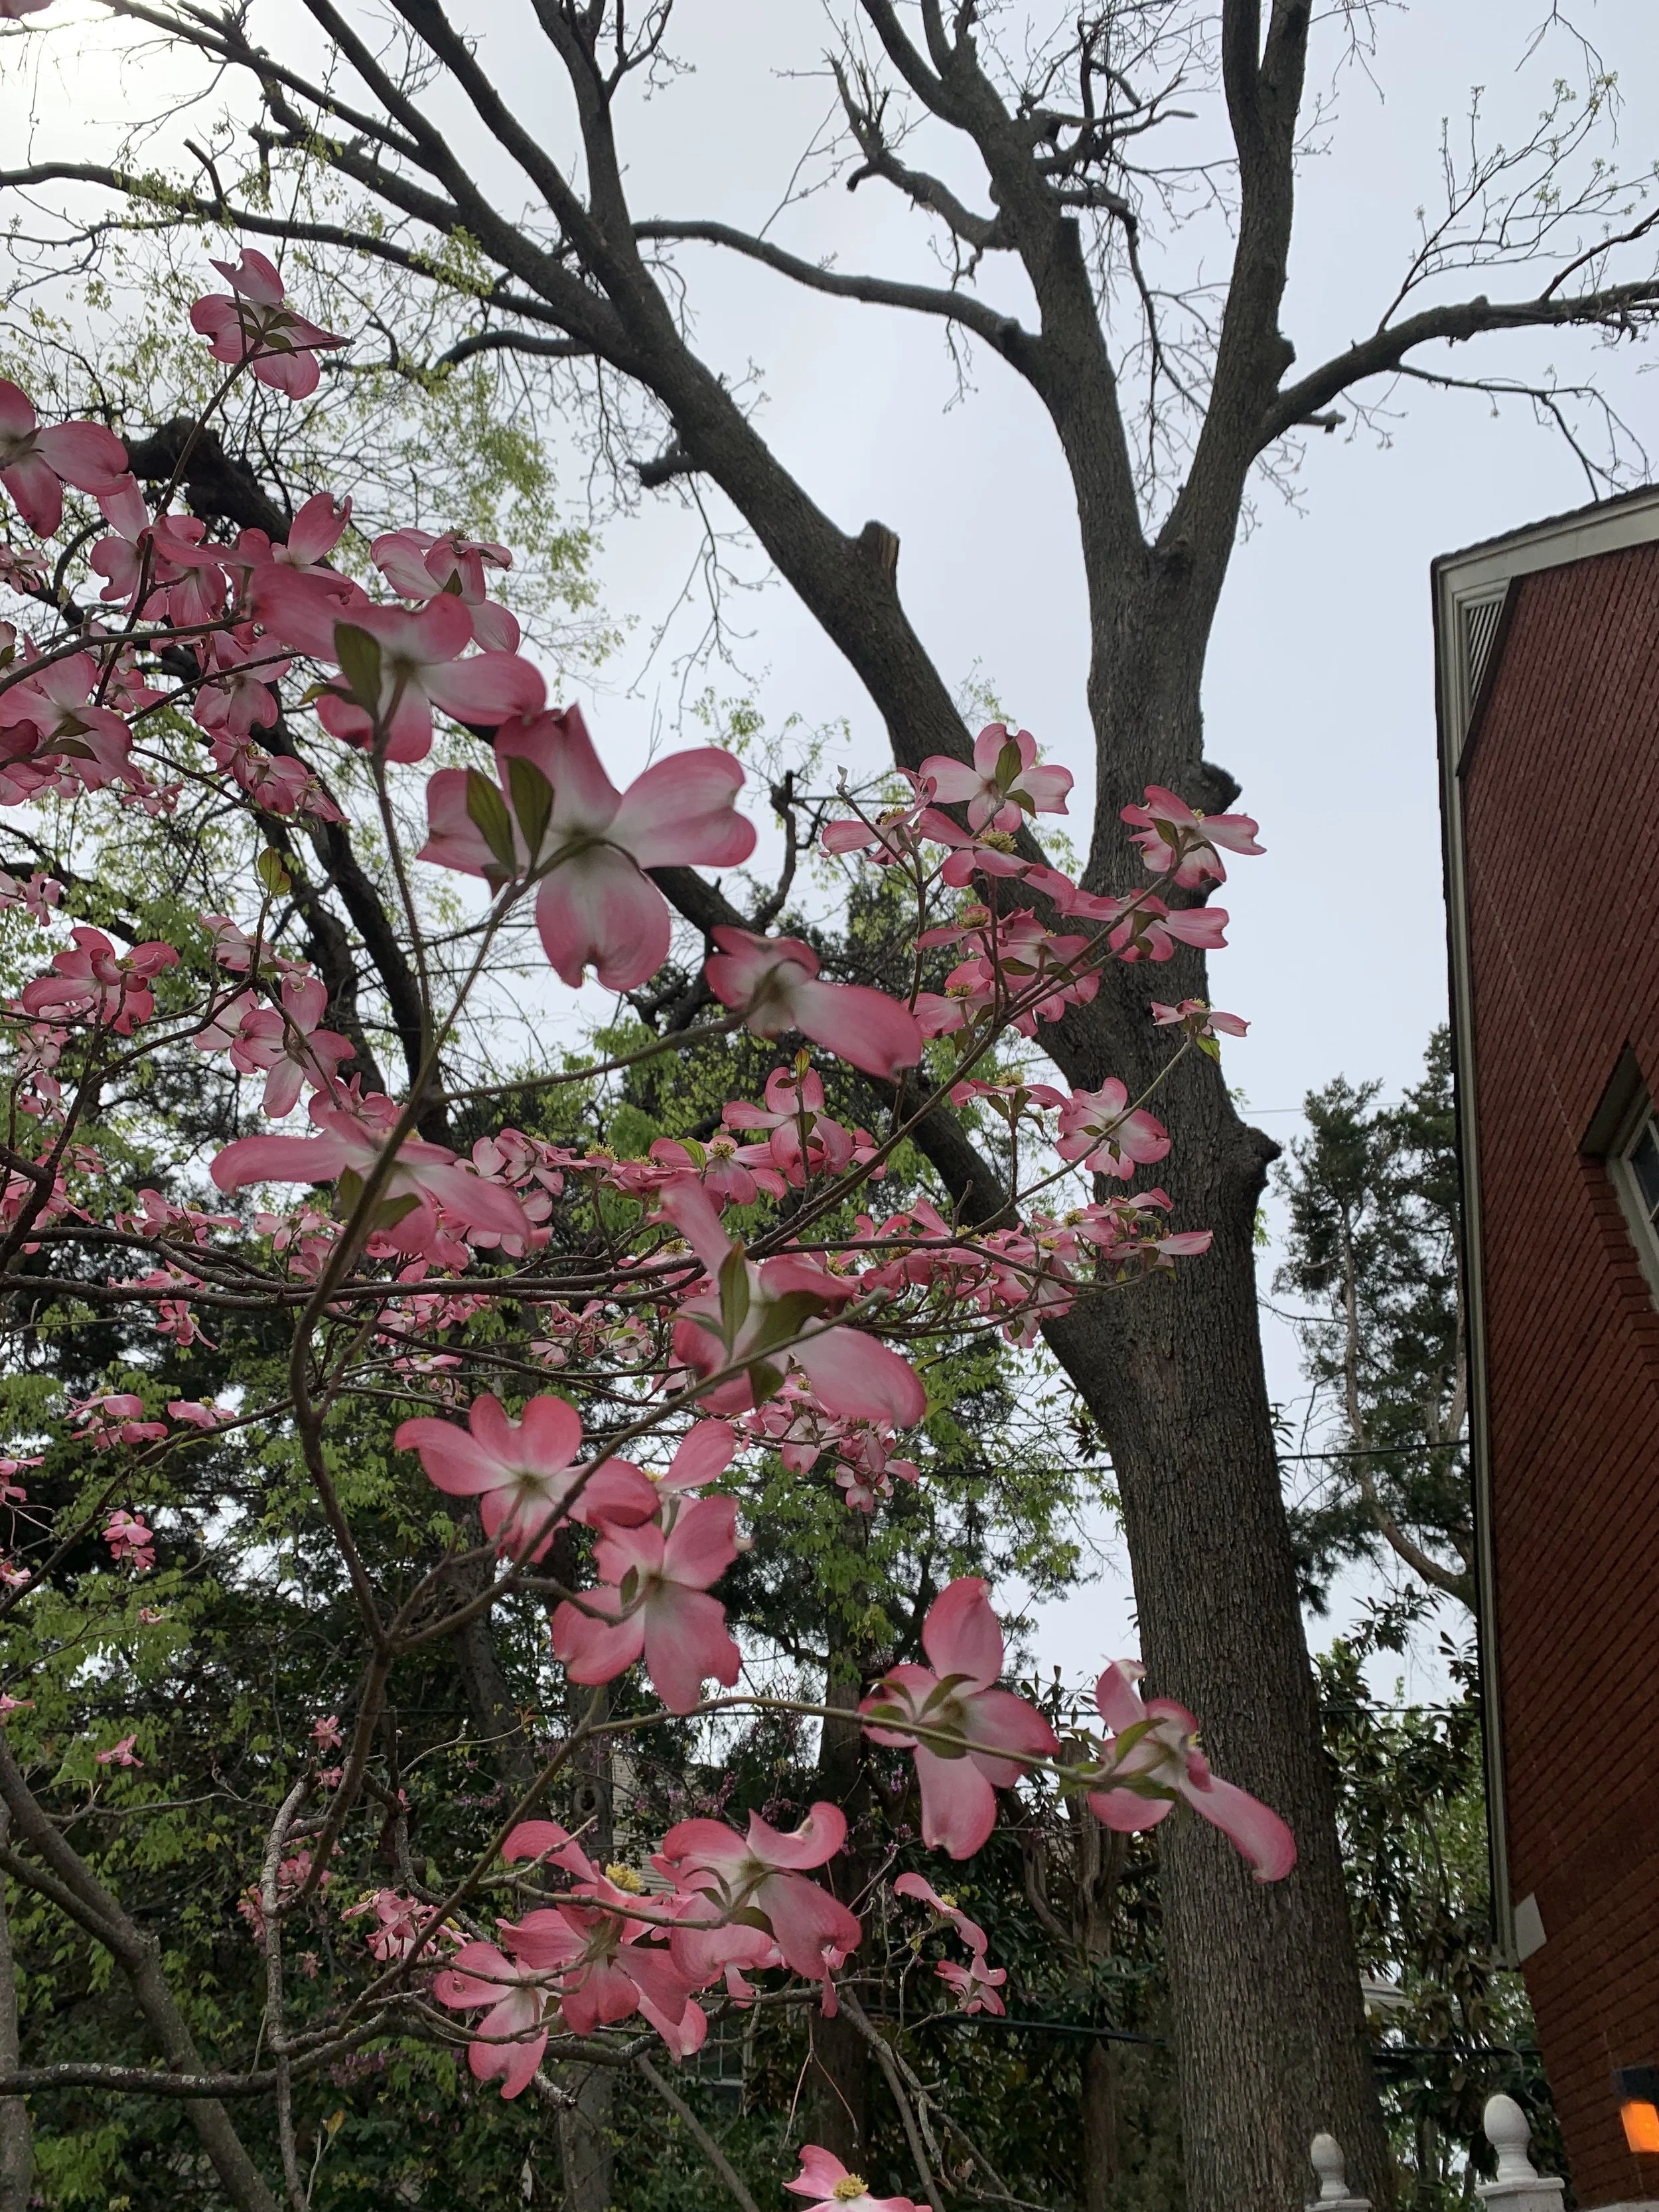
Dogwood
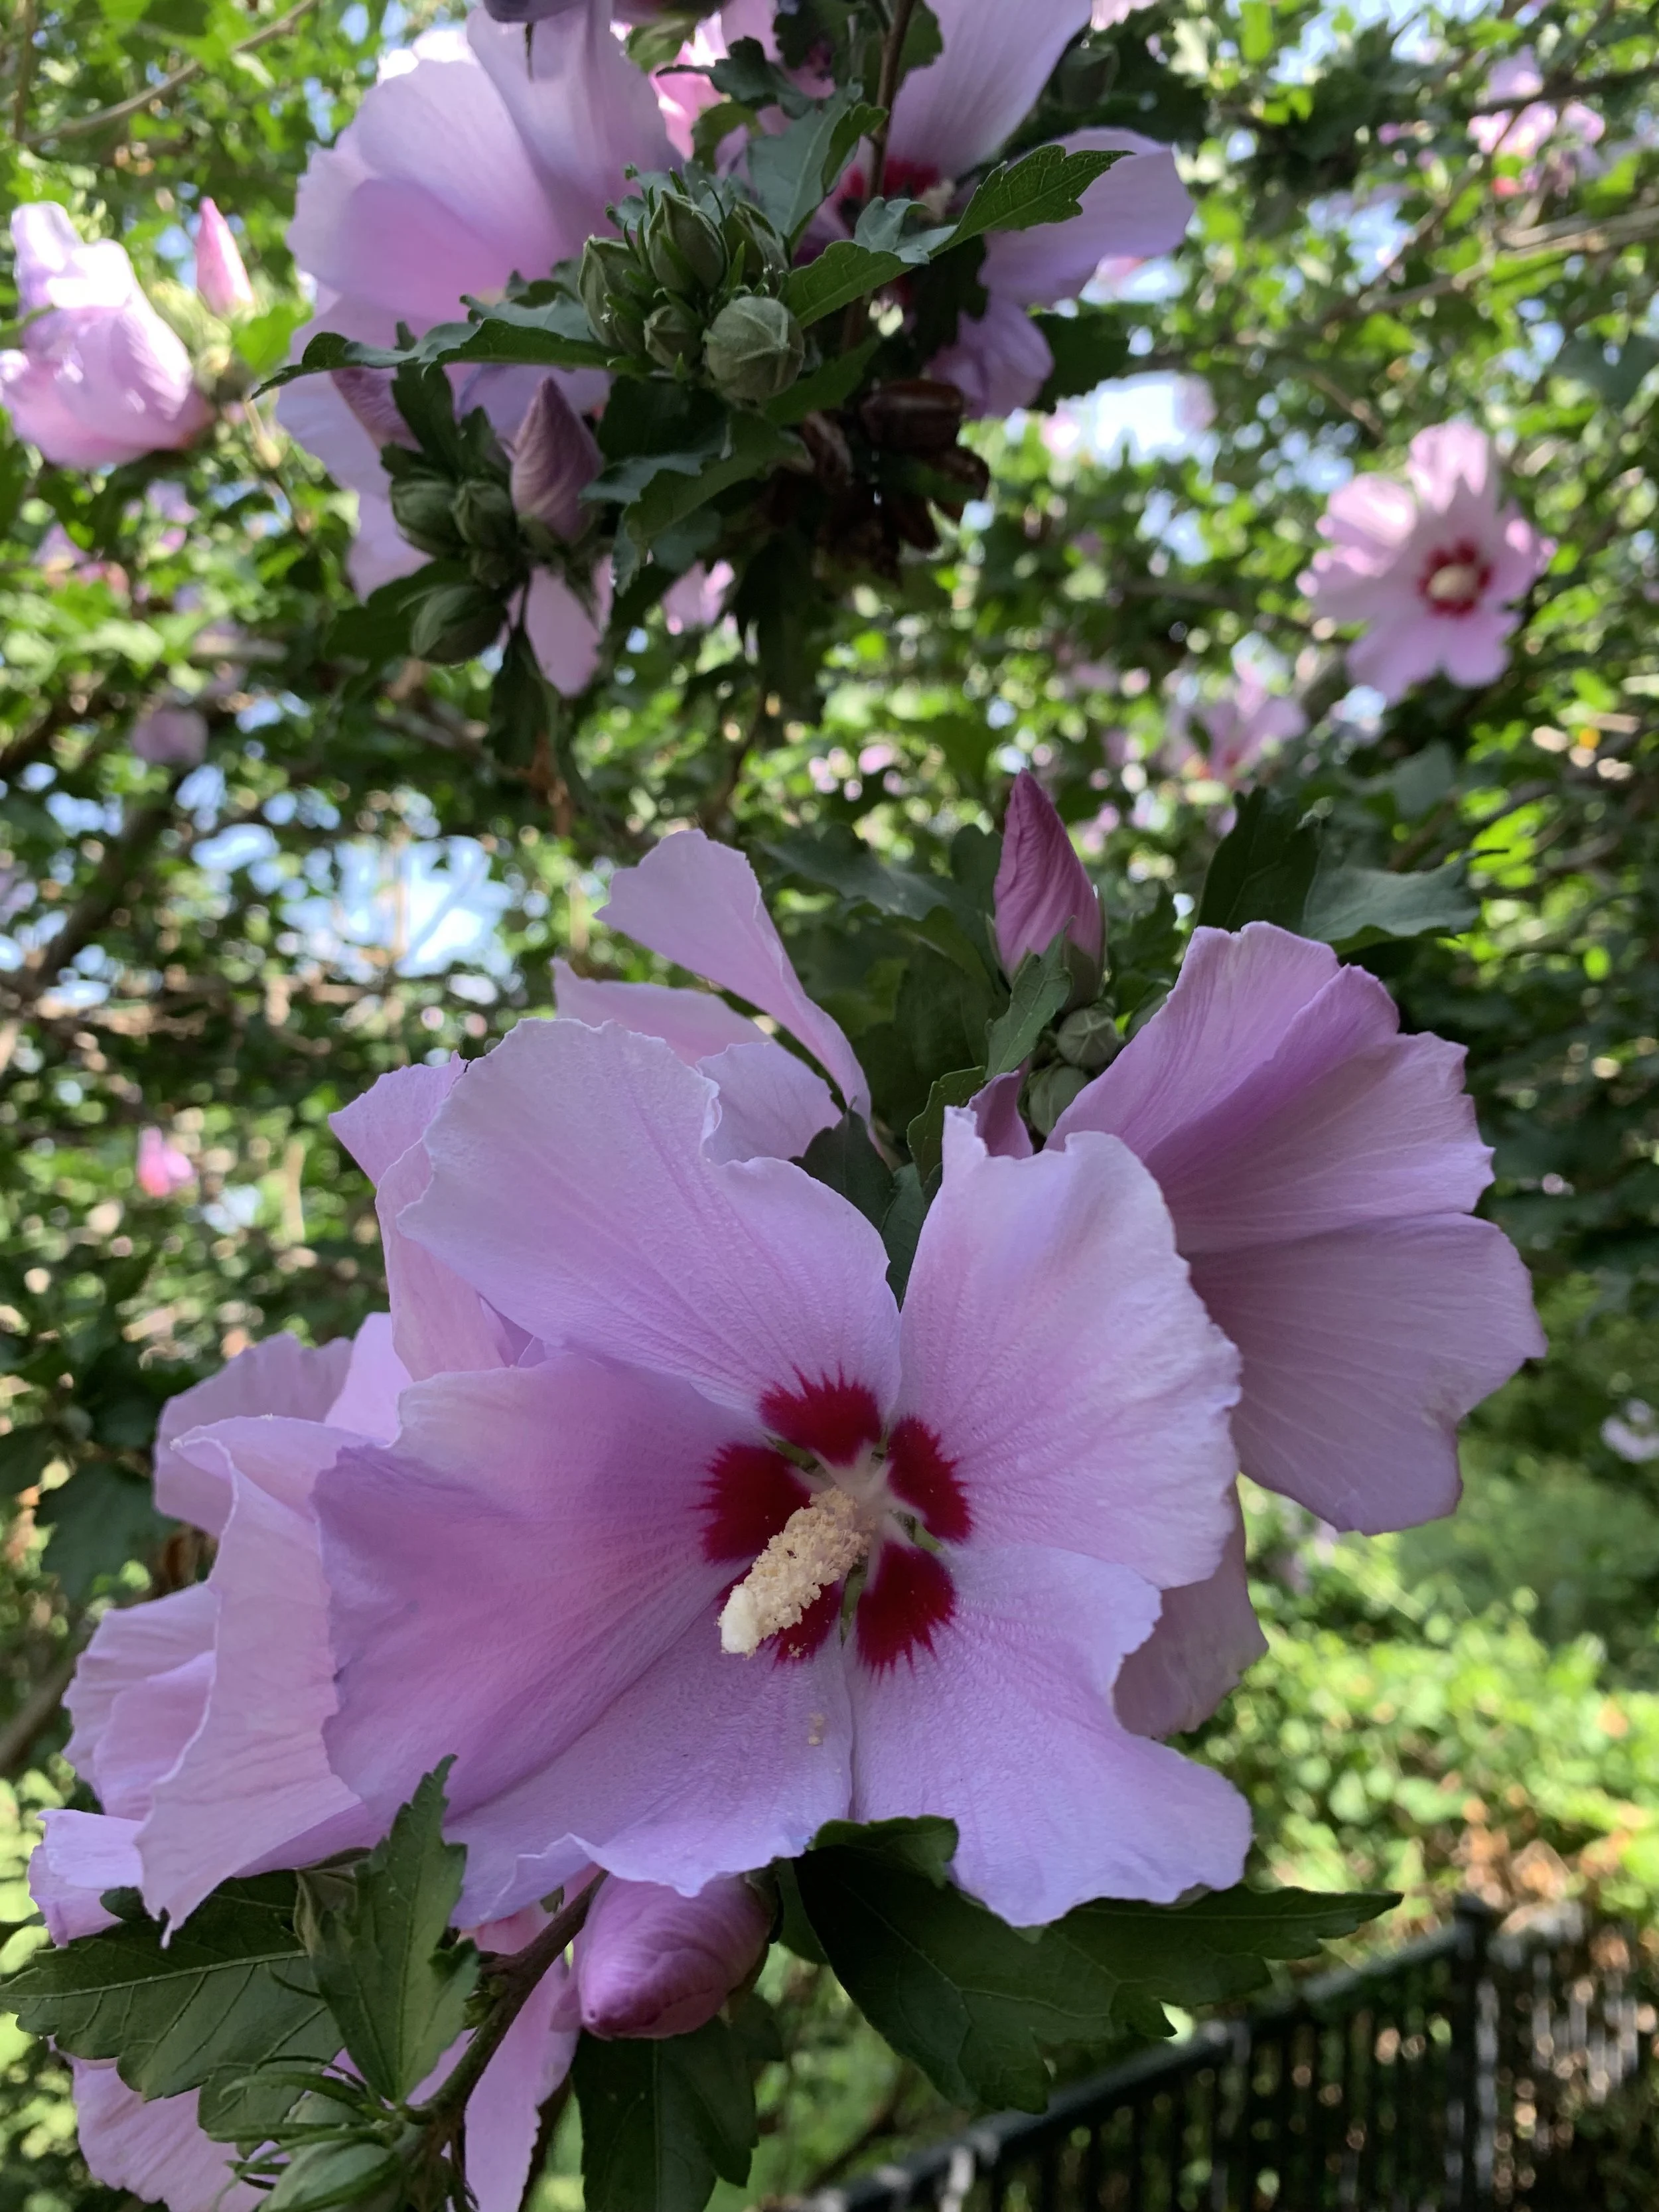
Rose of Sharon
Rose of Sharon – A graceful vase-shaped small tree that adds a tropical look to the landscape. A mid-summer to fall bloomer available in shades of white, red, pink, lavender, and blue. 15’ tall and 10’ wide.
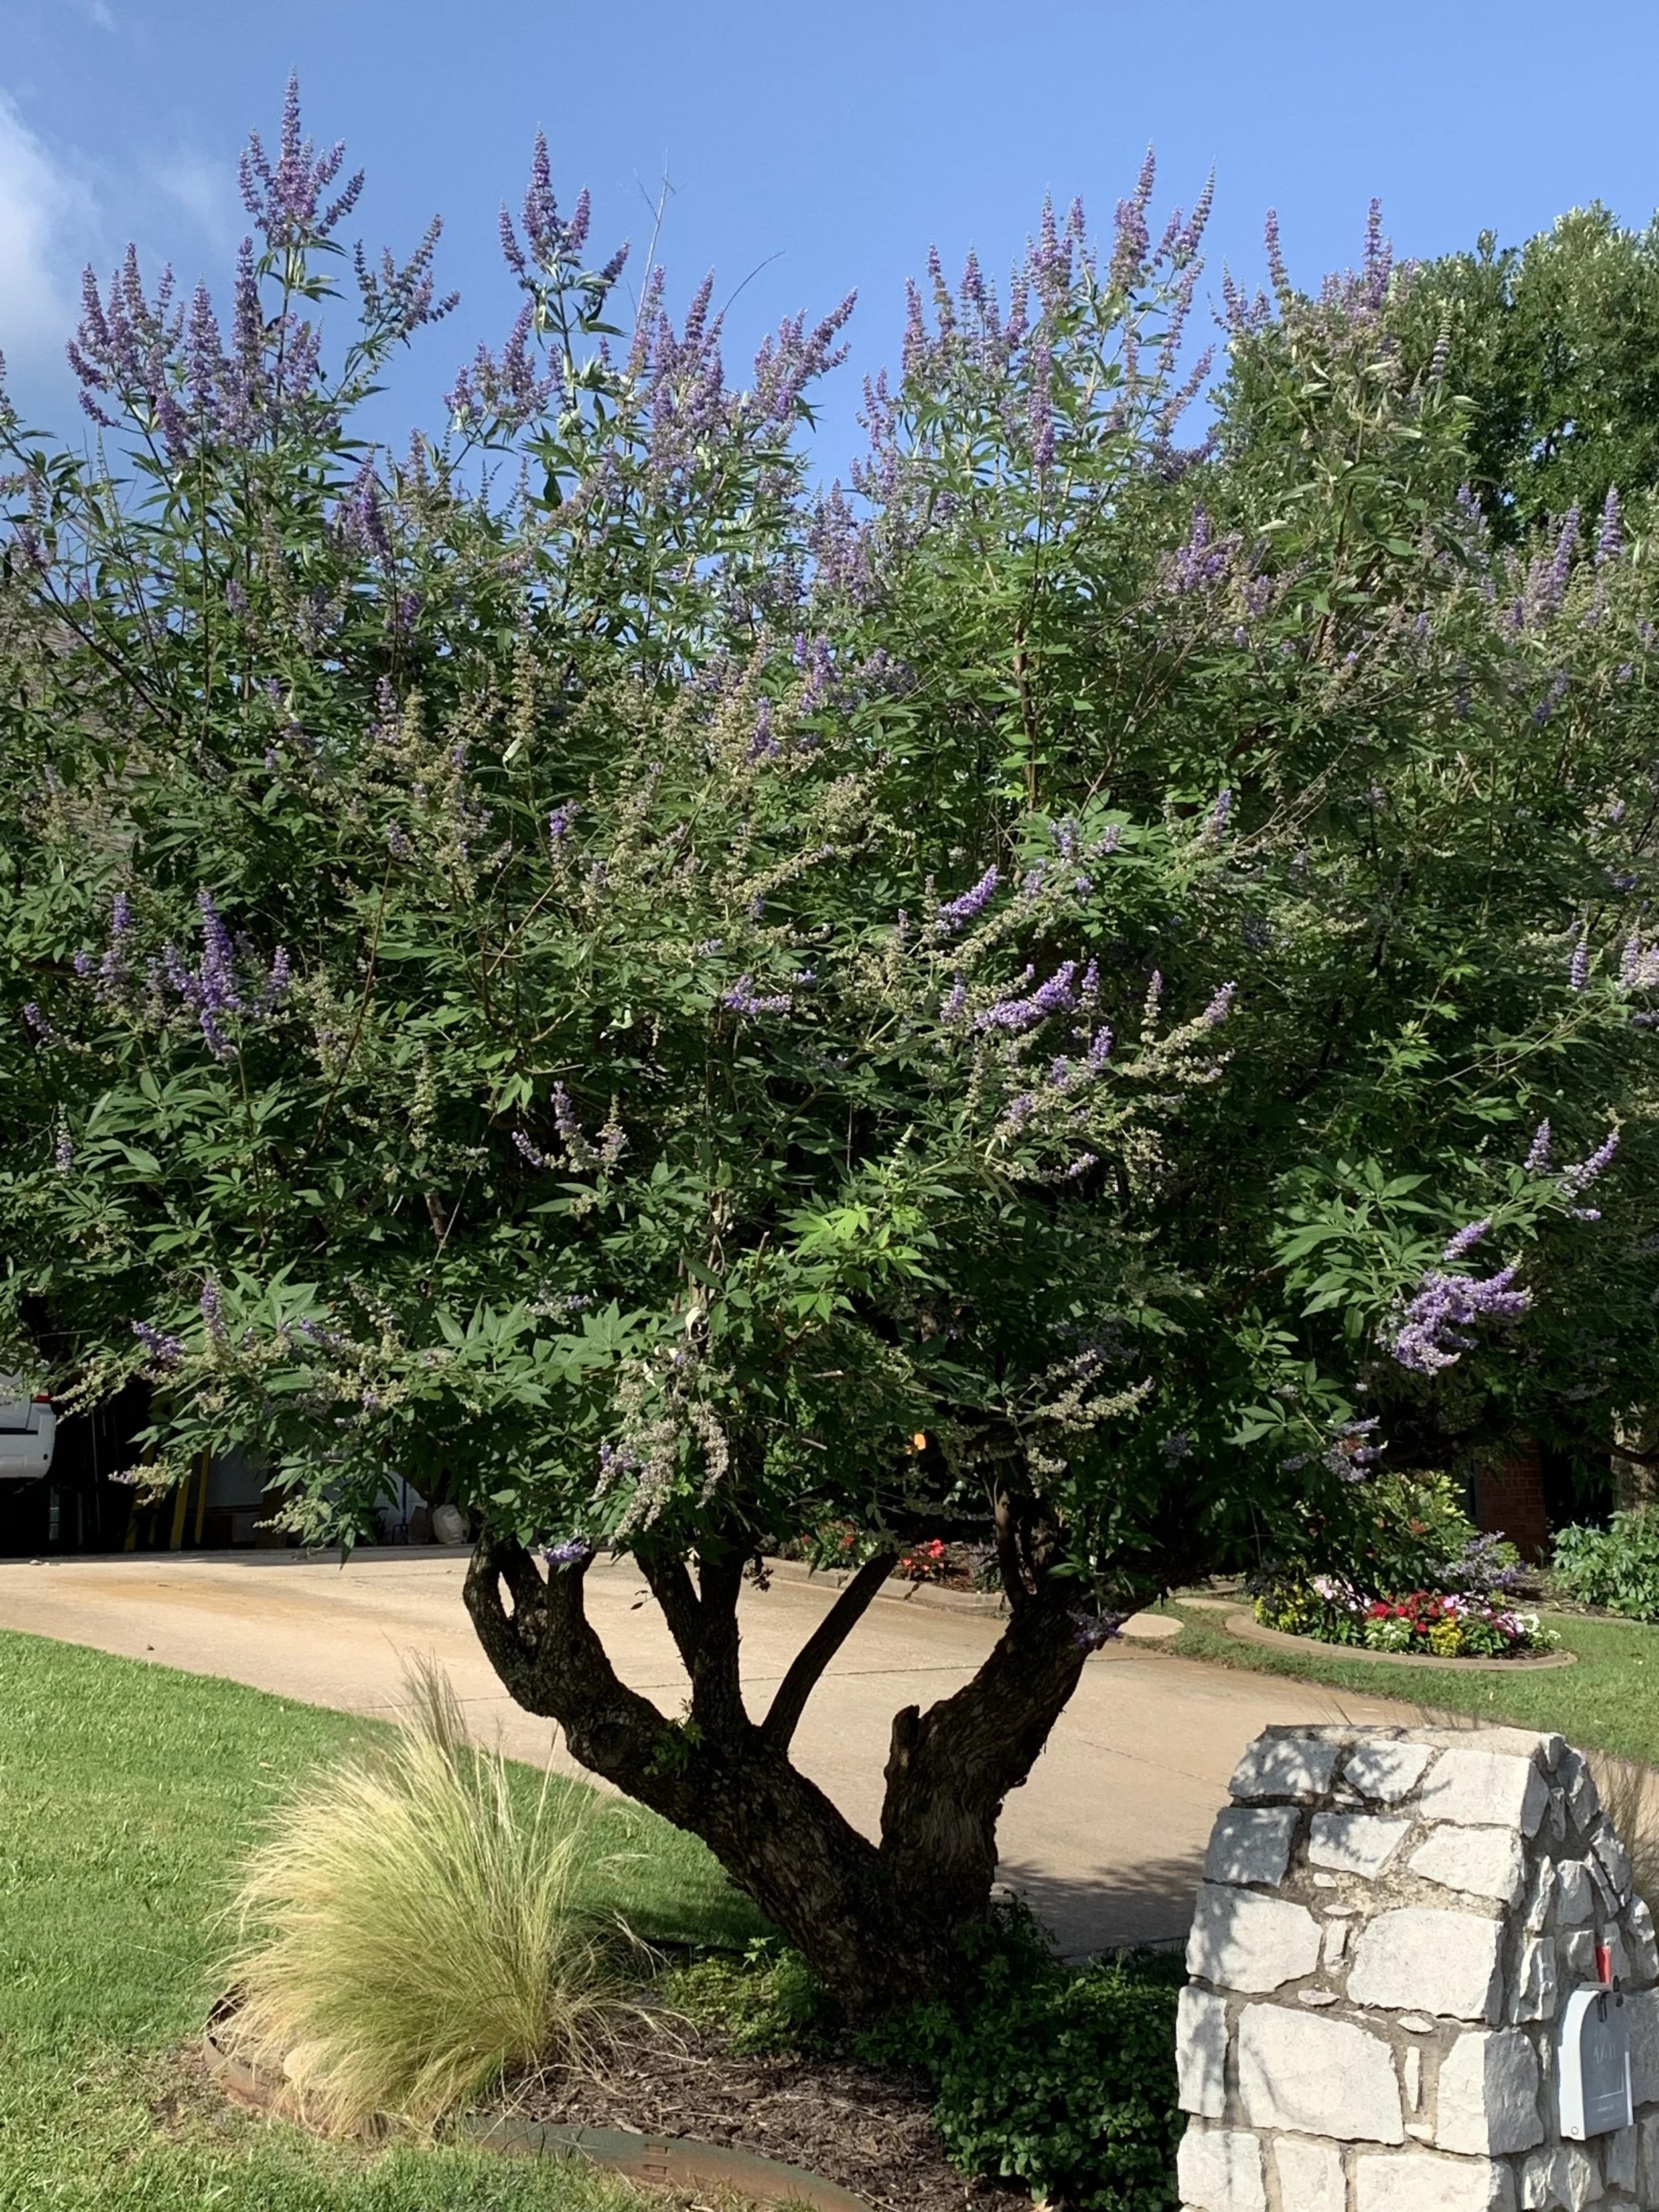
Chaste Tree
Chaste Tree – Also known as Vitex, has summer lilac-colored blooms with grayish-green foliage on a broad, spreading multi-trunk frame. 15-20’ tall and wide.
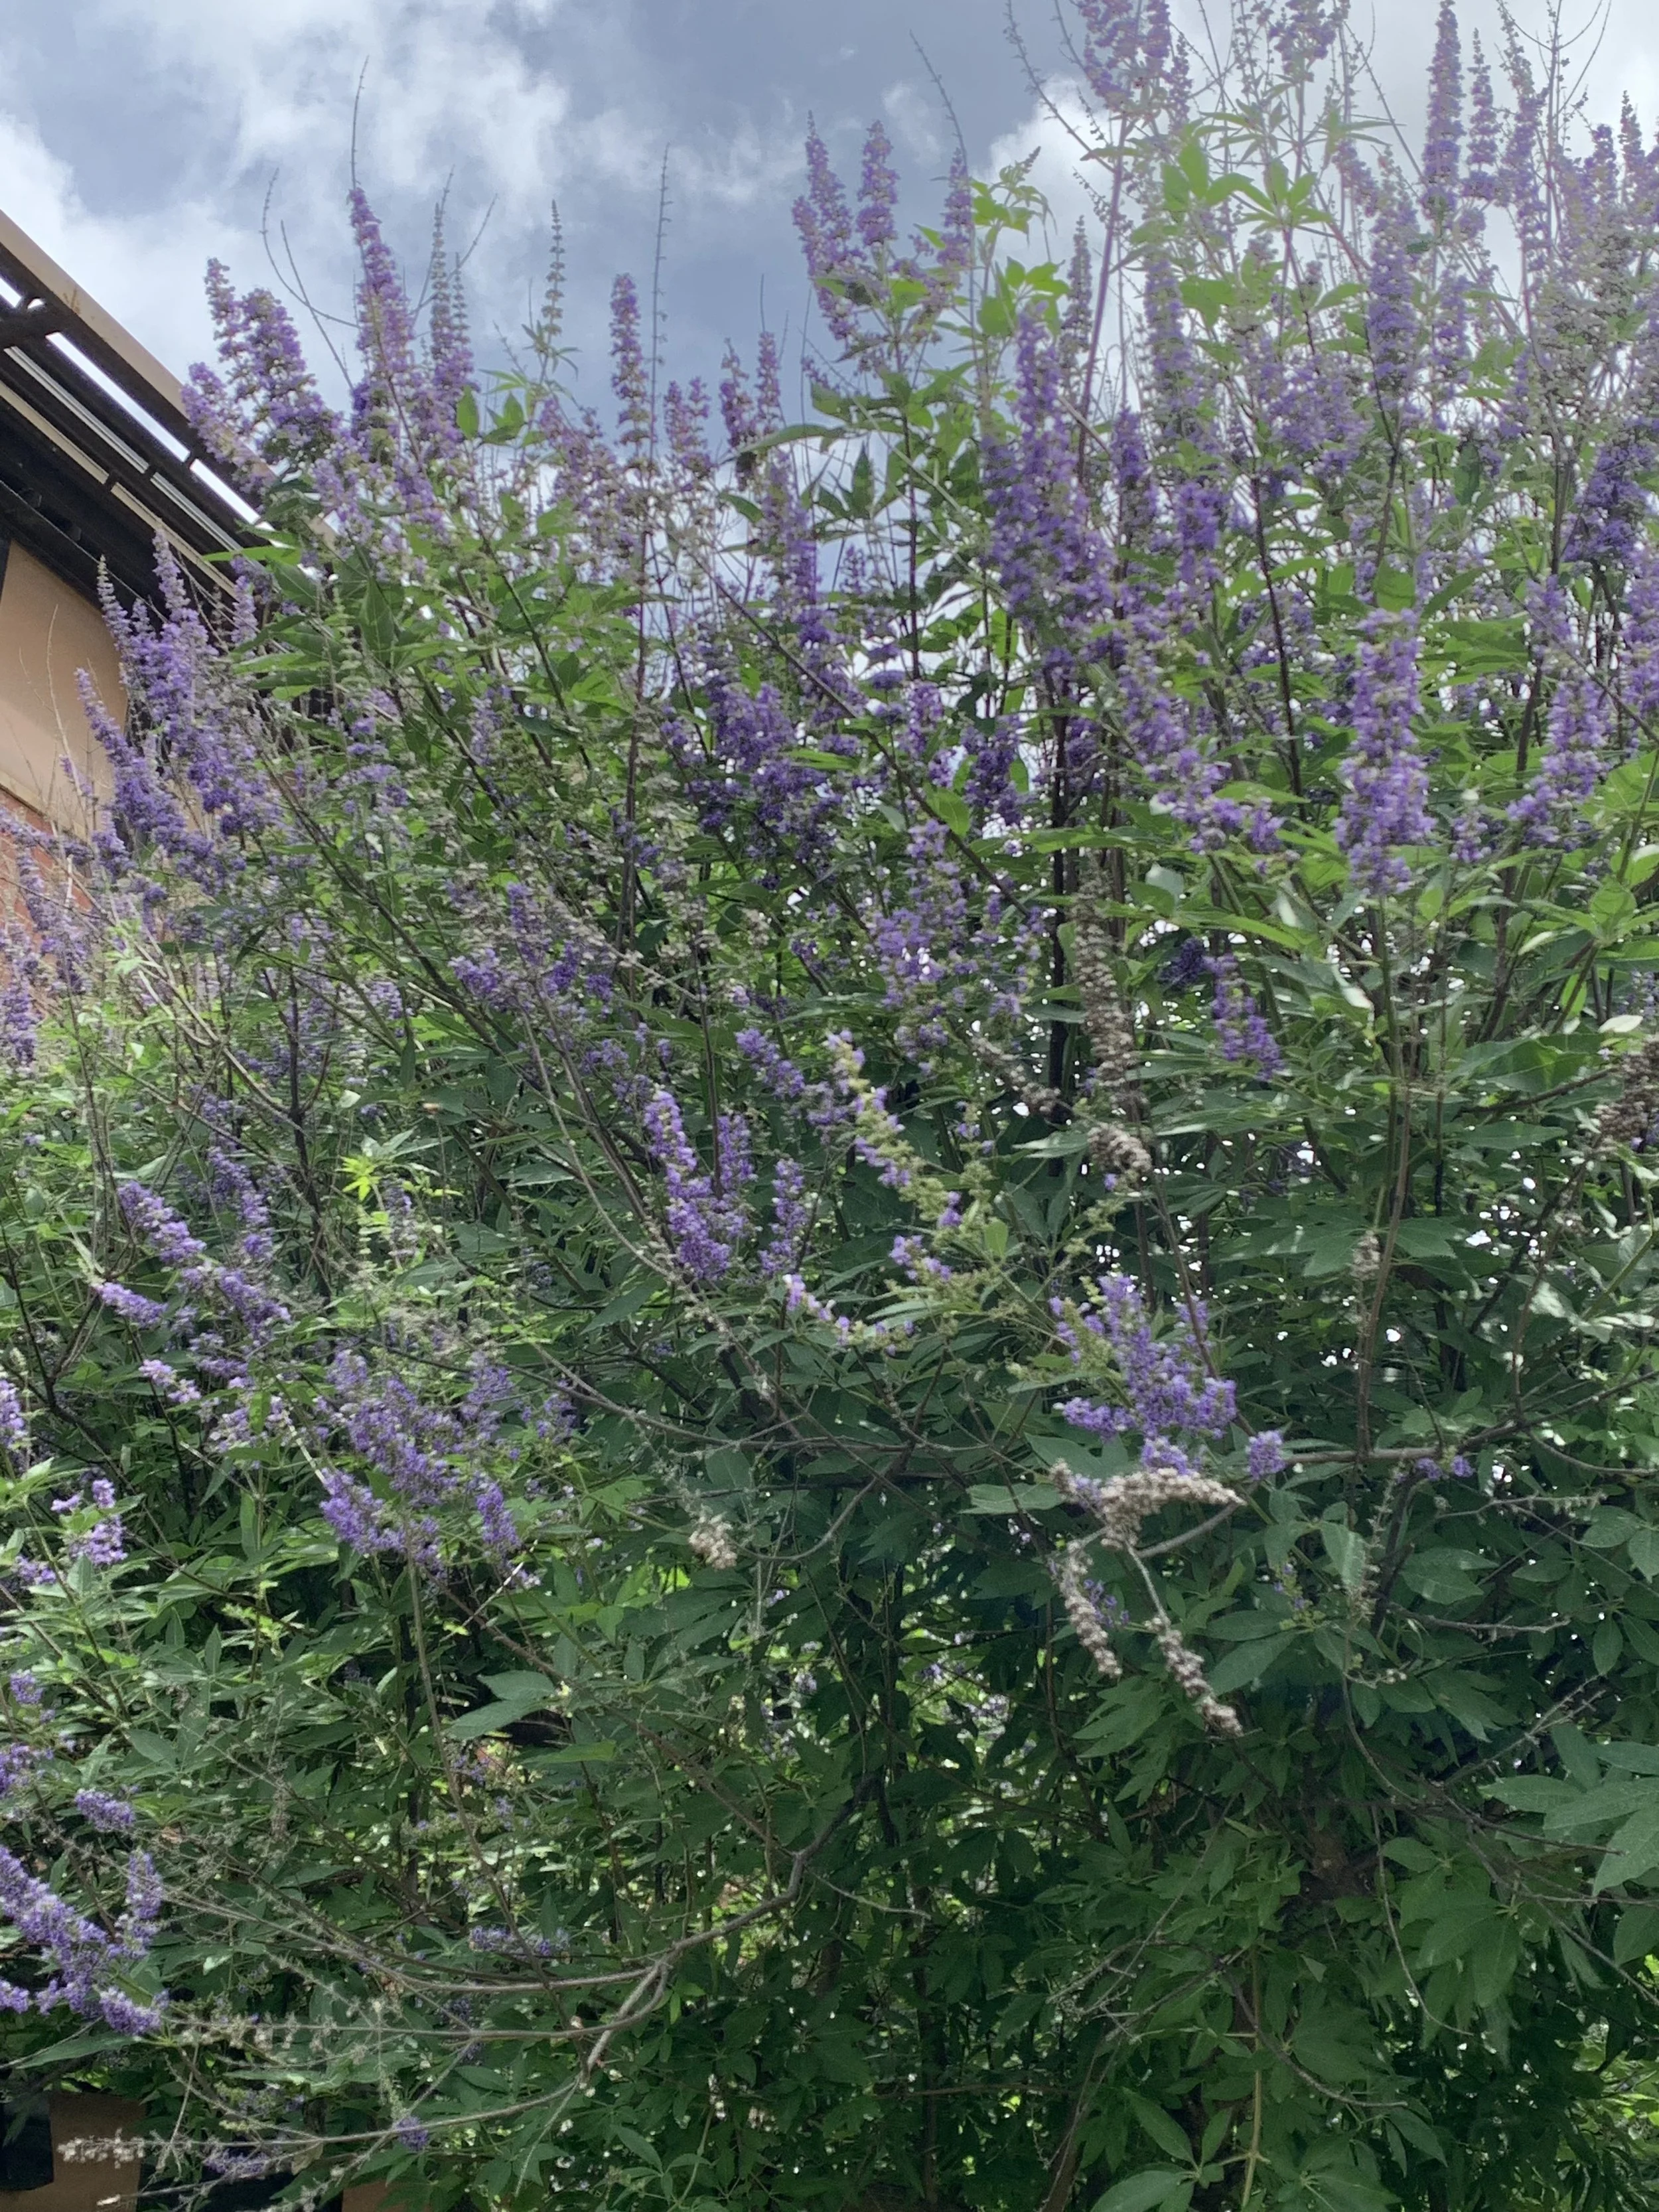
Chaste Tree
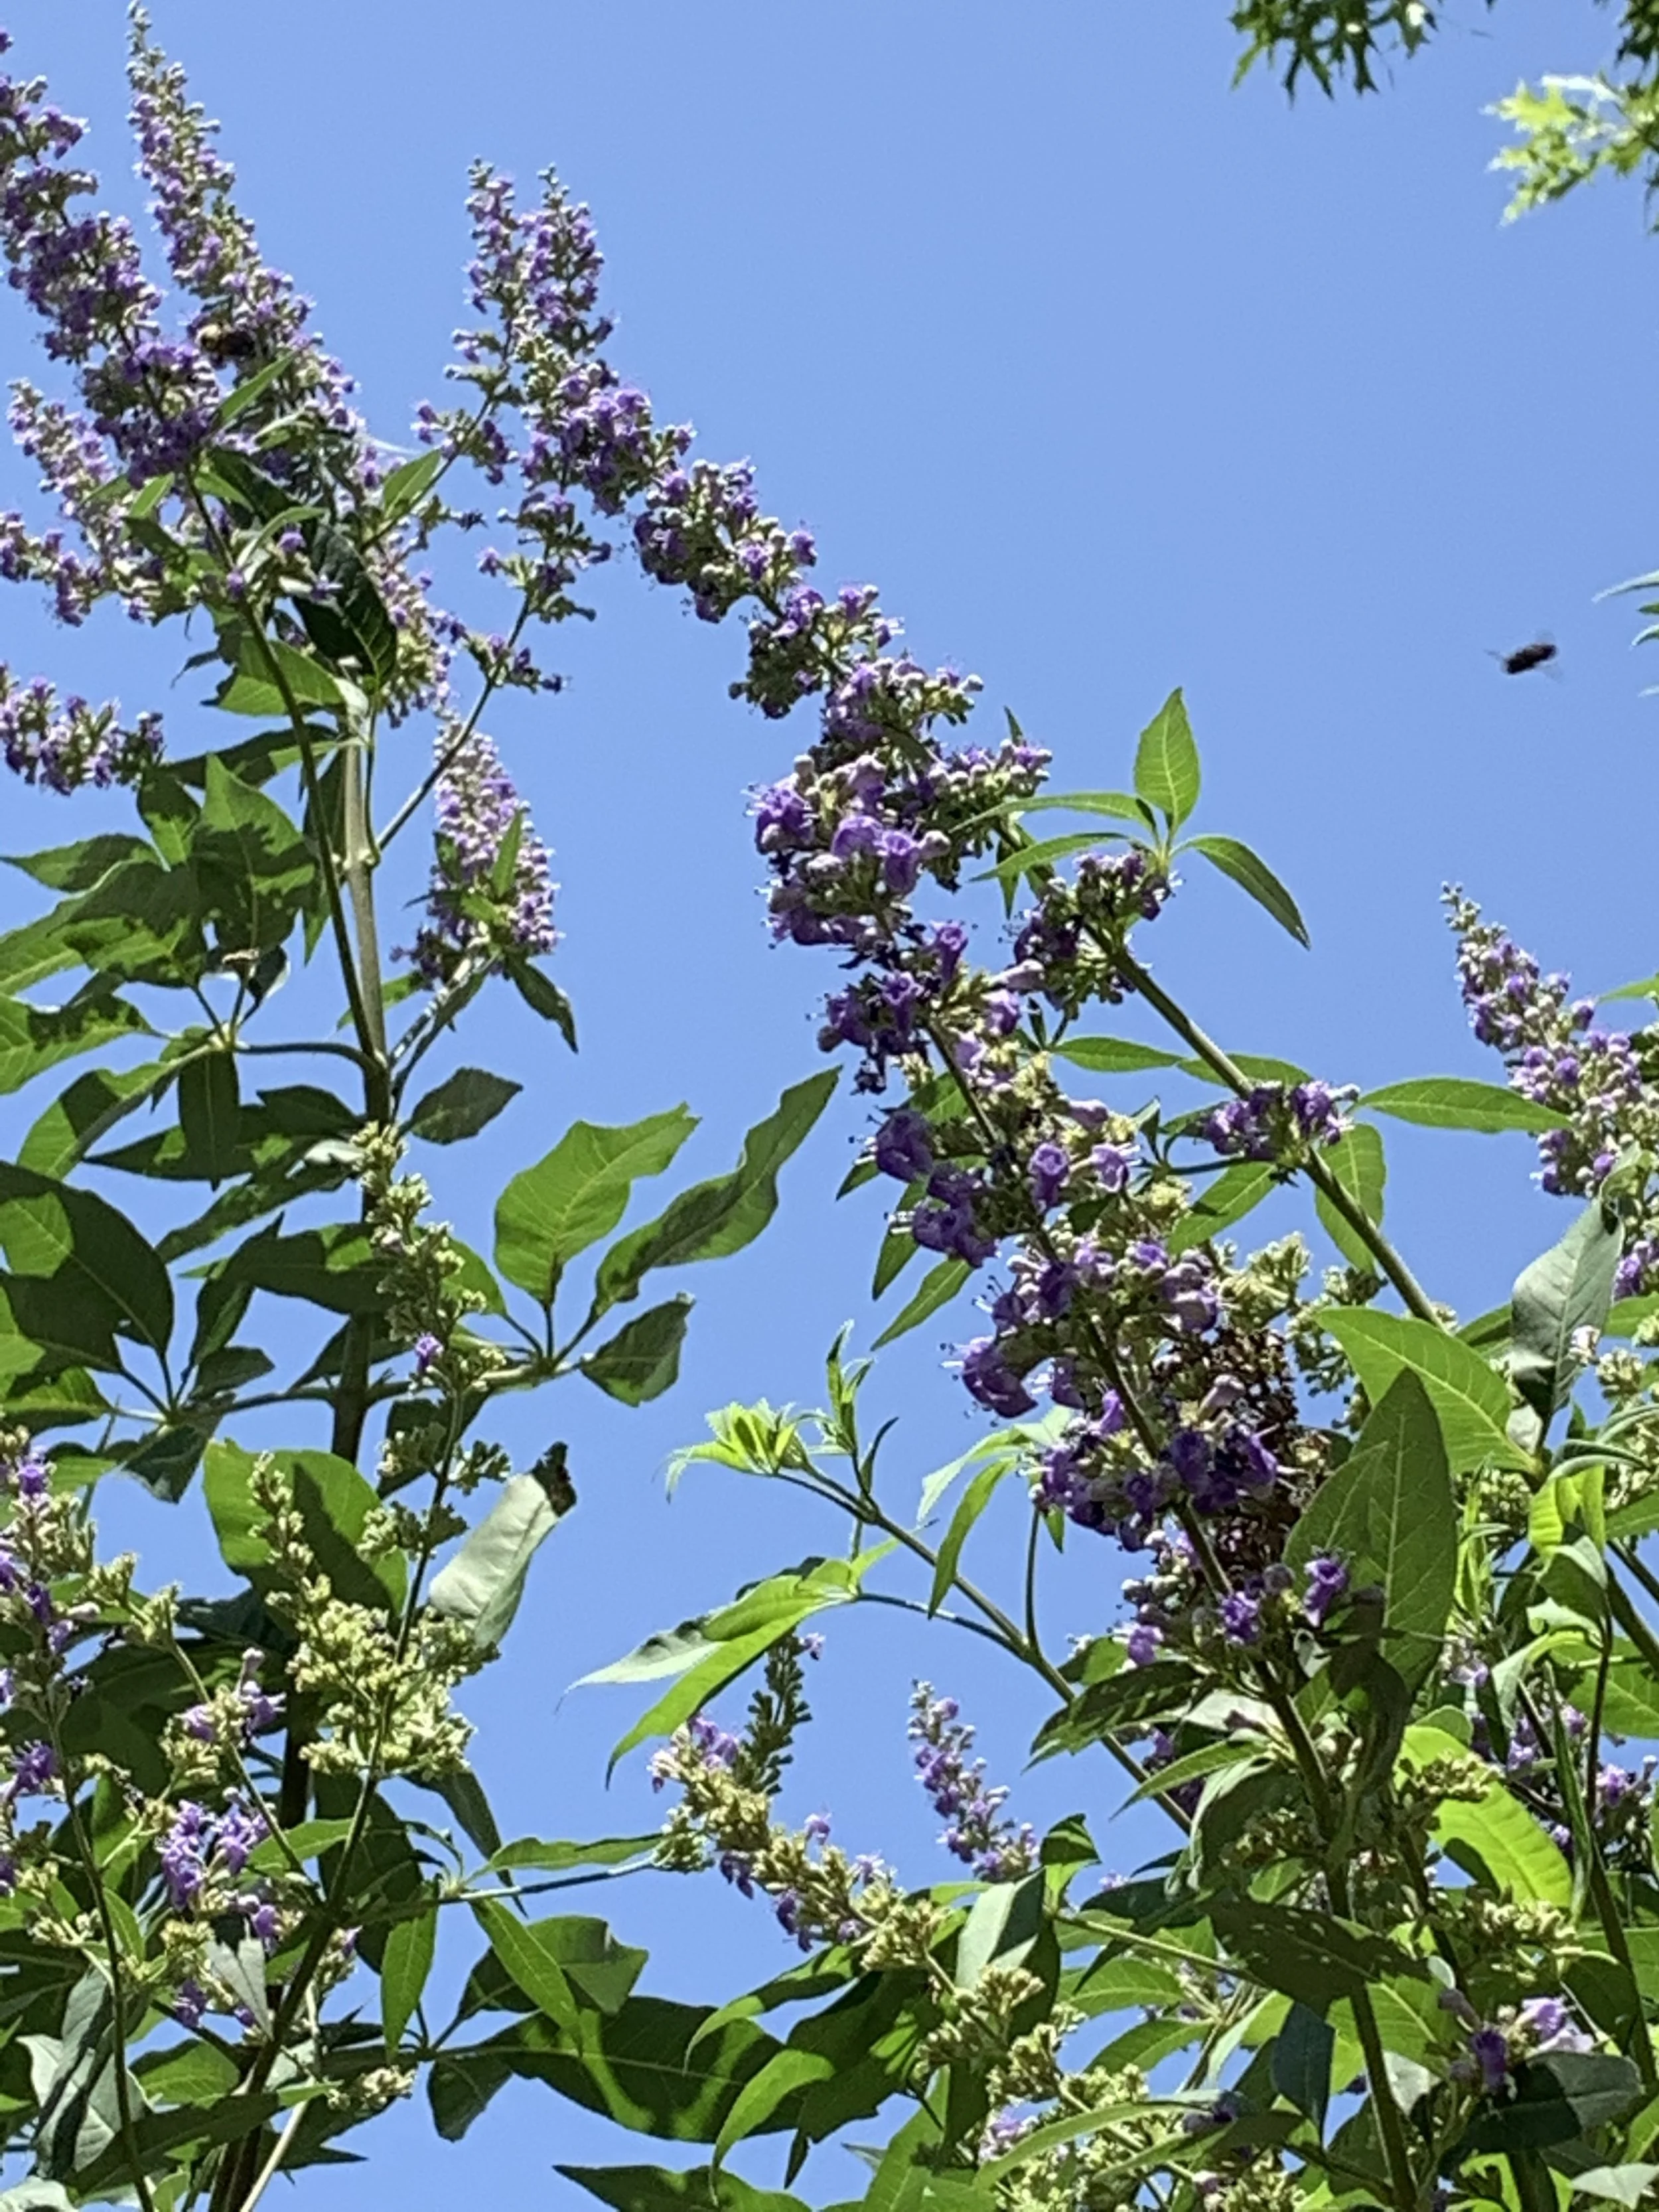
Chaste Tree
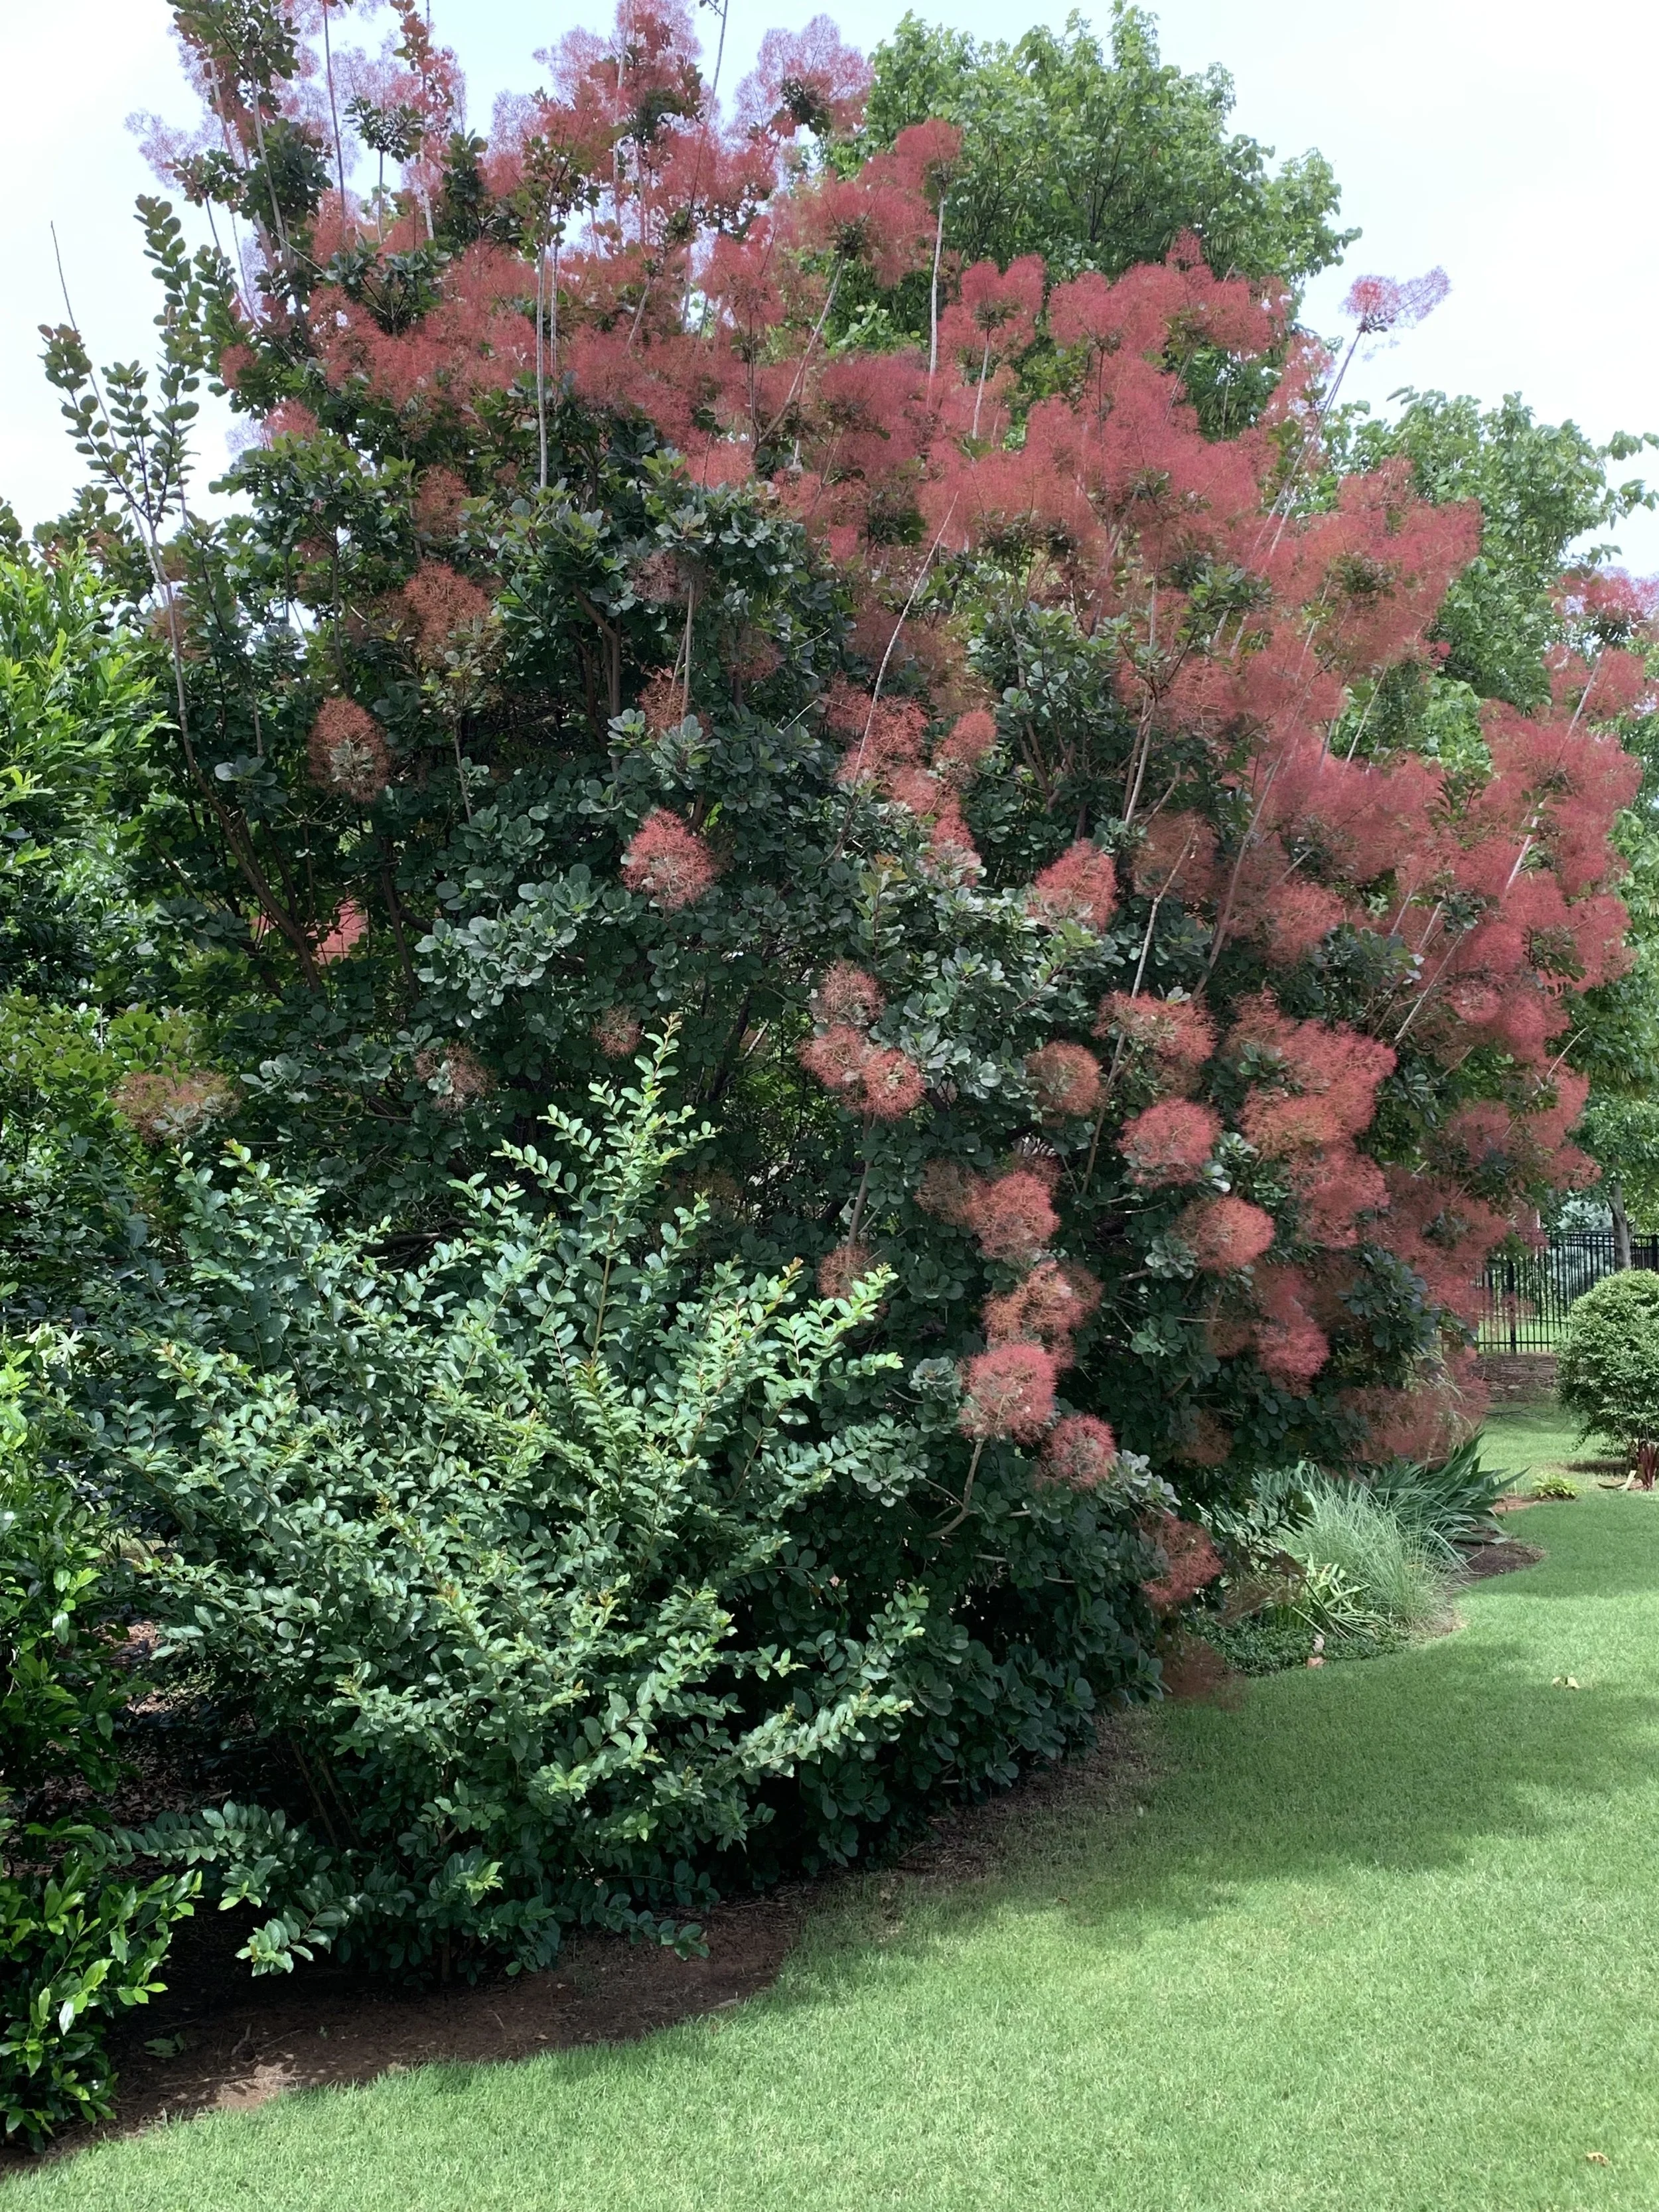
Smoke Tree
Smoke Tree - Varieties of purple or yellow foliage with airy smoke-like plumes in the summer. 15’ tall and 10’ wide.
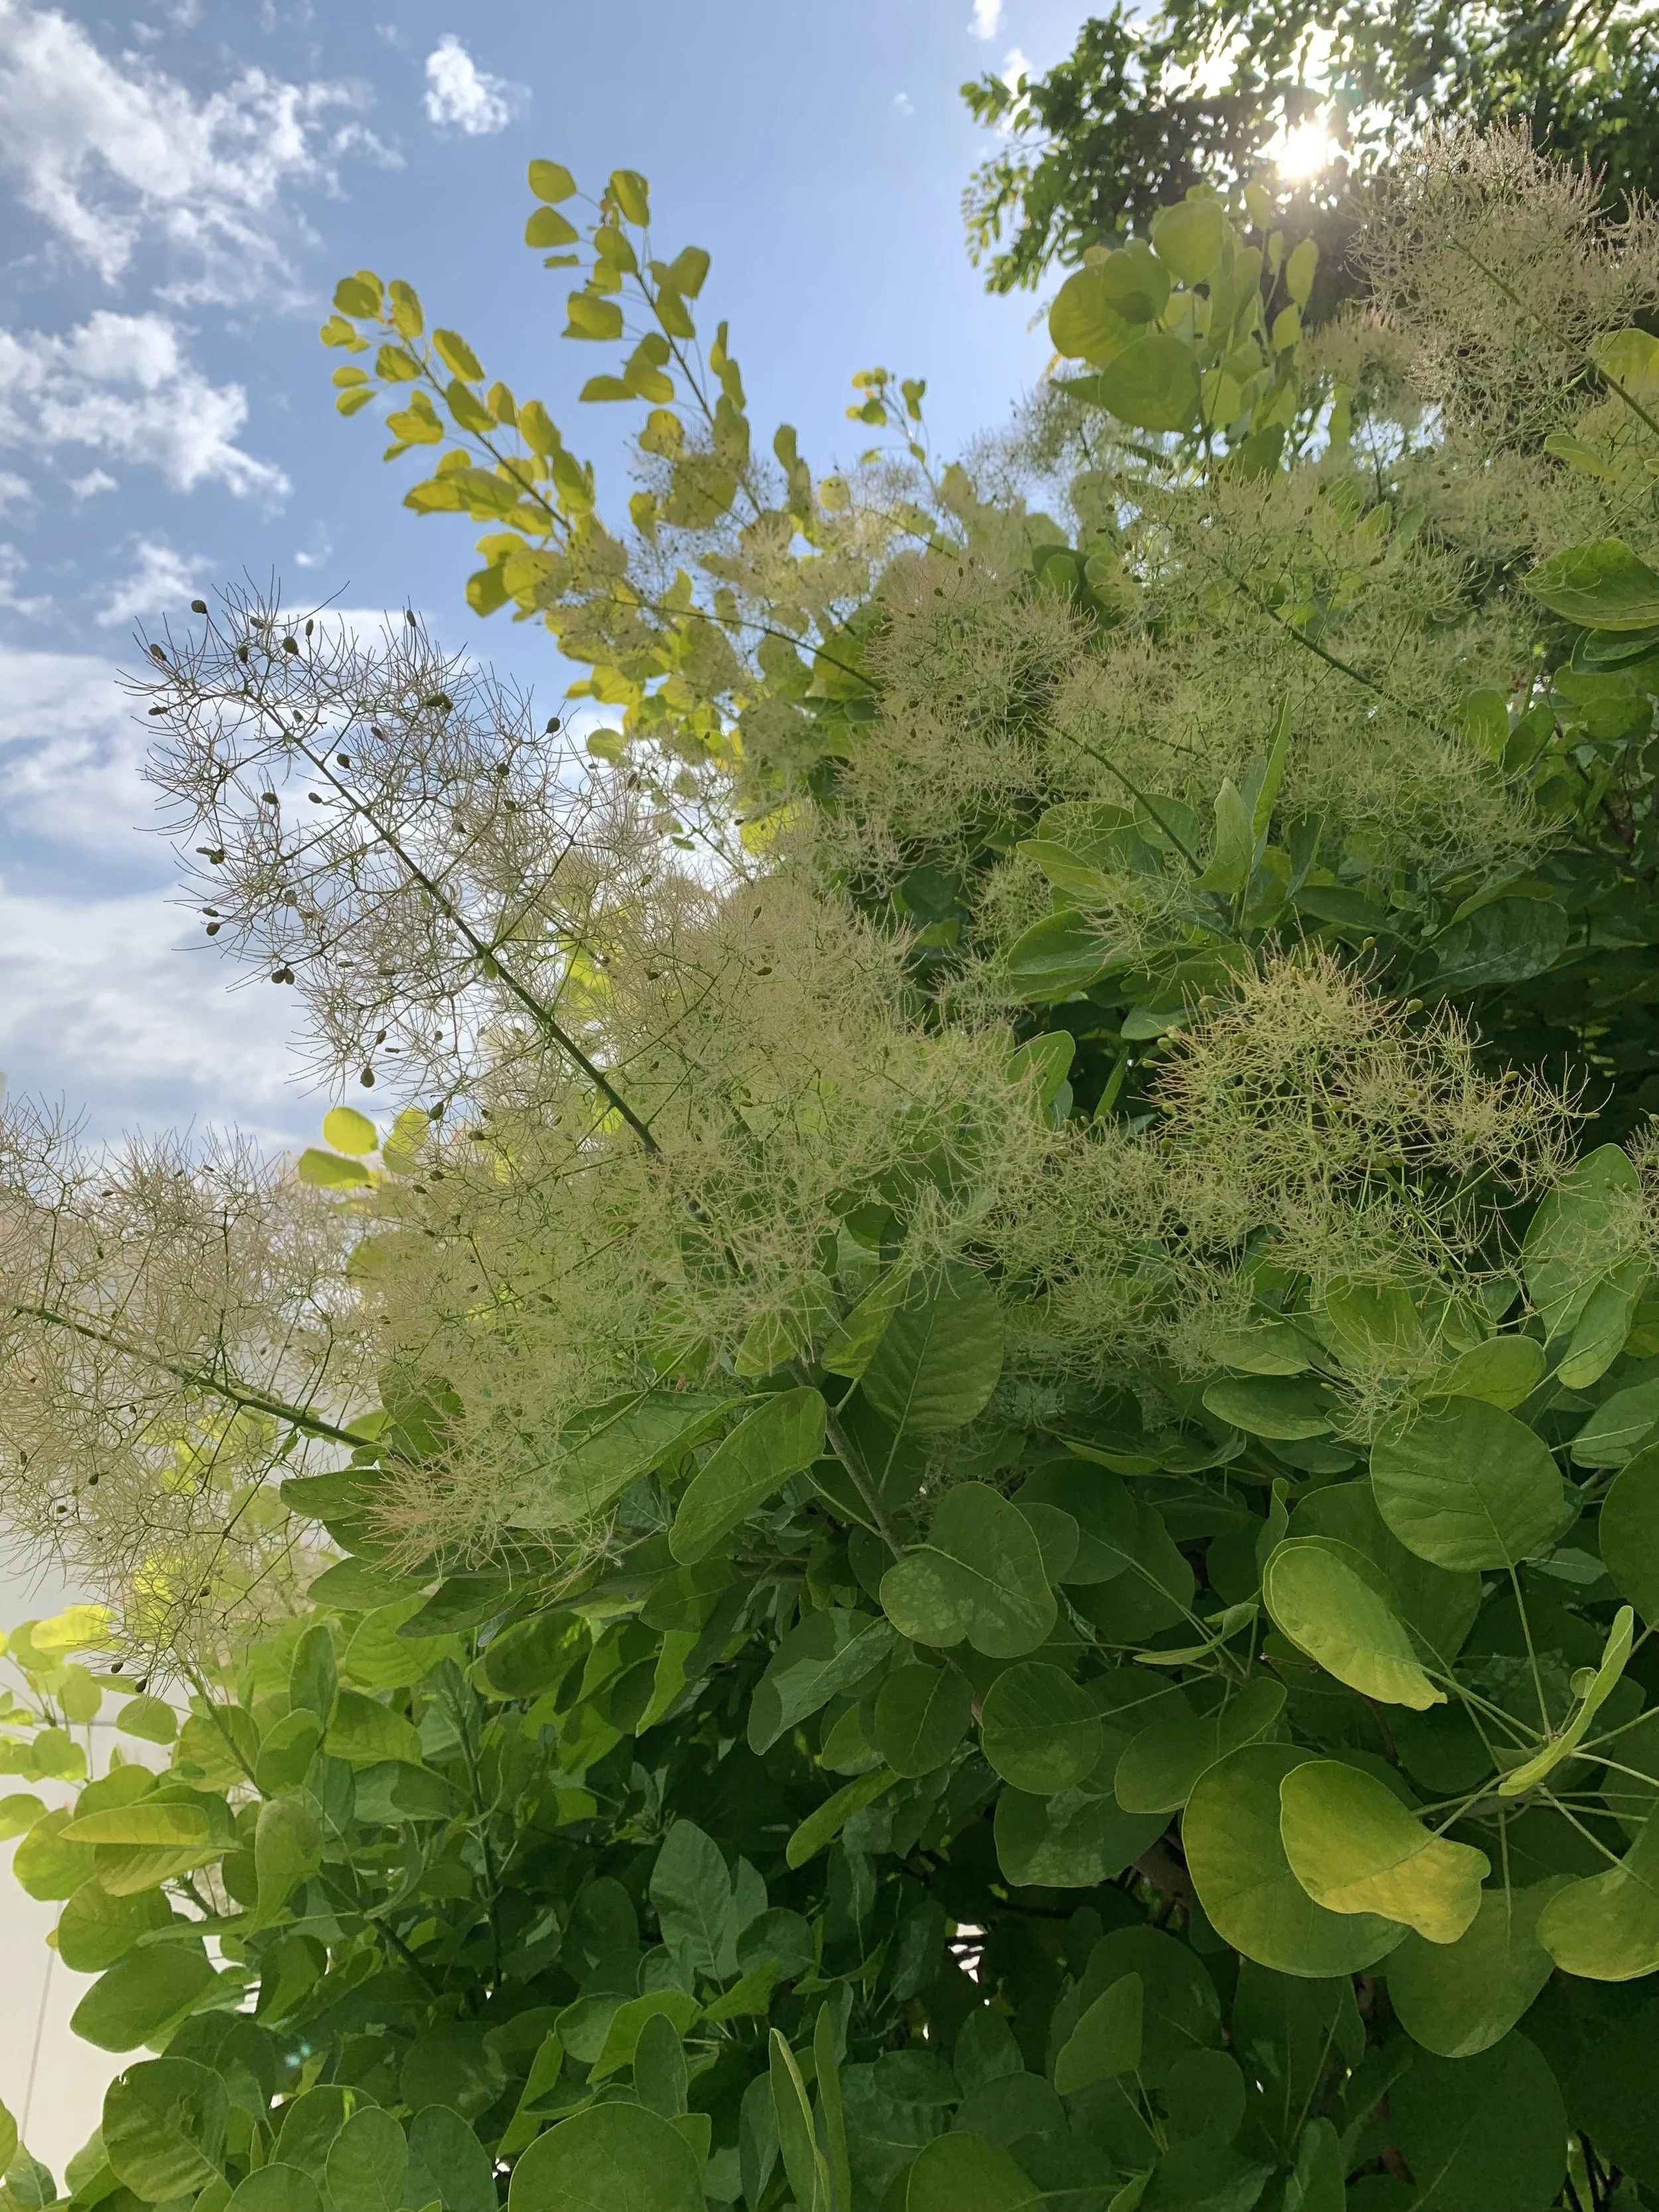
Smoke Tree
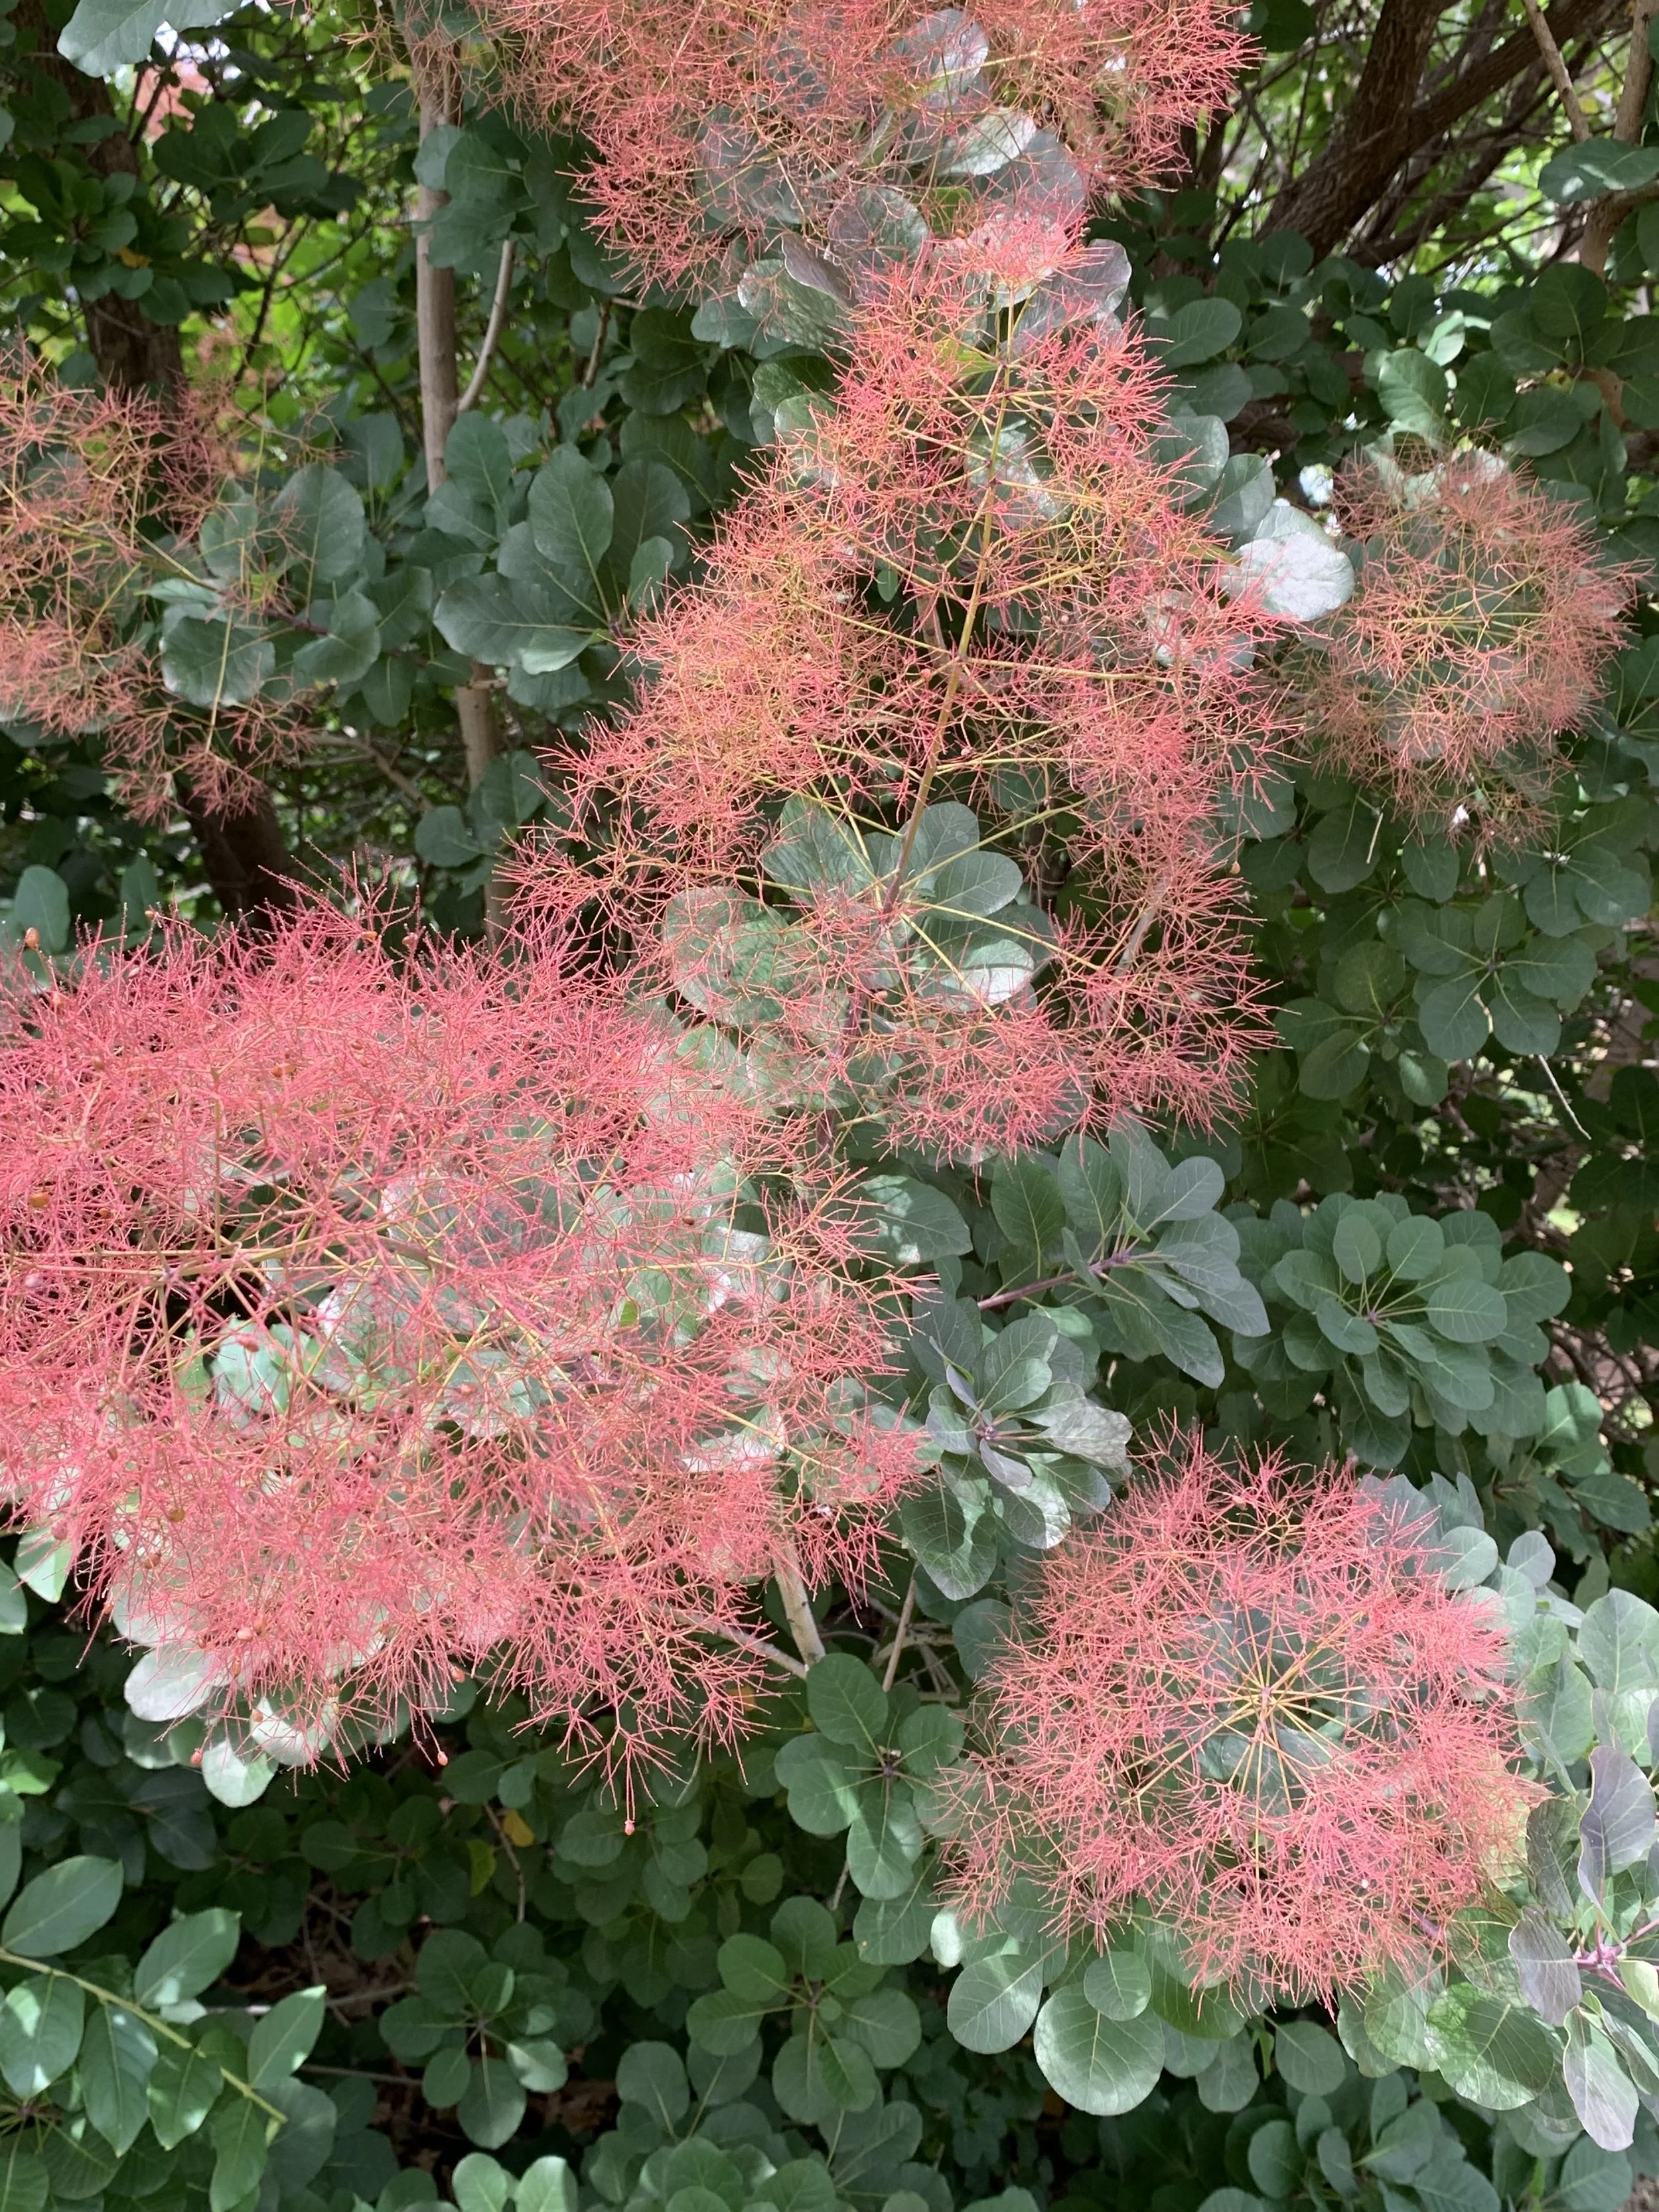
Smoke Tree

Taylor Juniper
Taylor Juniper - Narrow columnar evergreen with bluish-green foliage creating a formal elegant look. Also, can be used to create screening or privacy. 25-30’ tall and only 3’ wide.

Taylor Juniper

Taylor Juniper
These are only a few small trees to consider. The list could go on and on.
How have you used small trees in your landscape?
What small trees do you have in your landscape?
Lorne Hall
Hall | Stewart Lawn + Landscape
(405)367-3873
Thankful v. Grateful

What? Is this the weekly Hall | Stewart post?
I realize you read this every week for the latest lawn and landscape information and the title appears off subject today. It is. You have my permission to go ahead and hit delete now…you won’t hurt my feelings.
This week, Thanksgiving week, had me pondering the difference between ‘being thankful’ vs ‘being grateful’.
I love this time of year. I believe Thanksgiving may be the best holiday on the calendar. It isn’t over-commercialized. It is simple. It is a break in our busyness to spend time with friends and family and give thanks.
Tuesday morning, at our Hall | Stewart Weekly Huddle, we asked the question “What are you thankful for this year?”
The responses ranged from: “My wife!” to “My family!” to “Our team!” to “My newborn baby boy!” to “Our great customers who we get to help have their best lawns!”
However, one team member’s response started me thinking more deeply about thankfulness. Leo said, “I’m thankful for my changed life, my relationship with my Savior, and a life that is on a totally different trajectory than my old life!”
It started me wondering if that was thankfulness or was that gratefulness.
Is there a difference?
A Google search started. Conversations ensued.
Thesaurus.com states that in most cases they are viewed as exact synonyms.
Dictionary.com says they are close synonyms commonly used to mean the same thing.
Exact? Close? Or is there a difference?
I think there is a difference between thankful and grateful.
For me, being thankful is an event. Thankful is when someone does something for you. A gift. A helpful hand. A kind word. It is an acknowledgment of benefits received.
Grateful is something deeper. It is something richer. Gratefulness is felt in the soul. Gratitude comes from the heart. It goes beyond appreciation to a state of being.
I was very thankful to have another Thanksgiving with my mom whose mind has been fading for the past few years. Rarely does it appear she knows who I am anymore, but nonetheless, I was thankful to be with her on Thursday. I am grateful for her impact on my life and my family. She always wanted more for us than she had and encouraged us to achieve far more than we ever thought we could achieve. I am more than thankful for my mom; I have heartfelt gratitude for her.
Another personal example that has me pondering the difference…
A few weeks ago, a DYI home project took a quick turn for the worse resulting in a Saturday afternoon in the emergency room followed by surgery on Monday to put one of my hands back together. I am deeply thankful for the Integris Baptist Emergency Department doctors, nurses, and staff who practiced their craft so wonderfully that afternoon. I am also deeply thankful for a skilled surgeon who had the knowledge and experience to know exactly how to fix my damaged hand. And, the physical therapist who I am spending, and will be spending, way too much time with over the next few weeks, I am tremendously thankful.
But, it is the deepest heartfelt gratefulness I have for my wife who has so patiently woken up to my early schedule every day for the last 5 weeks to help me get ready and tie my shoes. I am more than thankful for her; I am grateful she is by my side as I heal.
It is gratefulness I feel that my dad was with me when the accident happened, got me to the hospital quickly, and then returned to finish my project in the days that followed. It is gratefulness I feel for family and friends who called, texted, prayed and showed up to check on Lori during my surgery. It is gratefulness that I feel for my Hall | Stewart partner and team members who stepped up to cover the workload I couldn’t do with my one un-injured hand.
Grateful is a deeper, stronger, more emotional version of thankful.
Thankful is recognition of a transaction.
Grateful is recognition, an acknowledgment of the difference others make in our lives.
Seth Godin said it well this week in his Thanksgiving Day post, “The magic of gratitude is that it improves everything it touches.”
Gratitude is a state of being. A position of gratitude changes your perspective.
What are your thoughts? Are they the same or is there a difference?
(I promise to return to talking about what we know best – lawns and landscapes!)
May your days be filled with a spirit of gratitude!
Lorne Hall
Hall | Stewart
(405)367-3873
Your Lawn & Landscape Still Needs Moisture… Even During The Off Season!

As the lawn and landscape season winds down there is one very important never-ending task: Monitoring the weather to make sure your lawn and landscape is receiving enough moisture.
After last week’s 2.5” of rainfall followed by our first freeze this week, the temptation is to turn the irrigation off and roll up the hoses. But, if your lawn and landscape could talk, they would be encouraging you to not cut off the water just yet and be prepared to give them a drink from time to time through the winter.
Most winter plant injury occurs when we receive a harsh cold spell while plant root systems are dry.
Sure, your lawn, trees, shrubs, and flowers don’t need as much water through the winter, but they do need some. Your landscape needs at least ½” of moisture every two weeks through the winter.
Current Watering Recommendation:
Give your lawn and landscape a good deep soaking every 4-7 days.

Pansies need moisture through the winter to survive and make a strong spring show.
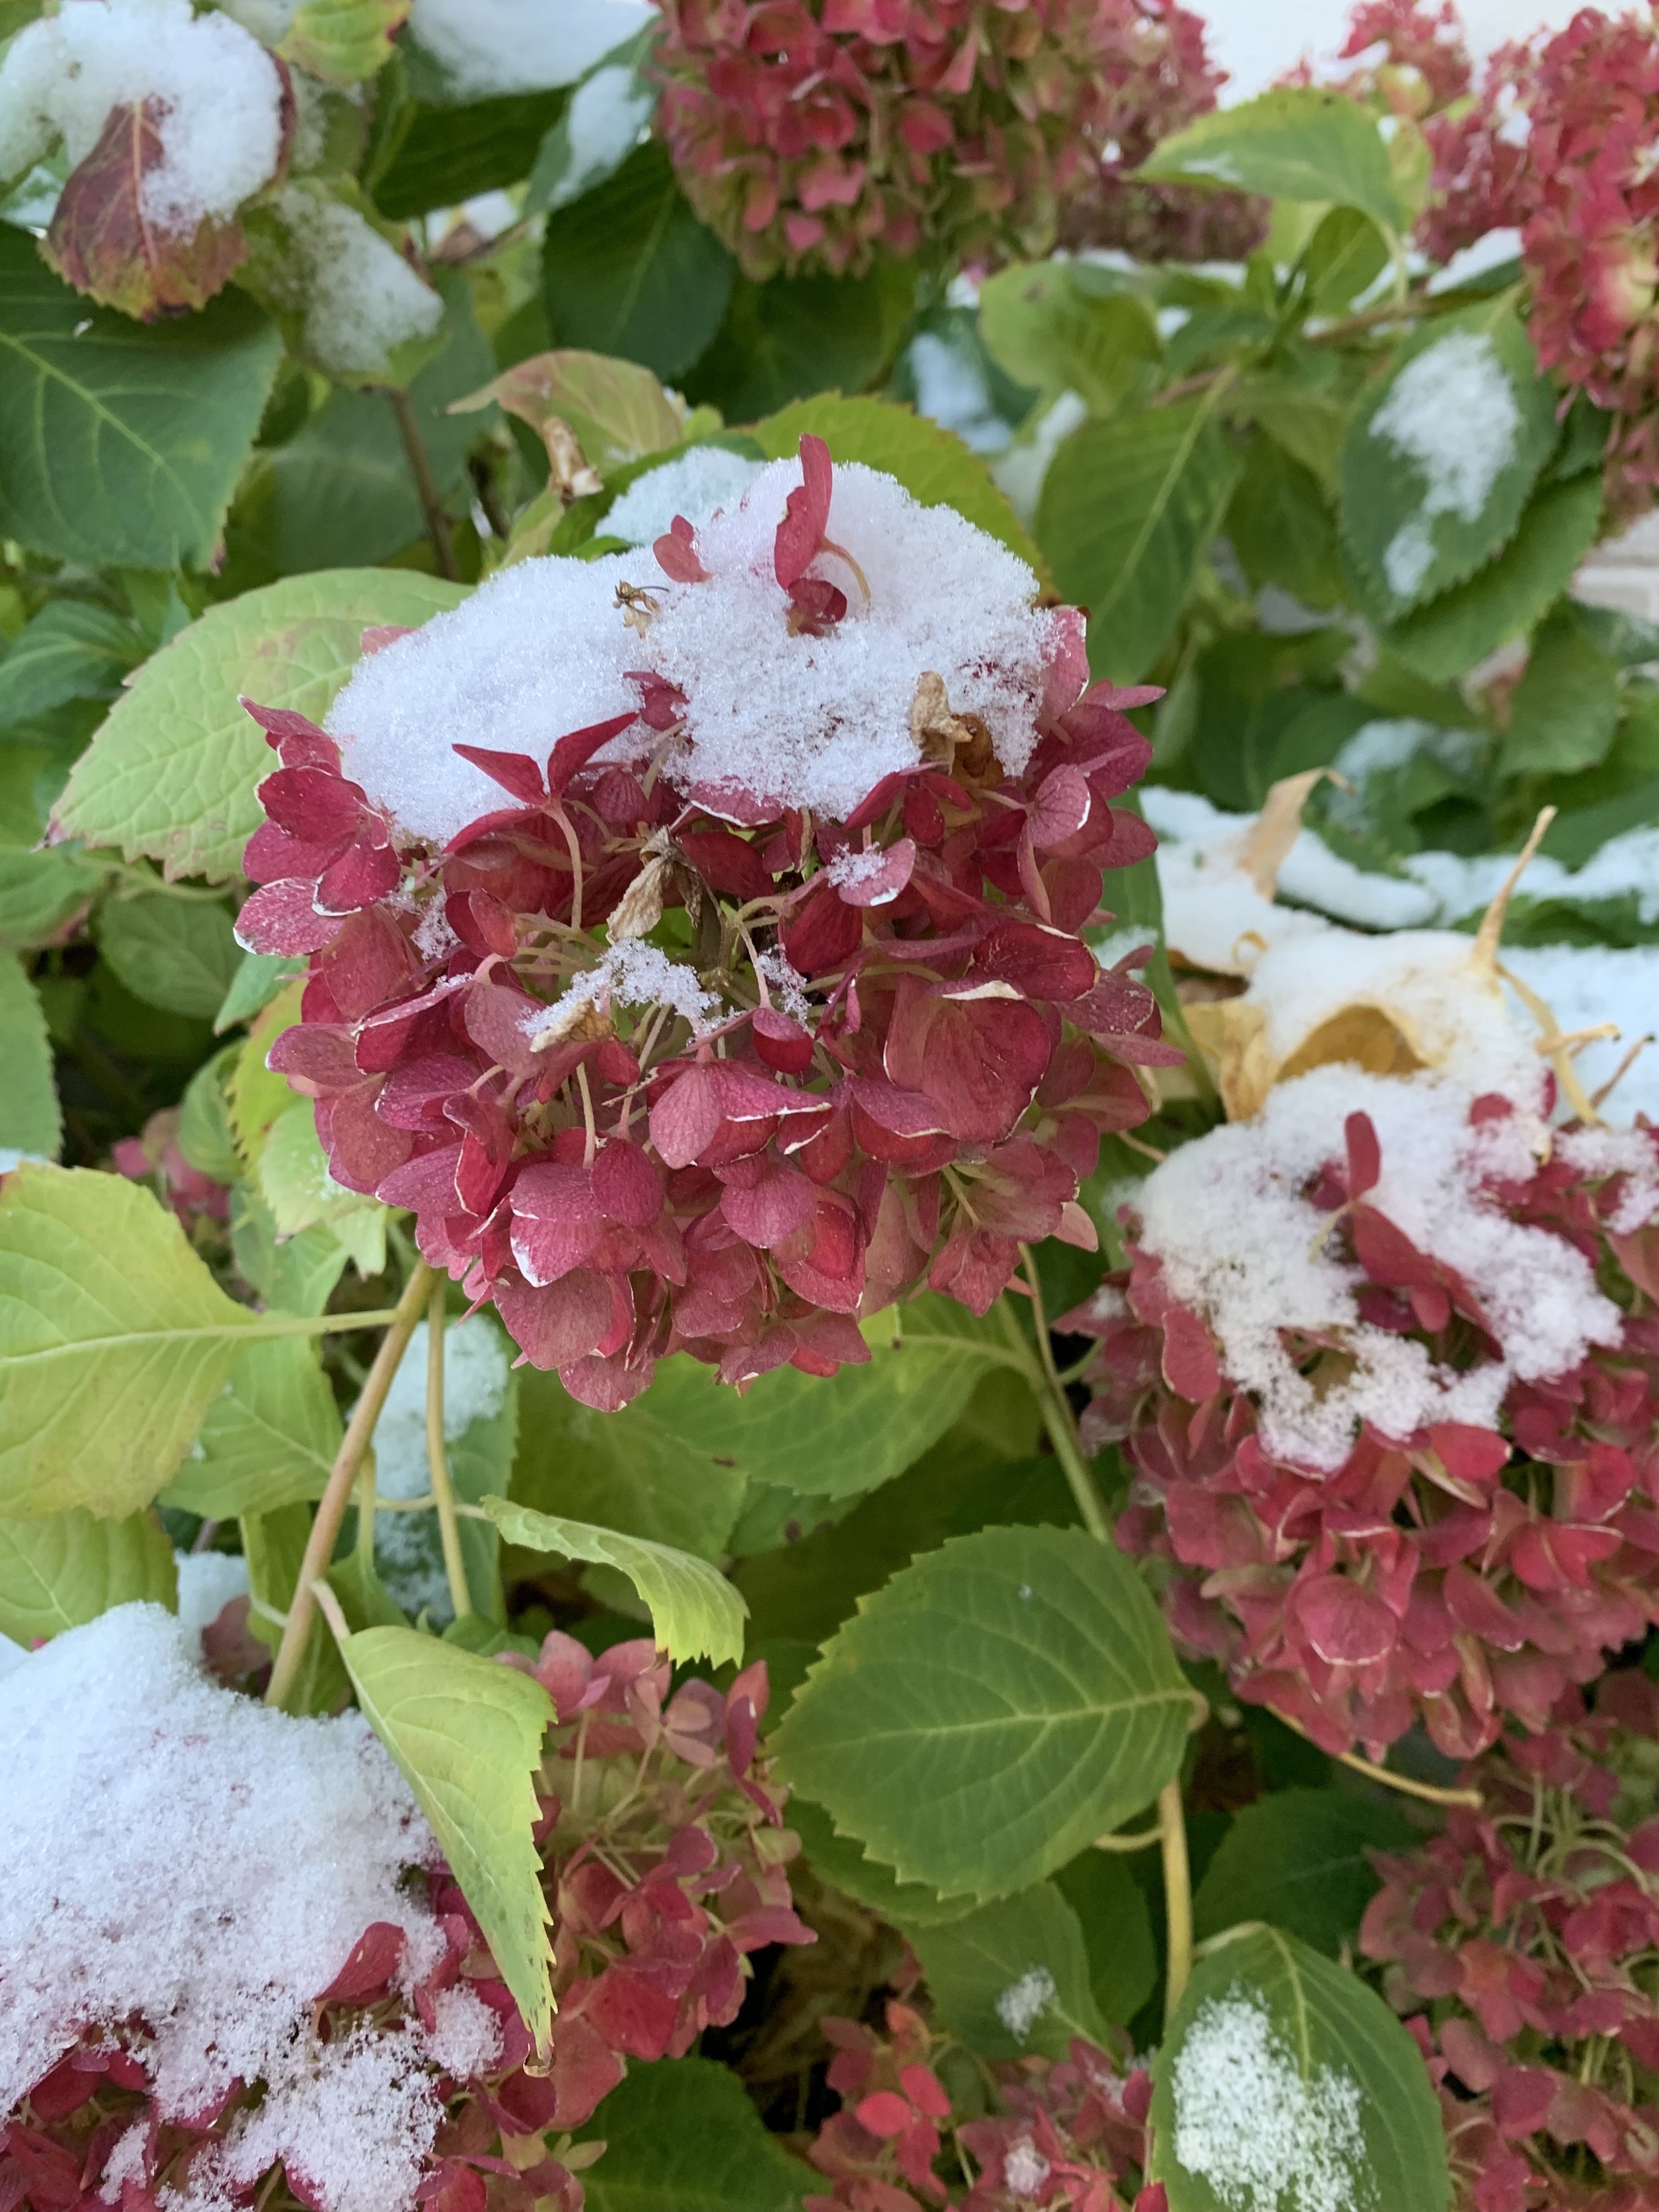
Make it a part of your routine from now until spring to check soil moisture and rainfall amounts at least once a week. A great source is the Oklahoma Mesonet. The Oklahoma Mesonet is a world-class network of environmental monitoring stations that consists of 120 stations throughout Oklahoma.
Use this link to check current soil moisture: https://www.mesonet.org/index.php/weather/map/2-inch_fractional_water_index/soil_moisture
Use this link to see the amount of rainfall in the last week: https://www.mesonet.org/index.php/weather/map/7_day_rainfall_accumulation/rainfall
Throughout the off season take advantage of nice, warm, light wind days
and give your lawn and landscape a good soaking.


Evergreens and fescue require more water attention during the winter.

Japanese maples have shallow roots that are susceptible to drying out during the winter.

Fescue and rye lawns will retain more color over the winter if the soil is moist went temperatures below 30 degrees.
Newly sodded lawns, due to a shallow root system, can experience freeze damage if the roots are dry during a winter cold spell.
Finally, all newer landscapes, those installed in the last two years require a little more watering attention over the winter.
Watering Through the Off Season - Monitor the weather. Pay attention to the amount of rainfall we are receiving. Anytime we go a week without a good rain or snow cover, pick a warm day and run your system through a cycle. If you don’t have an irrigation system, pick an enjoyable day, stretch out the hoses and make sure all plant material receives a good soaking.

Pansies are a great winter annual as long as they aren’t bone dry when a cold front arrives.


A dry, windy and cold winter is hard on needle evergreens. Through a dry winter a good deep soaking every other week will help them survive.
Winter watering is particularly critical for evergreen shrubs and trees. Windy days zap the moisture stored in their leaves making them sensitive to winter injury when we receive a harsh cold snap when they are dry.
Shallow rooted plants, such as: azalea and Japanese maple are also prone to winter injury when they do not receive regular moisture during dormancy.
Plants with shallow root systems, such as Japanese Maples and Azaleas, respond best if they receive at least 1/2” of moisture every 7-10 days throughout the winter.
If you have perennials or winter annuals such as pansies or kale, winter moisture is critical to their performance going into the spring.
Fescue lawns will retain more color in the winter and rebound quicker in the spring if they are not allowed to become bone dry during the winter.

Evergreens need moisture during to winter to keep their foliage healthy.

Set your azaleas up for a successful spring by making sure they have enough moisture this winter.

Snow cover has two benefits: 1. It provides insulation from very cold temperatures by trapping warm soil temperatures. 2. As the snow melts it acts as a good deep soaking for your lawn and landscape.
Consider Upgrading Your System – If your system doesn’t have a rain/freeze sensor, add one. A rain/freeze sensor allows you the ability to set the controller to run once per week and leave it. If the temperature is below freezing, or if there has been a recent rain, the sensor will interrupt the scheduled cycle. The benefit is you won’t have to remember to turn your system off when it is too cold, or it has rained.

Another Upgrade to Consider – Install a Rainbird WiFi Link controller and let us control your system for you. We will monitor the weather and adjust the system through the winter based on the amount of moisture the area has received.
Remember – Most winter plant injuries occur when we receive a harsh cold spell while plant root systems are dry.
Give us a call, or respond to this email, if we can help you with irrigation solutions.
Lorne Hall
Hall | Stewart Lawn + Landscape
(405)367-3873
Fall Fertilizer Needs: Bermuda vs Fescue

One of the great things about Oklahoma is that we live in the transition zone.
What is the transition zone?
The transition zone is an area from northern Kansas to the Oklahoma-Texas border where you can grow both cool-season and warm-season turfgrasses. The transition zone can experience both hot summers and cold winters, often making it hard to decide between a warm-season lawn (Bermuda or Zoysia) or a cool-season lawn (fescue).
Why is that a good thing? Because we can successfully grow both warm season and cool season turfgrasses.
The most common turf in Oklahoma is Bermuda.
But, fescue, commonly thought of as only a shade grass, continues to increase in popularity as both a turfgrass suitable for shade and for full sun areas as well. It is now very common to find Bermuda lawns with at least some fescue.
Also, more and more lawn owners are realizing that fescue is more than a shade grass, it is a cool-season grass that can grow in full sun.
But, that can be a problem. You have to think very differently about how you care for a fescue lawn versus a Bermuda lawn.
Problem - Fescue won’t thrive, it will actually struggle to survive if it is fertilized like Bermuda. And, the same is true for Bermuda. Fertilize Bermuda like fescue and the result will be a thin, weak lawn.
Fertilizing cool-season lawns versus warm-season lawns requires a paradigm shift.
While Bermuda is approaching the end of its season, fescue is starting its season.
Let’s look at the differences.

Bermuda lawns are ending a season and need a low nitrogen, high potassium fertilizer to strengthen roots for the winter.

Spring Dead Spot is a disease that impacts bermuda lawns in the spring as the lawn is coming out of dormancy. One of the catalyst is heavy nitrogen applications in October applied in an effort to keep a warm season lawn green and active late into the fall.
Fall Fertilizer Applications:
Bermuda and Zoysia (Warm Season) –
Warm-season grasses are at the end of their growing season. In October and November, warm-season lawns don’t require nitrogen. With shorter days, cooler days, and nights, and the decrease in soil temperature, growth slows, and turf color fades.
Heavy nitrogen fertilizer during October in an effort to maintain color longer into the fall is harmful for Bermuda and a catalyst for Spring Dead Spot Disease.
The chances of having Spring Dead Spot Disease next year increases when nitrogen fertilizer is applied to a Bermuda lawn in the last 4-5 weeks before the first freeze, which in central Oklahoma is typically the first week of November.
So, if you are thinking your Bermuda lawn needs one more shot of nitrogen before the end of the season, don’t do it. There is a good chance you are doing more harm than good.

Bermuda, a warm season turfgrass,, performs best when fertilized with higher nitrogen during the summer month and low nitrogen fertilizer in the fall.
With cooler night time temperatures and shorter days, Bermuda lawns are slowing down. Resist the urgent to try keep them green and growing with high nitrogen fertilizer this month.

Because bermuda starts to thin out when it receives less than 6 hours of direct sunlight it is common to see lawns with both bermuda and fescue. The problem is you try to fertilize them the same, one will flourish and the other will struggle.
Fescue –
Fall is the beginning of a new season for fescue.
As temperatures begin to cool in September, fescue lawns start regaining color, thicken, and actively growing.
For fescue, fall is the same as spring is for Bermuda.
In April and May, as soil temperatures warm and Bermuda starts to grow, a higher nitrogen fertilizer is important. Again, fall for fescue is just like spring for Bermuda. Nitrogen, the first number on the fertilizer bag, helps thicken fescue, encourages new growth, and adds a deep rich color to the lawn.
Fall fertilizer applications on fescue will result in a healthier, thicker lawn. And don’t forget, a dense healthy lawn is the best defense against weeds.
A fertilizer application with at least 25% nitrogen to start the fescue growing season is important.
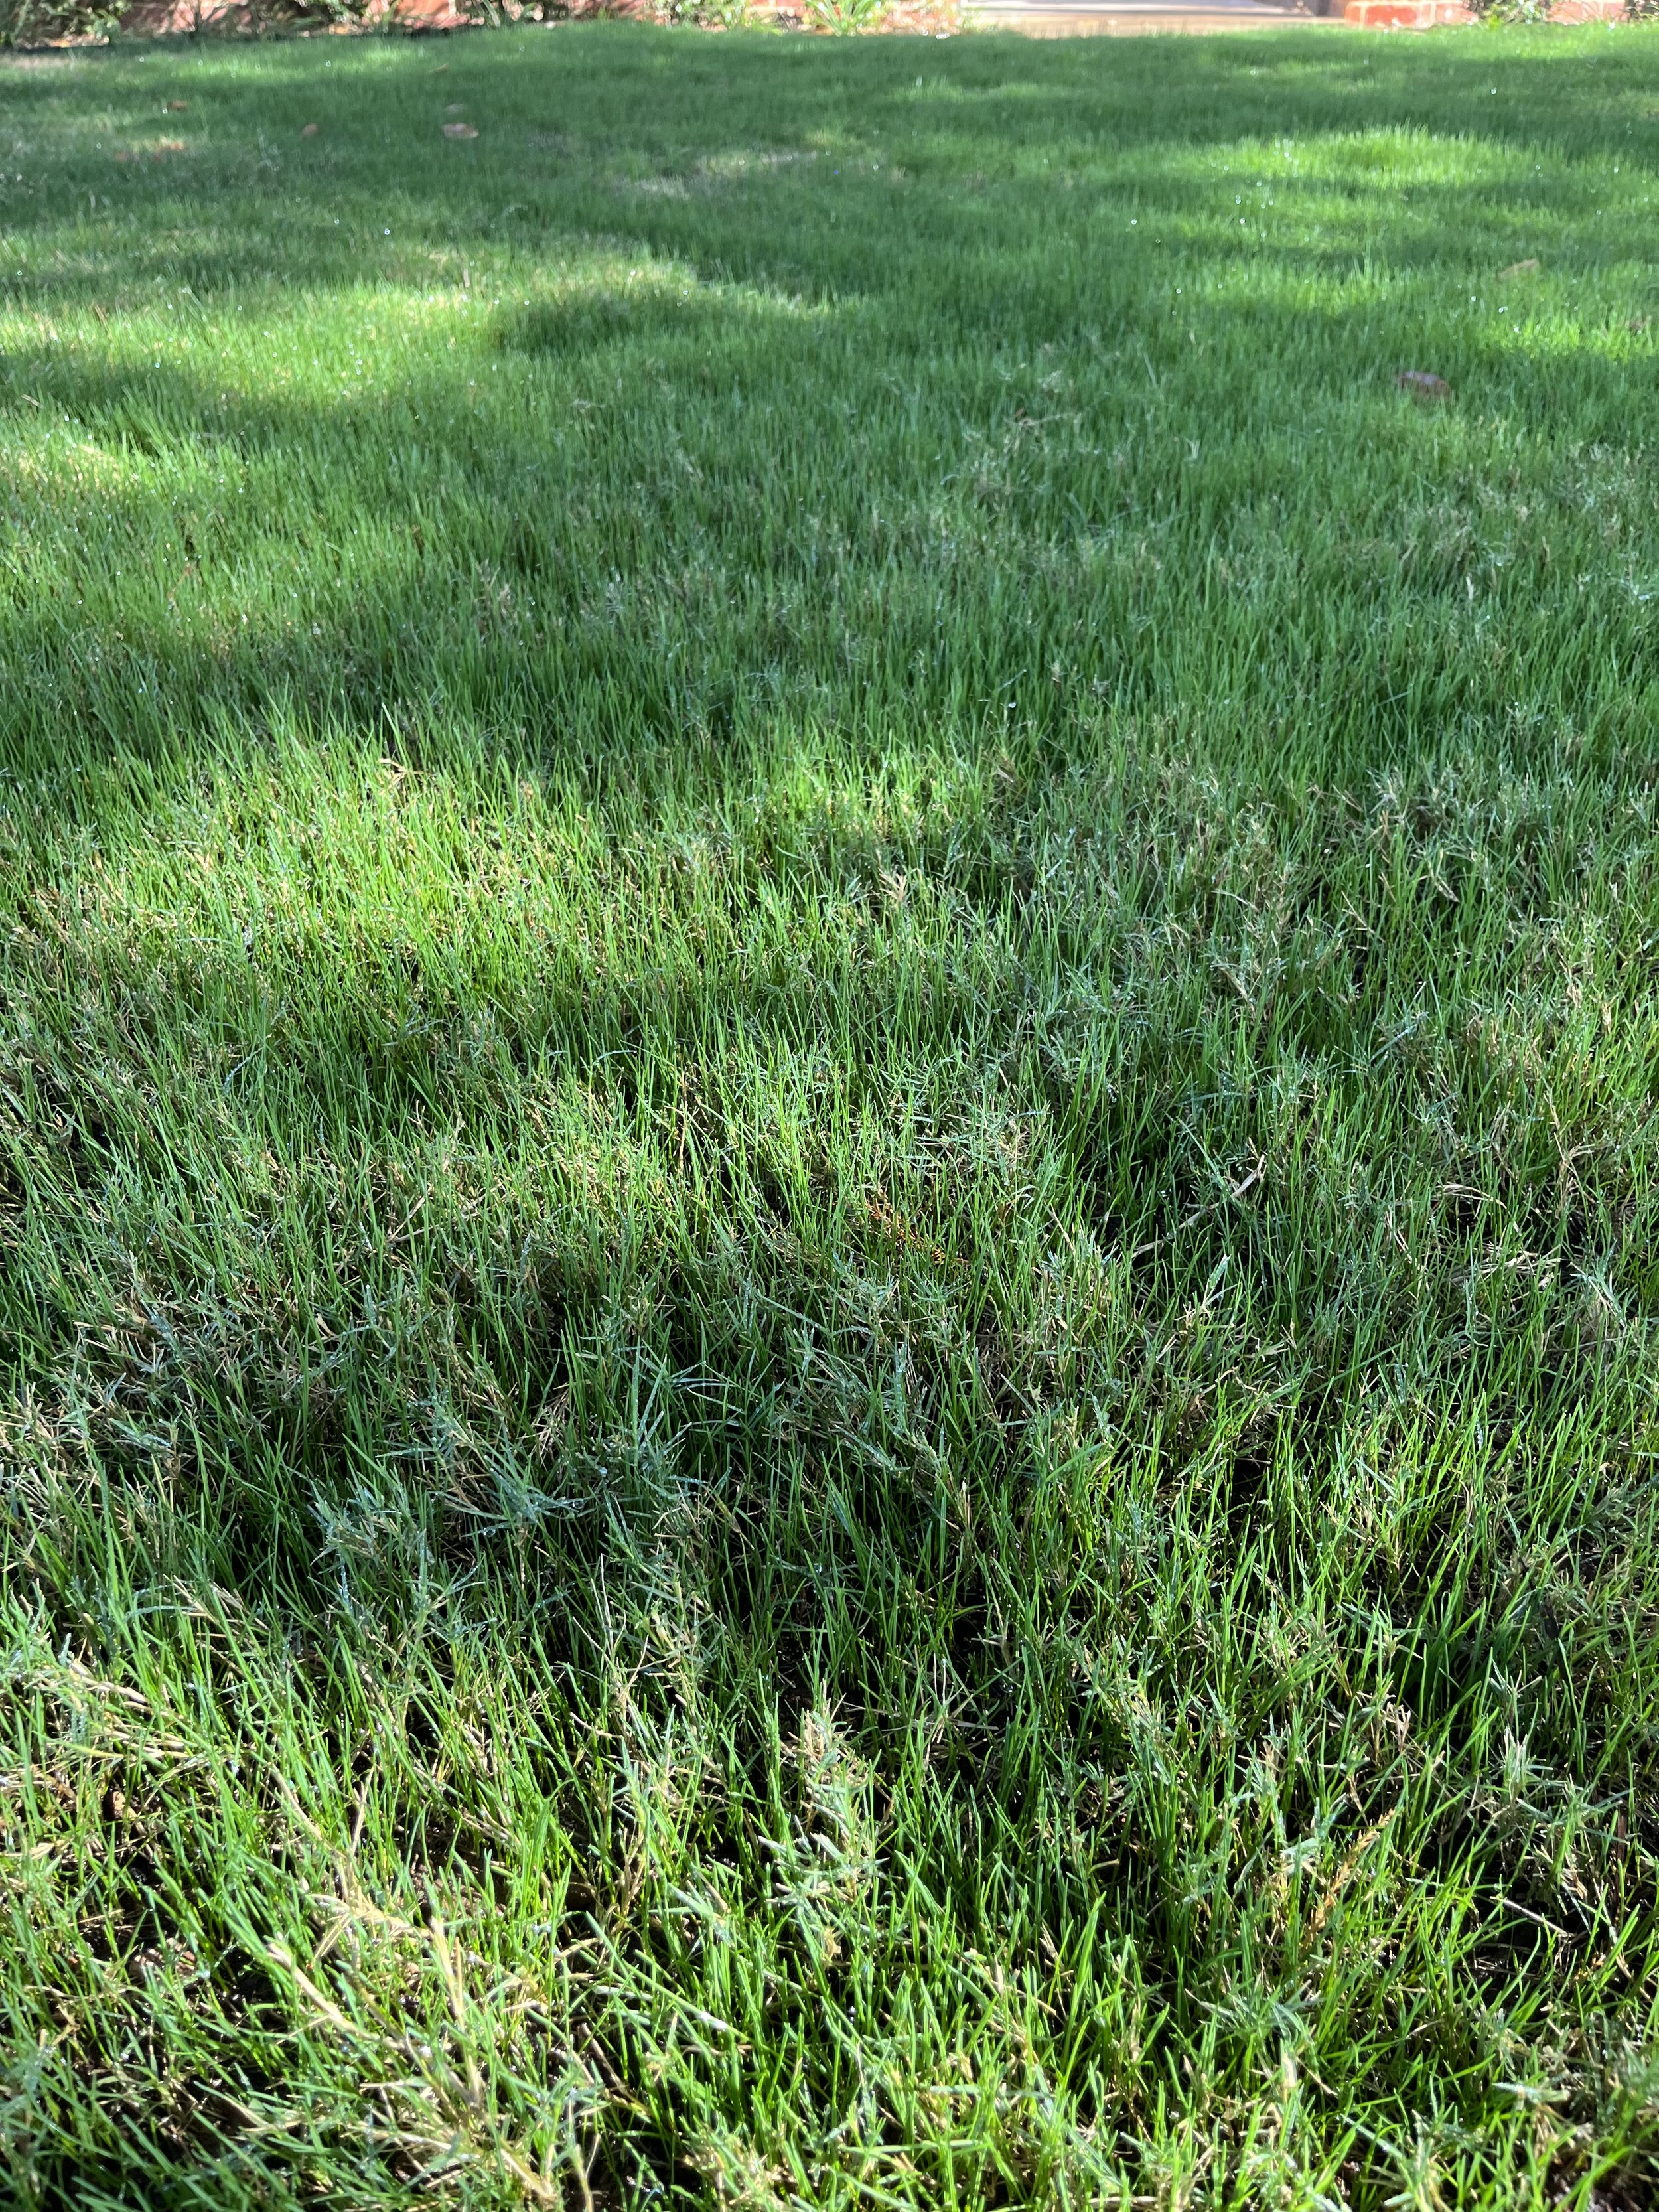
Newly seeded fescue lawns benefit from a fertilizer application anytime within the first 4 weeks after seeding.
The fertilizer differences continue throughout the year. Between now and next May, fescue performs best if it receives 4 pounds of nitrogen per 1,000 square feet.
Bermuda lawns are at their best when they receive their nitrogen between spring green-up in April and the end of September.
In early summer, while Bermuda needs high nitrogen fertilizer the only fertilizer needed for fescue is a low nitrogen, high potassium fertilizer to strengthen roots headed into the summer heat, similar to only fertilizer needs of Bermuda heading into the winter cold.

Fescue lawns are start a new season every fall. A high nitrogen fertilizer application now will increase color and turf density.

Fescue can be grown in full sun but it requires a very different fertilizer schedule compared to bermuda.
For a successful, fescue lawn, you have to think backward from a Bermuda lawn.
For a successful Bermuda lawn, you must think backward from a fescue lawn.
You can’t fertilize them both the same way and expect them both to respond the same way.
The Good News –
If you subscribe to Hall | Stewart’s 7-Step Lawn Care Program, whether you have Bermuda, Zoysia, fescue, or a combination of turfgrasses, we will make sure each type is receiving the correct fertilizer based on the current season and growing conditions. Our program recognizes that warm-season grasses and cool-season grasses have very different fertilization timing and needs.
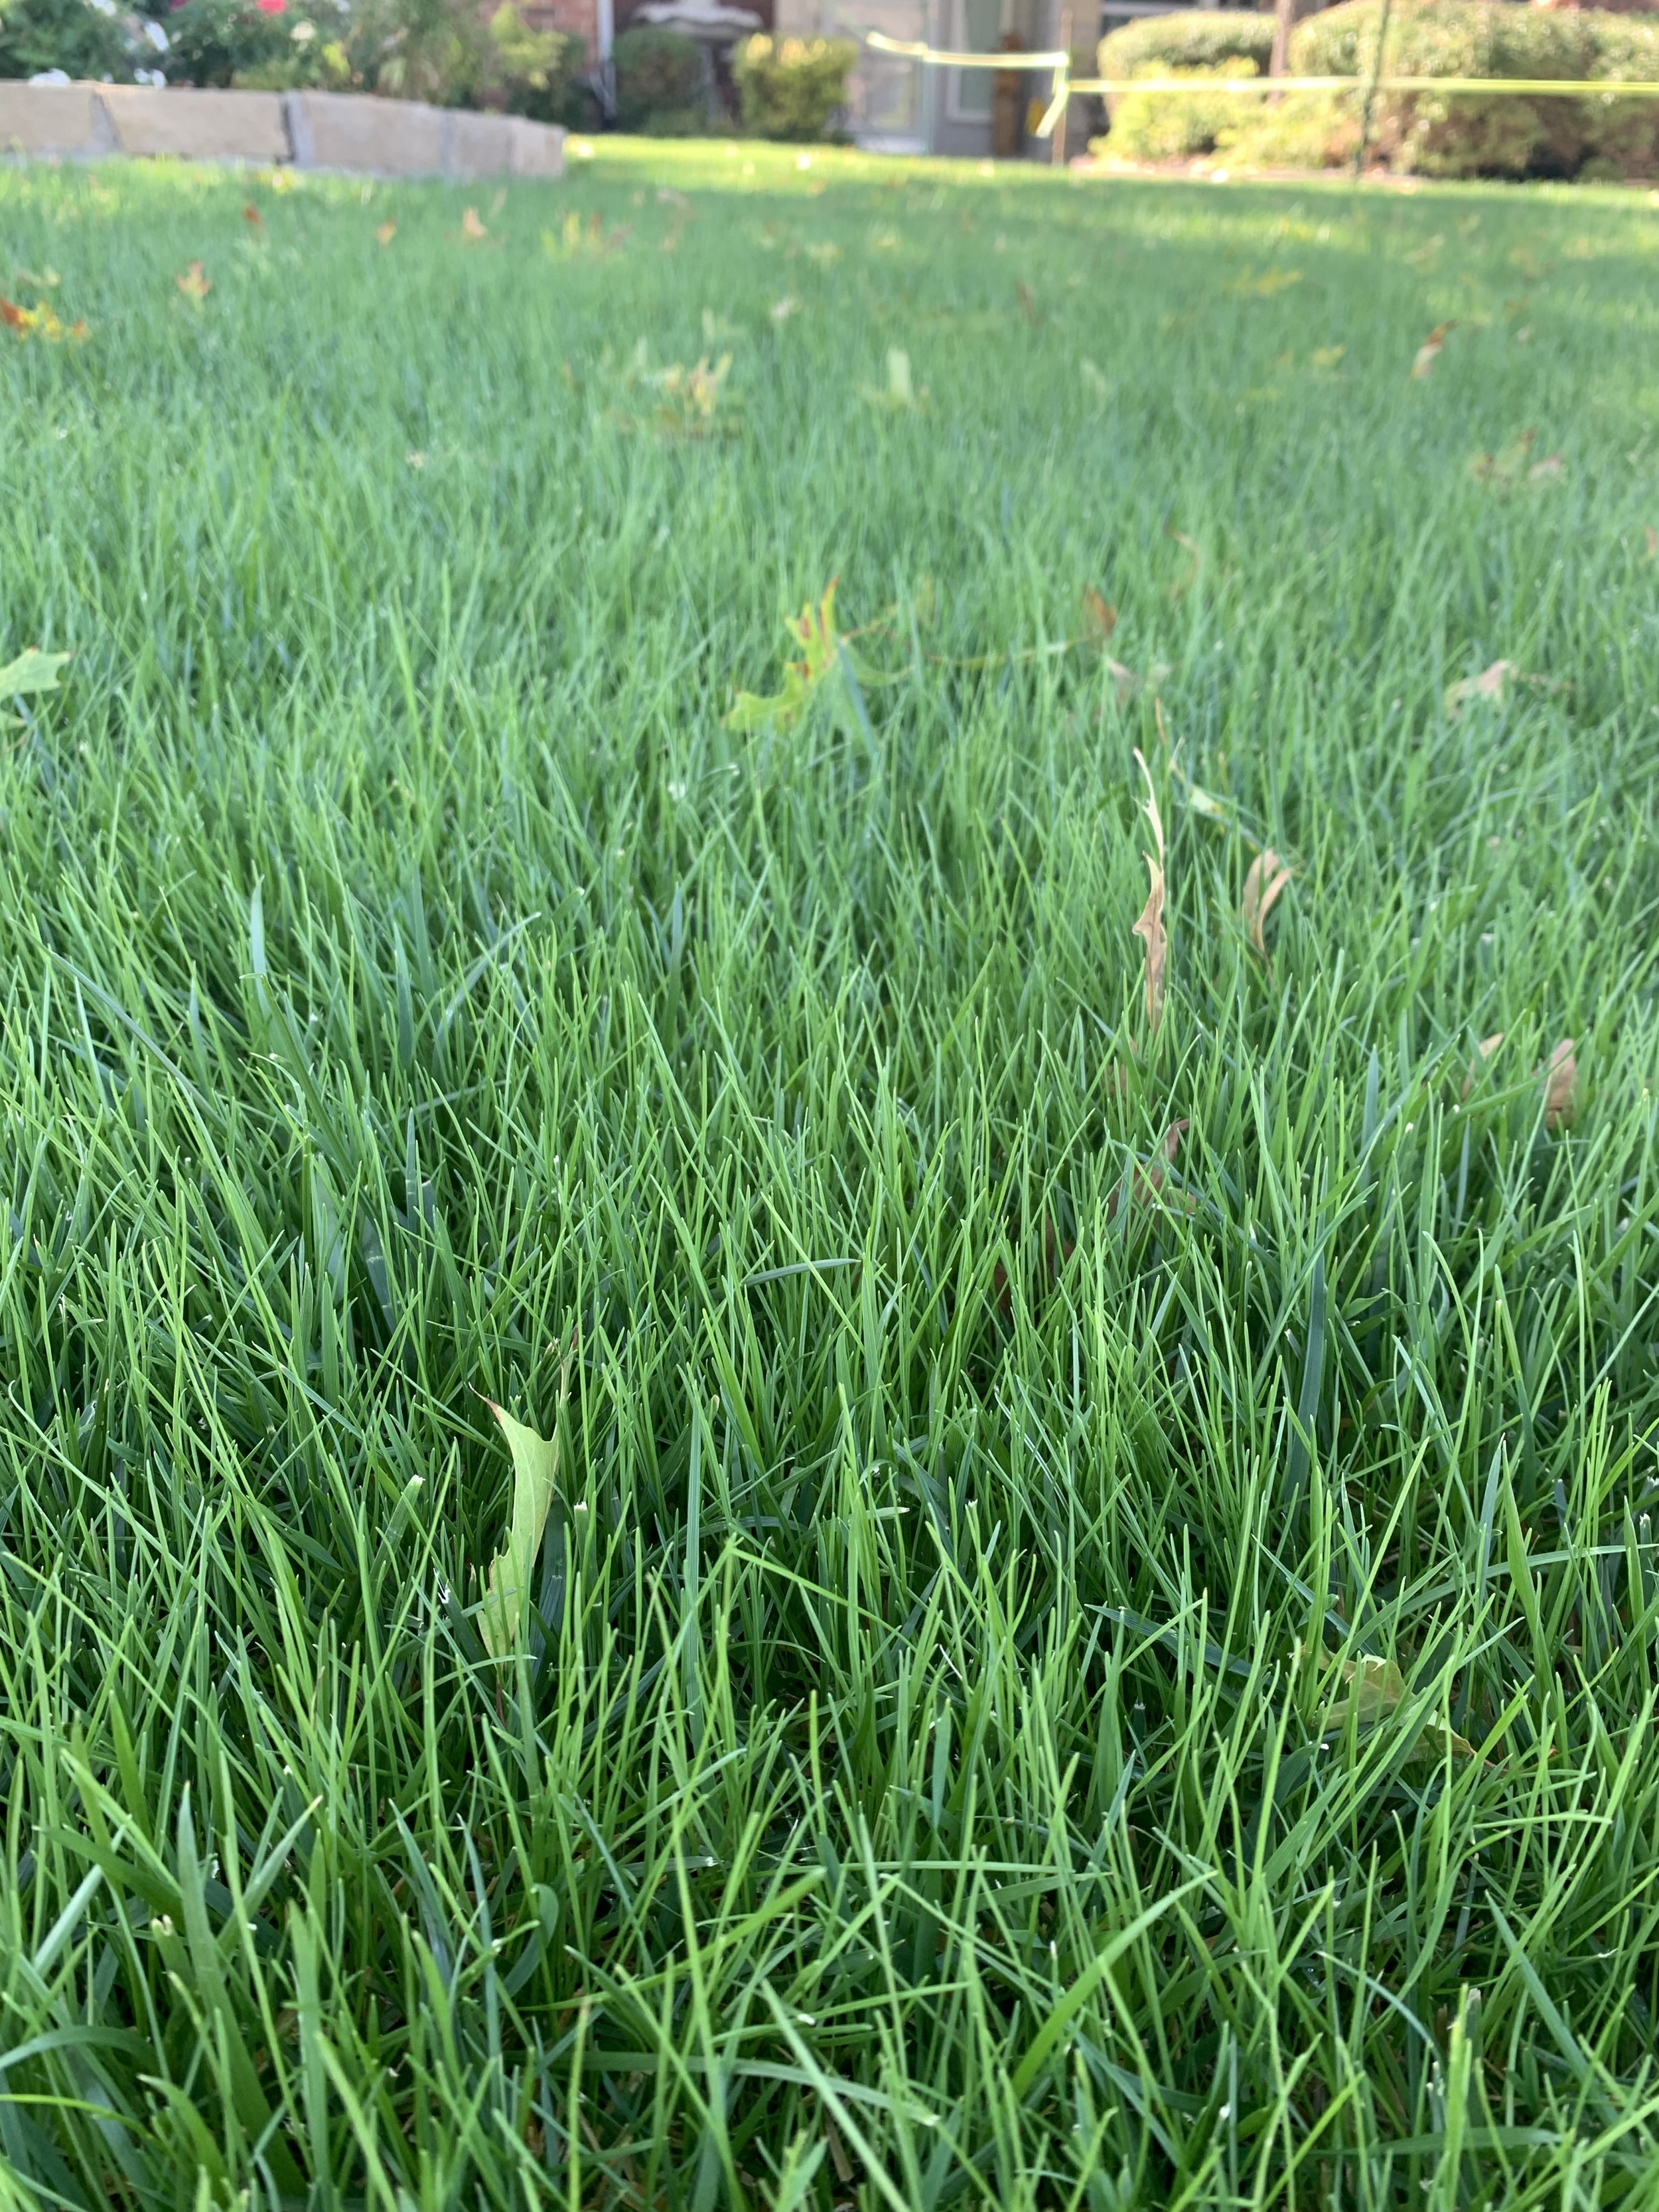
If you have a overseeded fescue or are planning to this fall, don’t skip a fertilizer application. New seed grows rapidly and needs plenty of nutrition.

A healthy, thick and deep green fescue lawn next spring is easier to achieve with when a lawn receives the correct fall fertilizer applications.
Let’s cover one more misconception about fescue in the fall:
Myth - If you are seeding fescue in the fall, it should not receive any lawn care applications.
Not true…
Fact - Fertilizer applications are not only very important for the existing fescue, but it also plays a critical role in the establishment of new seed.
Yes, if you are seeding you should not apply a pre-emergent herbicide until the seed has come up and the lawn has been mowed 2 or 3 times.
But, fertilizer anytime within the first 4 weeks of seeding will provide the seed the nourishment it needs as the new seedlings germinate and begin to grow rapidly.

The challenge for lawns with both warm season and cool season turf is they require the exact opposite timing of fertilizer applications for them both to thrive.
Summary:
Bermuda lawns benefit from receiving their last high-nitrogen fertilizer application before the end of September.
Fescue lawns are starting a new season and require a high-nitrogen fertilizer as they regain color, thicken, and grow.
Both are important.
For the best lawn, it is important to know your turf type and fertilize at the correct time of the year.
If you need have questions or need help understanding the fertilizer needs of your lawn, we would love to help.
Lorne Hall
Hall | Stewart Lawn + Landscape
(405)367-3873
Where Are the April Showers?

It is rare to be addressing watering practices in April. Who thinks about watering issues in April?
Regardless of the time of year, one of the best practices for your lawn and landscape is to pay attention to rainfall and supplement with good watering practices when needed.
Good watering practices start with being aware of current weather patterns and making adjustments to watering schedules.
Good watering practices are one of the biggest influences in the health and appearance of your landscape.
The west and north areas of the Oklahoma City metro are way behind on spring moisture. Lawns and landscapes that are not receiving supplemental moisture are showing signs of drought stress. Unfortunately, most people are not used to paying attention to their lawn & landscape’s moisture needs in April.
Best Watering Practices:
Your lawn and landscape need 1” of water per week during the spring.
A common question is “How long should I water?” Every irrigation system is different – different head types, different size nozzles, different head spacing, different areas, etc.
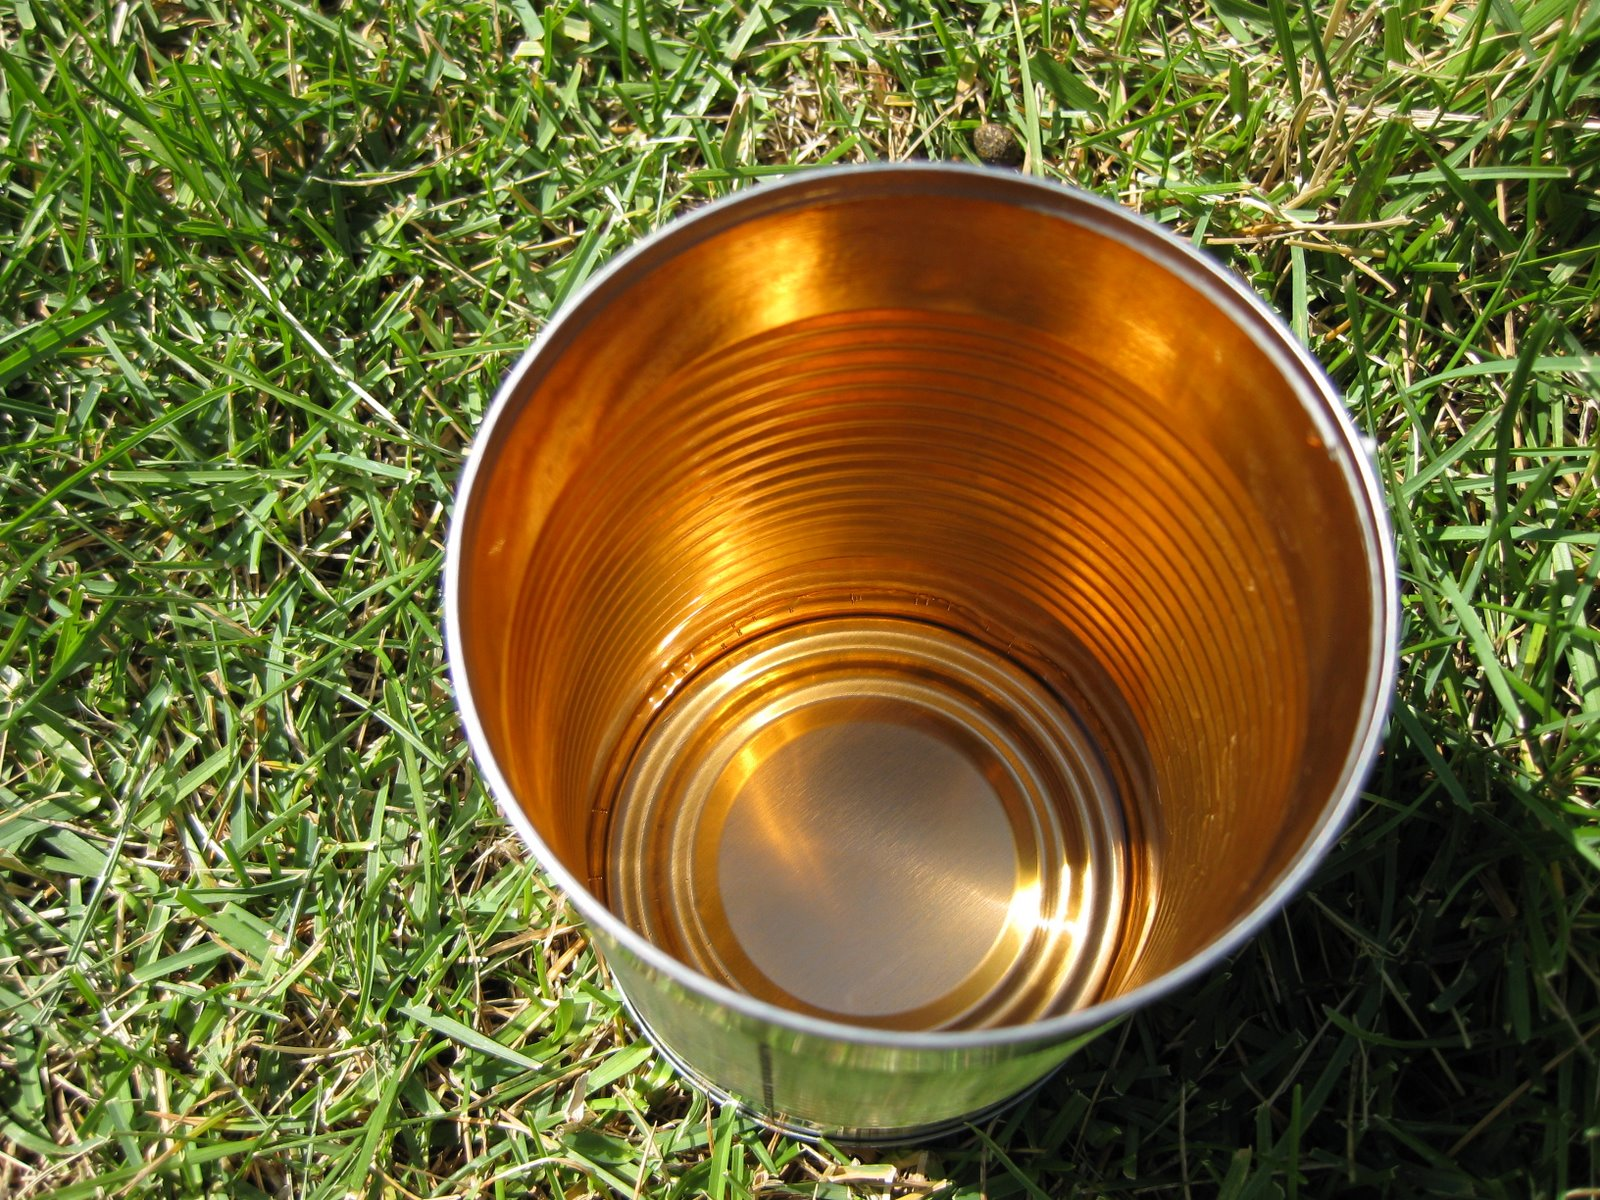
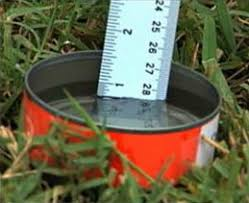
The best way to know how long you should water is to measure the amount of water your system puts out in each zone. Take a few cans and place them around your lawn in a random pattern. Run your sprinklers through a cycle and measure the amount of water in the cans. If the sprinklers ran for 15 minutes and you had .25” of water, you need 60 minutes per week.
Next, determine how long you can run your irrigation before there is excessive runoff. This will tell you how many times per week you need to water.
If you can get away with watering every 4th-day versus every other day, you will have a healthier, stronger lawn and landscape.
If you don’t have the time to audit the amount of water your system puts out, start with these settings, monitor, and adjust:
Fixed spray pattern heads with 10-15’ spacings – 15 mins per time.
Larger rotor type heads on 20-30’ spacings – 30 mins per time.

Set your controller to water with back-to-back run times.
For most of our landscapes, if we run our sprinklers long enough to get the recommended amount of water, we end up with a lot of water running down the street. Splitting zone run time in half and setting the controller to run through the zones back to back will improve the amount of water that soaks in and reduce the amount of water that runs off.
Example: Set the controller to run at 4:00 AM and 5:00 AM. When the 4:00 cycle completes, even if it is after 5:00, the controller will start the second cycle.
Moist soil will absorb more water than dry soil. Soil is just like the sponge in your sink. A dried sponge repels water before it starts absorbing water. Your landscape is the same. The first cycle moistens the soil and the second cycle soaks in.
Split, back-to-back, irrigation cycles are an old golf course trick.
I started using split, back-to-back, irrigation cycles a few years ago on lawns with slopes.
After seeing great results, I started incorporating the concept on all lawns.
It makes a difference in watering efficiency.

Water in the early morning.
Evaporation is at its lowest point in the pre-dawn hours. Also, the wind is usually at the lowest point of the day in the pre-dawn hours. I prefer to set most irrigation controllers to start at 4:00 AM with the goal of having the cycle completed by 8:00 AM.
Avoid watering in the heat of the day when much of the water will be lost to evaporation. Also, avoid watering in the evening. Watering in the evening promotes many turf diseases because the lawn stays wet too long.

IMPORTANT: Don’t water fescue in the evening during the summer. When water remains in the leaf for more than 6 hours, brown patch disease will develop.

Daily watering is not needed.
Unless you are trying to get newly planted seed to germinate or new sod to take root, there is not a good reason to water every day. Always water deep and infrequent. Daily, shallow watering creates a landscape that is shallow-rooted and more dependent on constant moisture for survival.
Fescue will benefit from a deep soaking just like Bermuda. A common myth I would love to dispel is that fescue requires a lot more water than Bermuda. Yes, it is when you are trying to get newly seeded fescue to germinate, but mature fescue doesn’t require more moisture than Bermuda.
I water my fescue the same way I water Bermuda – deep, infrequent cycles.

It’s April! Fescue should be at their best. If you have areas of fescue that are not rich green, check the soil moisture. If you can slip a large screwdriver several inches into the soil, you need to water.
Aeration improves moisture absorption.
You can’t beat aeration for improving your soil structure. A key benefit of improved soil structure is better water absorption. Lawns that receive annual aeration (or at least every other year) do not experience as much runoff.
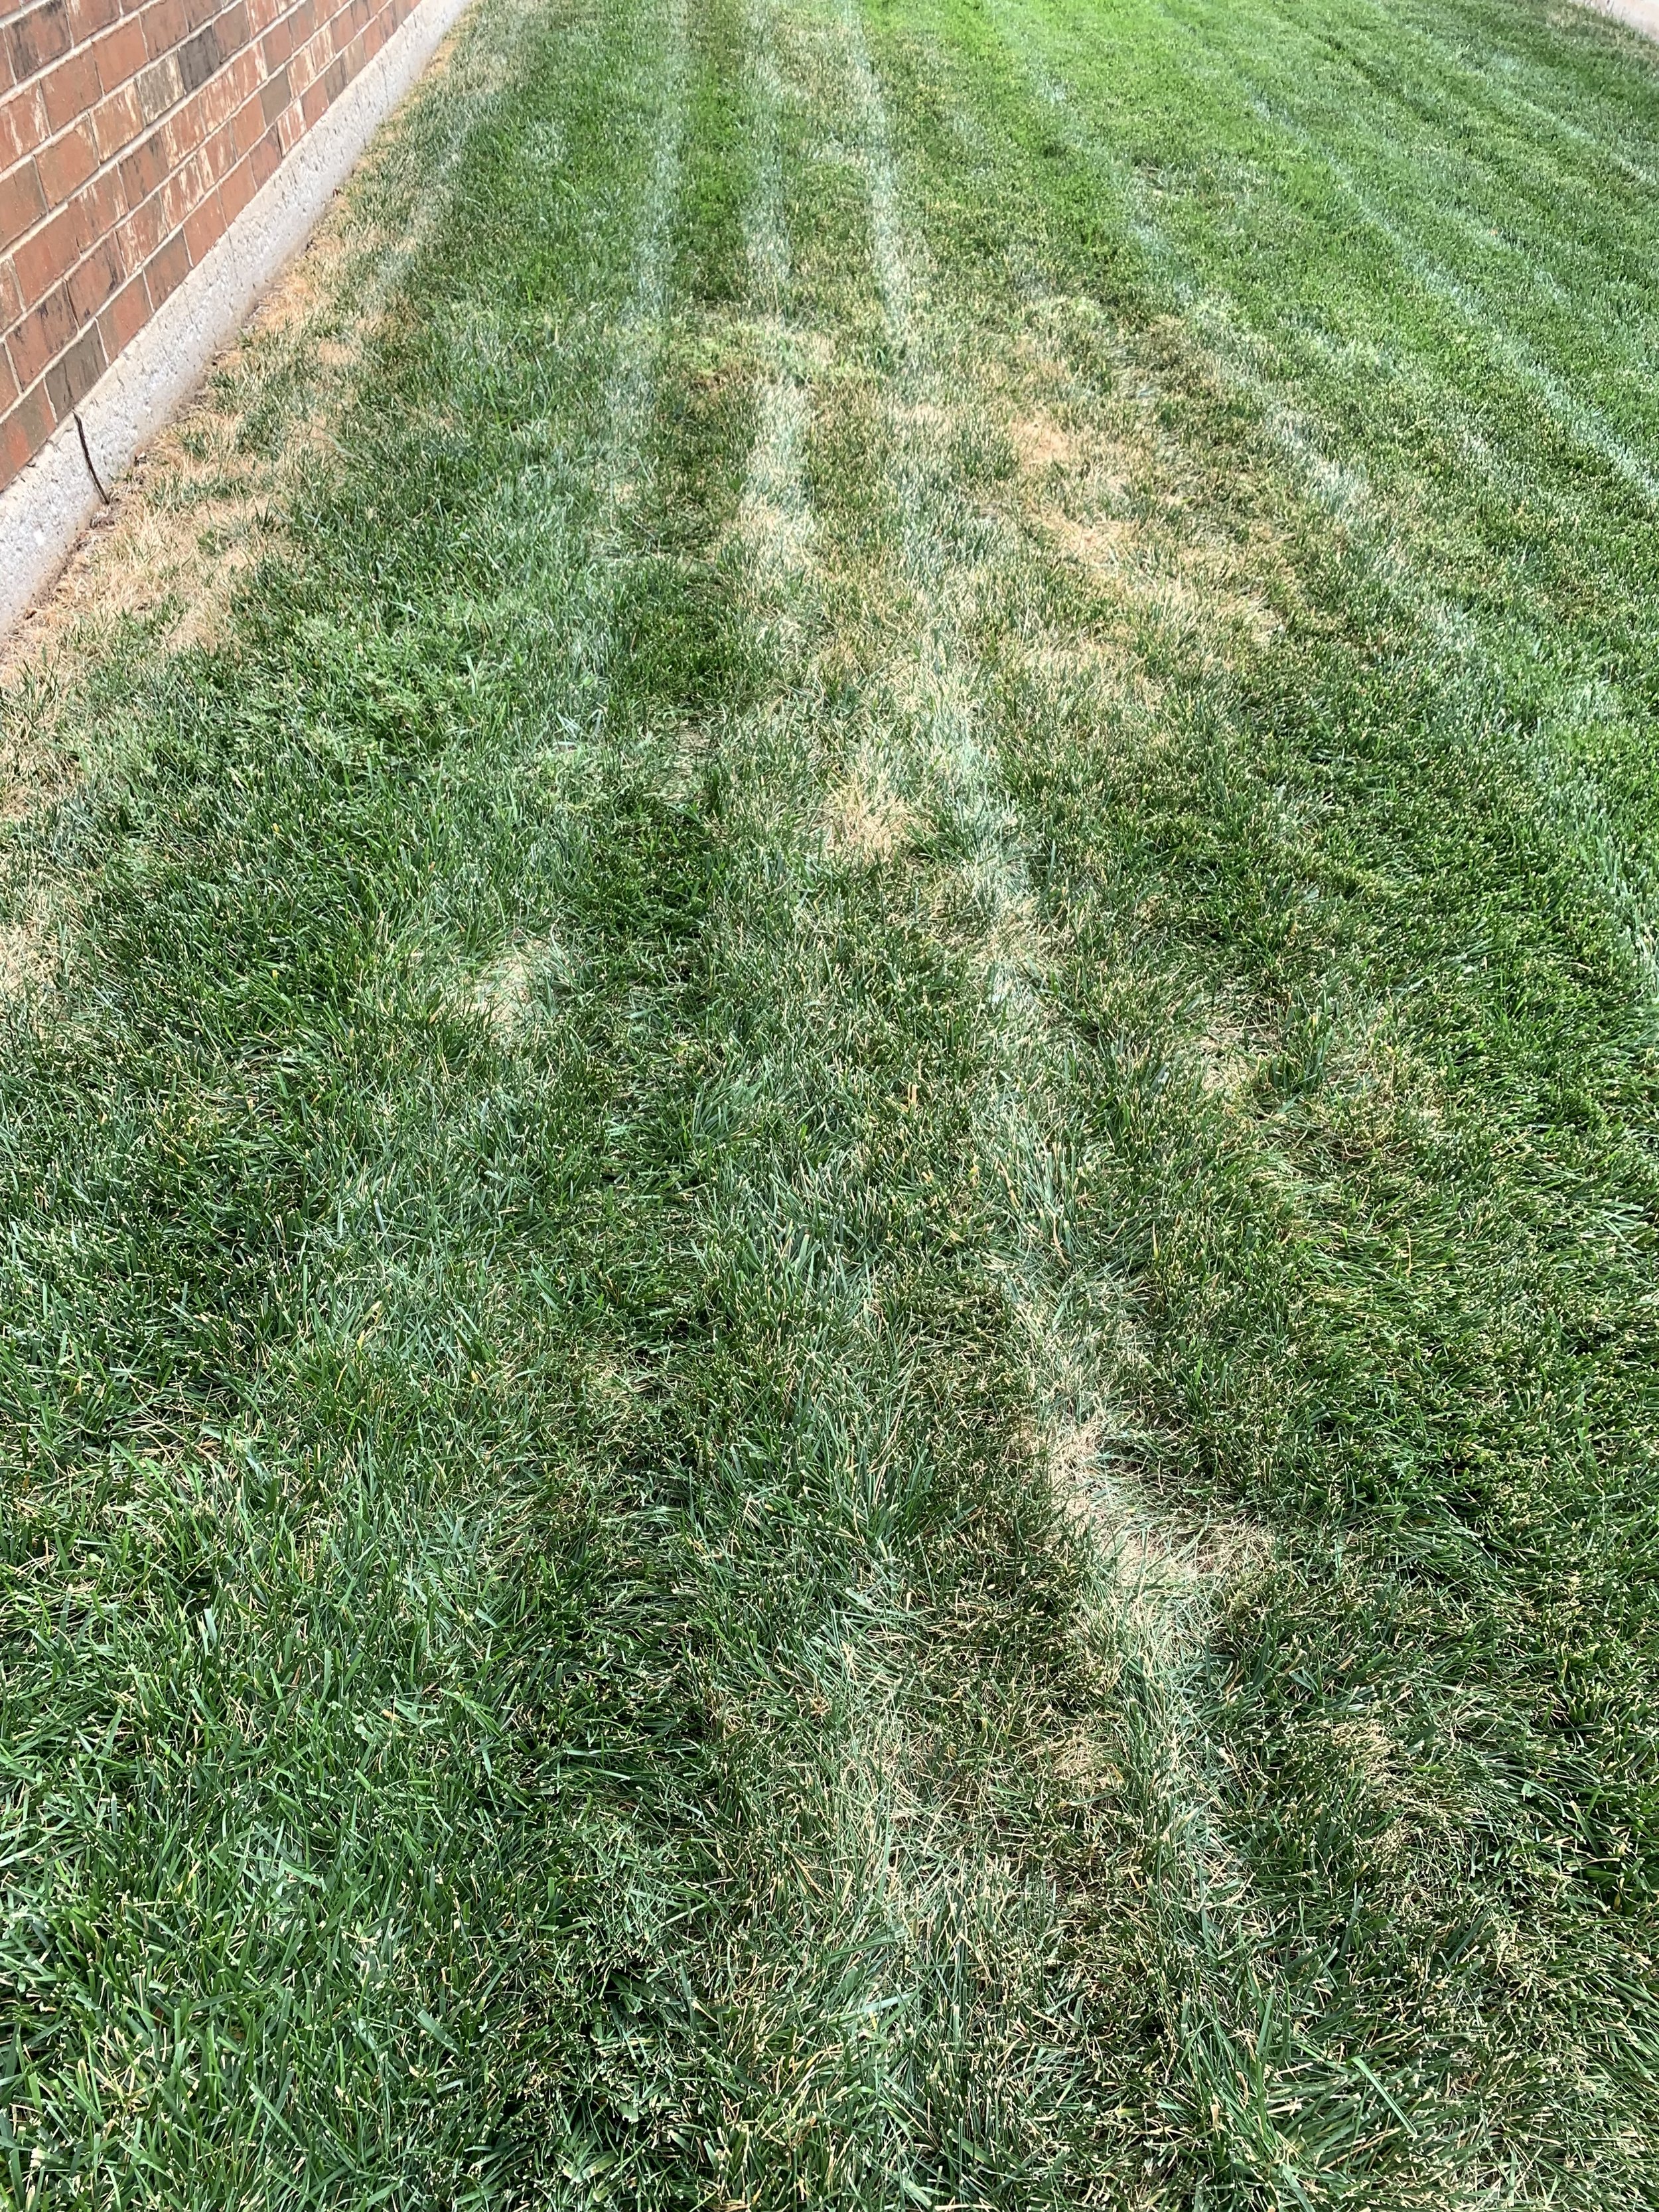
Always pay attention to water need.
If we receive .5” of rain or more, turn your controller off for a few days. Install a rain sensor if you are not good at remembering. A rain sensor will pay for itself easily in one season. Don’t assume you can leave your controller in automatic and forget it.
Don’t stress if your lawn and landscape gets a little dry, it will rebound quickly once water is applied.
A good indicator that your lawn is needing water is the footprint test. If the grass retains your footprints instead of quickly springing back, it is time to resume watering.

Fescue growing on the top of a sprinkler head.
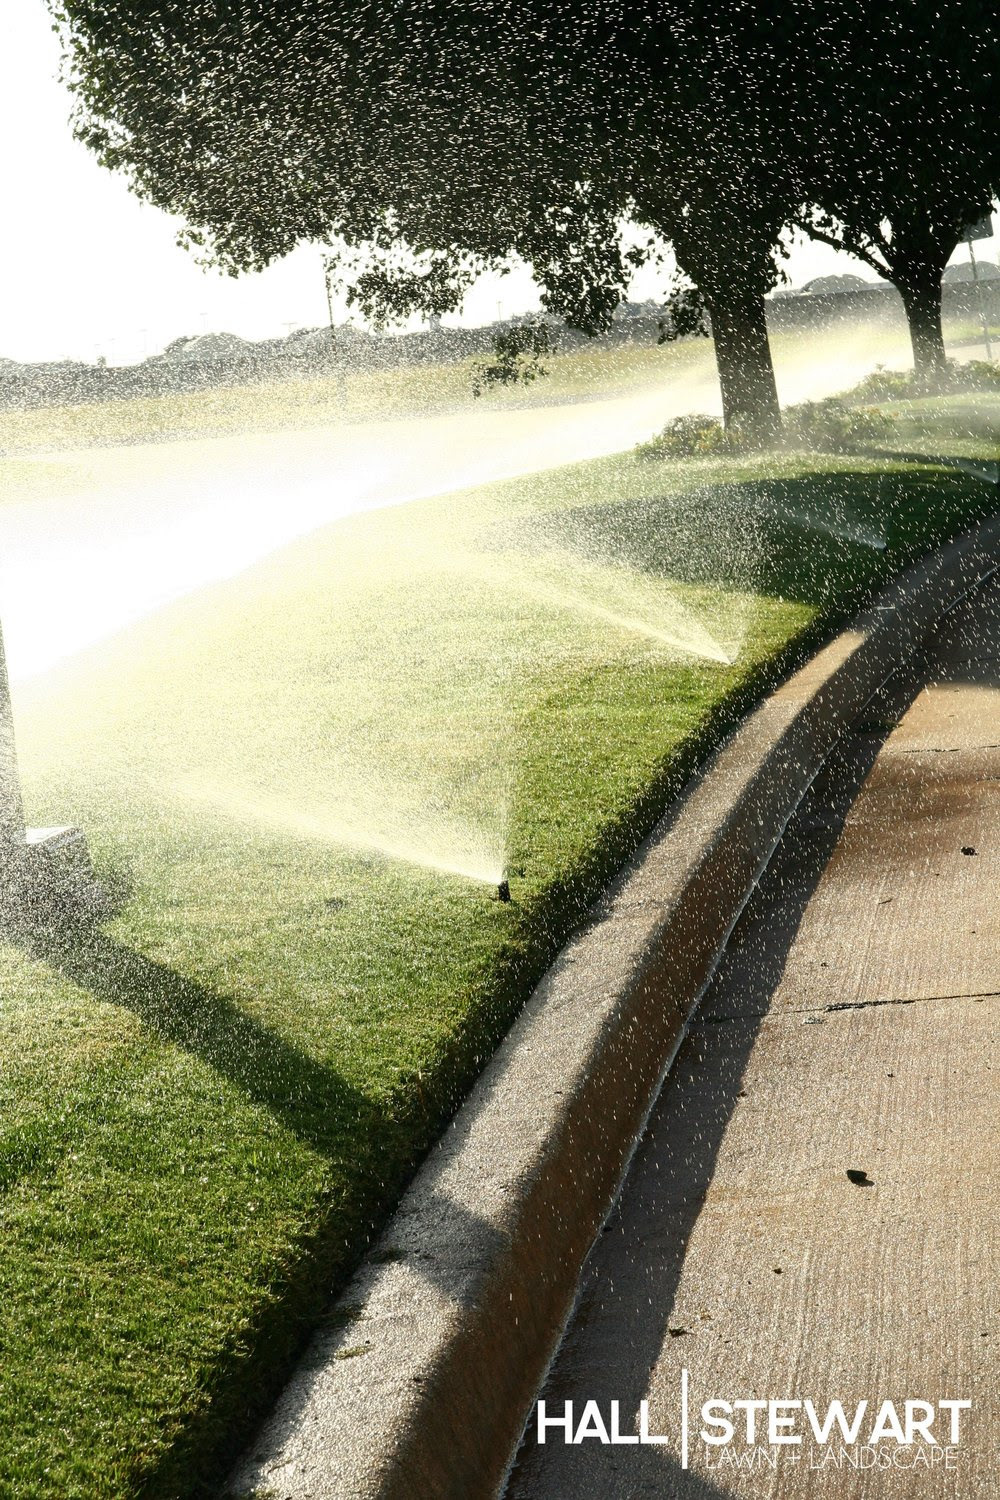
Watch for uneven water patterns.
If you notice areas where the lawn color is fading, you may have uneven moisture patterns. This could be the result of a broken head, a clogged nozzle, or a head that is out of adjustment.

Head to head coverage is when the water from one sprinkler head reaches all the way to the next head. Without head to head coverage, dry areas can develop around heads.

A clue to an uneven watering problem is an arc pattern matching the sweep of an irrigation head.

Even if you don’t have an irrigation system, the concepts of good watering still apply.
It is important to learn how long you need to water when you are using a hose-end sprinkler. Next time you water, set out a few cans. You will be surprised how long you need to water to get the proper amount of water on your lawn. Invest in a digital hose water timer, such as ones made by Orbit. It will make it easier for you to control the timing and frequency of watering.

A healthy landscape is an important part of our environment. A healthy turf helps clean the air, trap carbon dioxide, reduce erosion, improve groundwater quality, absorb noise, reduce temperatures, as well as, adds curb appeal and value to your home.
Let’s hope metro-wide spring moisture arrives soon.
Our environment needs it. Our lawns and landscapes need it.
But, if it doesn’t, be prepared to put the best watering practices in place.
Lorne Hall
Hall | Stewart Lawn + Landscape
(405)367-3873